Today we’re turning our attention to style, in the form of bracelets! As summer approaches, it only makes sense that we return to a summer camp classic: the friendship bracelet. This time, we’re taking a chic, stacked, and studded approach that we think you’ll love.
5 Ways to Make Trendy Rope Bracelets
It’s officially rope week here at Brit + Co! We kicked things off last Friday with our Twisted Rope Rug, continued on over the weekend with 40 Rope Projects, and tackled one of our favorite basic DIY projects yesterday with Wrapped Rope Bottles.
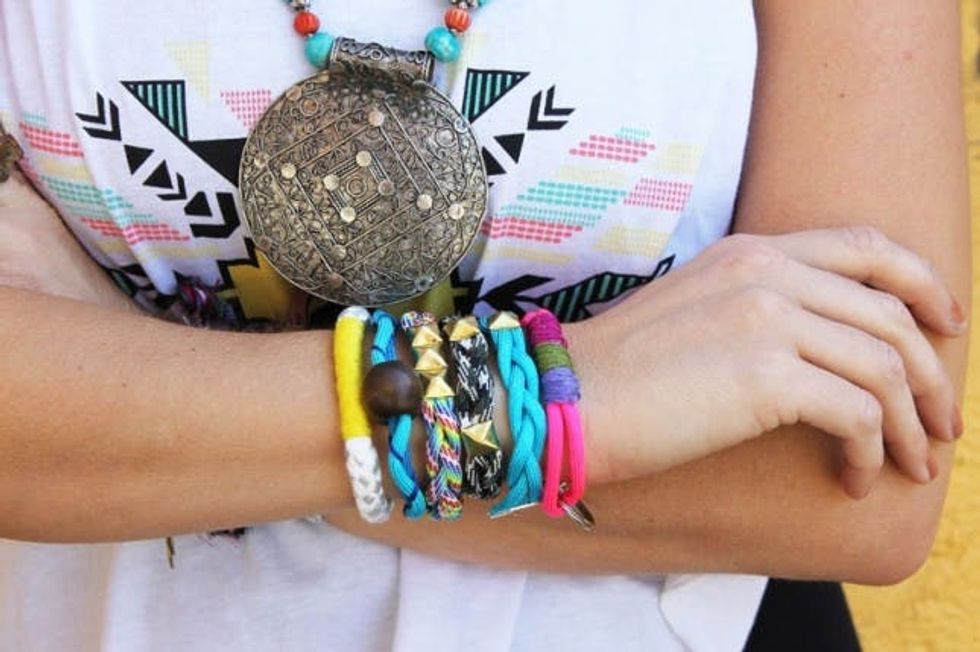
Today we’re turning our attention to style, in the form of bracelets! As summer approaches, it only makes sense that we return to a summer camp classic: the friendship bracelet. This time, we’re taking a chic, stacked, and studded approach that we think you’ll love.
Materials:
– paracord rope
– embroidery floss
– cord ends
– clasps
– keychain
– wooden bead
– studs
– E-6000 glue
Tools:
– scissors
– lighter
– hot glue gun
– needle nose pliers
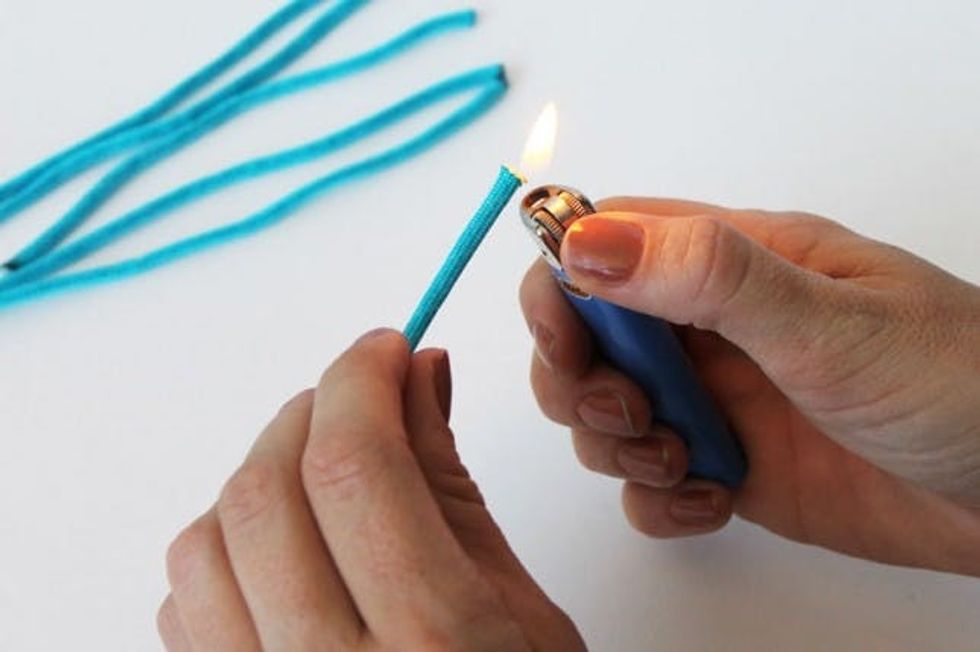
For all of these, you’ll need to use a lighter to seal the end of the rope after you cut it. Now, onto the bracelets!
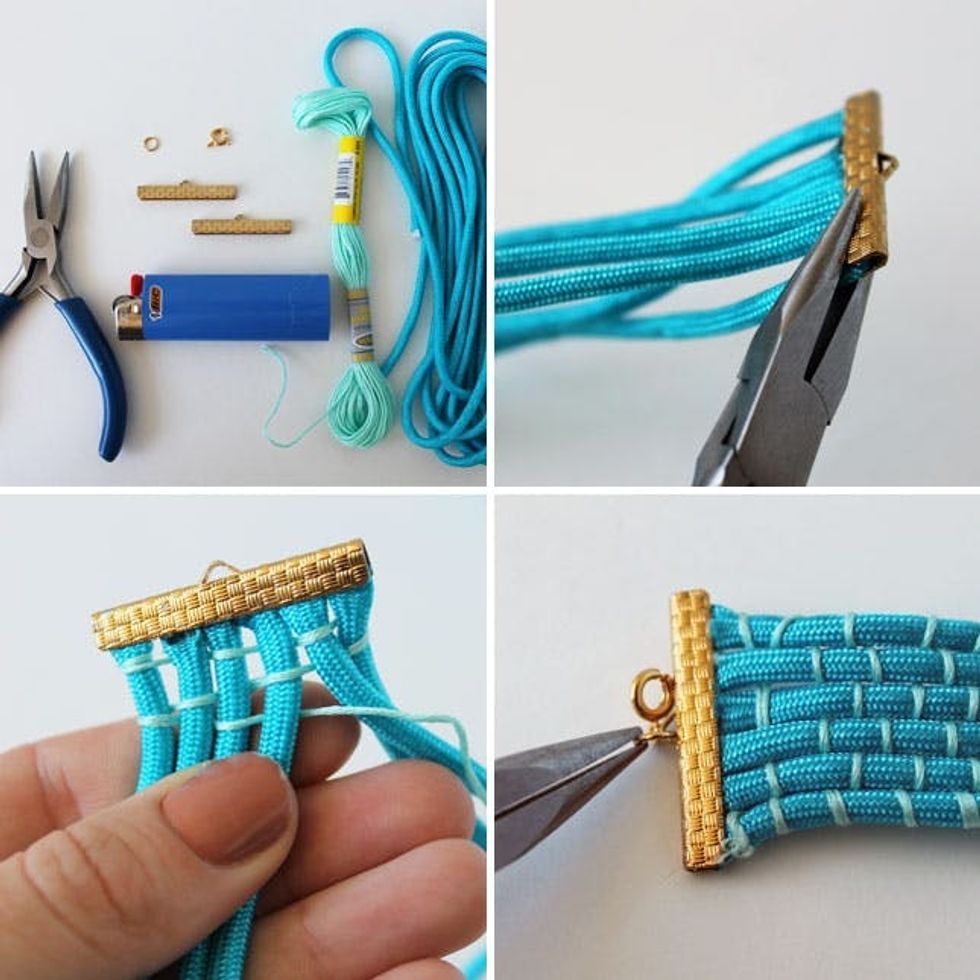
1. Woven Cuff: In this tutorial, you’ll weave rope together to create a solid cuff. We went with two blue colors, but you could definitely get more contrast going if you like.
Cut six pieces of rope so that they fit around your wrist. Secure ends in a long cord end. Tie a piece of embroidery floss to the top of one piece of rope and start weaving in and out and across the pieces of rope. Once you get to the end, secure with another cord end and add a clasp.
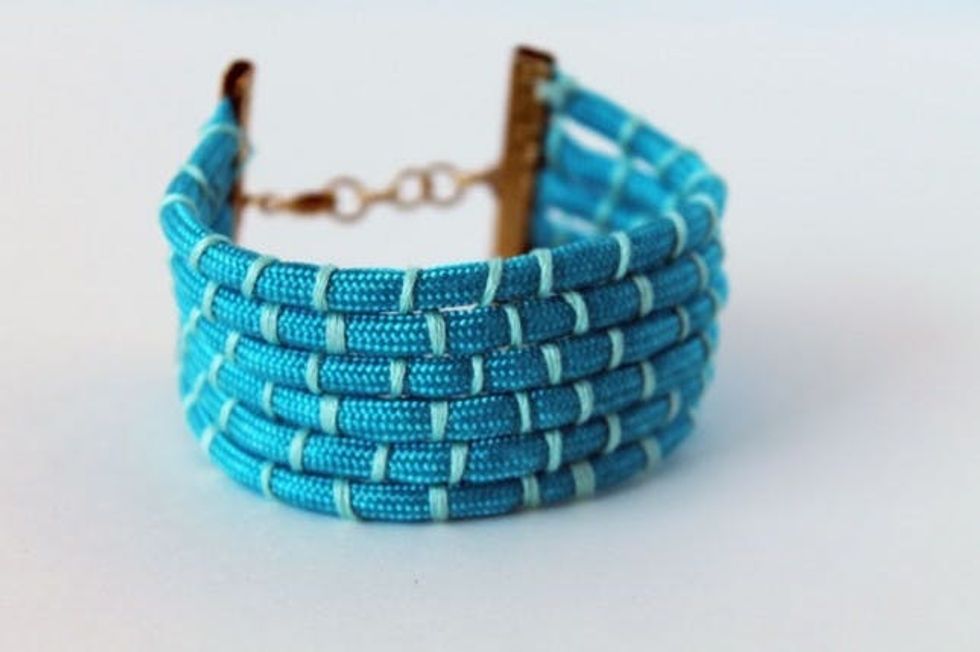
The turquoise color is great for summer – so beachy!
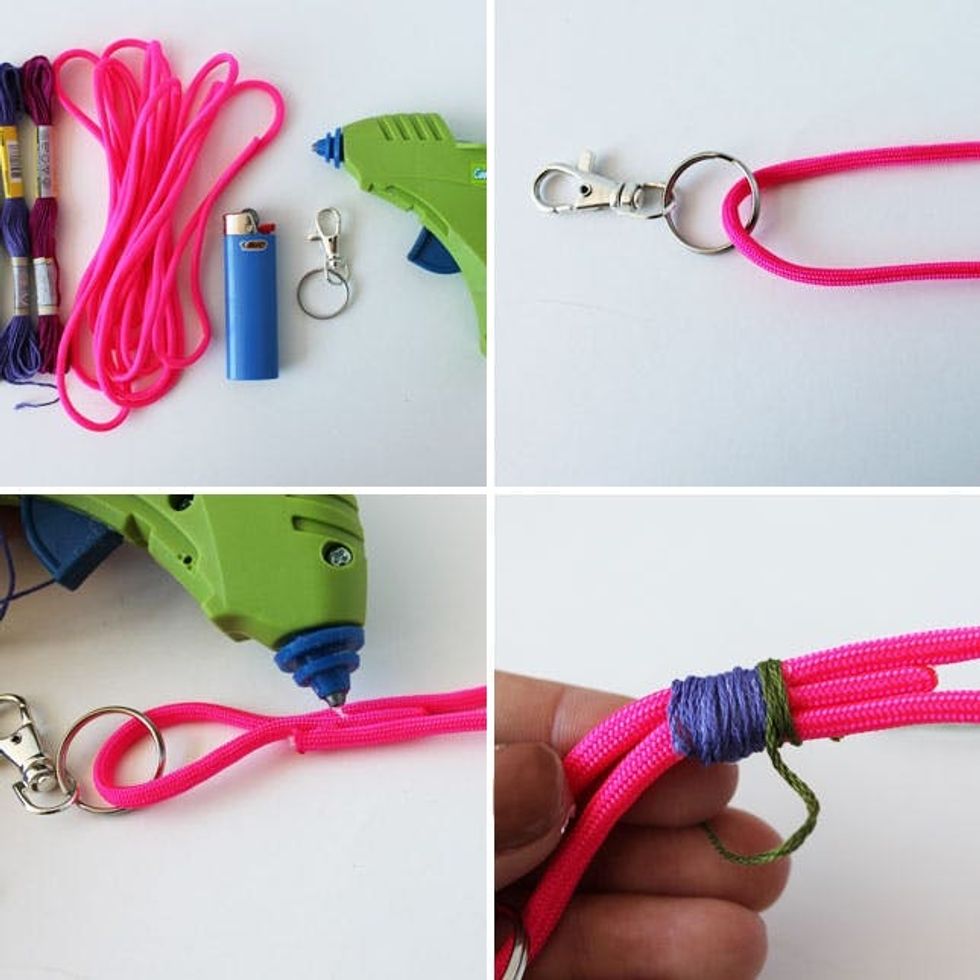
2. Keychain Loop: For this one, we used an old keychain, hot pink rope, and embroidery floss.
Loop your rope through the keychain ring and then cross over so that there’s another loop at the other end. Glue to secure. Over the place where you glued, wrap embroidery floss. Clasp with the other end of the keychain.
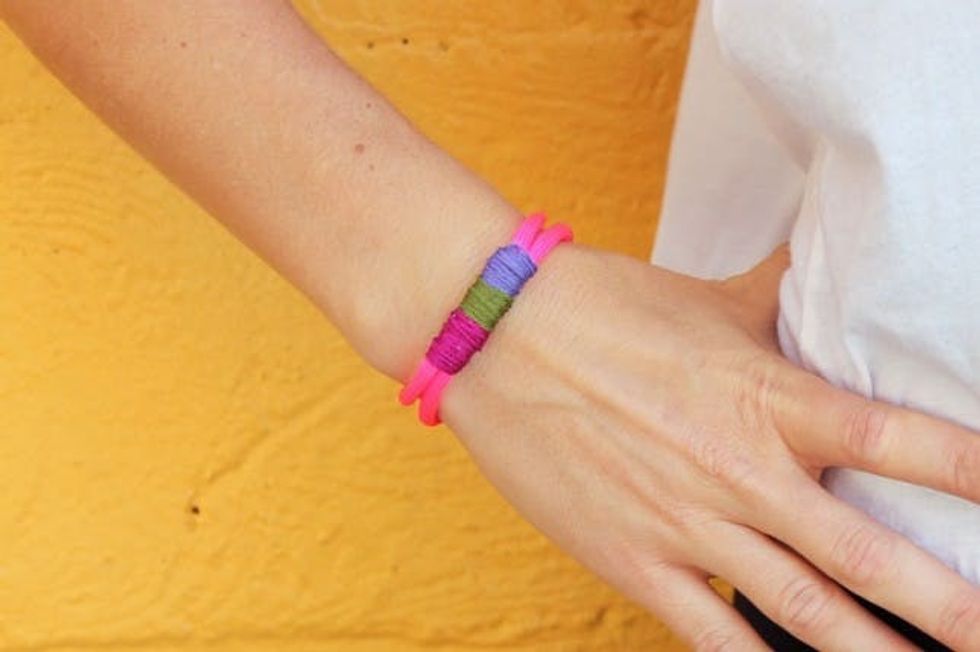
We love the contrast of hot pink with a sort of industrial-looking keychain. This could also be a great way to keep a key around your wrist if you need to use it often or are afraid of losing it.
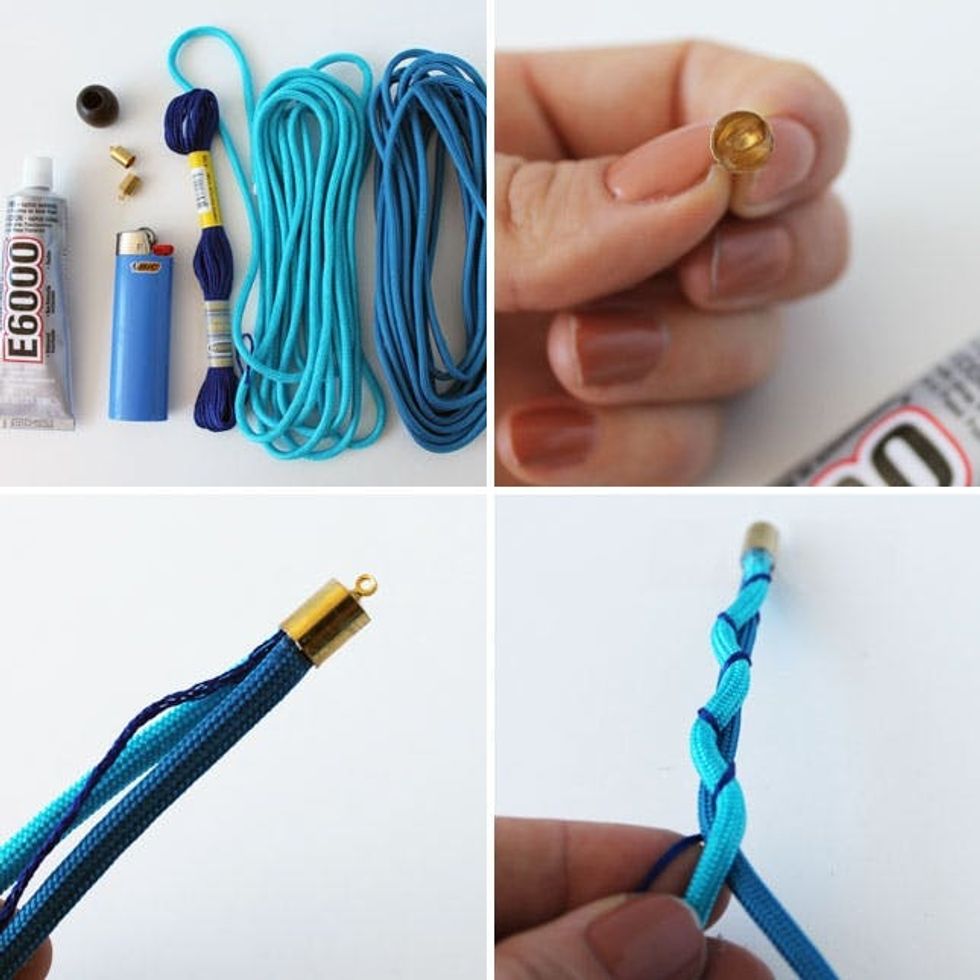
3. Braided Bead Bracelet: This one is a braided number, made to look a little wonky on purpose by using two pieces of rope and 1 piece of embroidery floss.
Secure your three pieces in a cord end using glue. Braid! Then string on a bead – it’s best to use a bead that fits snugly on the bracelet so it doesn’t move around.
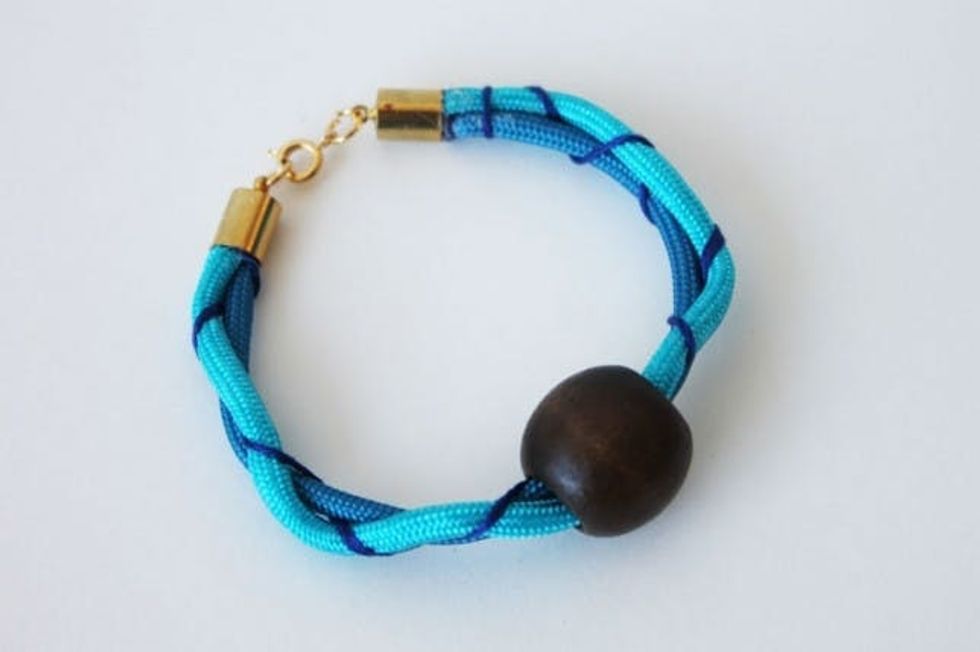
We love the idea of stacking a bunch of these together.
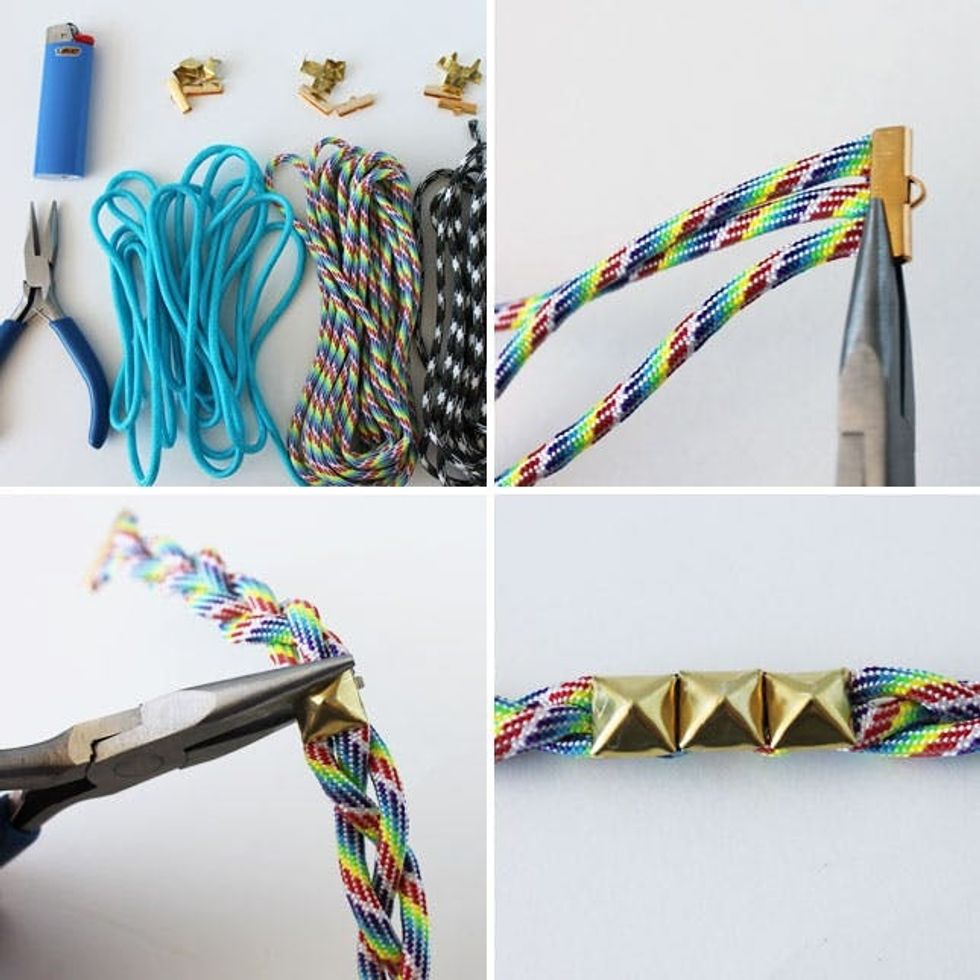
4. Studded Stack: When it comes to studs, we always like to do a stack.
Secure three pieces of rope with a cord end. Braid and secure at the other end. Then add as many studs as you like. Repeat for as many bracelets as you’re making.
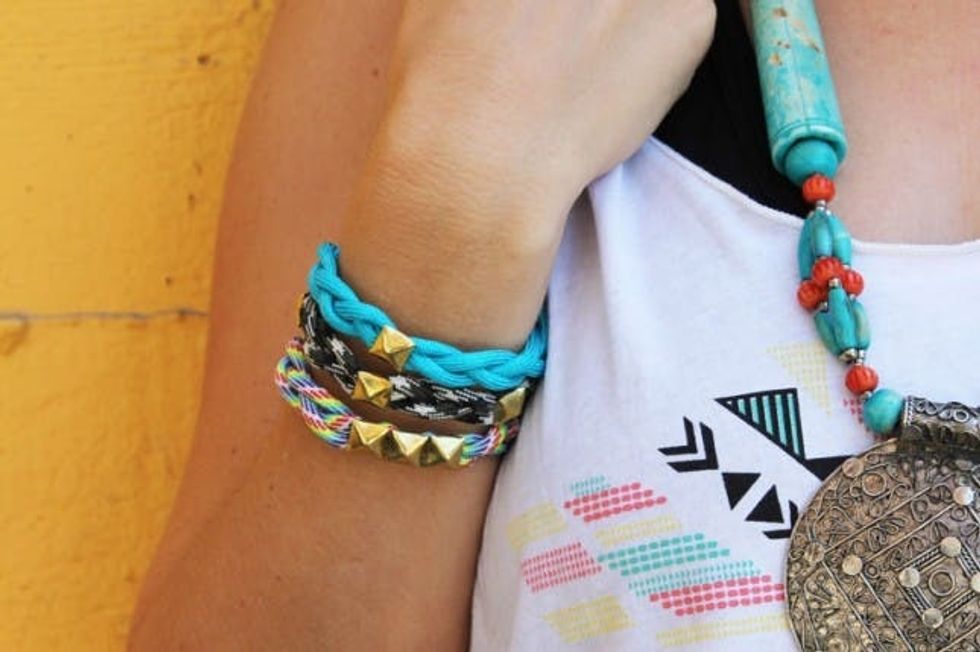
This would be a really fun summer party favor as they’re pretty gender neutral.

5. Wrapped Rope: This one is so simple, it takes less than 2 minutes to make.
Take a chunky piece of white rope and secure one end with a cord end. Add a dab of hot glue and wrap your embroidery floss around an inch or two in the middle of the rope. Secure at the other end with a cord end and you’re done.
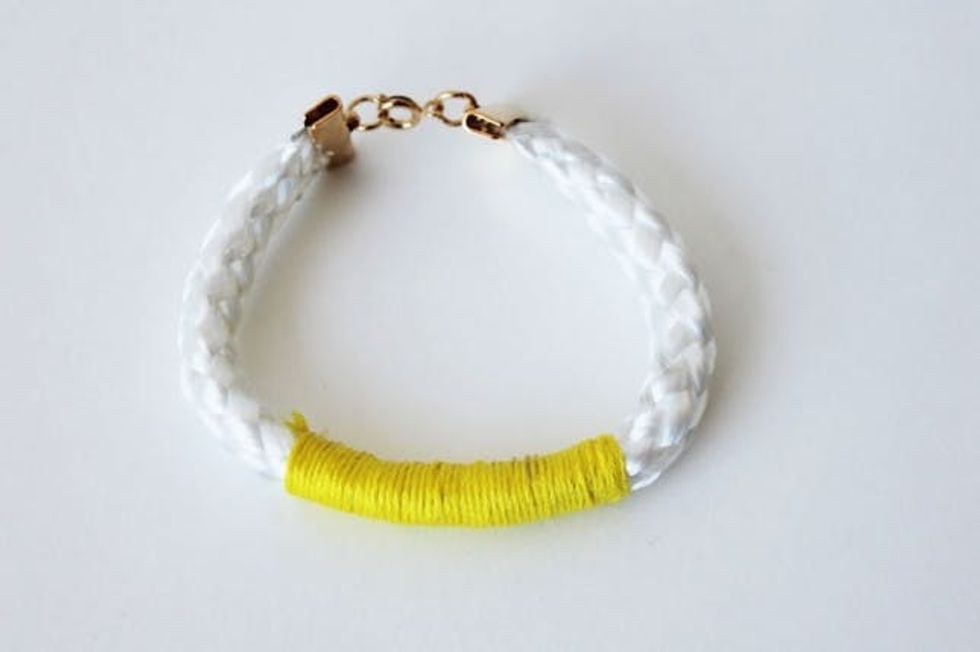
We’re digging the subtle combo of white and yellow in this one.
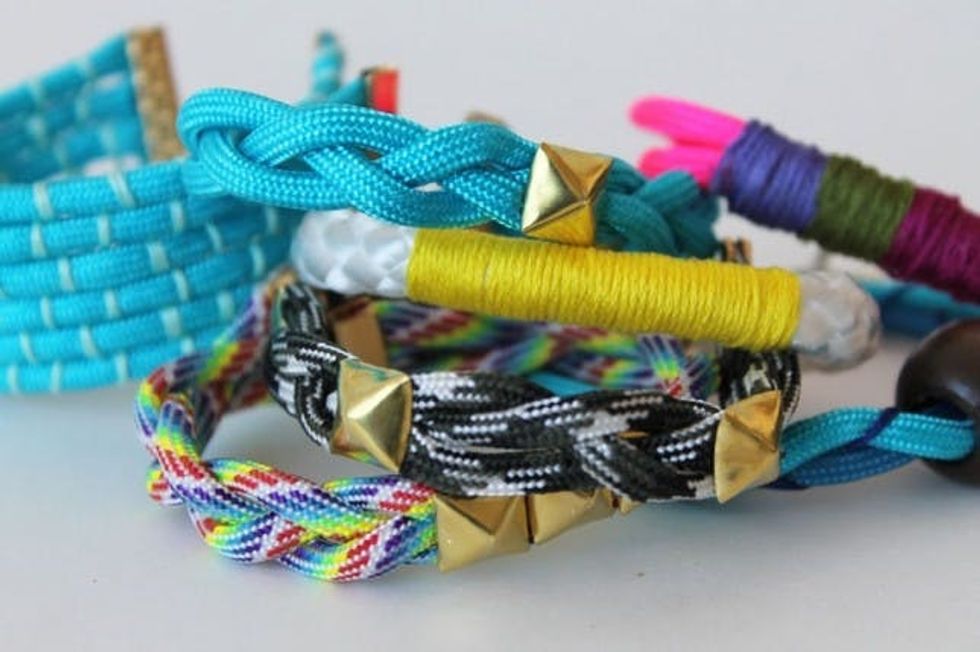
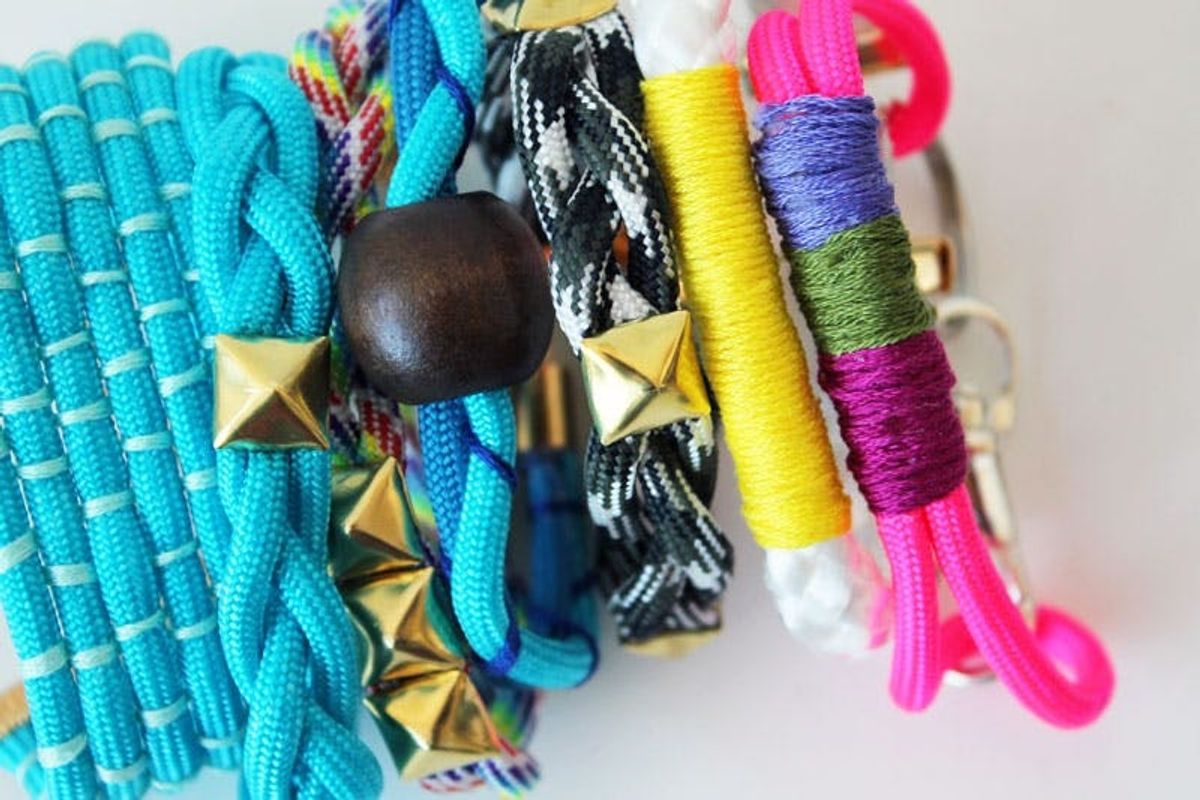
And there they all are – 5 ways to make rope bracelets!
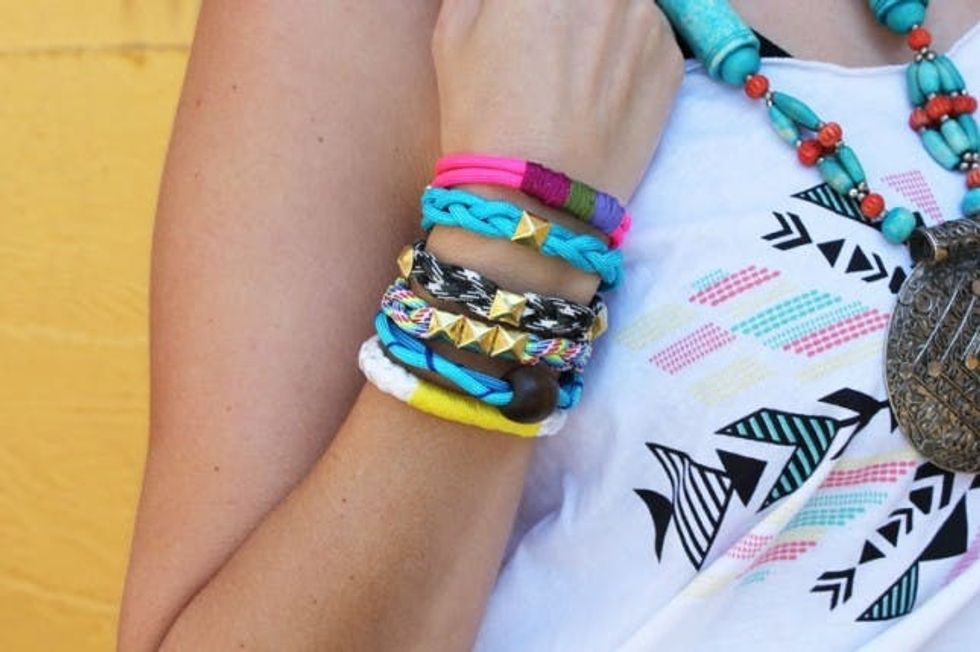
We think they look pretty fly all stacked together.
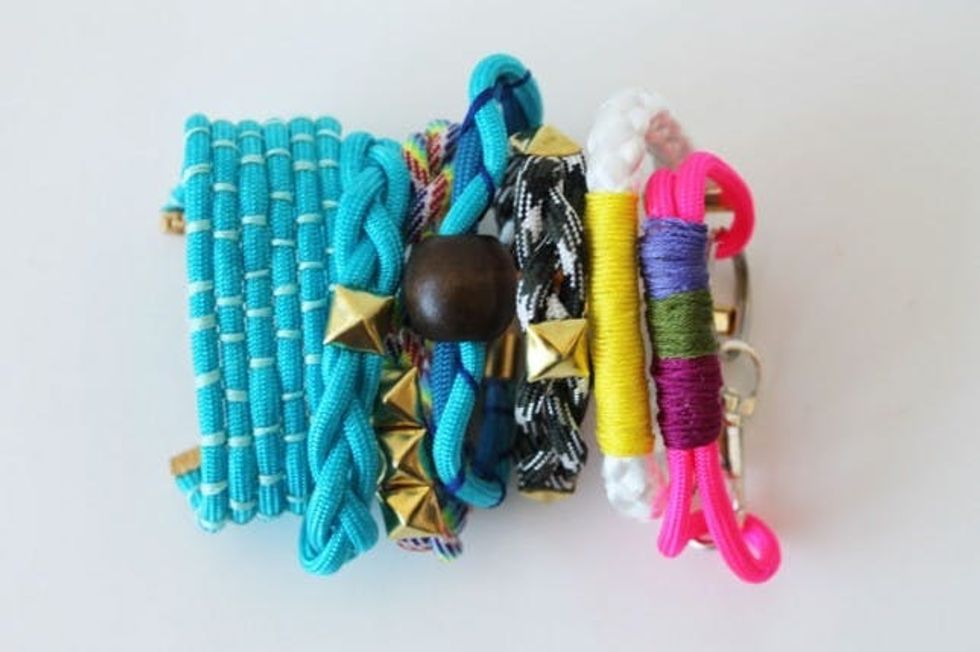
Which of these bracelets is your favorite? Are there any hacks on the fancy friendship bracelet that you’ve tried out? Tell us in the comments below!


