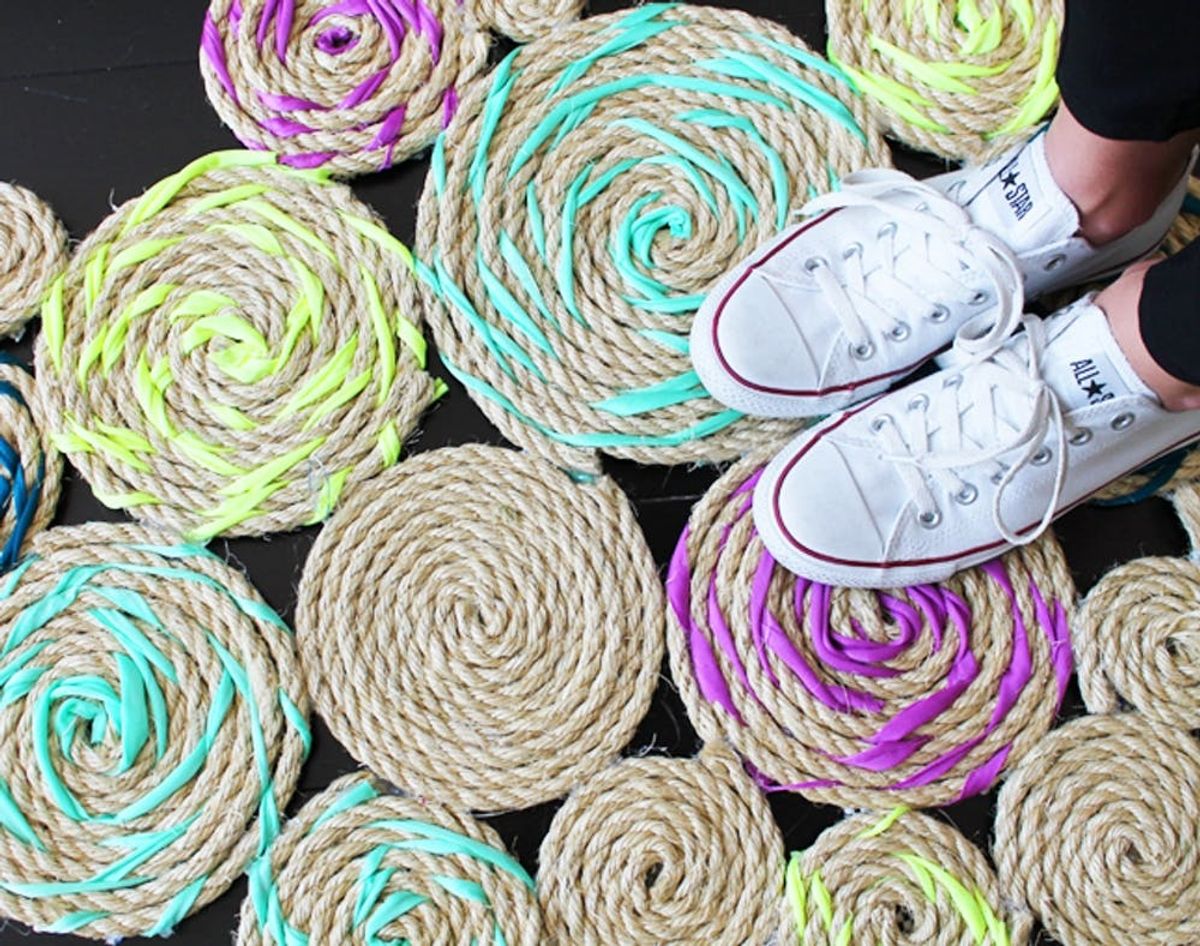
All those creative rug DIYS from our roundup last week were so inspiring, don’t you think? We particularly loved the rug Free People made for their window display, but we wanted to make one that is a little more durable and quicker. So we did a little brainstorming and experimenting to come up with what, we think, is a pretty rad rug!
How to Make a Twisted Rope Rug

All those creative rug DIYS from our roundup last week were so inspiring, don’t you think? We particularly loved the rug Free People made for their window display, but we wanted to make one that is a little more durable and quicker. So, we did a little brainstorming and experimenting to come up with what, we think, is a pretty rad rug! This could also make a great wall hanging or table piece (on a smaller scale).
Supplies:
– bright spandex fabric
– 2 packs of 3/8 inch x 50 feet sisal rope
– 3 feet x 5 feet rug pad
Tools:
– hot glue gun
– wax paper
– scissors
– measuring tape
For our pop of color, we used spandex to make it easy to wash or hose down when using indoors or outdoors.
Start by cutting a length of rope 9 feet long. Then cut a 1 inch wide strip of fabric. Pull the strip of fabric to make it curl up into a rope-like cord. Then glue the end of the spandex to the end of the rope.
Twist the spandex around the entire 9 feet of rope. You may need to glue on more strips of spandex to twist around the whole length of rope. Roll up the rope and attach spandex up and glue as you go to hold it in place. Continuing rolling and glueing until you have a coil that looks like the photo above. To make the coils with spandex really pop out, we recommend making a few coils that are just rope.
Now you just keep making coils until you can piece together the size rug you want. To make bigger coils, just use a longer length or rope and vice versa for a smaller coil. The coils we made for our rug were made from ropes cut to the following sizes:
– mini coils – 18 inches (6 coils)
– small coils – 3 feet (4 coils)
– medium coils – 5 feet (4 coils)
– large coils – 10 feet (5 coils)
– extra large coils – 15 feet (1 coil)
Once you have enough coils, flip them over right side up on a surface covered with wax paper. Arrange them into a design you like and put a tiny bit of glue where each coil meets. Then flip the whole thing upside down and glue the coils to each other even more securely. Next, lay your rug pad on top of the wax paper and then place your rope coil on top of that (right side up). Glue the rope coils to the rug pad. To get a really secure hold, you could also use a super glue such as Devcon Weldit All Purpose Adhesive.
Now all you have to do is cut out off the excess rug pad along in the edges and in between each coil.
And there you have it – a rad neon rope rug!
Don’t be afraid to try using different colors that match the color palette of your home :)
Will you try making this rug? What colors will you use? Talk to us in the comments below!


