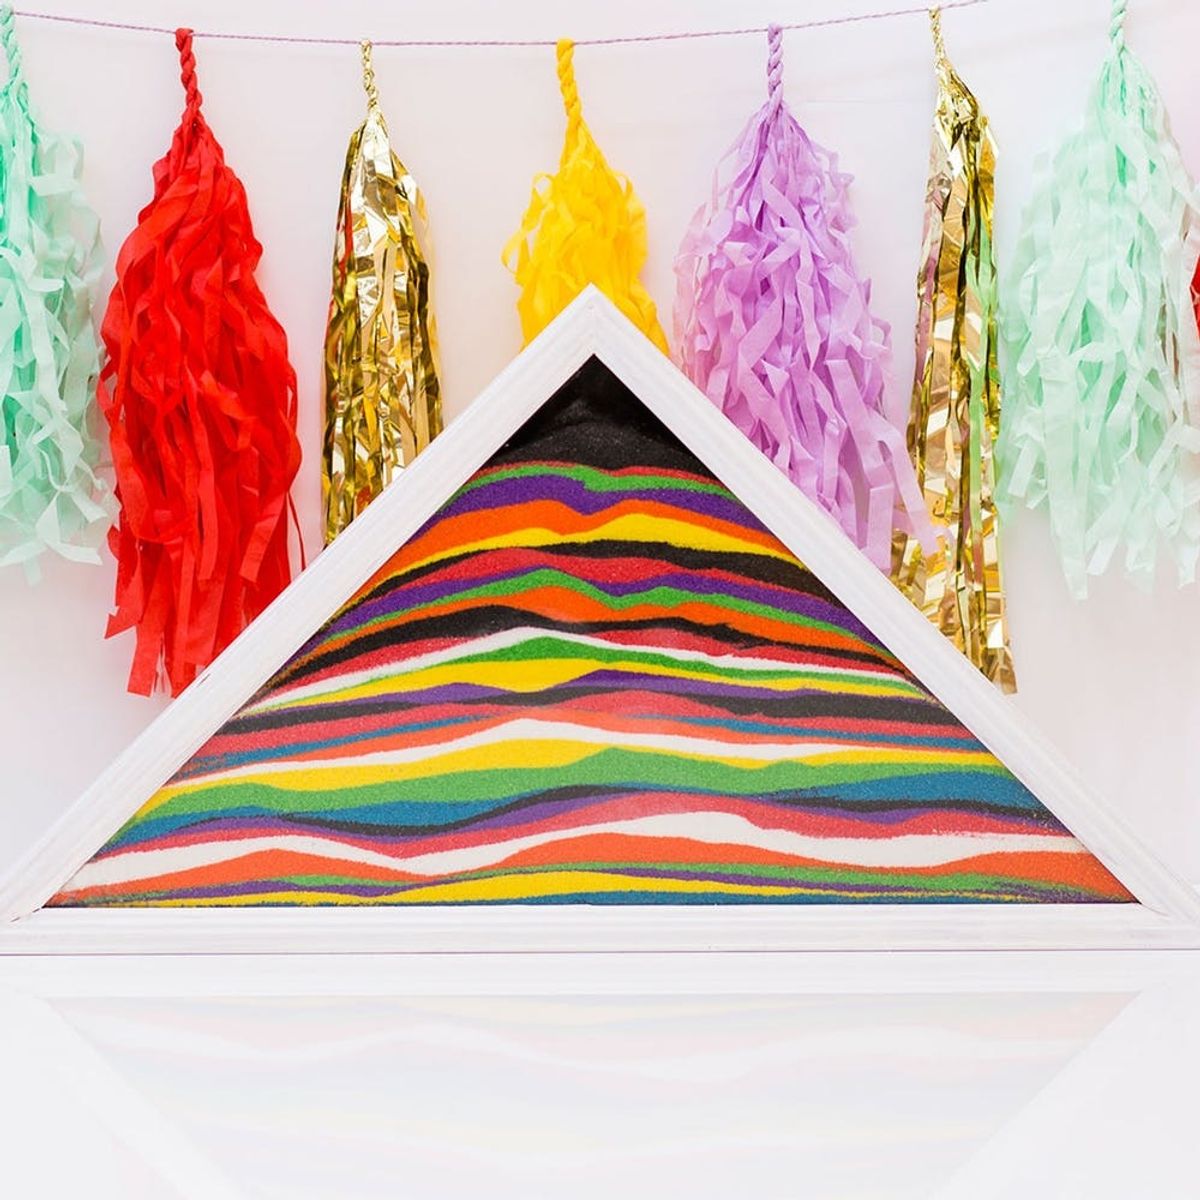
Your favorite childhood craft is back in a big way.
How to Make Sand Art like a Grown-Up

We love a sophisticated craft as much as the next DIYer, but there will always be a special place in our heart for those projects we did as kids. But hey, you know what? Who says you can’t bring those nostalgic projects into the present? A while back we showed you how to use super stylish Perler beads to make coasters, and now we’re offering up a super sleek way to add some sand art to your decor. If you want to jam out to the Spice Girls while you make this, we definitely won’t hold it against you.
Materials:
– colored sand
– triangle frame or shadow box (we used a flag case)
Tools:
– tape
– scissors
– funnel
– drill
Instructions:
1. Remove the glass and backing from your case and use a drill to make two holes on each side of the triangle. Drill one toward the top of the frame and one about four inches above the base.
2. Put the glass front back in the case and seal it to the frame with tape to keep sand from spilling out.
3. If your backing is not flat, be sure to cut openings where your holes are so that sand can get in.
4. Place a funnel in one of the holes that you drilled.
5. Pour the sand in through the funnel. Move the funnel around to the different holes to create an even layer.
6. Continue this process with different colors until you’ve reached the top.
Make sure the drill bit you use has a circumference that’s just slightly bigger than the base of your funnel.
Don’t forget the holes down by the bottom. Otherwise, it’s super hard to get the sand to distribute evenly.
We used tape for a quick option, but you could also use wood glue for a super strong hold. Just make sure it doesn’t show through in the front!
If your case is like ours and the backing is not flat, be sure you cut an opening where the drilled holes line up so that the sand can get in.
Now, pour! There’s really no specific technique to this — just be sure to move the funnel around.
How cool is this looking?!
To create different wave patterns or get the sand into those pesky far corners, pour a little more sand than you usually would into one hole and then gently tilt the case so that some of the sand shifts in the direction you want.
Just like this!
Keep pouring like that until you reach the top. We were a little worried that the sand would come out of the bottom holes after we filled up past them as we tilted and moved the sand around, but it never did. If you don’t like the look of the exposed holes, try plugging them with clay and painting them to match the frame.
And voila! Grown-up sand art!
A piece this big was way too heavy to hang on the wall, but if you tried the same technique with a small shadow box, that could totally be hung up. This could also be the perfect statement piece for a mantle in need of decorating.
Just look at those cool patterns!
Pro Tip: Put some Studio Mucci garland behind it to turn your house into a permanent party.
DIY Production and Styling: Cortney Clift
Photography: Chris Andre
What was your favorite craft as a kid? Share with us in the comments below.


