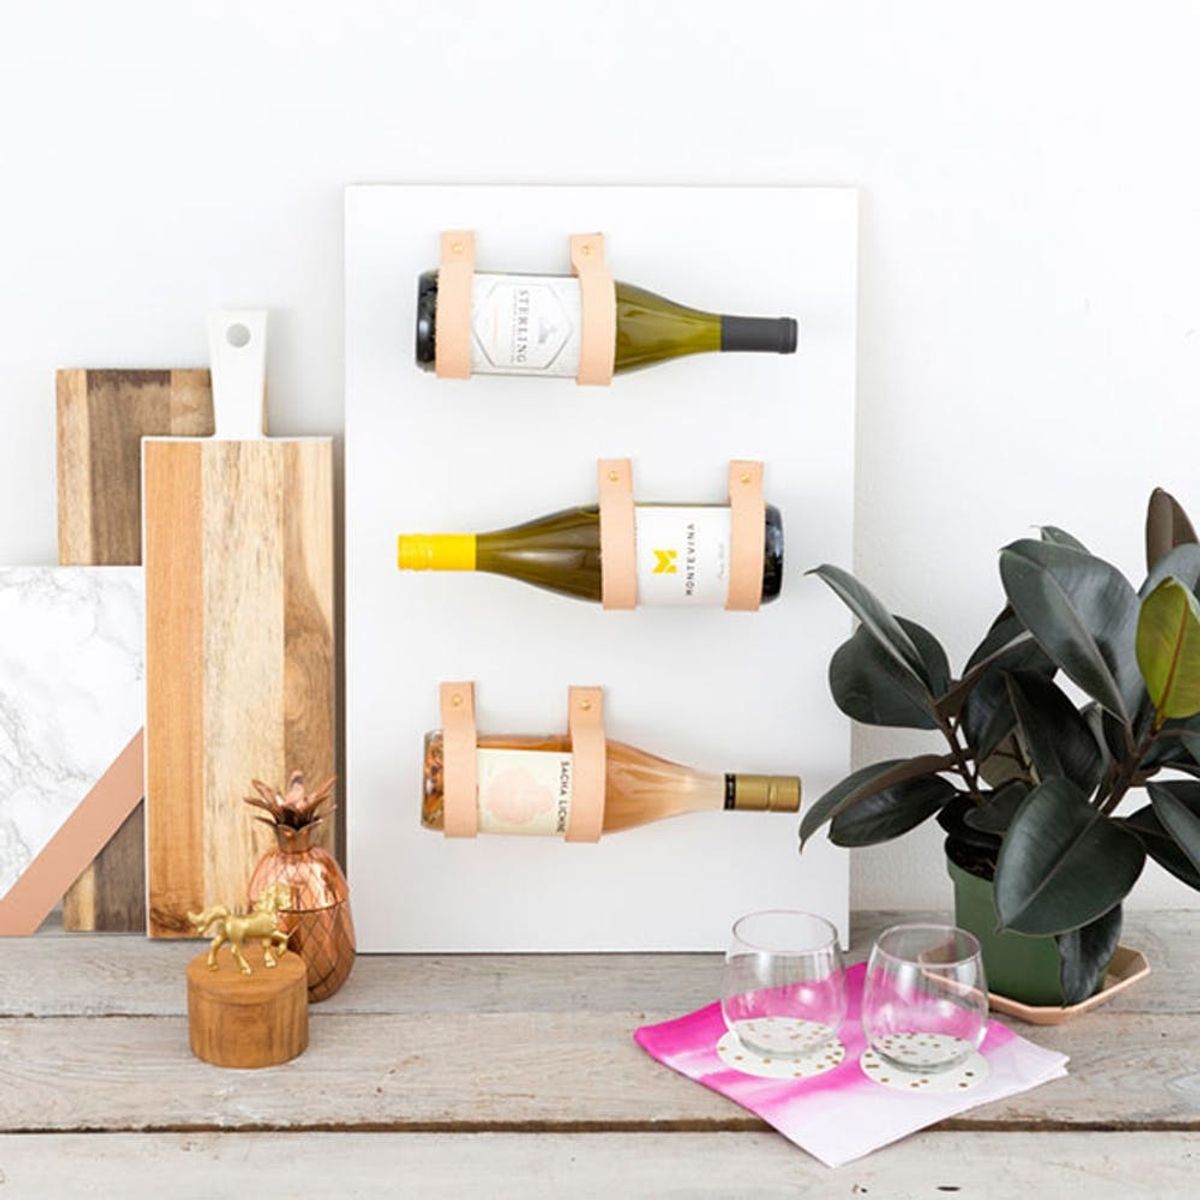
Save Space With This Effortlessly Chic Wine Rack

Coming from Los Angeles to San Francisco, I’ve found that space becomes a very precious commodity. My kitchen counters always seem to be cluttered after every couple of days and my closet can’t seem to hold all of my clothes. As a result, I’m always looking for space saving tips and tricks. This mini DIY wine rack is a perfect addition to any small space. Say goodbye to sprawling your wine bottles across that valuable counter space. Say hello to an easy, chic wine rack that’ll keep you stylishly organized.
Materials + Tools:
- 1-inch-thick wood board (24 x 16 inches)
- (6) 1 x 14-inch wide strips of leather (we cut them down from a longer strip)
- (6) round-head wood screws
- leather punch
- pencil
- scissors
- painter’s tape
- spray paint
- wood paint
- paint brush
- drill
- ruler
Instructions:
1. Measure and cut your leather strips. Double check that the strips will be long enough to cover the circumference of your wine bottles.
2. Use the leather punch to poke holes at the ends of each strip.
3. Take your ruler and measure out where you want your leather strips to be inserted onto the wood board.
4. Mark and drill lightly through the surface of the board to prep the screw placements.
5. Paint your wood board and let dry.
6. Once the wood board is dry, tape the board so that only the edges are exposed. Spray the edges a metallic copper for a chic finish.
7. Take your wood screws and poke them through the leather strips.
8. Screw your straps on with a drill or screwdriver.
9. Insert your favorite wine bottles and enjoy!
First off, measure and cut down your leather strips. Double check that the strips will be long enough to cover the circumference of your wine bottles. Use the leather punch to poke a hole at the ends of each strip. Try to make the holes similar distances from the edges. Feel free to use a ruler to measure the distance for better accuracy.
Take your ruler and measure out where you want your leather strips to be inserted onto the wood board. Mark and drill lightly through the surface of the board to prep the screw placements.
Paint your wood board and let dry. Make sure your drilled holes are still apparent.
Once the wood board is dry, tape the board so that only the edges are exposed. Spray the edges a metallic copper for a chic finish. Pull tape off after an hour.
Take your wood screws and poke them through the leather strips.
Screw your straps on with a drill or screwdriver.
Voila — a super chic mini wine rack! Prop it up on your kitchen counter or hang it on the wall. It’s a perfect addition to any home.
Just look at that copper finish! I’m completely obsessed.
Time to invite some friends over. Cheers and happy making!
How are you displaying your wine collection? Show us your project by tagging us on Instagram + using the hashtag #iamcreative!
DIY Production and Styling: Karen Pham
Photography: Brittany Griffin


