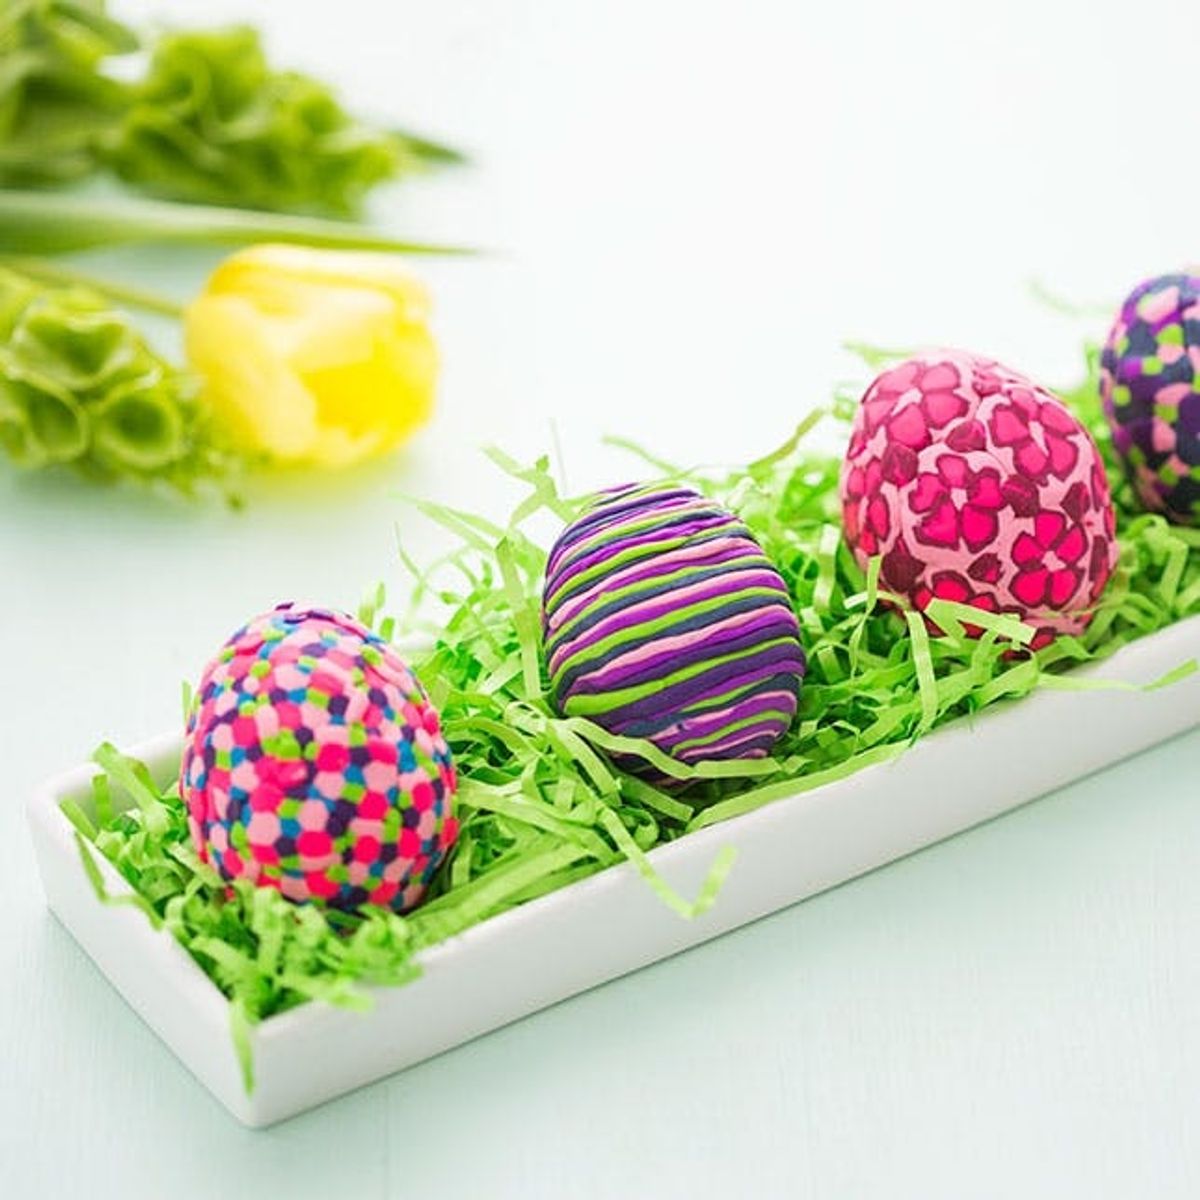
Sculpey is the key to the most colorful eggs ever.
THIS Is the Secret to Decorating the Most Colorful Easter Eggs Ever


Making Easter eggs for the past month or so means we’ve been on the hunt for new Easter egg ideas to keep you egg-cited about the big day (April 5, btw… need supplies? Visit the B+C shop for all the Easter gifts you need to fill those baskets!) We clicked across this DIY for covering eggs in polymer clay and decided to give it a try. What we found out was that covering these Easter decorations in Sculpey gives you the ULTIMATE brightly colored eggs, without having to bust out the dye. Bright colors FTW!

Materials:

– Sculpey
Tools:
– X-Acto knife
Instructions:
1. Roll out long cylinders of Sculpey.
2. Place them on top of each other to form a larger cylinder of colorful Sculpey.
3. Cut slices off of the cylinder — you should see a polka dot pattern.
4. Gently press the Sculpey onto the egg. Cover completely.
5. Bake in the oven for 15 mins at 250 degrees.
Roll out your favorite colors of clay into long, snake-like cylinders.

Stack the cylinders on top of one another to form a larger grouping. Since the strands are very long, cut in half and add on to your preexisting group.

Use an X-Acto to cut off slivers of Sculpey, then press onto your blown egg. Remember — eggs are delicate, be careful when pressing.

Bright colors FTW!

Stripes more your style? Create really thin snakes and wrap around the egg.

Once you’ve covered your eggs in Sculpey, place in the oven for 15 mins at 250 degrees.

We are going ga-ga over this series of brightly colored eggs.

Want to step up your Sculpey game? Check out this tutorial. It took a while to master the art of creating flowers with the clay, and to be honest, we’re still not completely there. Make sure you have an extremely sharp X-Acto when cutting the clay. This will help give a clean flower design and not pull the petals in wonky directions.

Would try out this eggciting DIY? Let us know in the comments below!


