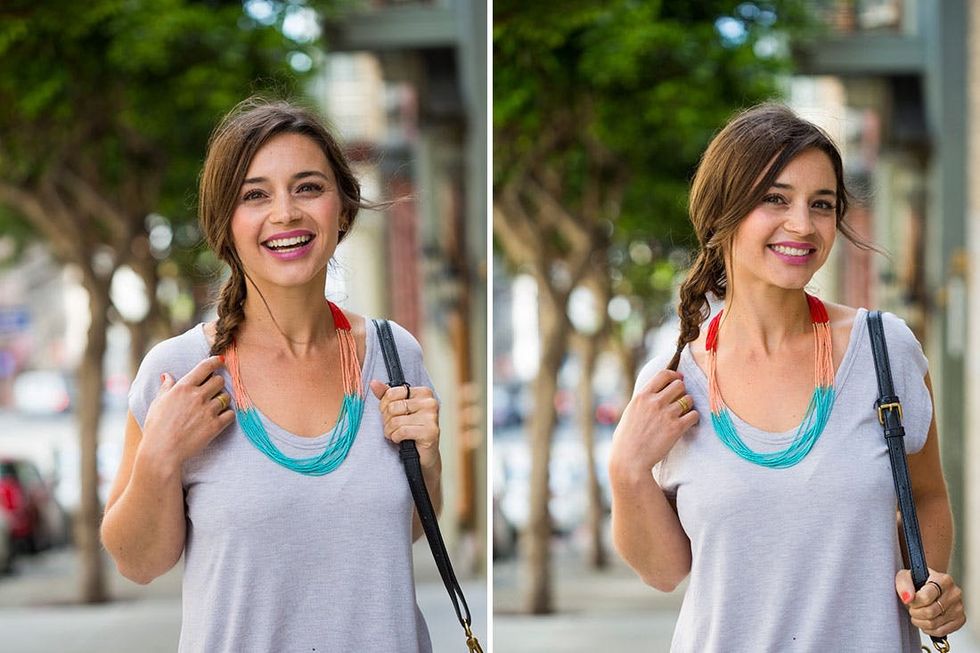
Walking through the jewelry section at almost any clothing store, you’ll feast your eyes on statement necklaces. Whether they’re chunky, layered, long or short, these beauties will really transform your getup. In honor of the trend, we created a stunning beaded statement necklace. And we’re going to show you how to make one for yourself! Check out this tutorial for the step-by-step.
How to Make This Bead-iful Statement Necklace

Walking through the jewelry section at almost any clothing store, you’ll feast your eyes on statement necklaces. Whether they’re chunky, layered, long or short, these beauties will really transform your getup. In honor of the trend, we created a stunning beaded statement necklace. And we’re going to show you how to make one for yourself! Check out this tutorial for the step-by-step.
<br/>
 – seed beads (three different colors plus one metallic)
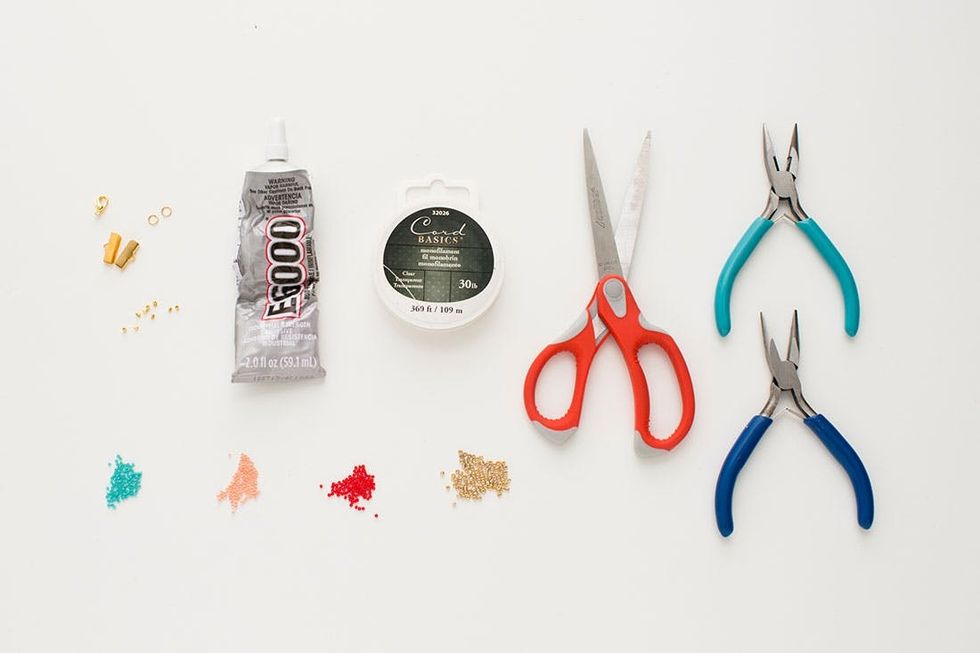
– lobster clasp
– 2 jump rings
– 8 crimp beads
– 2 ribbon ends
– fishing line
Tools:
– 2 sets of needle nose pliers
– scissors
– E-6000
Instructions:
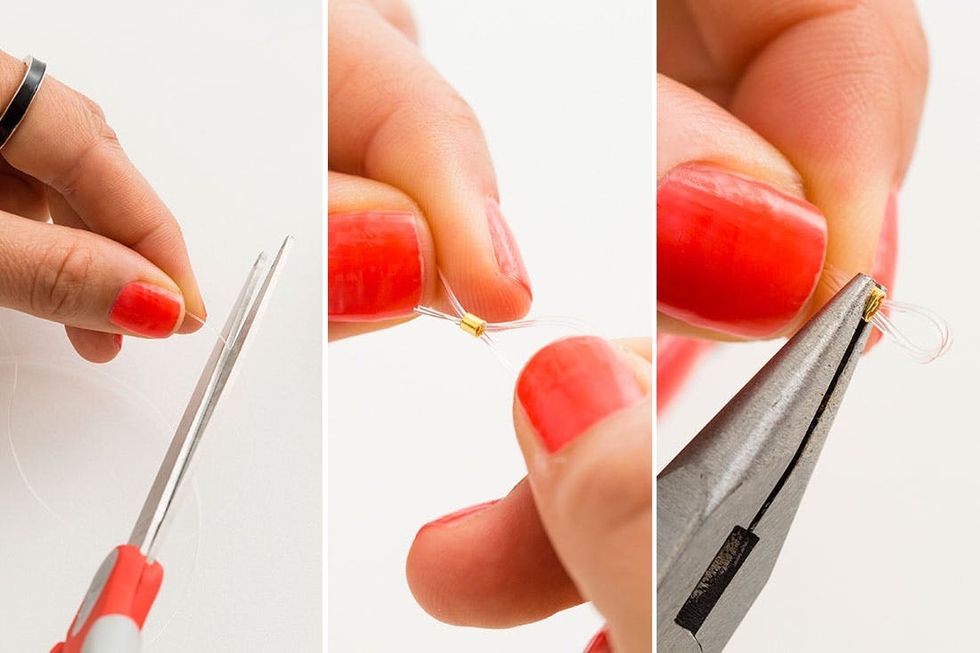
1. Cut twelve pieces of fishing line the same length, measuring around your neck for size. File three pieces of fishing line through one crimp bead. Create a loop by placing the fishing line back through the crimp bead in the opposite direction and then pinch the crimp bead shut using your pliers. Do this with the rest of your fishing line creating four groups of three.
2. Using one color, add seed beads to 1/6 of the fishing line. Put three metallic beads on the line to define the color change. Add your next color to the next 1/6 of the fishing line. Again, add three metallic beads. Then add your third color using enough beads to fill 2/6 of the fishing line. Add three metallics and then the second color again. Finish up with the first color on the last 1/6.
3. Tape the end of the fishing line to prevent the beads from falling off as you bead the other strands.
4. Once you’ve beaded all twelve strands, place a crimp bead on the end of three strands, make a loop and close with your pliers. Do the same to the other three sections.
5. Squeeze E-6000 glue into your ribbon ends and then add four sections to each one. Crimp them shut with your pliers. Add jump rings to each ribbon end and a clasp to one.
Dip into your manfriend’s tackle box and get some fishing line. Cut twelve pieces measuring them around your neck for size. Make sure to leave some extra line on each end because you’ll be trimming it. We went for a long necklace, but you can make this whatever length strikes your fancy. Split your strands up into groups of three. Then slip one group of three through a crimp bead. Loop it back through in the opposite direction creating a small loop at the end. Pinch the crimp bead shut with your pliers and then you’ll be ready to bead.
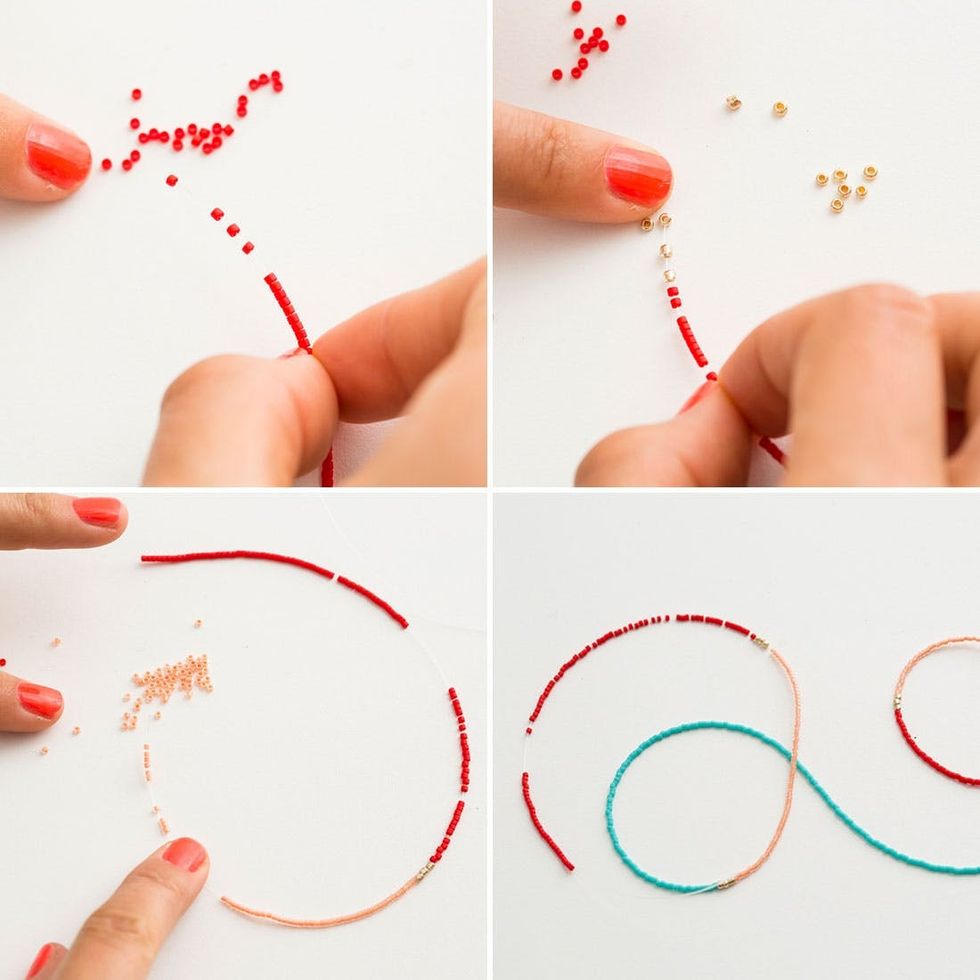
Since the fishing line is stiff, you won’t need a needle to add the beads. We recommend making a little pile on your table. Slip a small train of beads on the line and then allow them to roller coaster their way down. Start with one color, adding enough beads to fill 1/6 of the line. Before you add your next color, add three metallic beads as a spacer between the colors. Fill another 1/6 with your second color, add three more metallics and then add 2/6 of your third color. Repeat your pattern in the opposite direction for the last 2/6 of the line.
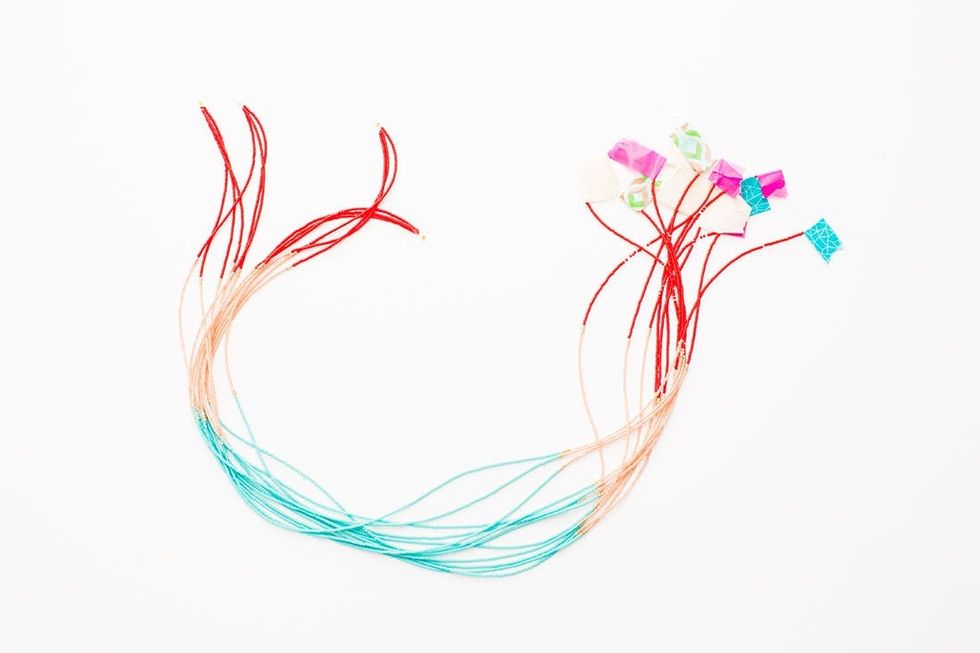
When you finish a strand, add a piece of washi tape to the end so that the beads don’t slide off causing you lose all of your hard work (that would be a major water works moment). Continue beading until you finish all twelve strands. You might be able to watch the entire season of “The Leftovers” in the time it takes, but hey, that means you’ll be caught up on the hottest new HBO show, so it’s a good thing, right? And better yet, you’ll have an amazing necklace to show for your binge watching. Win-win! Why not make some bracelets to go with the necklace while your at it?
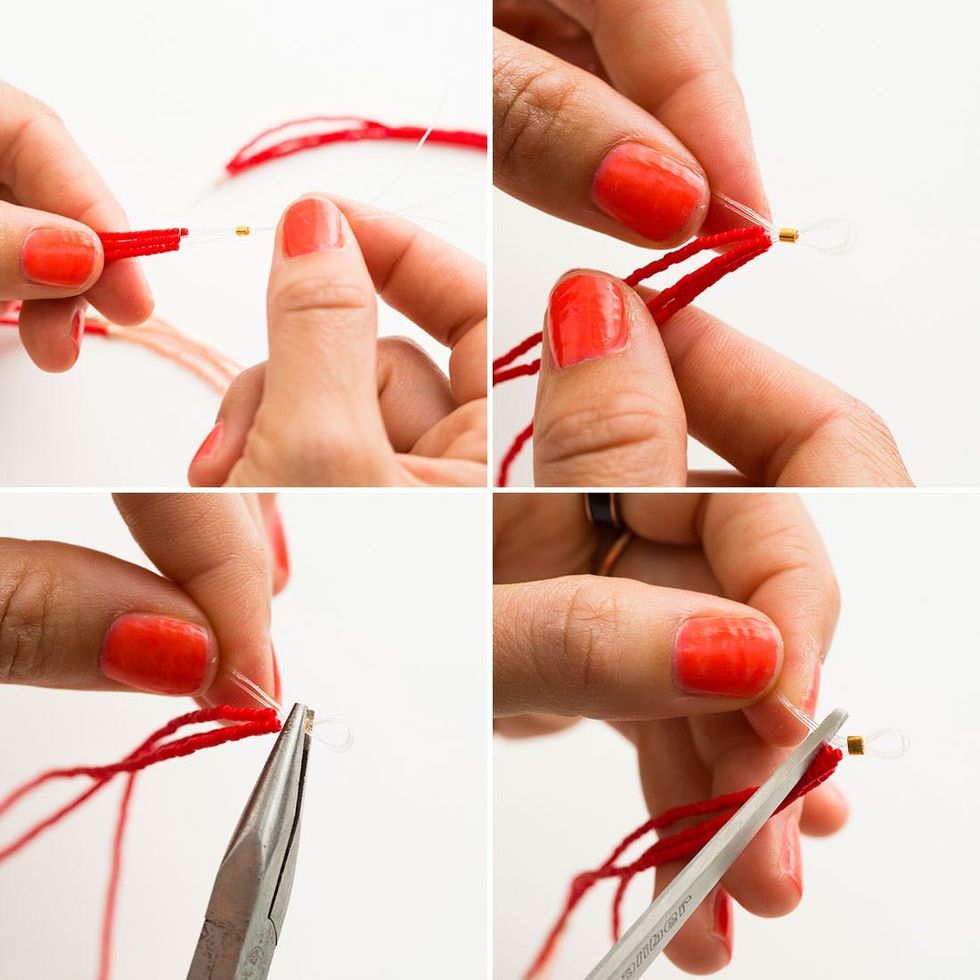
Once your strands are complete, you’ll secure the ends the same way you started them. Place three pieces of fishing line into a crimp bead, make a loop and squeeze the crimp bead shut with your pliers. Snip any excess fishing line with your scissors.
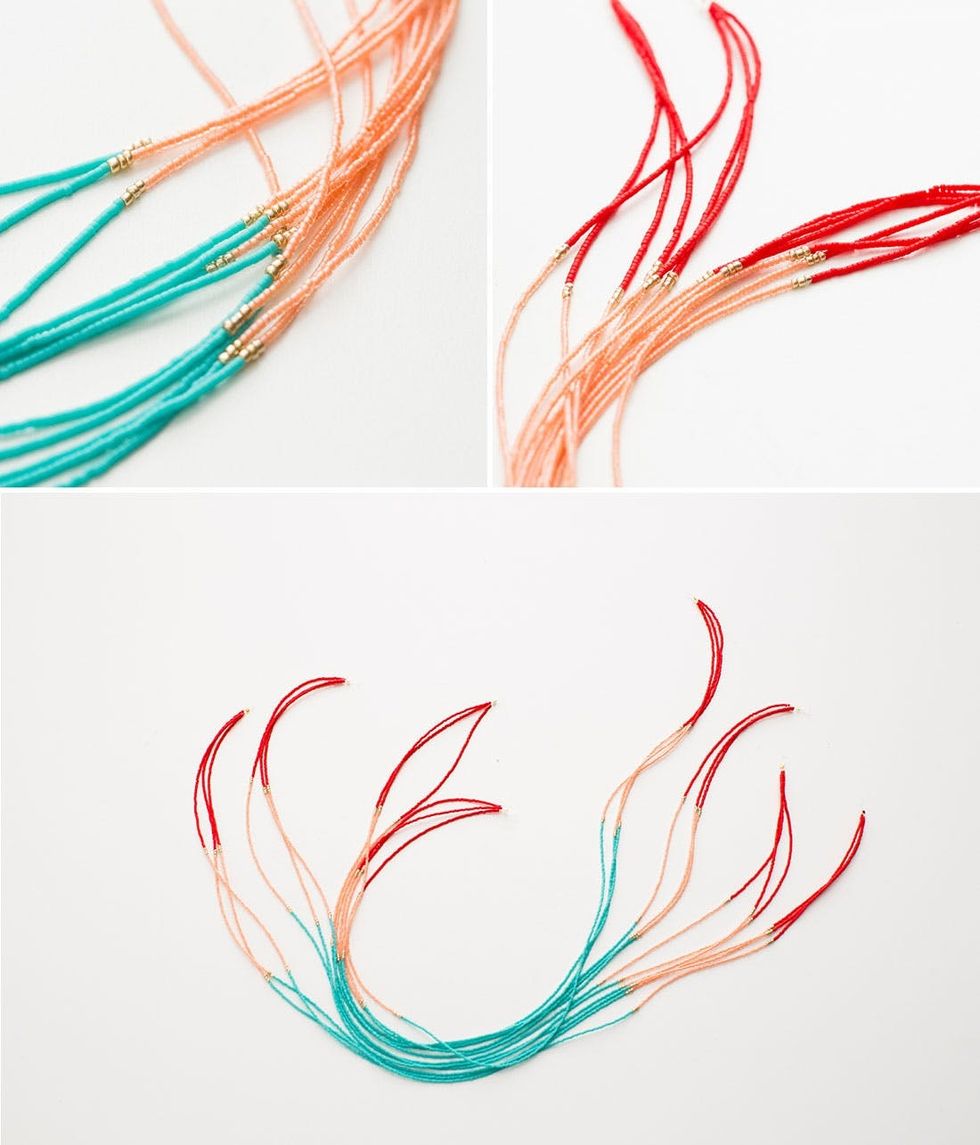
Woo-wee! Look at those gorgeous beads!
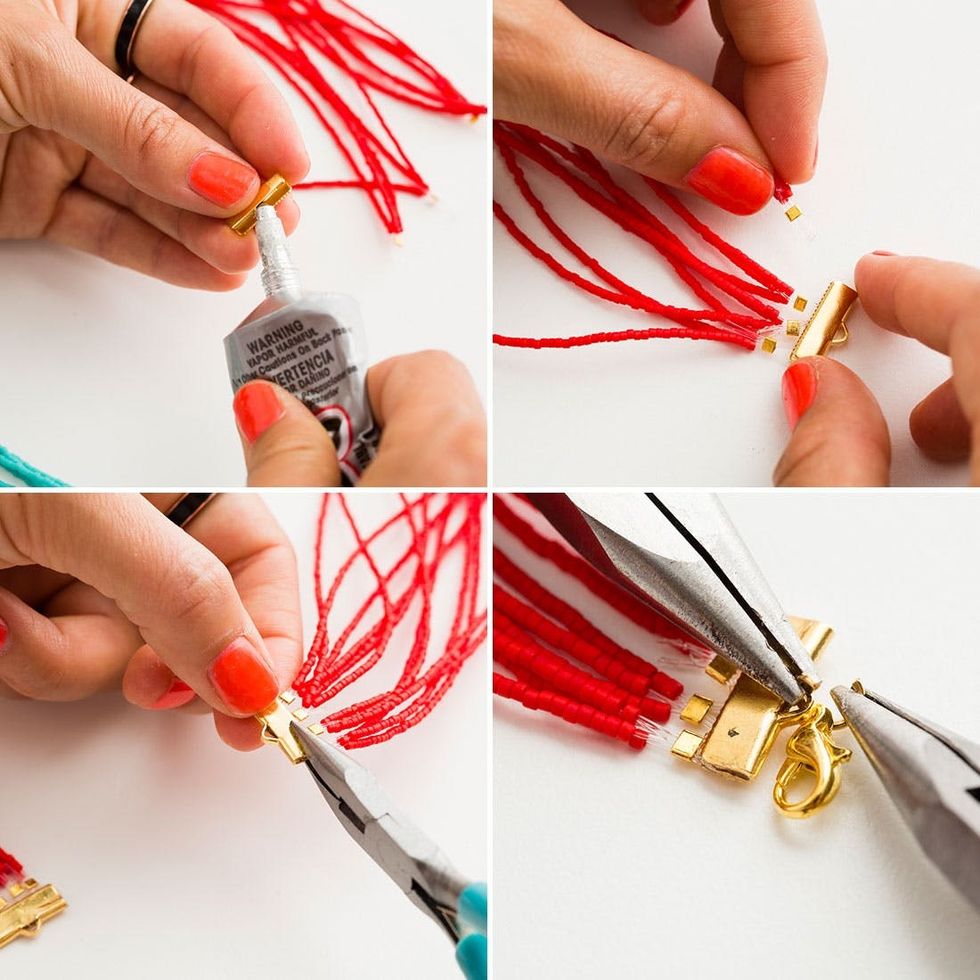
Time to add your findings! Put a thin layer of E-6000 in your ribbon ends. Add all four looped sections to one ribbon end and crimp it shut. Do the same thing with the other end of the necklace. Then add your jump rings (remember to use both sets of pliers to twist the rings open and shut). Make sure to add your clasp to one of the rings before you close it.
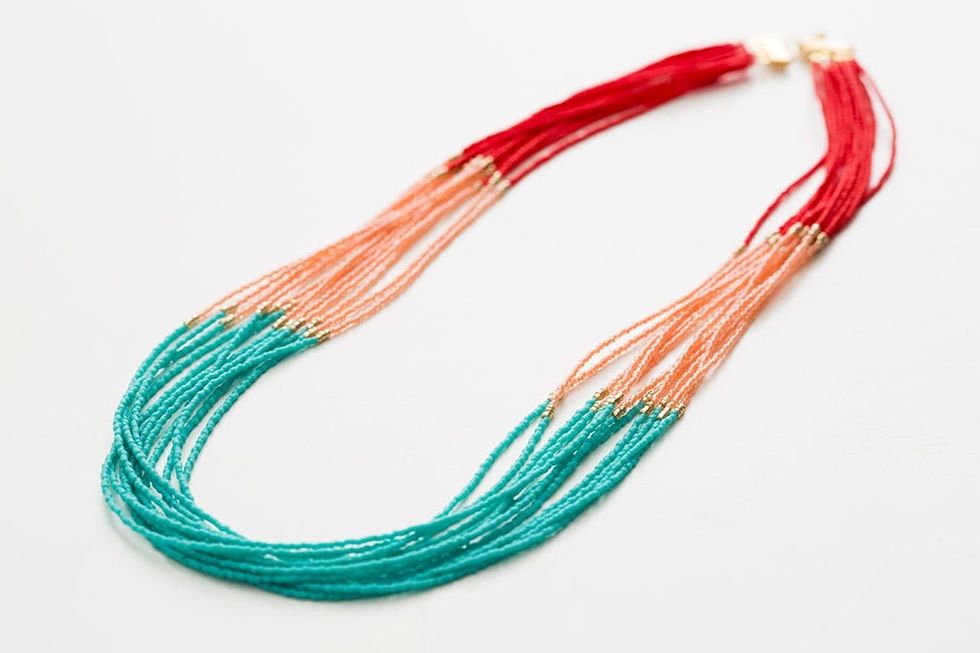
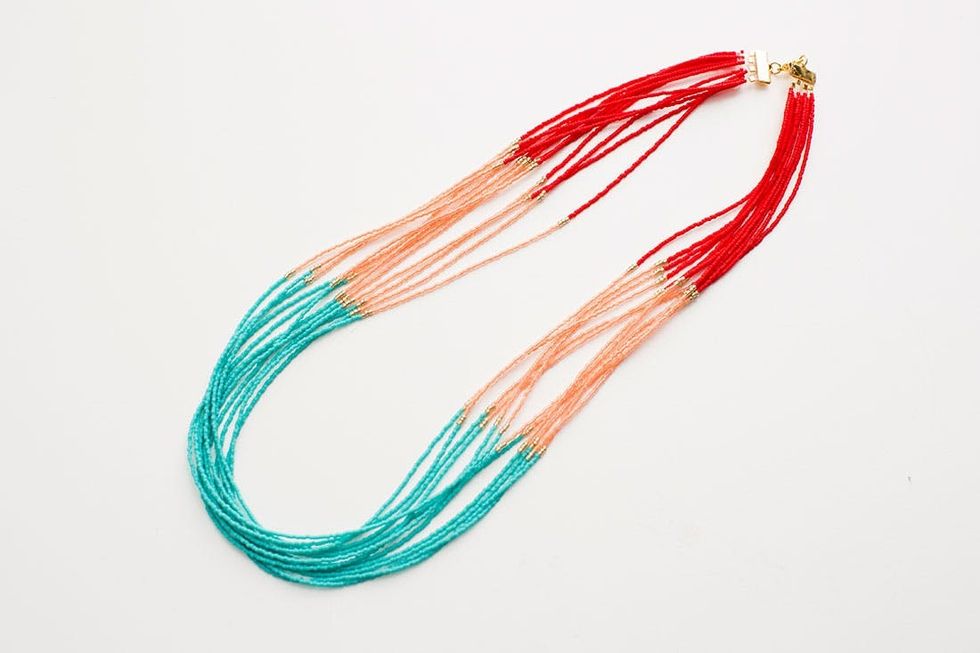
You did it! You are officially done! Sure it took you a month, but it was totes worth it. This necklace is dazzling! It’s sure to become a family heirloom. And a handmade heirloom at that. What will you do with your newfound spare time? Make one of these necklaces!
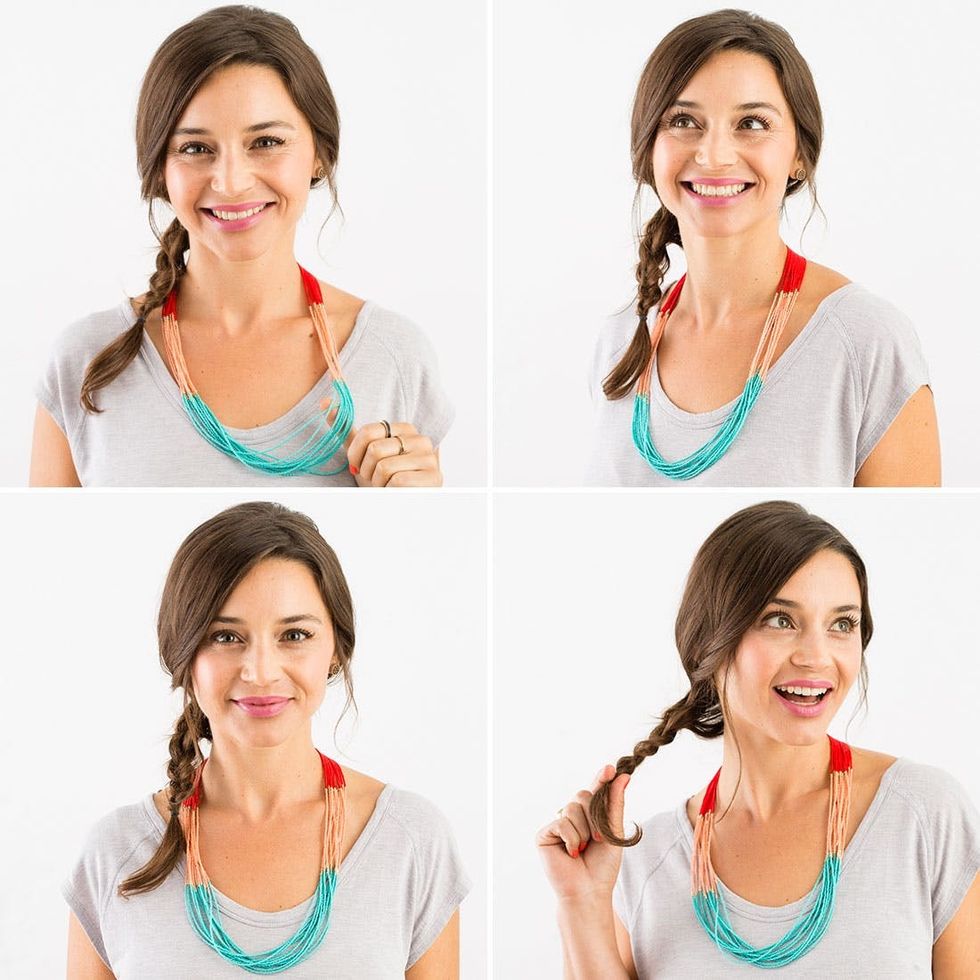
This bad boy will seriously enhance your outfit. Heads will turn. You’ll have people stopping you in the street to ask where you bought your AMAZING necklace.
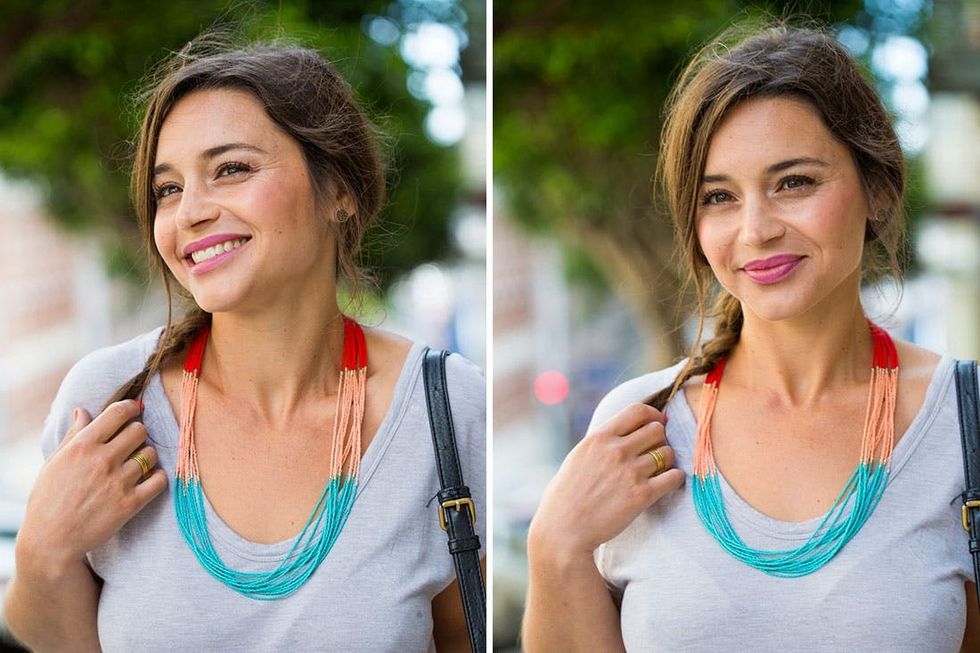
We can’t get enough!


