DIY Basics: Make Patterned Ceramics Using Sharpies

We’ve been seeing the whole DIY Sharpie ceramics thing all blowing up the web over the last year or two. So, we finally had to try it. We ordered a few ceramic pieces on Amazon, grabbed our Sharpies, and got to work on three simple, easy-to-replicate designs. Read on to see how it went!
<br/>
– colorful Sharpies
Tools:
– oven!
Preheat your oven to 250 degrees F. We used regular Sharpies and baked our finished pieces for 20 minutes. The designs stayed on, but these should all be hand washed pretty delicately. If you scrub like crazy with steel wool, your designs will definitely come off.
Plan out your designs. We went with patterns created from lines, three different ways.
First, we did simple stripes down the side of the bowl. You don’t need your lines to be perfectly straight – and you’ll have to account for the fact that bowls get wider at the top.
Almost done…! Bake it for 20 minutes to set your design.
The finished product. See how easy that was?
Next up, we created stripes out of small horizontal lines. Once you get into a rhythm, you can draw these lines pretty quickly.
As you can see, our lines aren’t perfect but the quirkiness of them makes for a nice handmade vibe.
As with each of these pieces, bake it for 20 minutes and let cool before using.
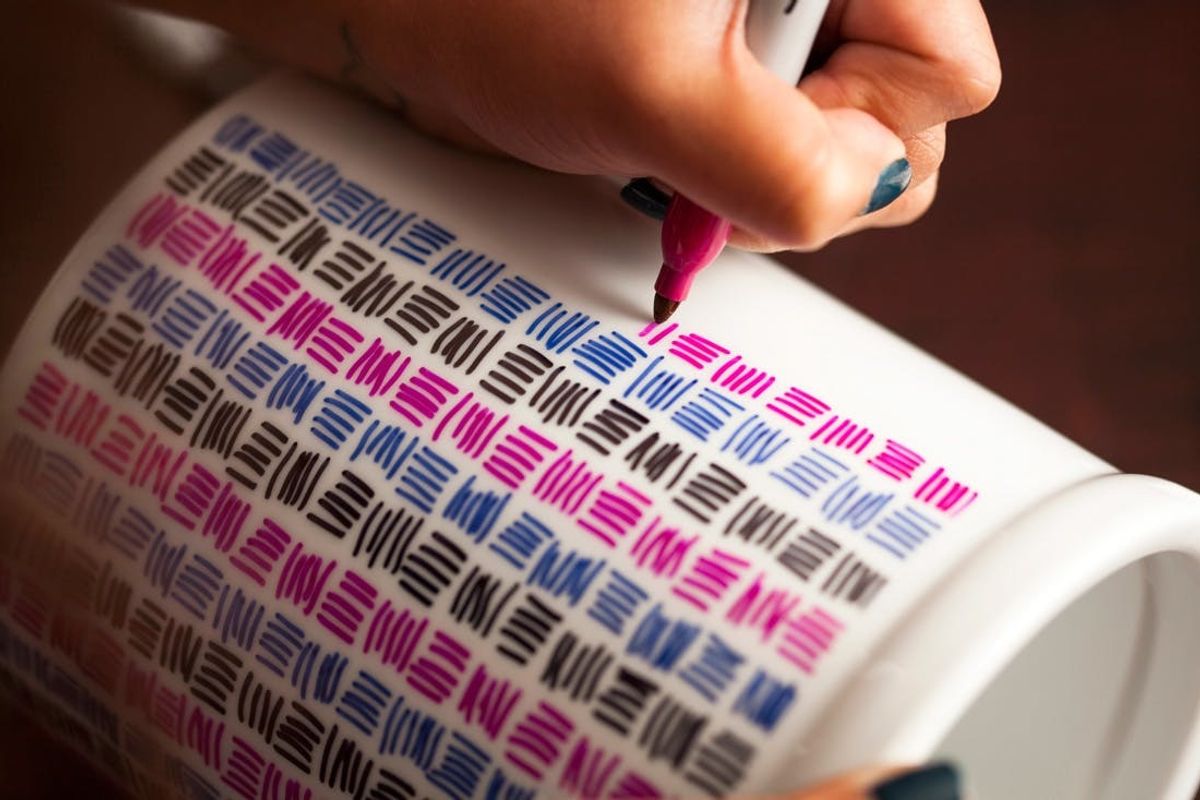
Finally, the most complex design but still pretty darn easy. We created stripes out of lines again, but this time we rotated between vertical lines and horizontal ones.
Keep going – you’re almost done! Bake it up.
And there you have it.
Don’t they look great together?
Have you ever tried this Sharpie project? Tell us about your results in the comments below.


