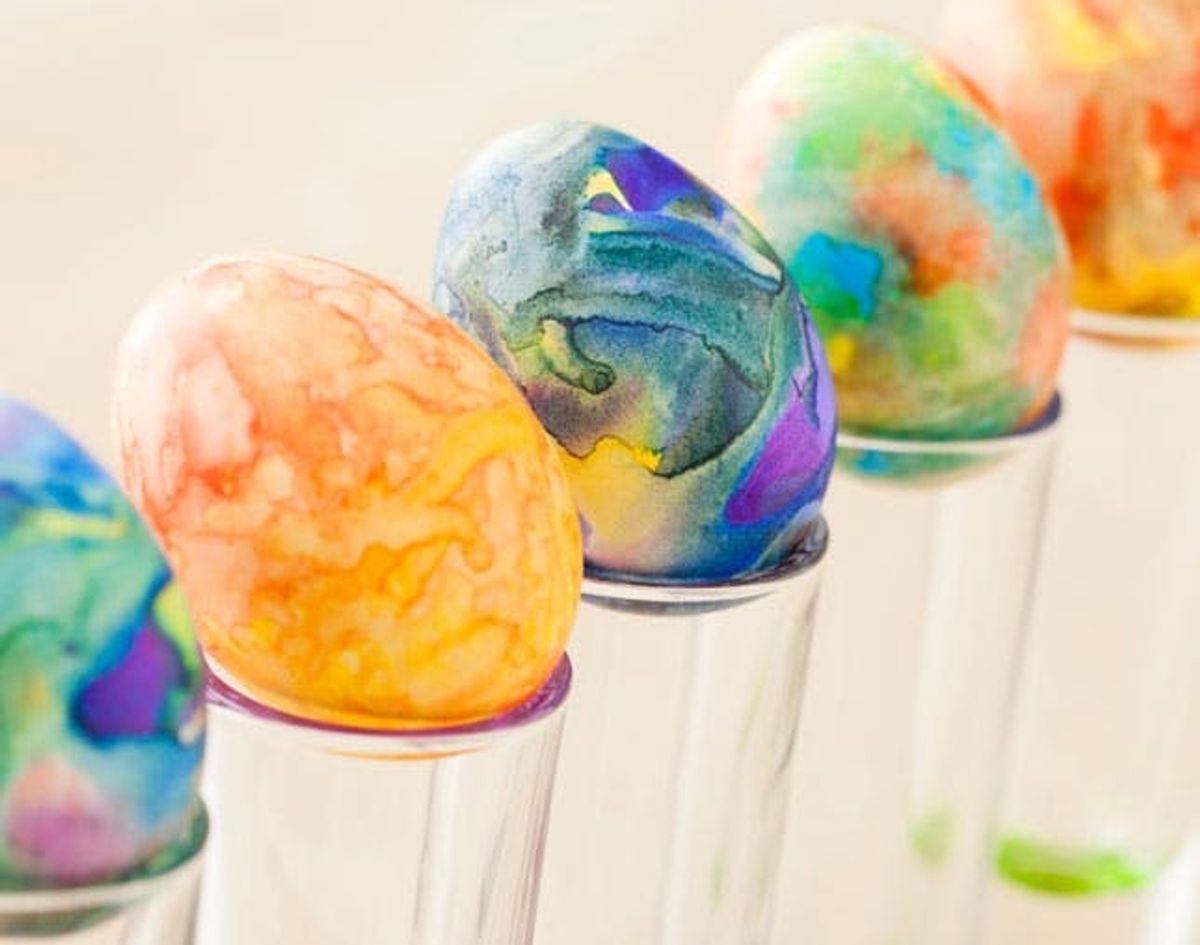
Surprise, Easter is less than a week away! Where has the time gone? If you’ve been too busy spring cleaning and enjoying the nice weather, we understand. But it’s time to stop what you are doing and decorate some eggs — and these tie dye eggs’ll do just the trick. Best of all, you only need Sharpies, nail polish remover and eggs (duh) to make ’em happen. Oh, and 10 minutes ;) Say hello to a super fun Easter basket of very colorful eggs!
Got Sharpies + 10 Minutes? Make Easy Tie Dye Easter Eggs

Surprise, Easter is less than a week away! Where has the time gone? If you’ve been too busy spring cleaning and enjoying the nice weather, we understand. But it’s time to stop what you are doing and decorate some eggs — and these tie dye eggs’ll do just the trick. Best of all, you only need Sharpies, nail polish remover and eggs (duh) to make ’em happen. Oh, and 10 minutes ;) Say hello to a super fun Easter basket of very colorful eggs!

Materials:

– eggs
– Sharpies
– nail polish remover
Tools:
– safety pin
– Q-tips
Instructions:
1. Poke two holes in your egg. One at the top and one at the bottom.
2. Blow all of the insides out of the egg into a container. Looks like it’s time to make scrambled eggs :)
3. Using as many Sharpies as you want, start color-blocking your egg.
4. Pour nail polish remover into a small container, dip a Q-tip into the container, and dab it onto your egg. Watch the solution drip down the sides and blend the colors.
So easy! All these materials are definitely around your house. Let’s get making!

The thought of blowing the inside of an egg out into a jar is a bit repulsing, but it is actually quite easy and will allow your Easter eggs to be used again next year! Step one is poking two holes into your egg, one at the top and one at the bottom. Next place your lips on one end and blow the insides into a container. Omelets, anyone?

Now that you have your newly-emptied egg shells, it’s time to decorate! We found that color blocking your egg gives you the best tie dying results. Experiment with all different hues and amounts of color on your eggs.

Pour some nail polish remover into a small dish, dip a Q-tip into it, and drip some onto your Sharpie covered egg. Watch how the colors mix and blend together.

To get a more spiral effect, drip the nail polish onto the egg and spin.

Look at those colors!

Tie dying is not just for clothing. These eggs are rockin’!

What do you think of this take on tie dye? Tell us in the comments below!


