The chic way to shimmer up.
You Don’t Have to Wait Till the Holidays to Wear This Shimmery Smokey Eye

Smokey eye gals — you know who you are! How many ways can you go about creating one of the most classic eye makeup looks in the history of makeup? Endless right?! You’ve probably seen (and DIYed) everything from a traditional smoldering smokey eye to a chic and colorful smokey eye (us too!), so we’re trying to think a little outside the box with this makeup tutorial that features a really fun, shimmery smokey eye. Don’t think this look is reserved for the holidays: it’s light enough to wear for the final days of summer, chic enough to wear into fall and fitting for daytime, first dates or any time you need a more playful smokey eye alternative. Oh and did we mention it totally brightens your eyes? Scroll through and add this look to your beauty bank!

Prep: Flawless Face
our tutorial here
 NARS Audacious Lipstick in Natalie ($32). Bump up your cheeks with a little with a pink blush like Nars Blush in Desire ($30).
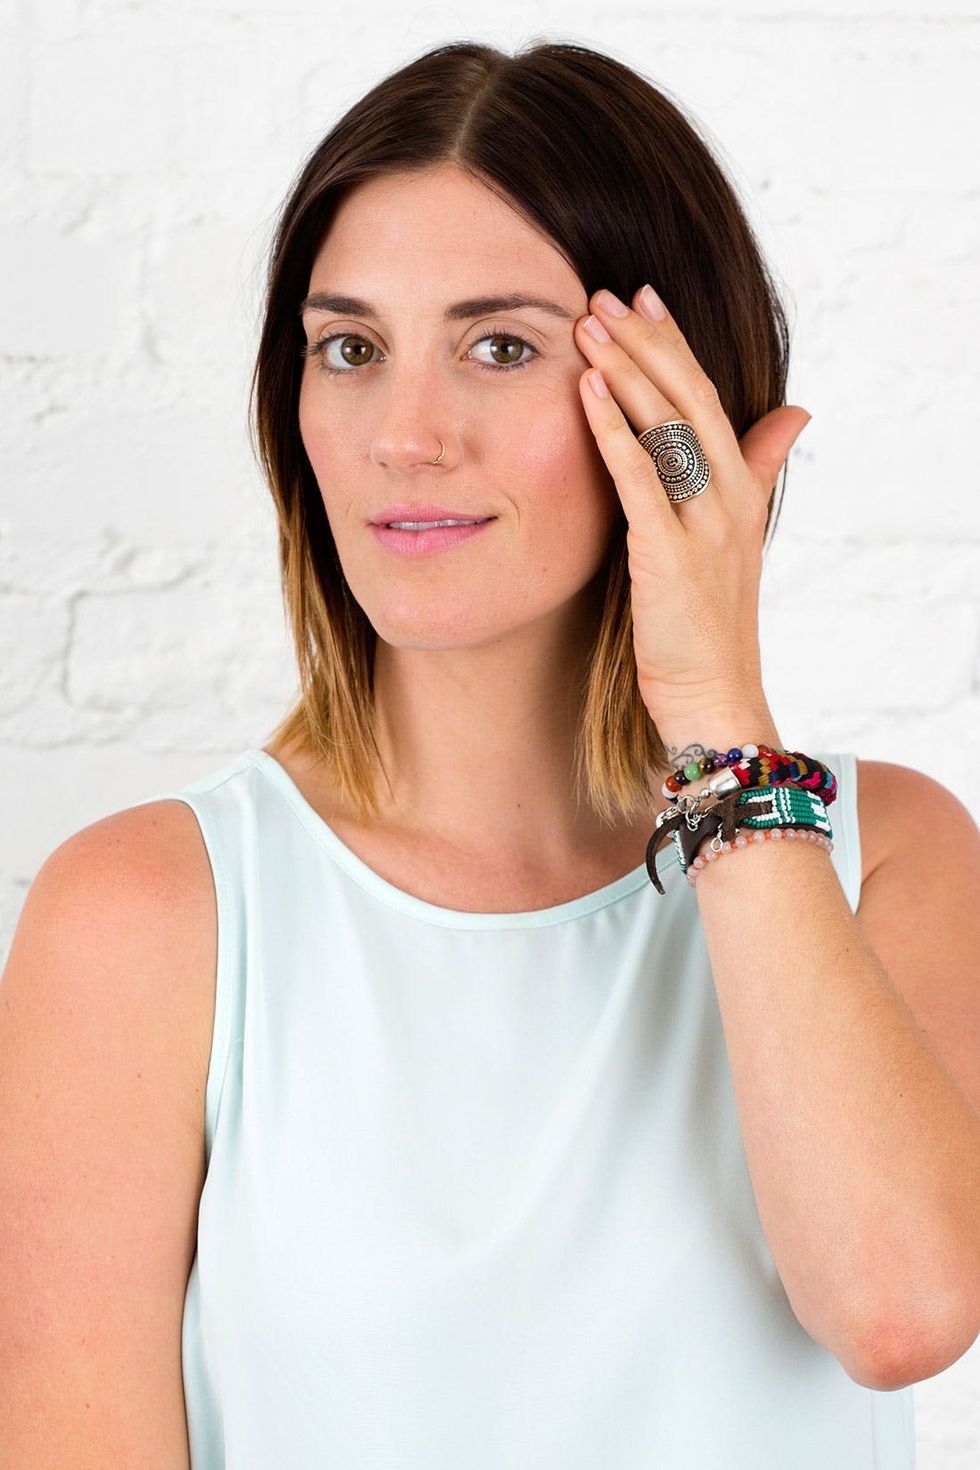
It is best to use an eye primer like Benefit Cosmetics Stay Don’t Stray Eyeshadow Primer ($26) to help your shadow go on more evenly and, in this case, to help your white and silver hues show up more true-to-pigment. Gently swipe the primer onto your eyelids from your lashline up to your brow bone and tap with your finger to blend.
Step 1: Eye Primer

Use a flat shadow brush to highlight your brow bones and inside corners of your eyes. I’m using the lightest silvery white shadow from the Pop Beauty Portfolio Eyeshadow Palette ($26).
Step 2: Highlight
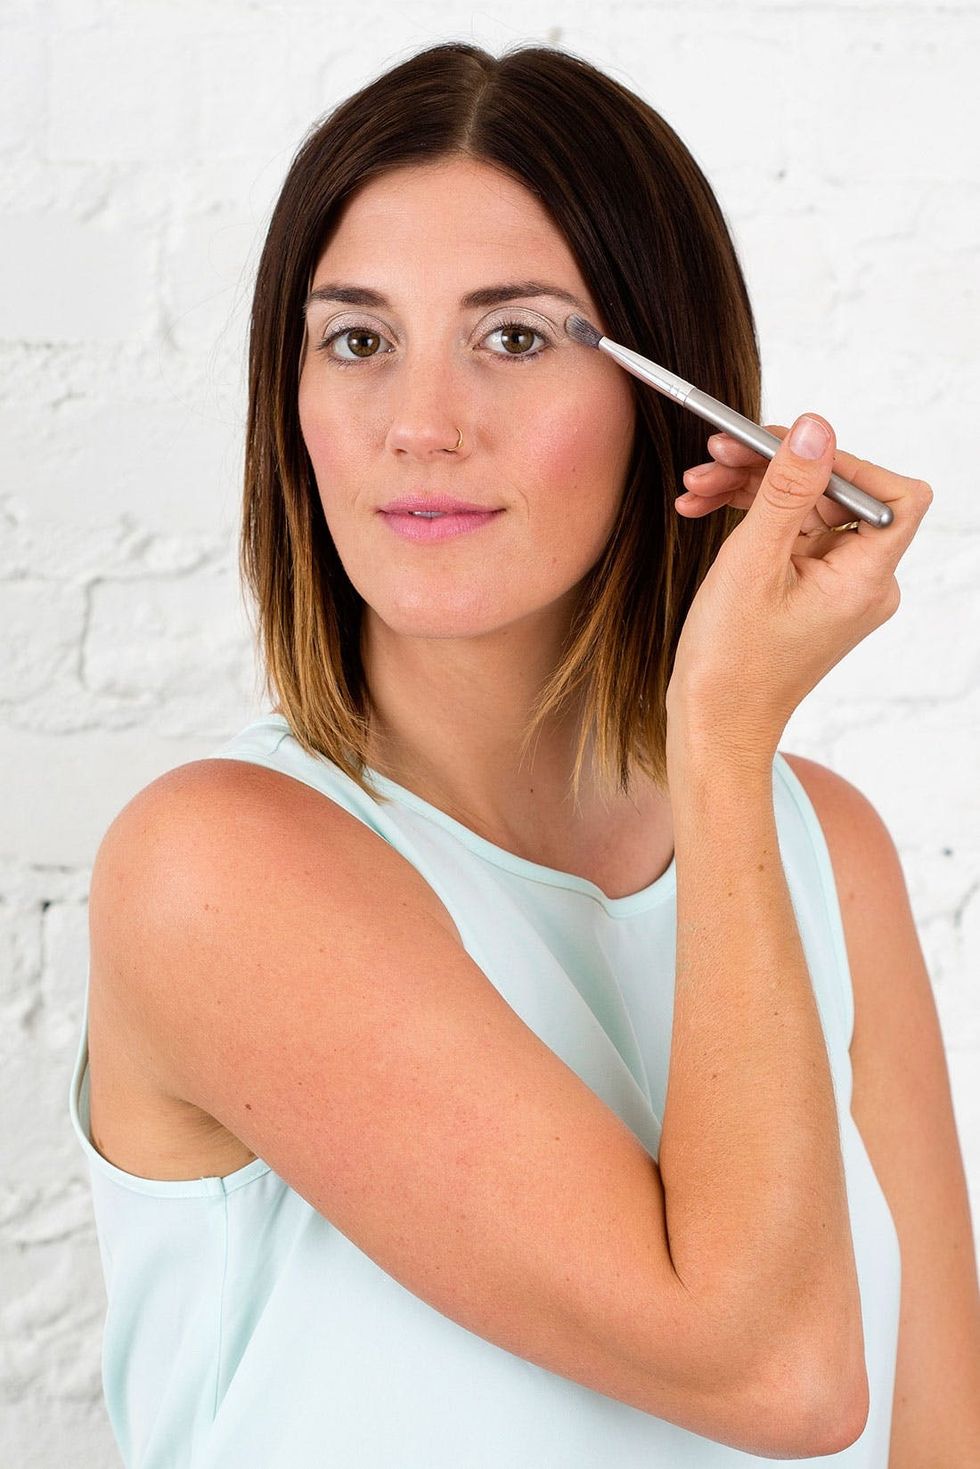
For your crease, apply a slightly sandy silver shimmer shadow like Sephora Collection Colorful Eyeshadow in Beige Glitter ($20). Apply with a fluffy brush and be sure to blend in so there are no hard lines.
Step 3: Contour
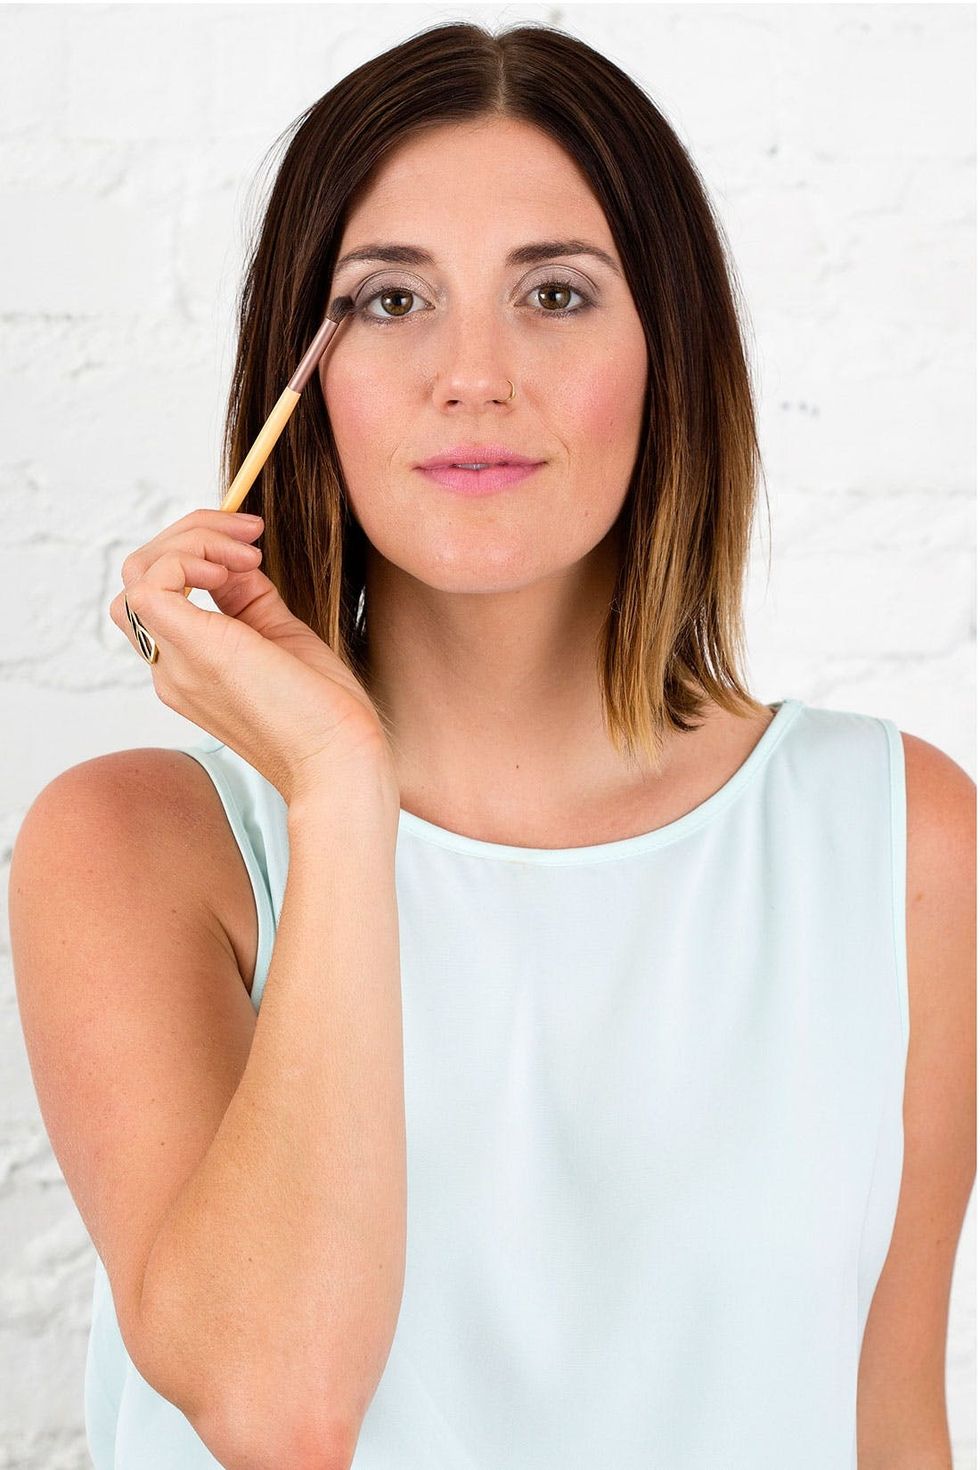
Normally, this would be where you reach for your deep shadows to provide that smoldering smokey effect. For this look though, we’re using a softer palette. Your deepest color here is a light blue-grey shadow like Dagger from the Urban Decay Naked Smokey Palette ($54). Apply a minimal amount of this to the outside crease of your eyes and along the lower lashline letting the shadow gradually fade as you go towards the inside corner of your eye. The trick here is to use very little product and to blend, blend, blend!
Step 4: Deepen Crease
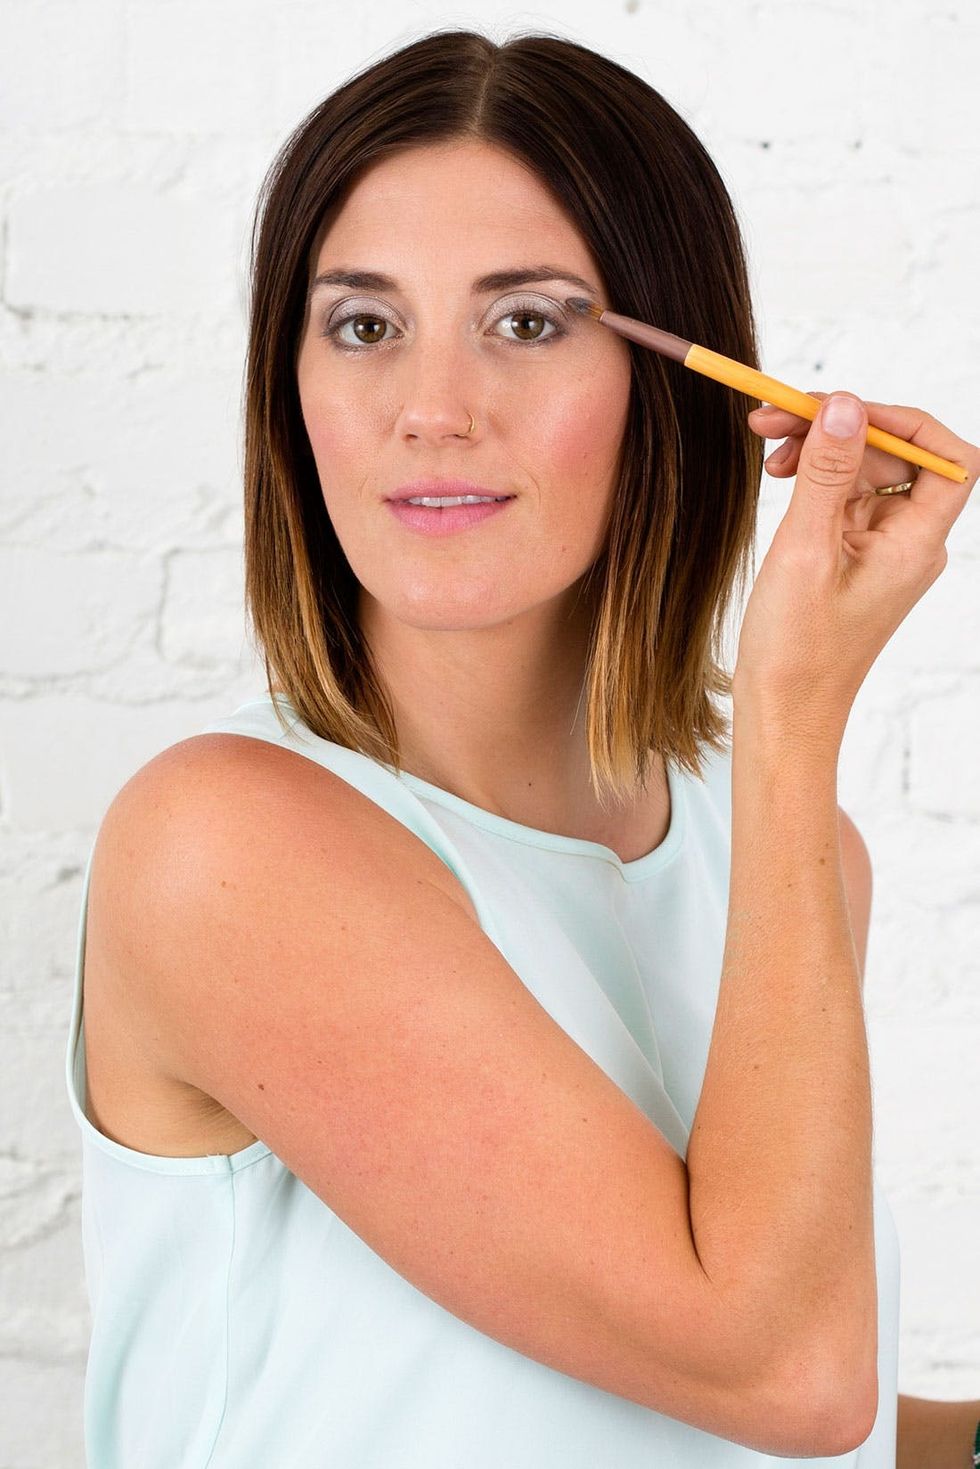
Now to really drive this look home, add a dab of shimmering white shadow to the center of your eyelids, along the top of your brow bone up against your eyebrow line and on the inside corner. I am using MAC Cosmetics Pressed Pigment in Angelic ($22).
Step 5: Pop of Shimmer
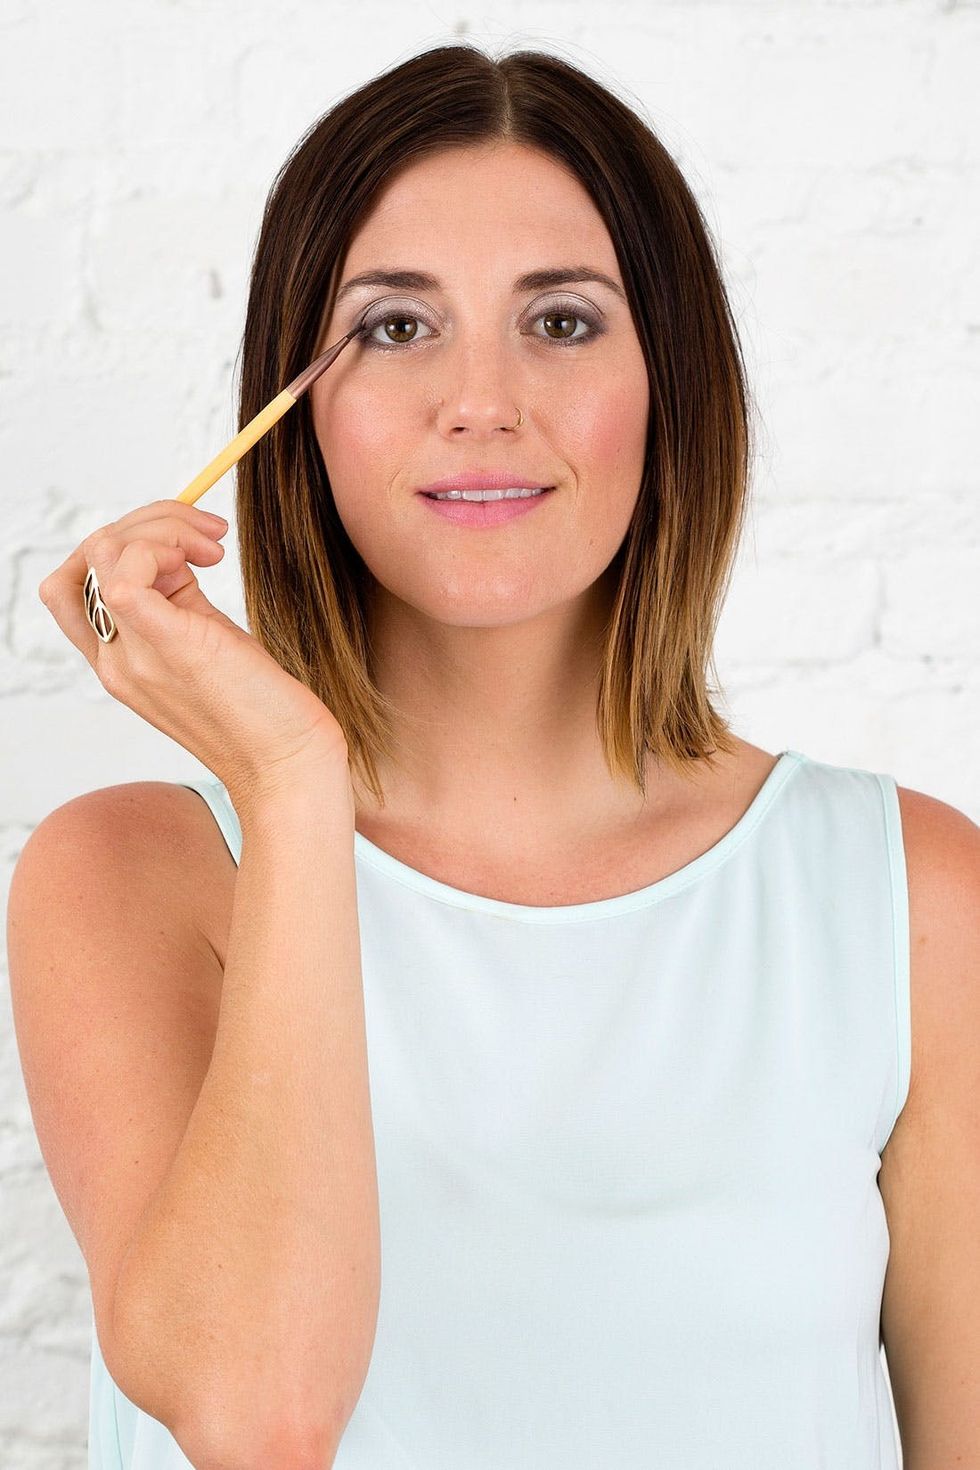
To keep this look soft and shimmering, line your eyes with the same grey-blue shadow you used to deepen your crease, only add it with a wet angled eyeliner brush for a slightly deeper pigment. Keep your liner in your lashline and only slightly above it.
Step 6: Shadow Liner
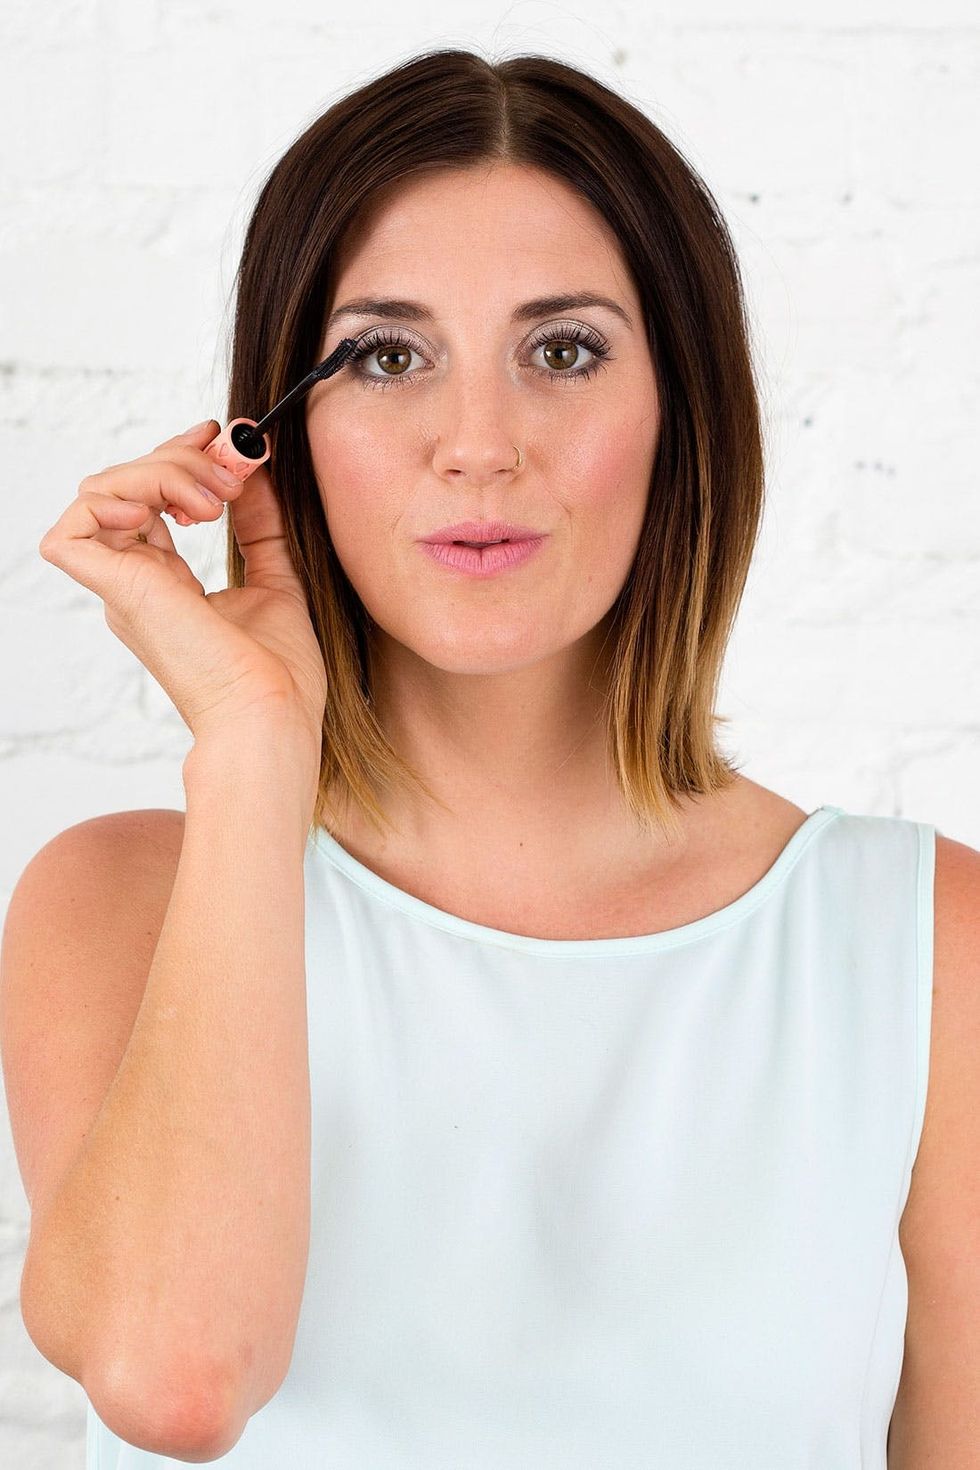
Apply a couple coats of mascara and get ready to flutter away!
Step 7: Mascara Up!

So shimmery!
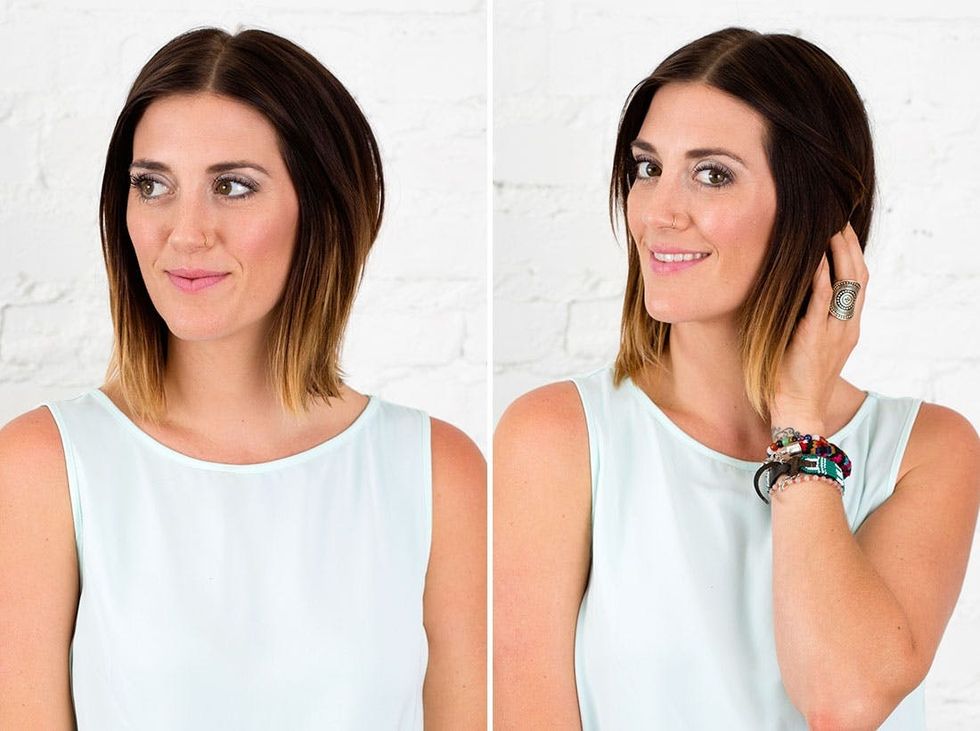
Depending on your skin tone, you may want to play around with the underlying pigments in the colors you use. If you have a deeper skin tone, go for white shadows with more of a beige undertone. If you are more pale-skinned, it’s better to use whites with either blue or lavender undertones for the best pop of color.It is so fun how just changing up your color combinations can truly make your look feel transformed and new.


