How to get an updo even if you just chopped off your locks.
Short Hair? DO Care About These 3 Updos for Bridesmaids With Short Hairstyles!
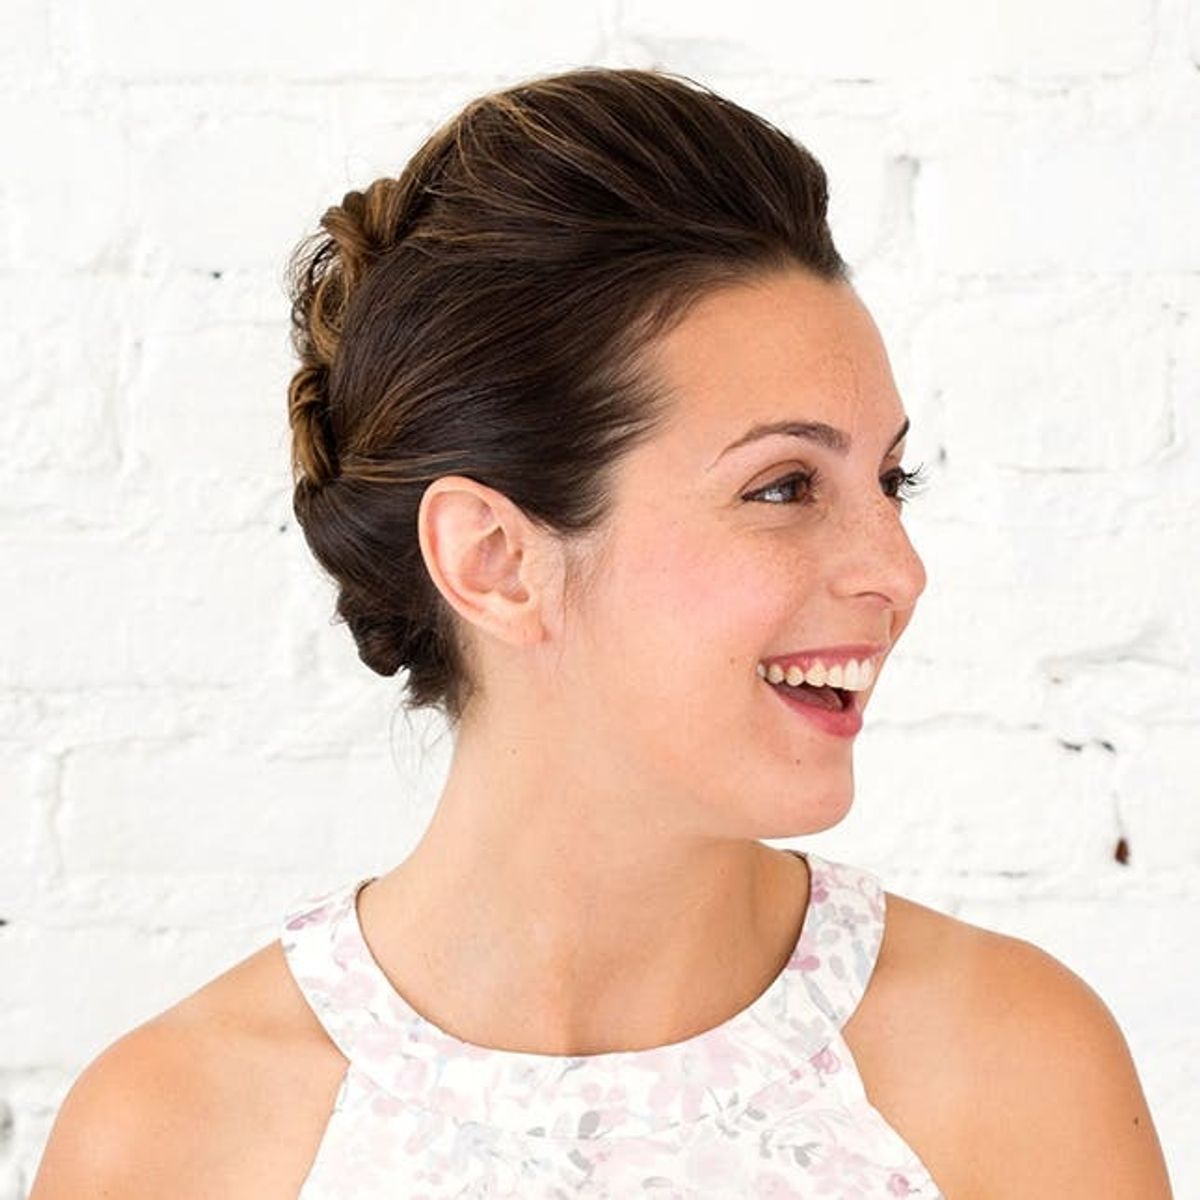
Calling all bridesmaids now rocking short or medium hairstyles!! Do not regret chopping your locks when you’re looking at all those “Will You Be My Bridesmaid?” cards and Save the Dates decorating your fridge. You can still get in on the updo club at your next wedding bash this season. Here are three DIY wedding hairstyles (or inspo pics to bring to the hired artist!) for the next time you stand up for your girl or boy’s big day!
Tousled Back + Chic

Step 1: Pin Curl For Volume
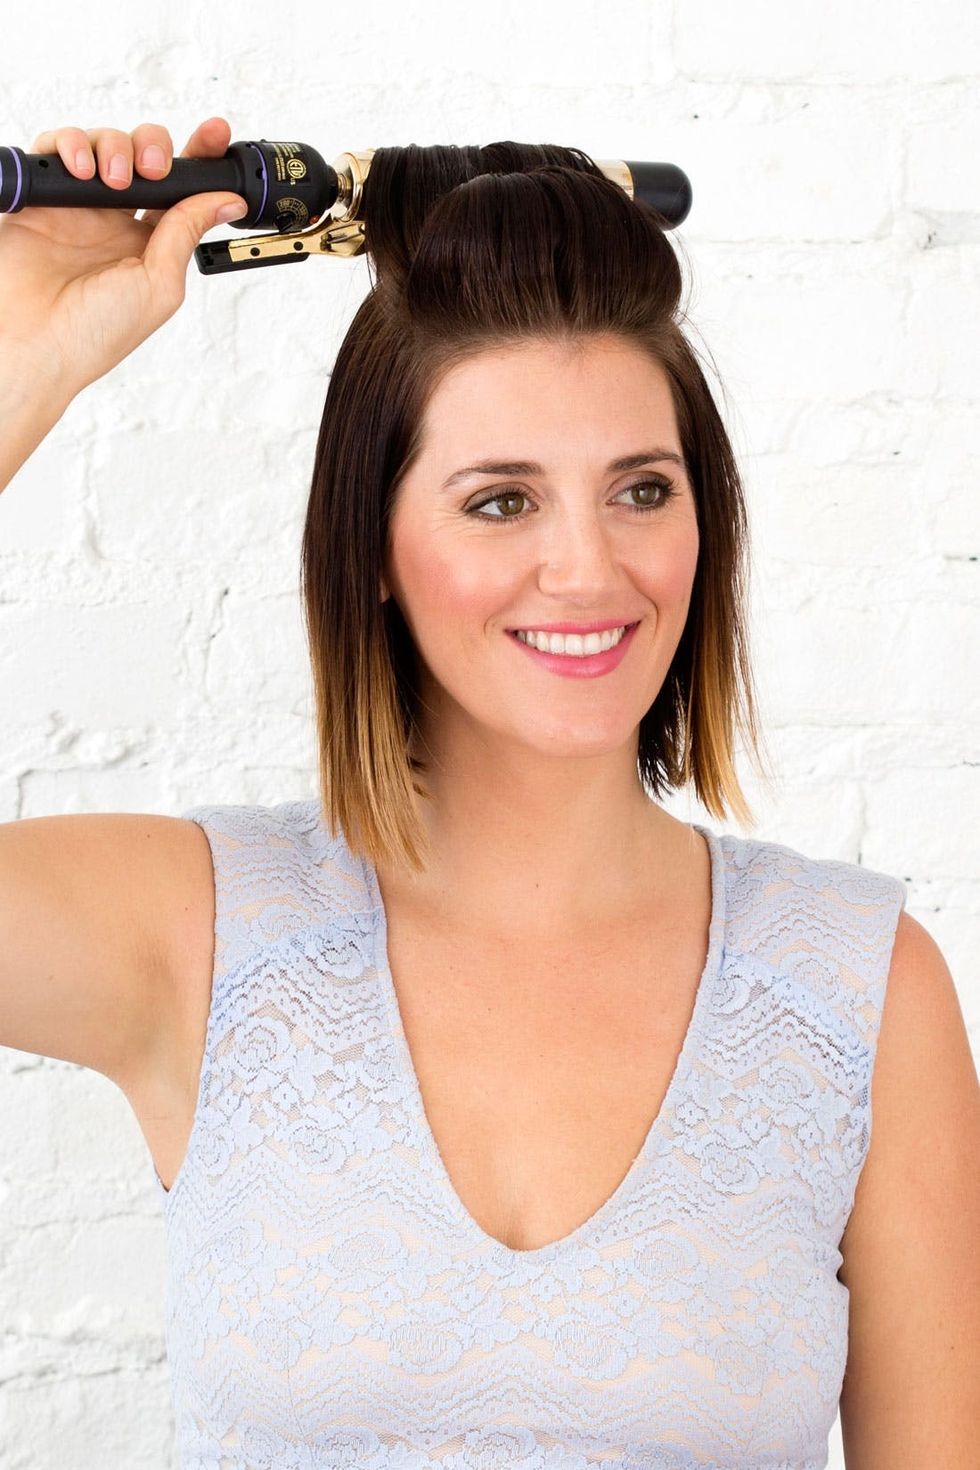
Use a large-barreled curling iron to curl your hair into a couple sections on the top of your head and pin them in place using duck bill clips. This is going to set while you do the rest of your hair, which will keep the top section out of your way as well as cool the curls to help shape your hair to give it a softer finish.

Use some dry shampoo to give the hair that has been left out some extra texture and volume. You can even back comb the roots throughout the hair left down if your hair is fine.
Step 2: Prep the Rest
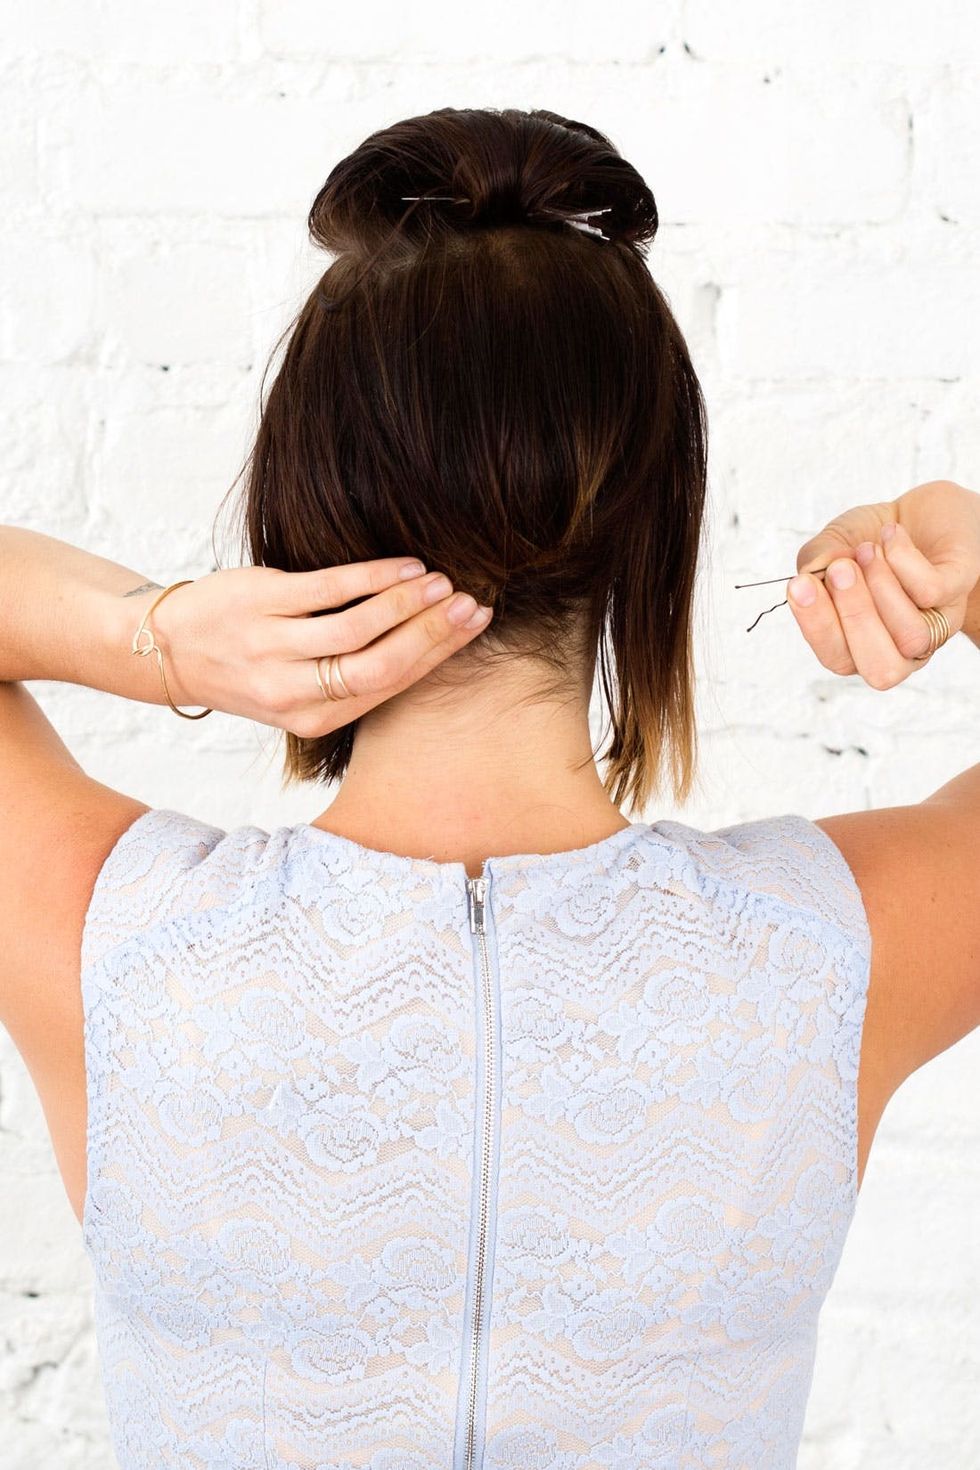
Use a few bobby pins to pin up the middle section of your hair in the back.
Step 3: Pin the Middle
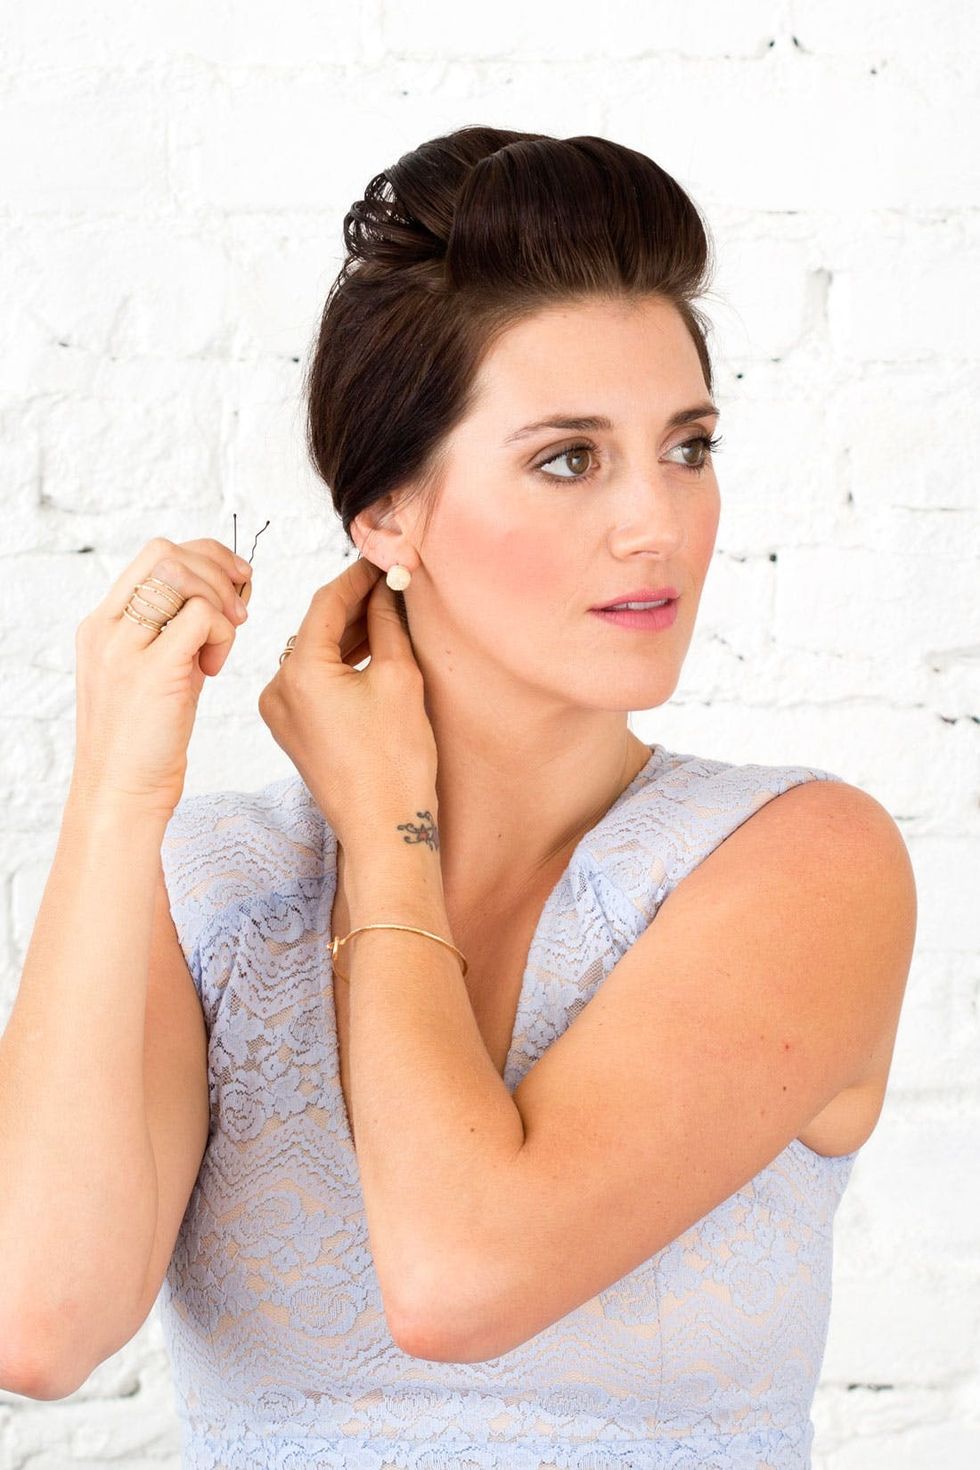
Pick up the rest of the hair that is left out and twist it back and pin it into place with the section in the back.
Step 4: Twist + Pin
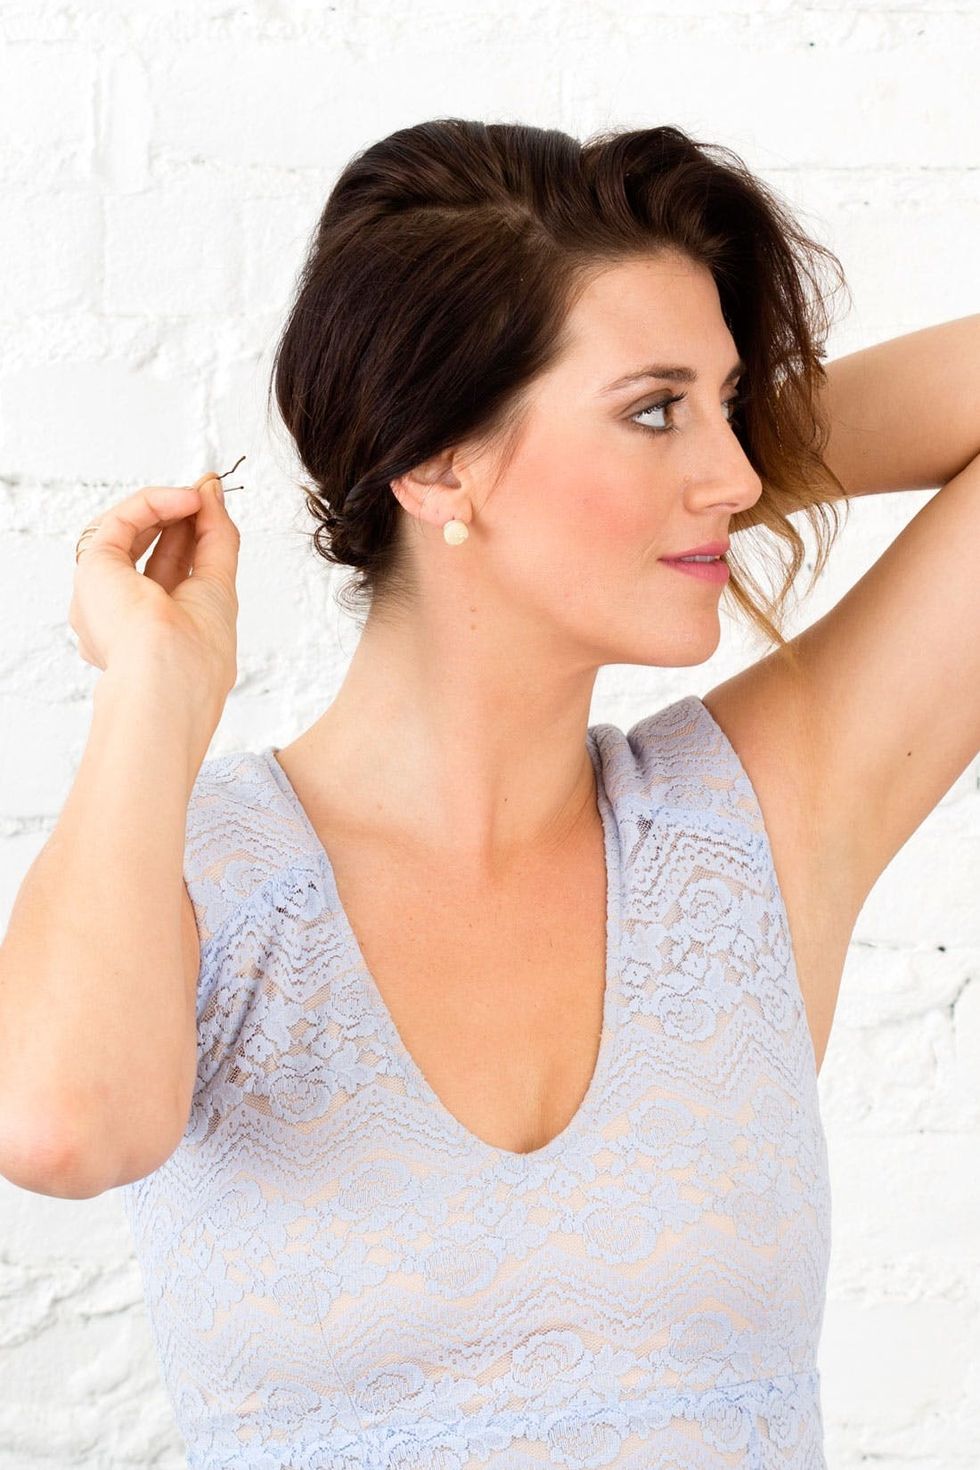
Take out the curls from the top of your head, comb through them, and then back comb your hair for some extra volume and texture. Start pinning the back half of the top section back, blending the ends of the hairs in with the already-pinned section.
Step 5: Start to Pin Back
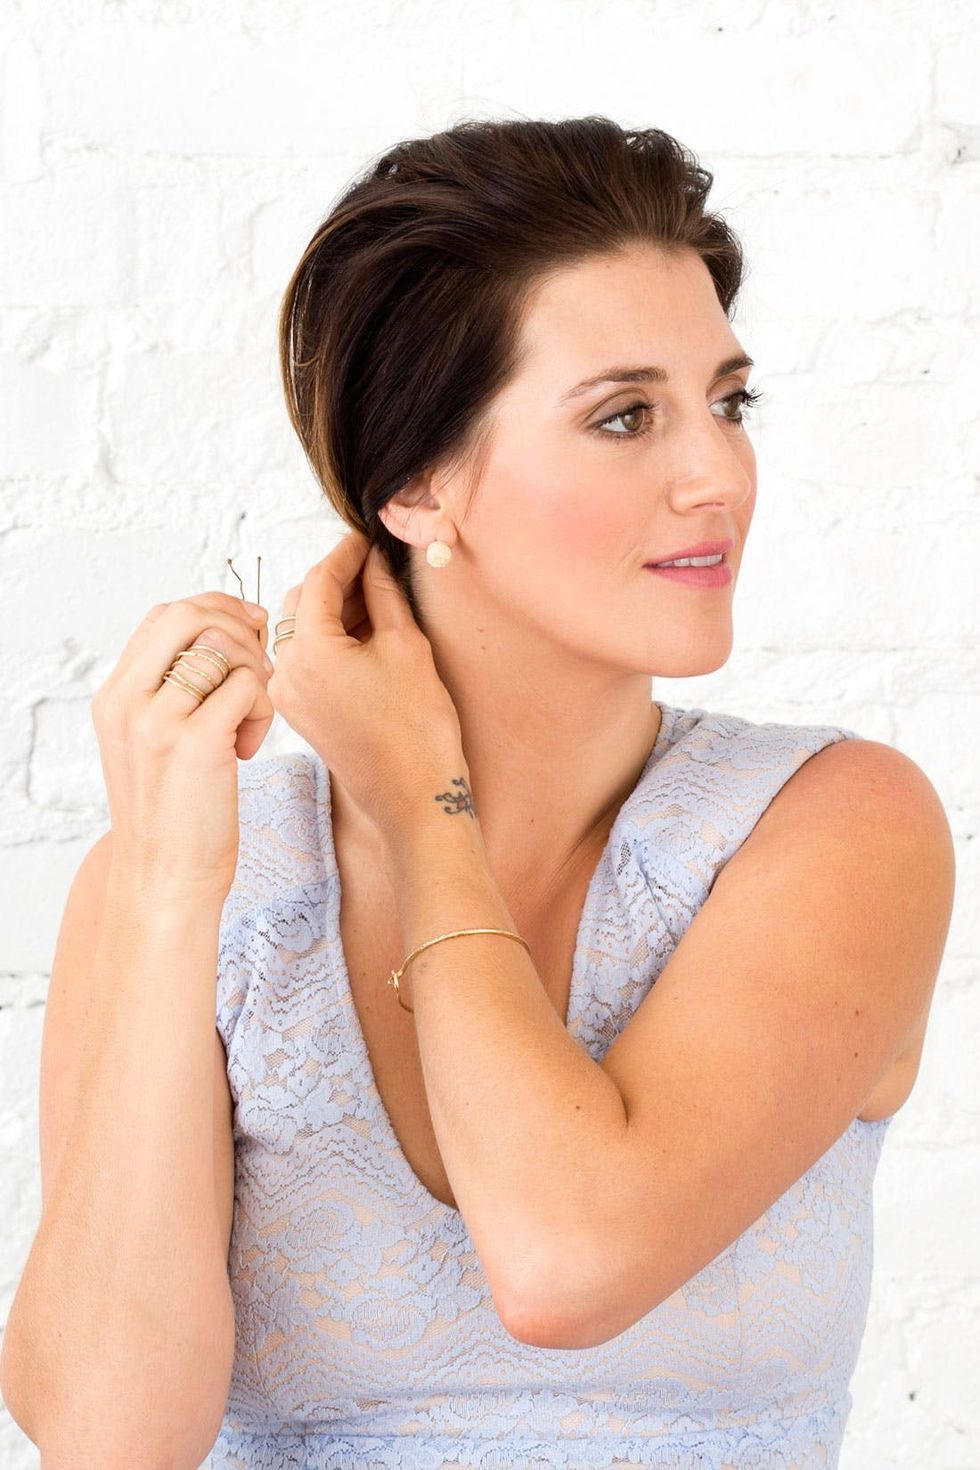
Then take the final top piece back over that section to pin it in place as well. You want to make sure this section is much thinner than the last one. Shaping and manipulating this section will make it more voluminous and make the silhouette more flattering (and attainable!).
Step 6: Pin the Rest
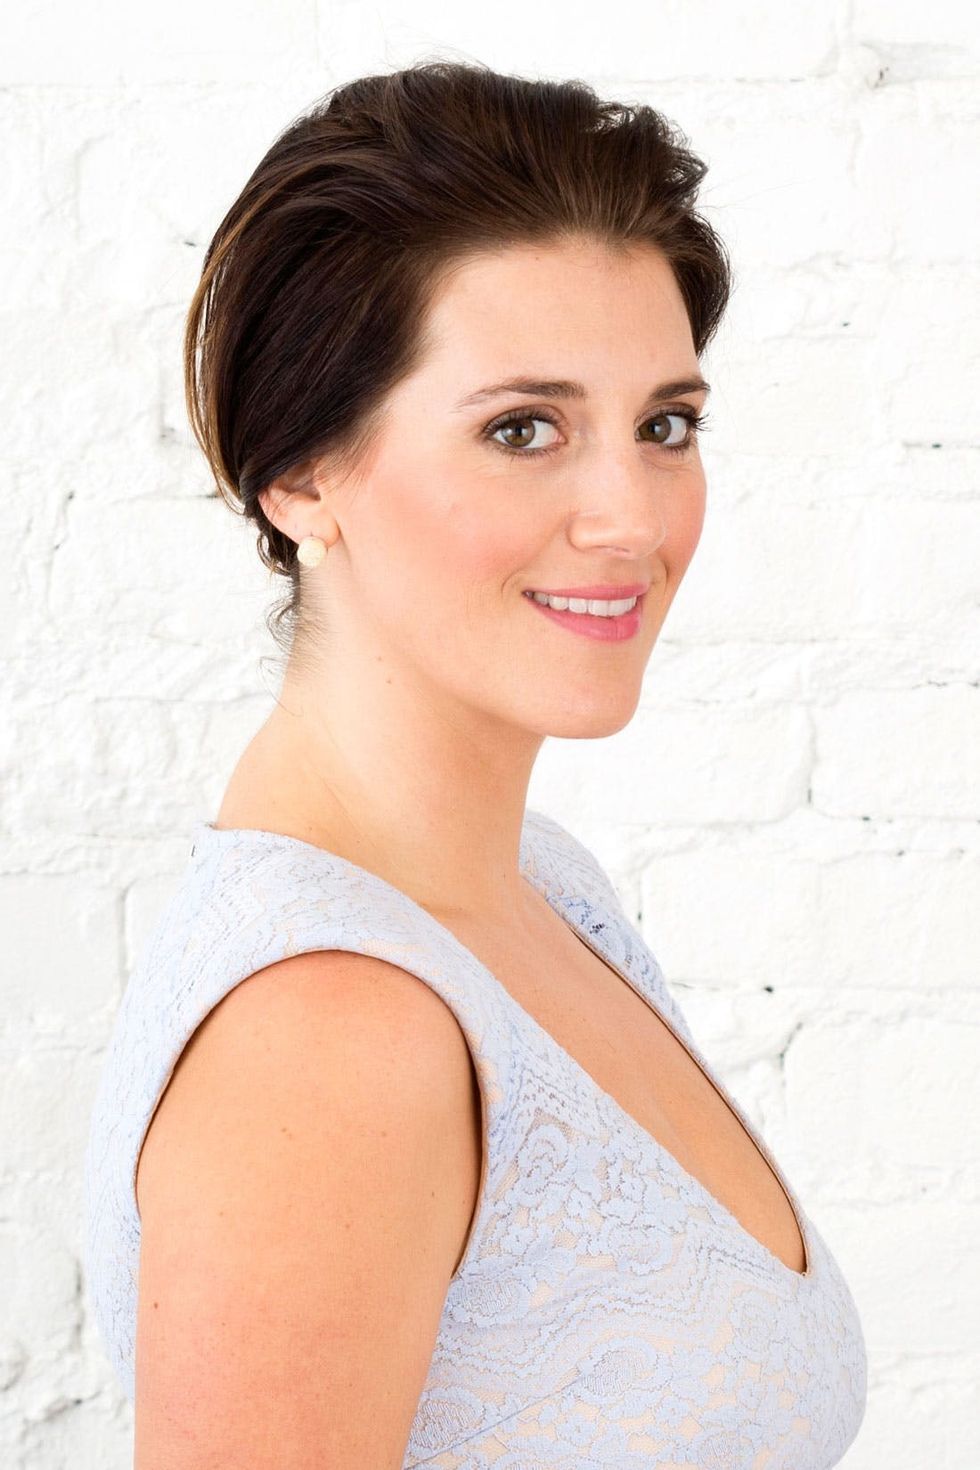
Dutch Halo Crown
Step 1: Heavy Side Part + Braid
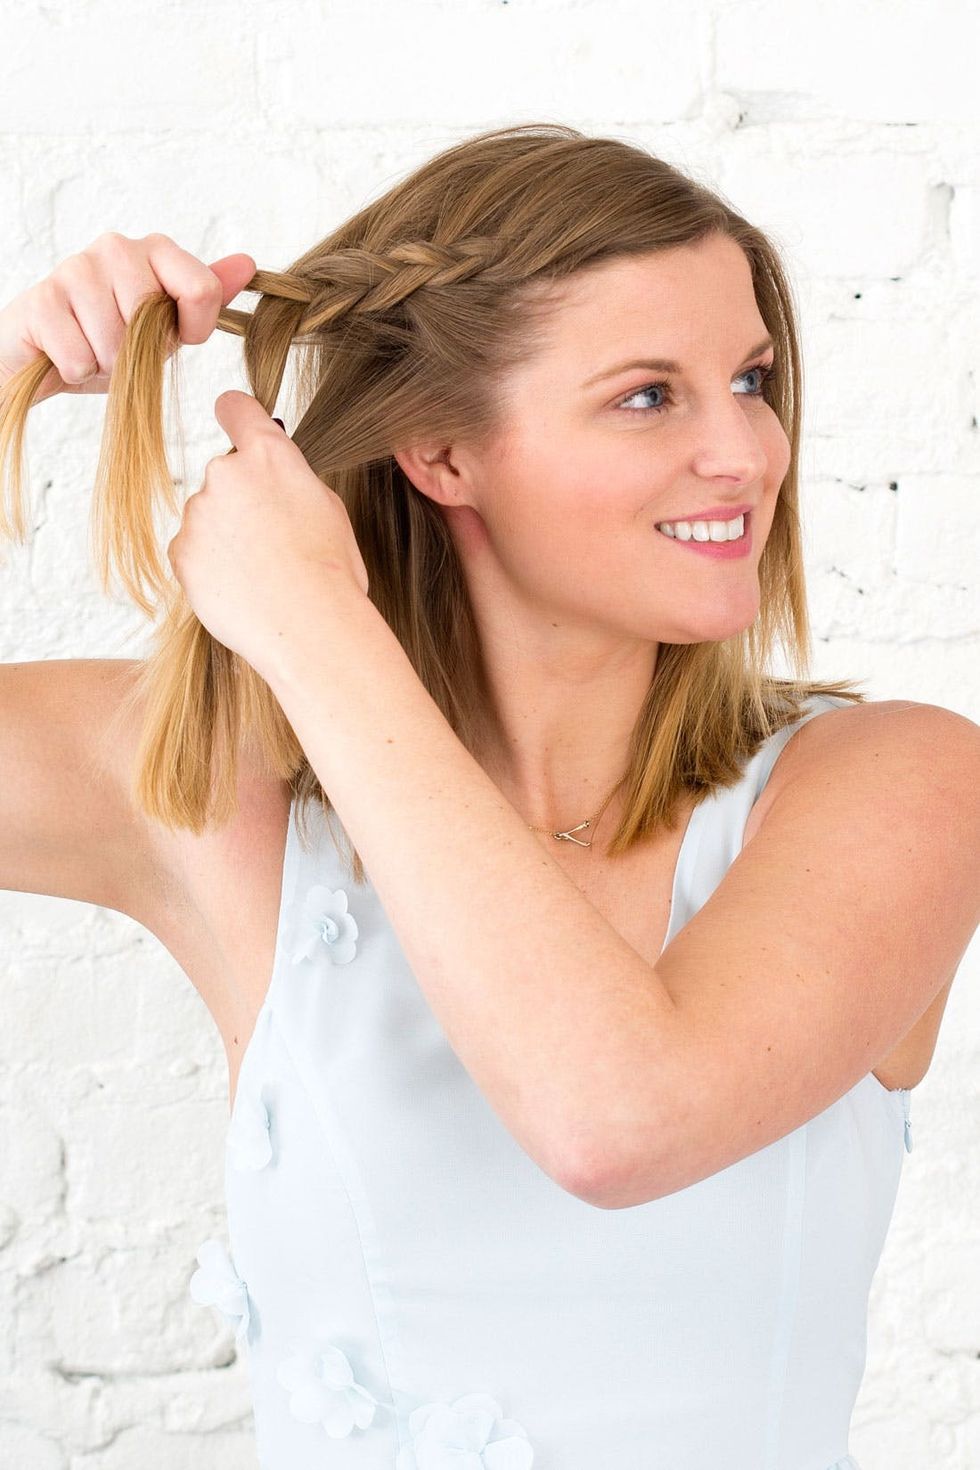
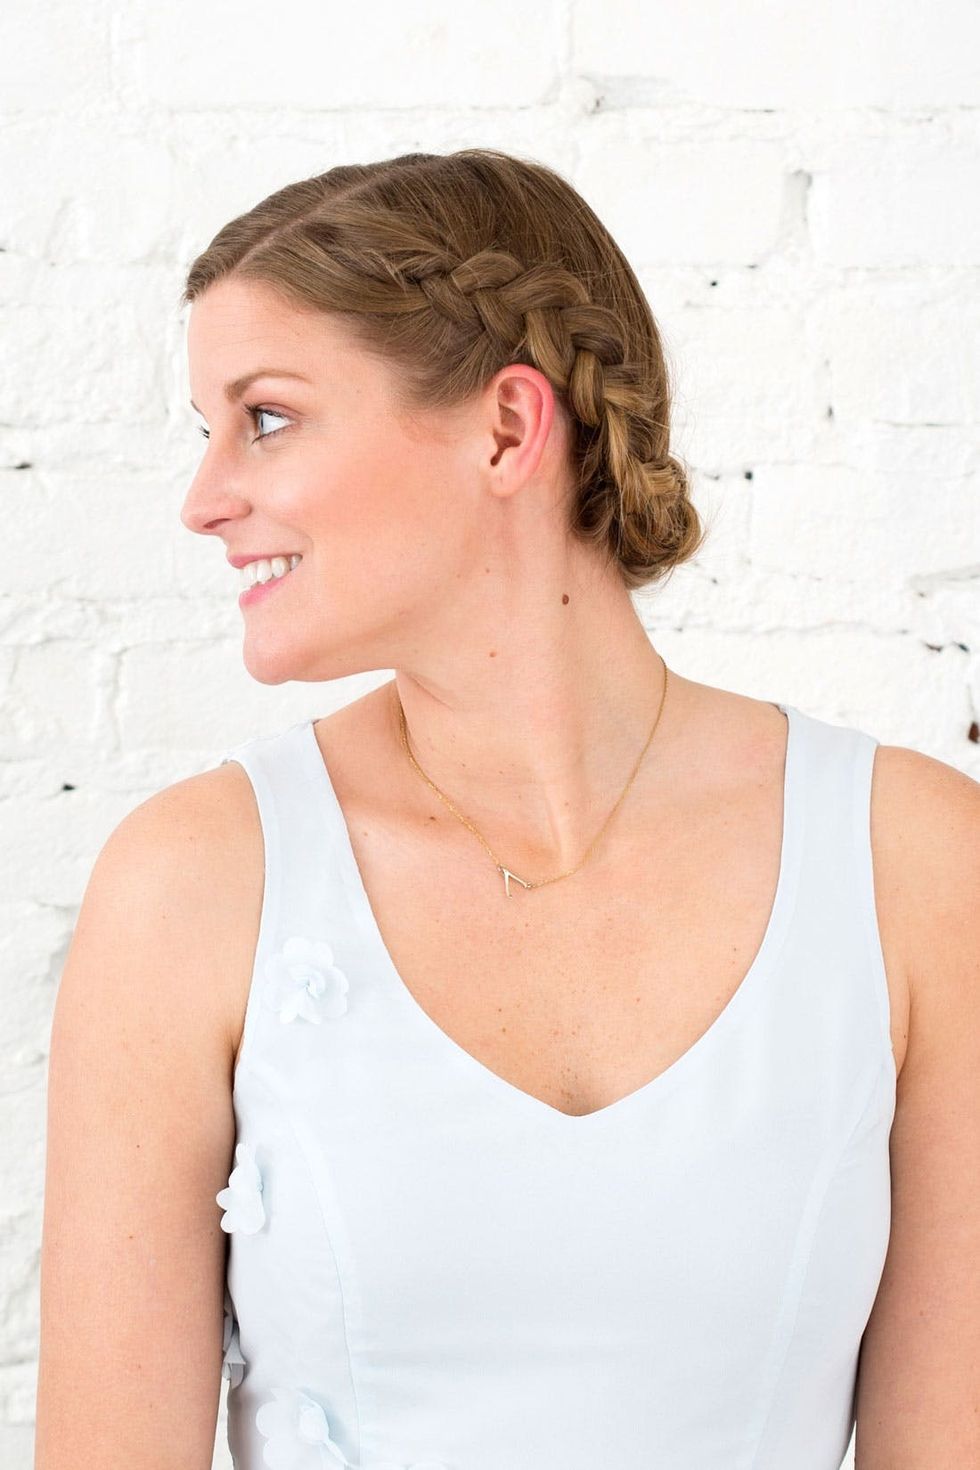
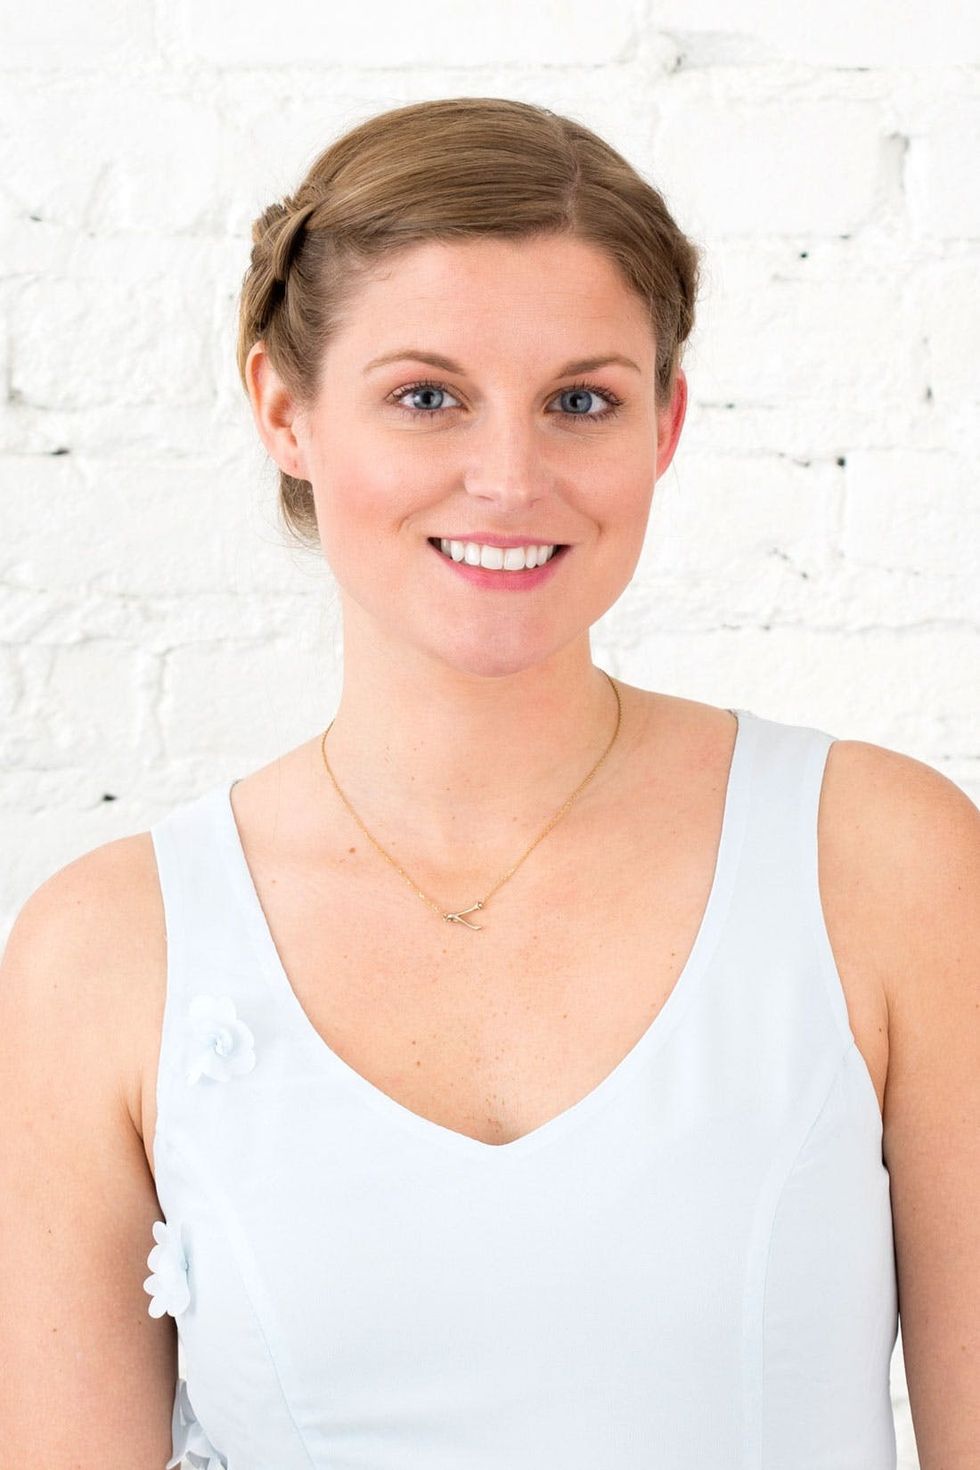
You could do a center part if you like, but to avoid looking a little Princes Leia-esque it is better to pull your hair over into a heavy side part for this look. If your hair is fine, give a once-over with dry shampoo and some back combing to help add volume. Starting on the side with the heavier part, begin a Dutch braid, which is an inside out french braid.
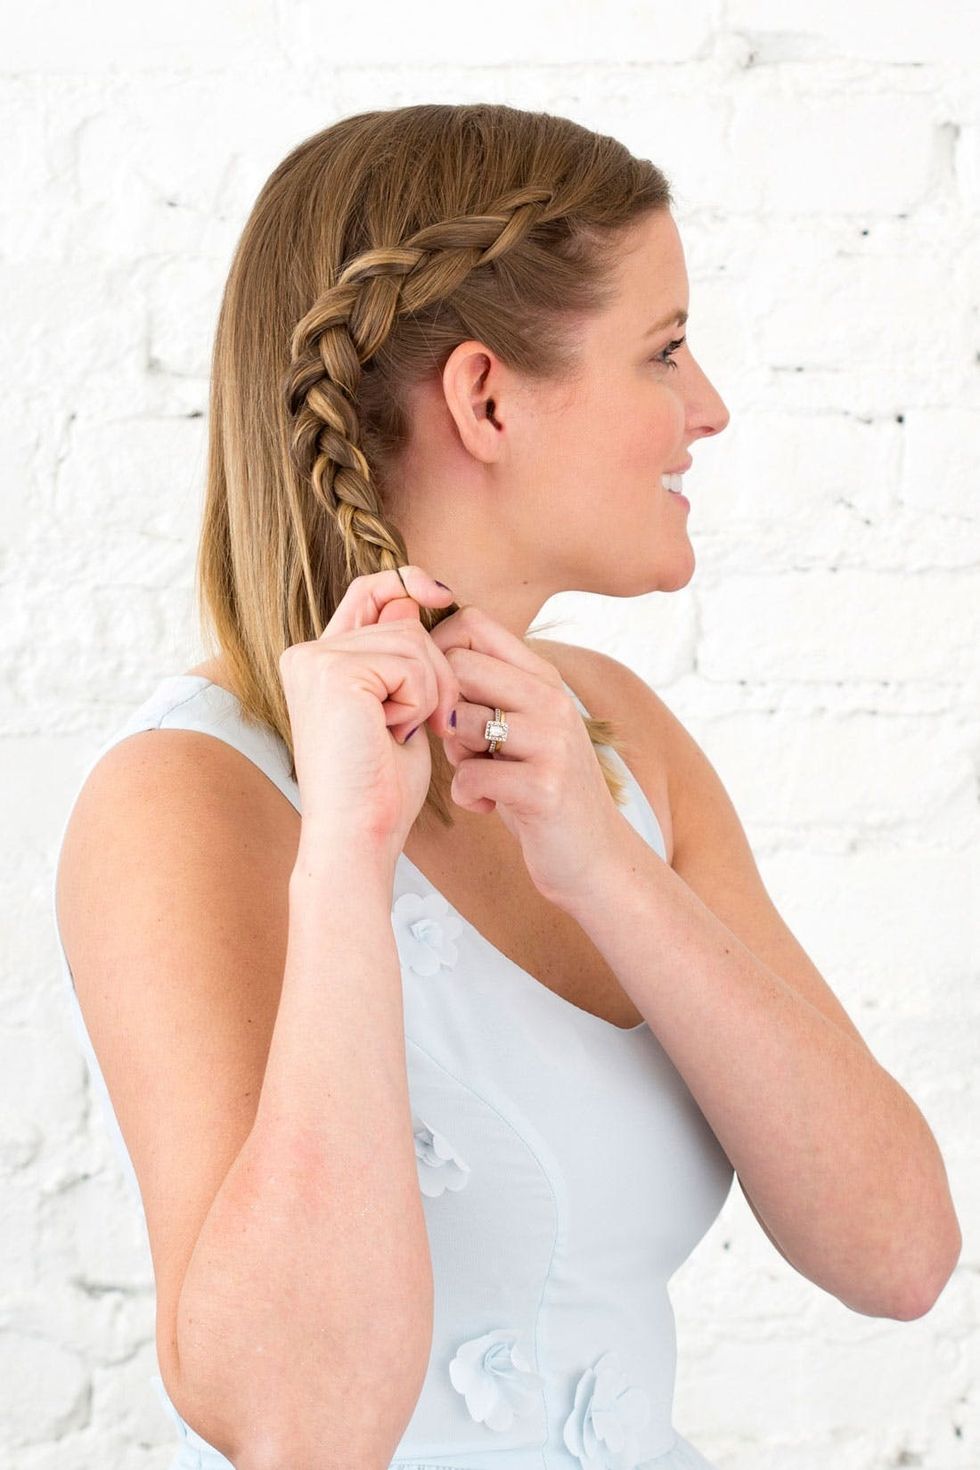
Once you get to a point where you cannot add any more hair into the braid, just switch into a standard braid until you reach the ends of your hair, where you will tie off with a small elastic.
Step 2: Tie Off First Braid
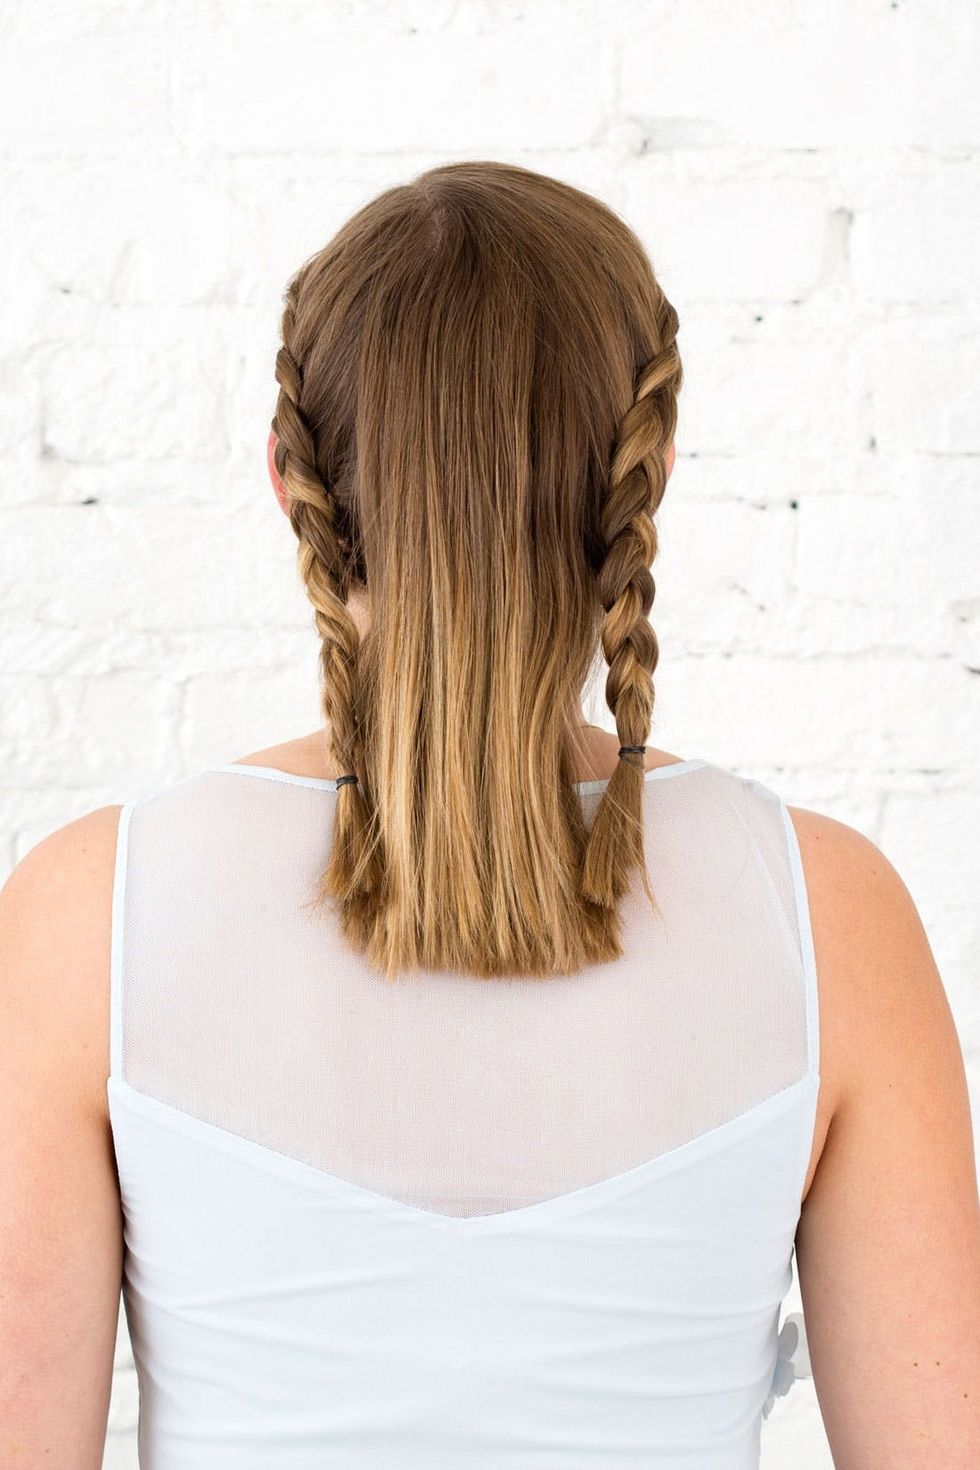
Repeat on the opposite side. When you are done your hair should have the two side braids and a section of hair left out in the back.
Step 3: Repeat
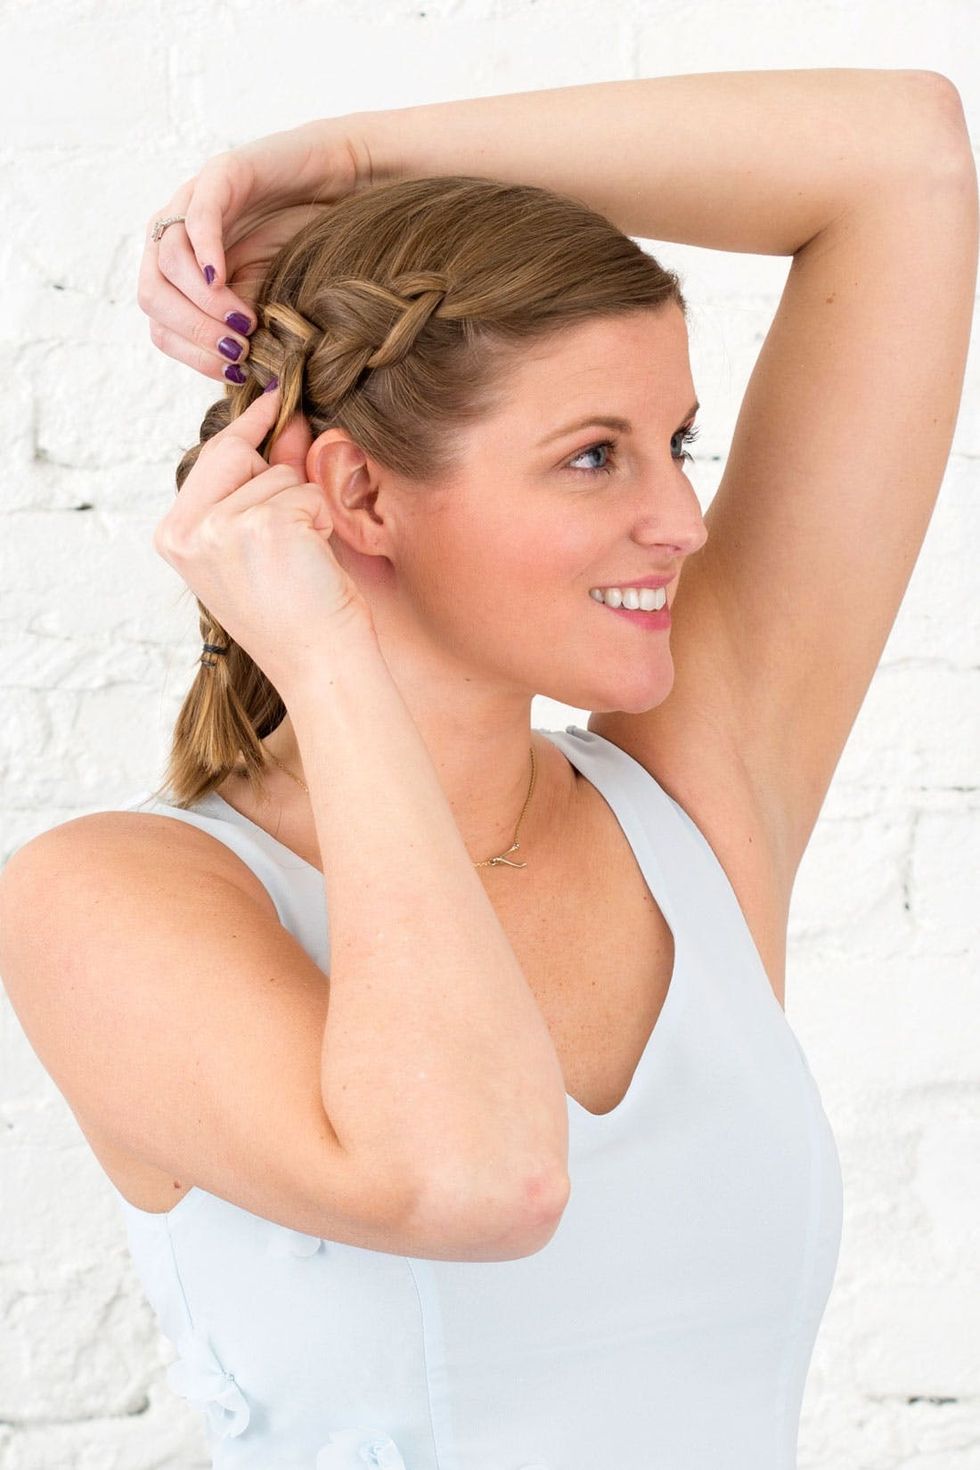
Use your fingers to pull the braid apart to give it a more voluminous, loosened-up look.
Step 4: Separate to Loosen
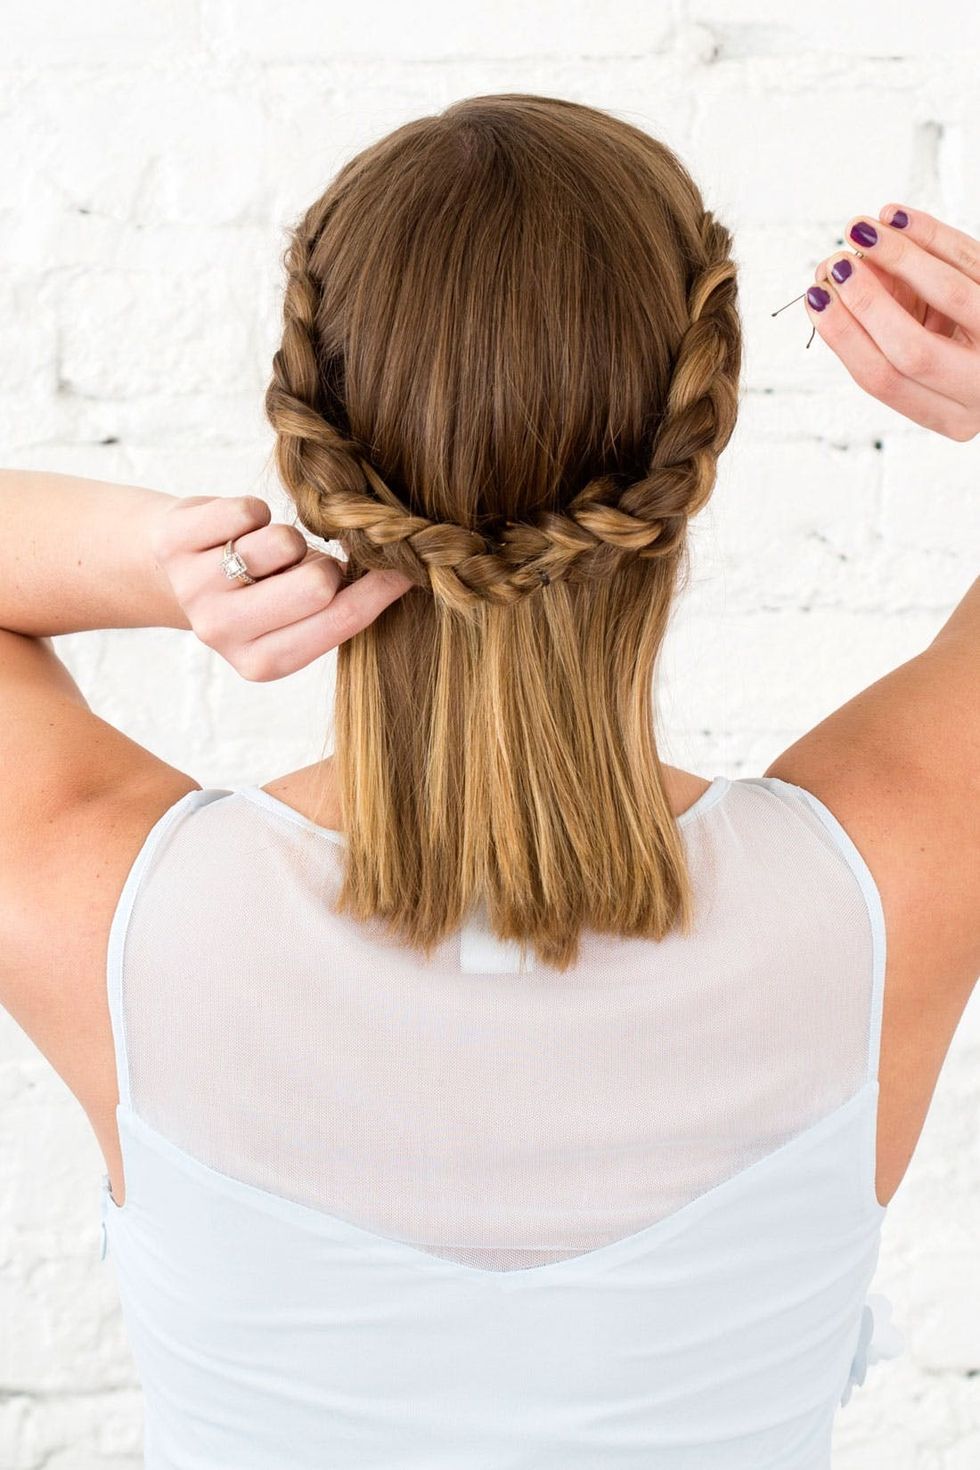
Take one braid and cross it over to the other side where you will use a couple bobby pins to cross pin it in place. Then take the opposite braid, cross it over to tuck and hide the first braid under it. Then, cross pin that one in place.
Step 5: Pin, Tuck + Pin Again
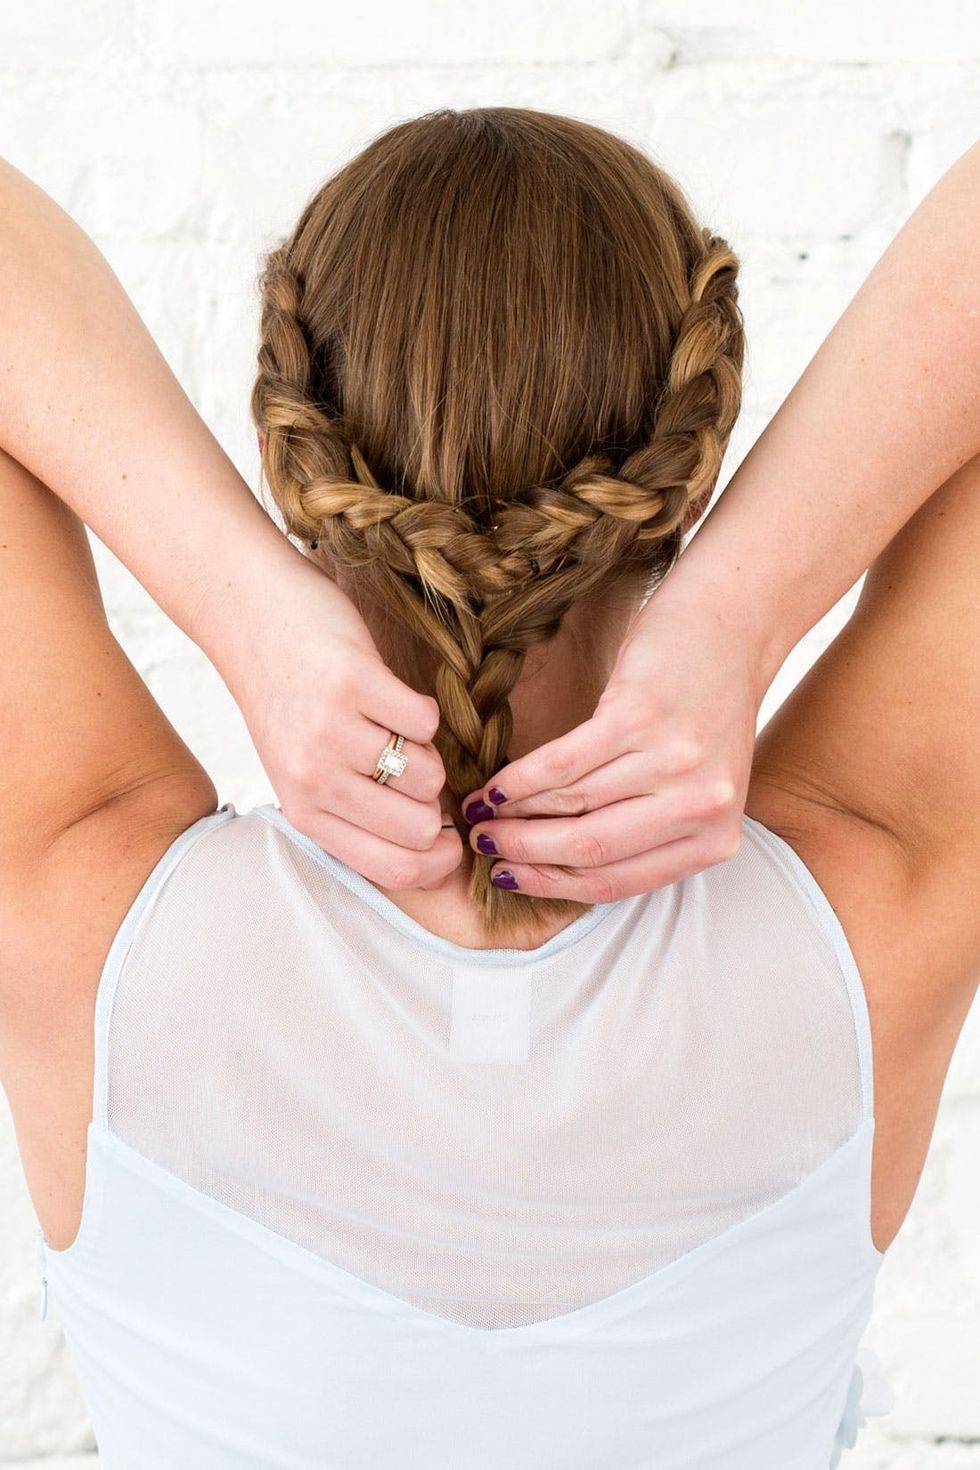
Braid the last section of hair left out, roll it up and tuck it into the braided halo you created. Use a couple bobby pins to secure. It should blend in really nicely with the braid, almost giving the illusion that there is no break in the braid that wraps around your head.
Step 6: Braid, Roll + Pin
Twisted Bun Hawk
Step 1: Pin Curl Faux Hawk
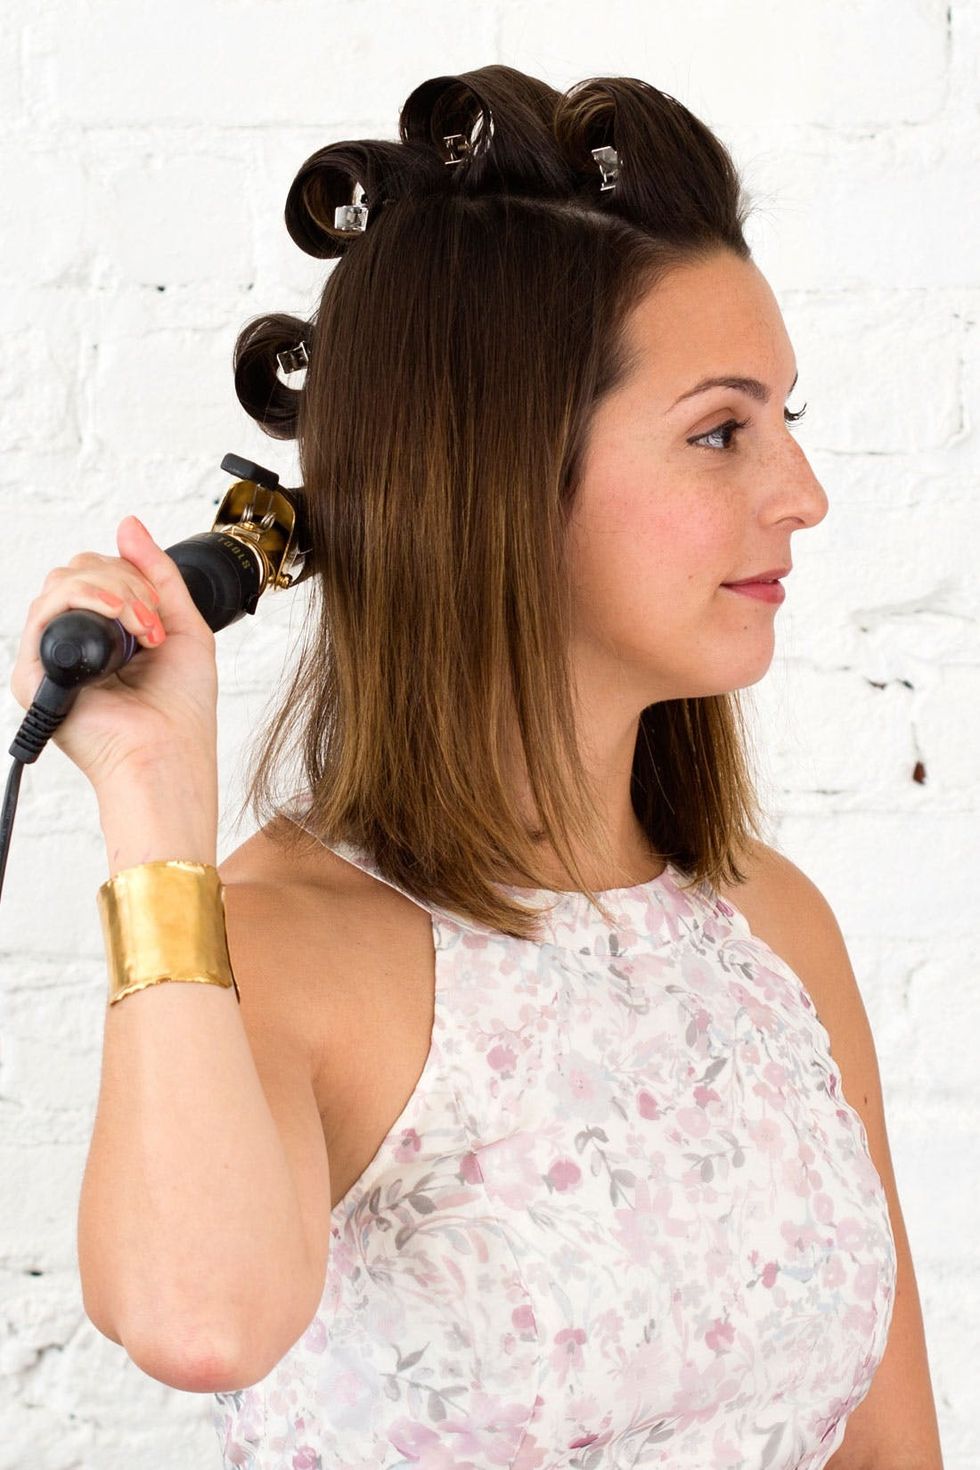
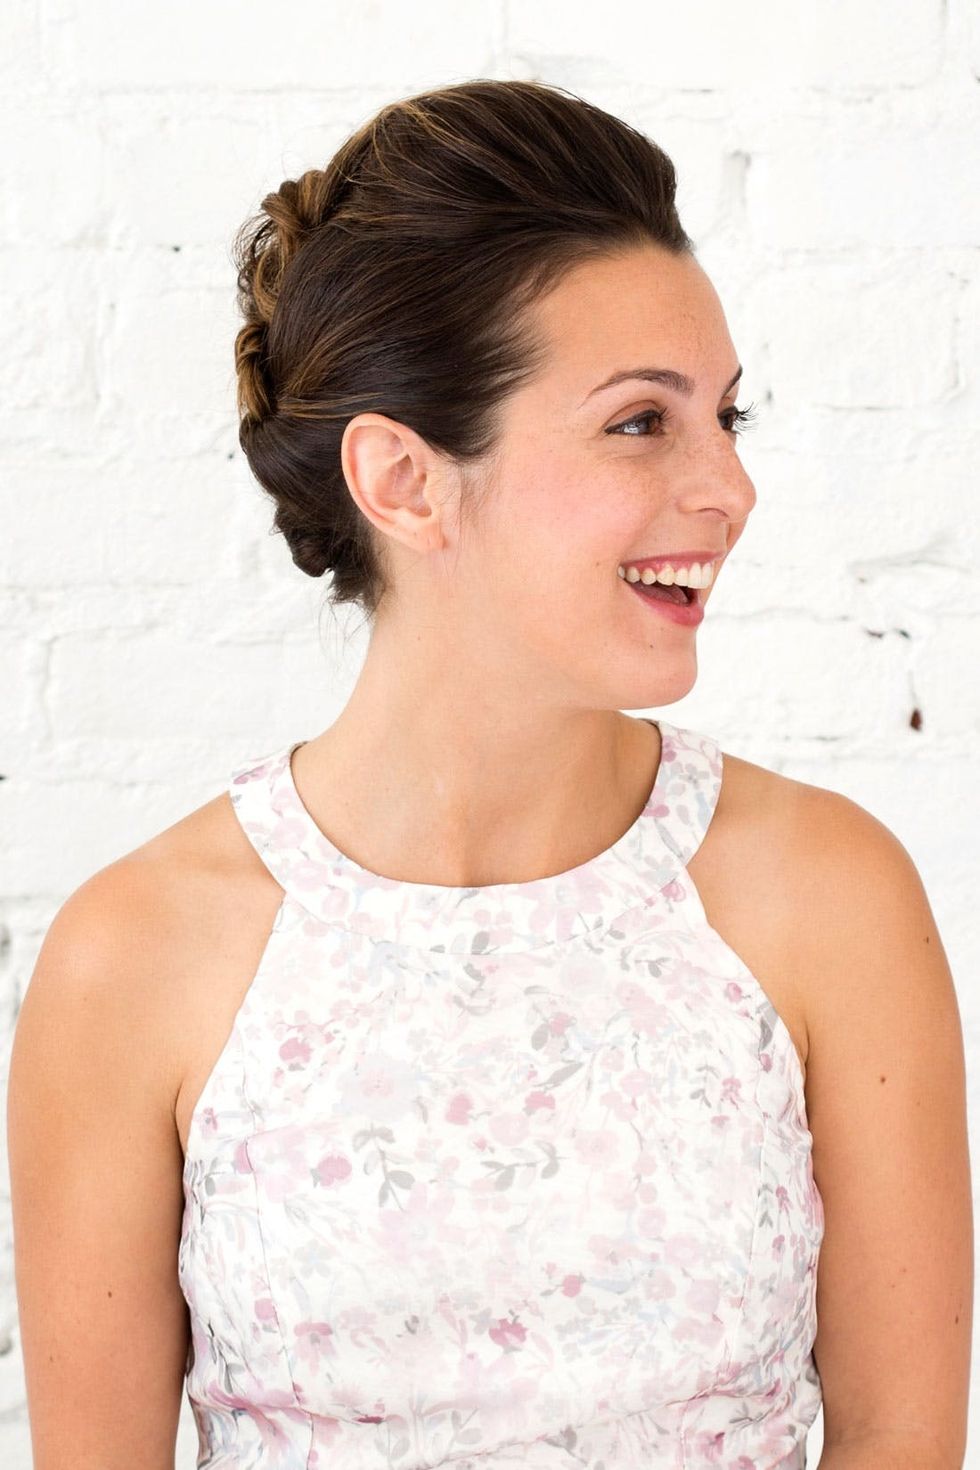
Place two-inch sections of pin curls going down the center of your hairline using a large curling iron and duck bill clips. It will look as though you have a mohawk of pin curls.
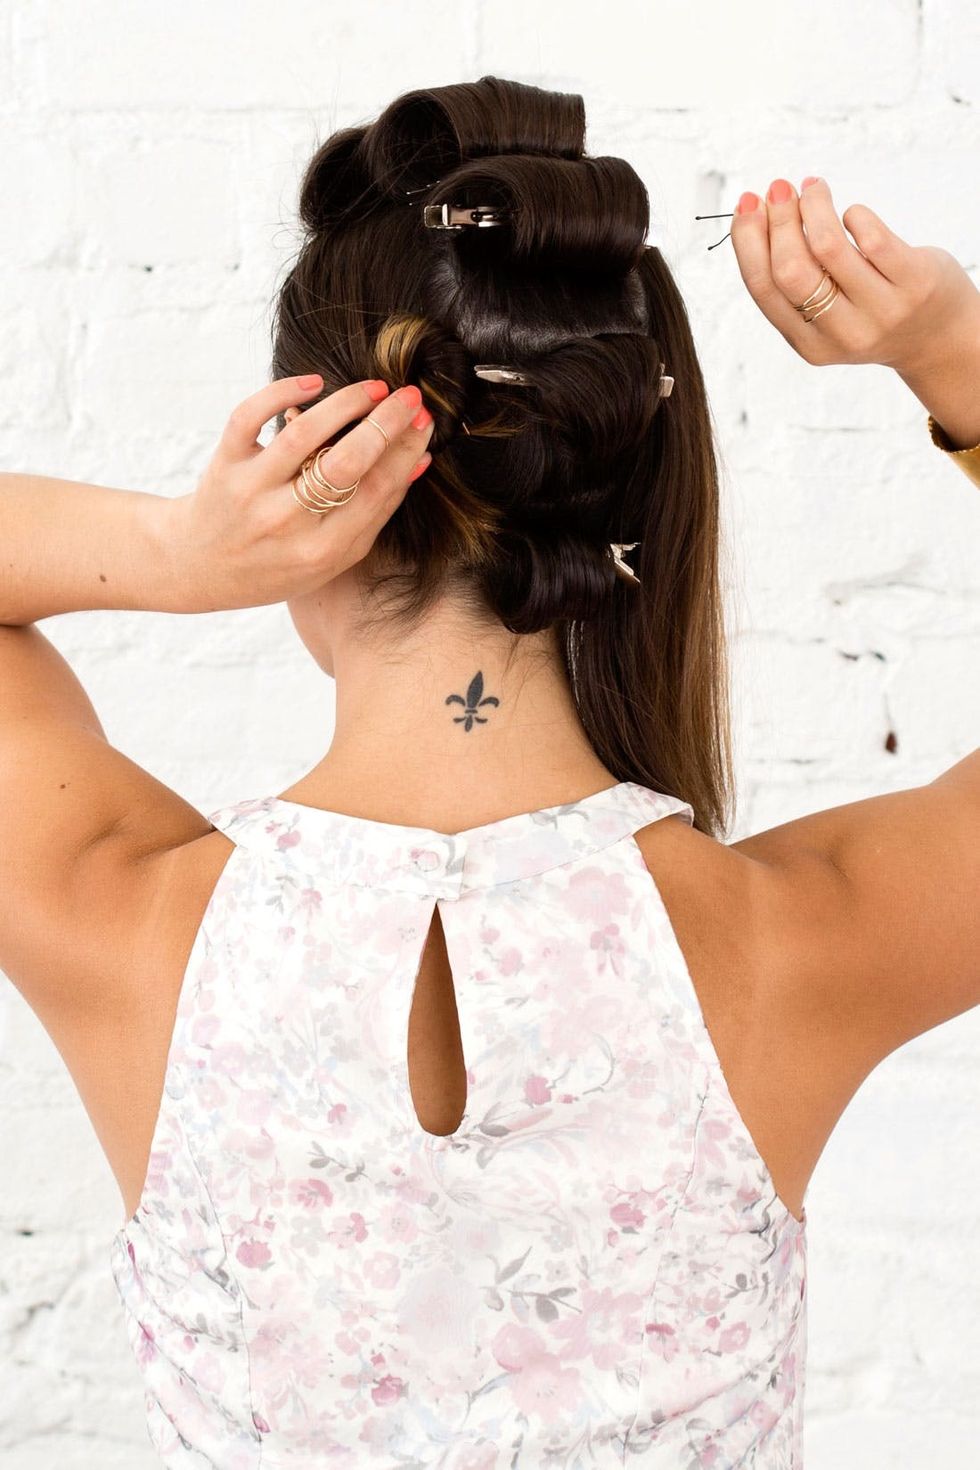
Take the sections of hair that are on each side of the pin curls and twist them back, pinning them in place to create little buns.
Step 2: Twist + Pin the Sides
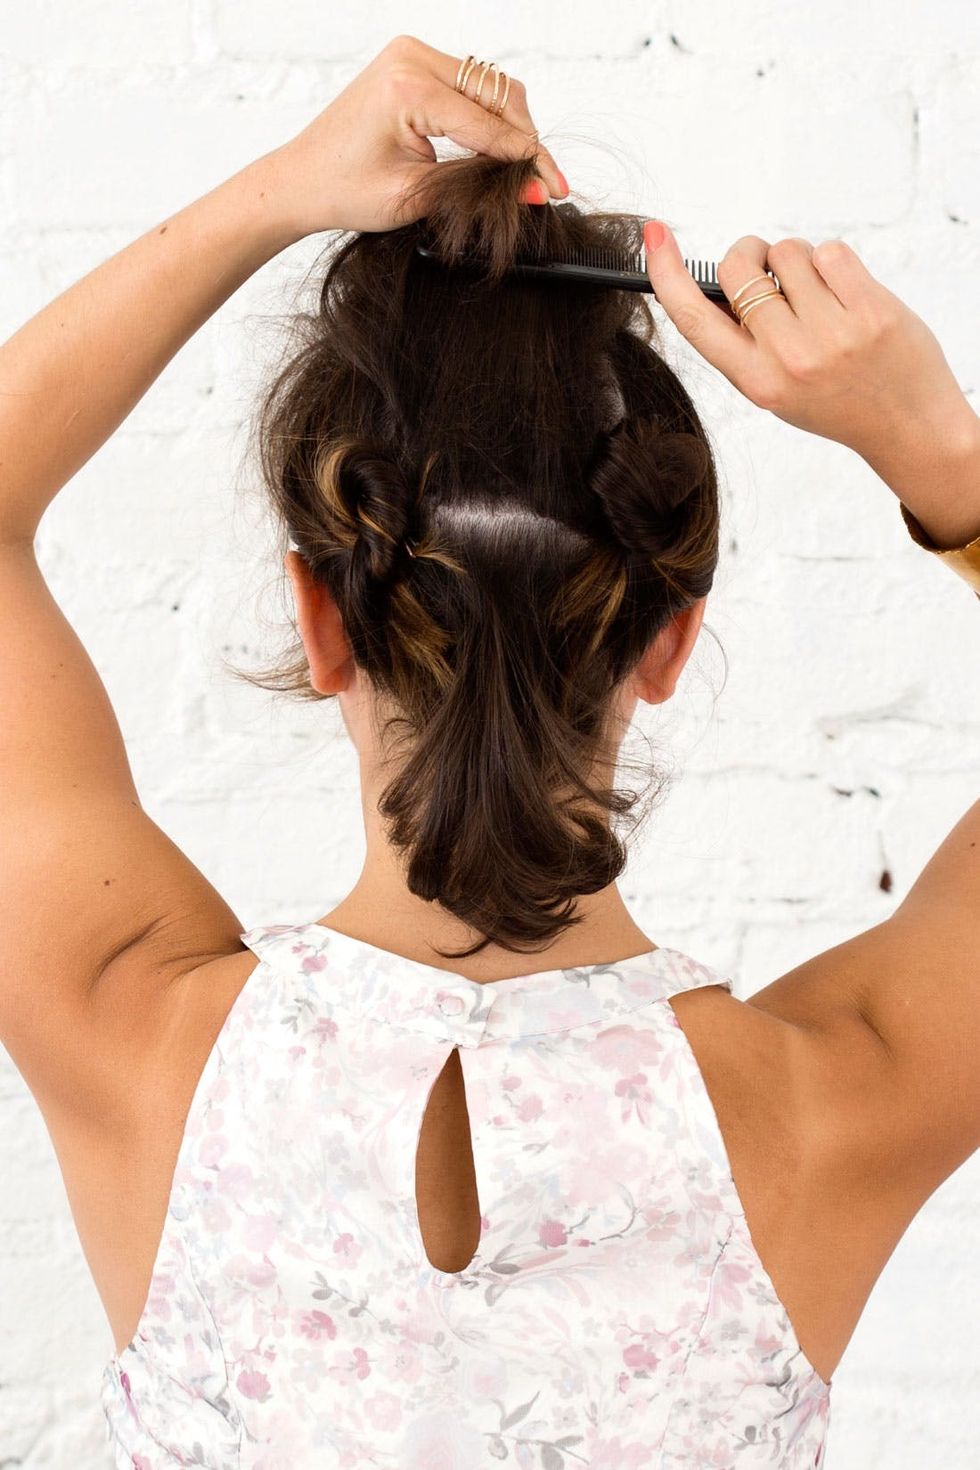
Once both sides have been twisted back and pinned into place, you can take out the pin curls and back comb the middle section to create lots of texture and volume.
Step 3: Remove Pins + Tease
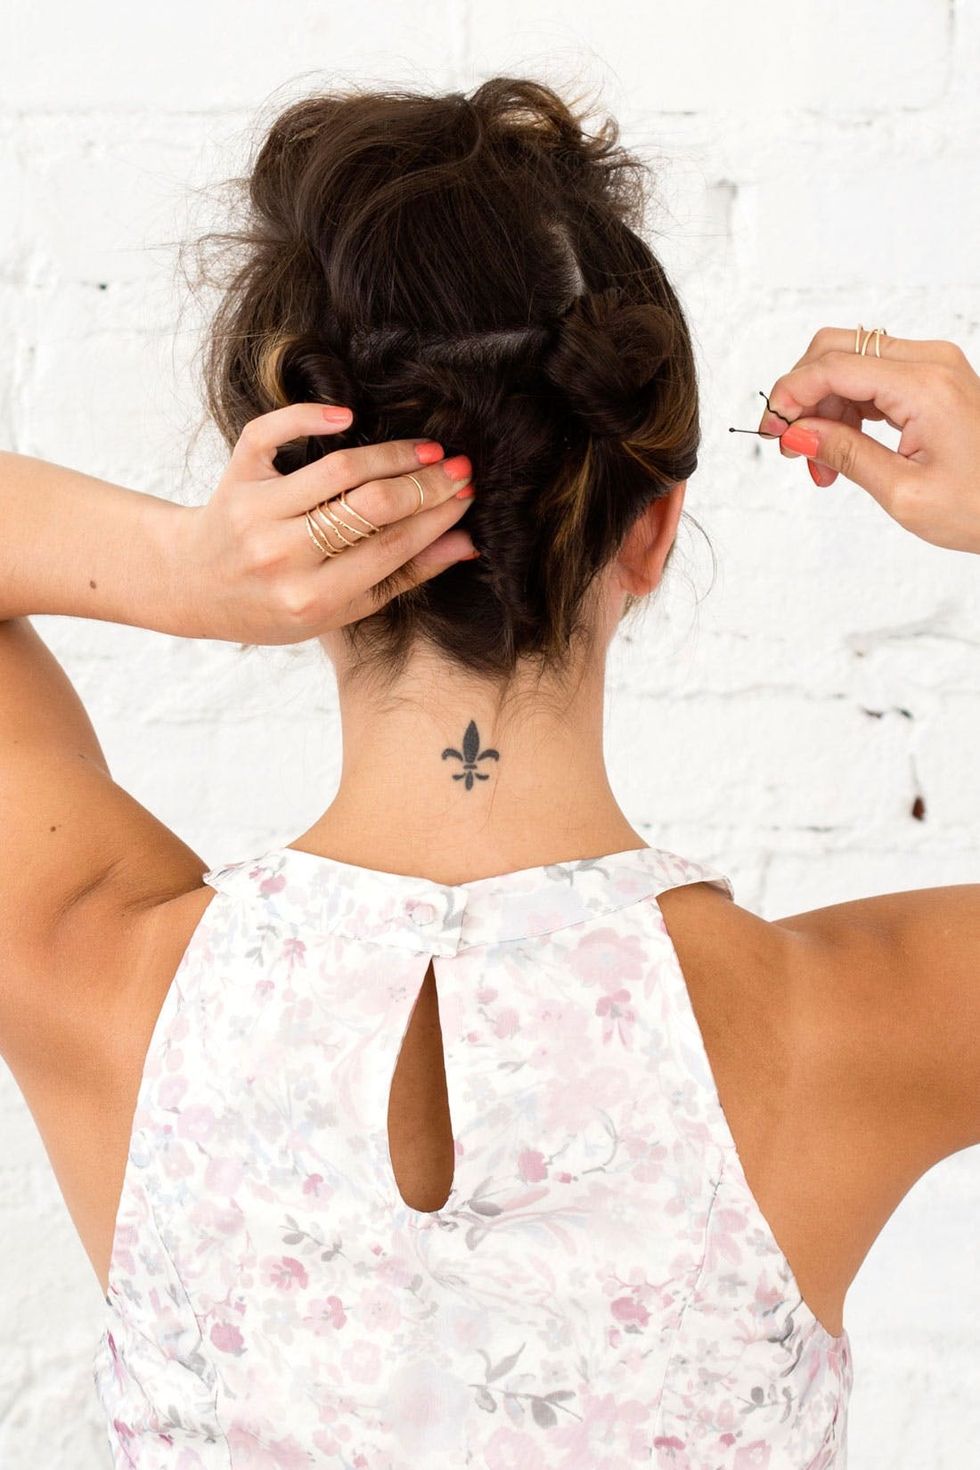
Take the bottom section of the now-teased hair and create a mini French twist and pin in place. A French twist is way easy — it’s essentially twisting your hair around and into itself to hide the twist inside itself.
Step 4: French Twist Bottom
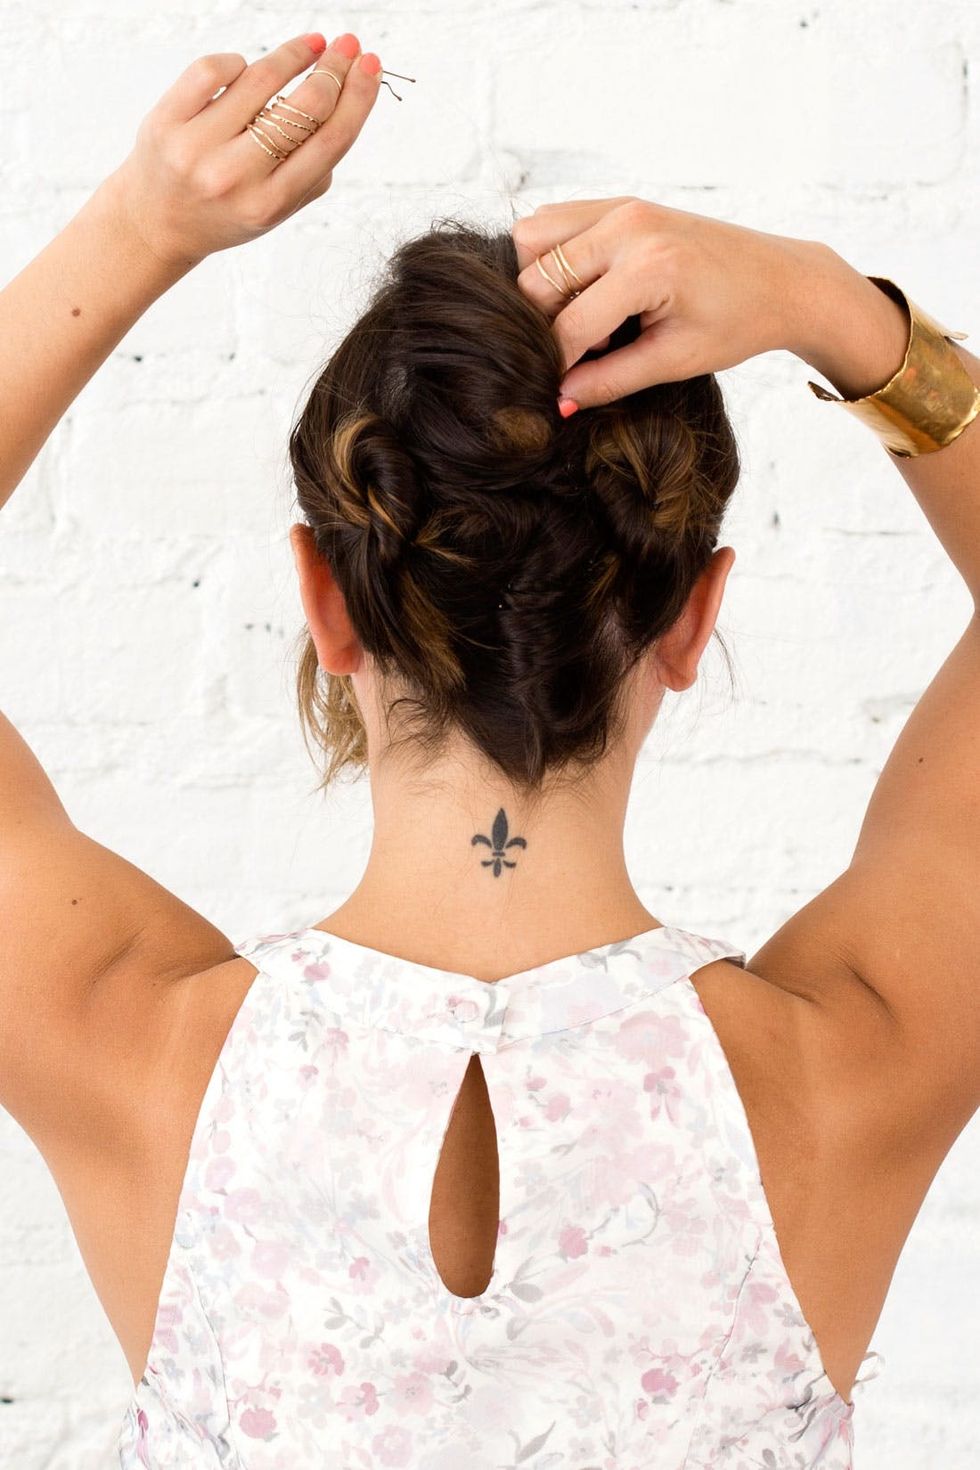
Now, grab the middle section directly above the French twist and create a looser version of what you just did. This way there is a little more volume once you pin it.
Step 5: Get the Middle Section

For the final section on top, you can have a little fun! Twist it even looser than the last section and pin it in place directly above the last twist, making sure to blend the height together so it looks seamless. From the front you can pull tighter or looser depending on the size of the pomp you wish to create.
Step 6: Faux Hawk the Top
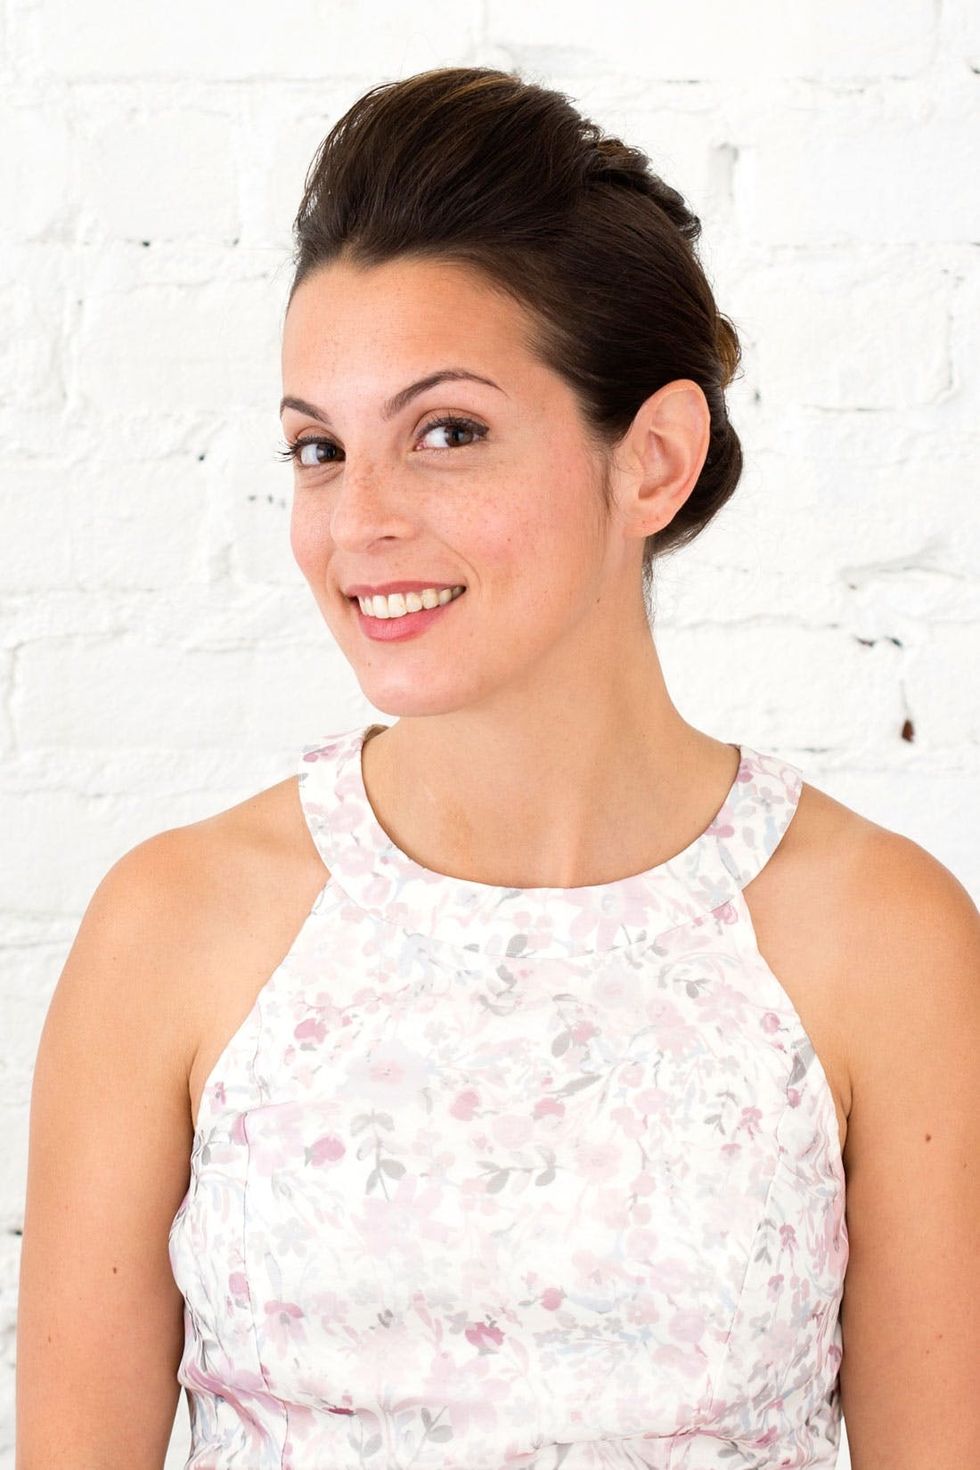
If you are unfamiliar with styling your hair to this extent, it’s a good idea to give yourself a trial run before your bestie’s big day. These hairstyles definitely read formal, but with a little switch of attire you can always rock them for gals’ night out or your next date night.


