Beauty Mythbuster: Should You Apply Foundation With a Brush or Your Fingers?

Alright. alright, alright… when it comes to applying foundation, which tool is the best to use, your fingers or a brush? I can’t tell you how many times I’ve been asked this very question from my girlfriends and clients. I mean, they both obviously get the job done, but as to one being a better than the other? I’ll let you in on a little secret: It’s not like that. You can totally do either one as long as you understand the difference between them.

I called in Cecelia, our Head of Marketing, to put these two methods to the test without any input from myself. It was an experiment of sorts to see how a real girl (read: non-makeup artist) would approach both methods, so I could help her turn a destined-to-be makeup #fail into a proper technique. Read on for the tips we learned from Cecelia’s foundation trial — consider them valuable takeaways the next time you’re in the DIY hot seat.

So this sounds simple in theory, but when I saw Cecelia pour loads of product onto the palm of her hand to start this process I almost had a heart attack! Ladies… NEVER! To properly apply your foundation using your fingers, you should only be using a dime-sized amount of product. In makeup artist speak, this is actually a lot. You want this much with this method because the heat from your digits will press the product deeper into your skin, which inevitably uses up more product. Furthermore, you want to pump or slowly pour the foundation onto the *back* of your hand. The back of your hand is almost always cleaner than your palm, plus that resting position is more natural than your palms facing up, so it will be more comfortable to work with.
Finger Application

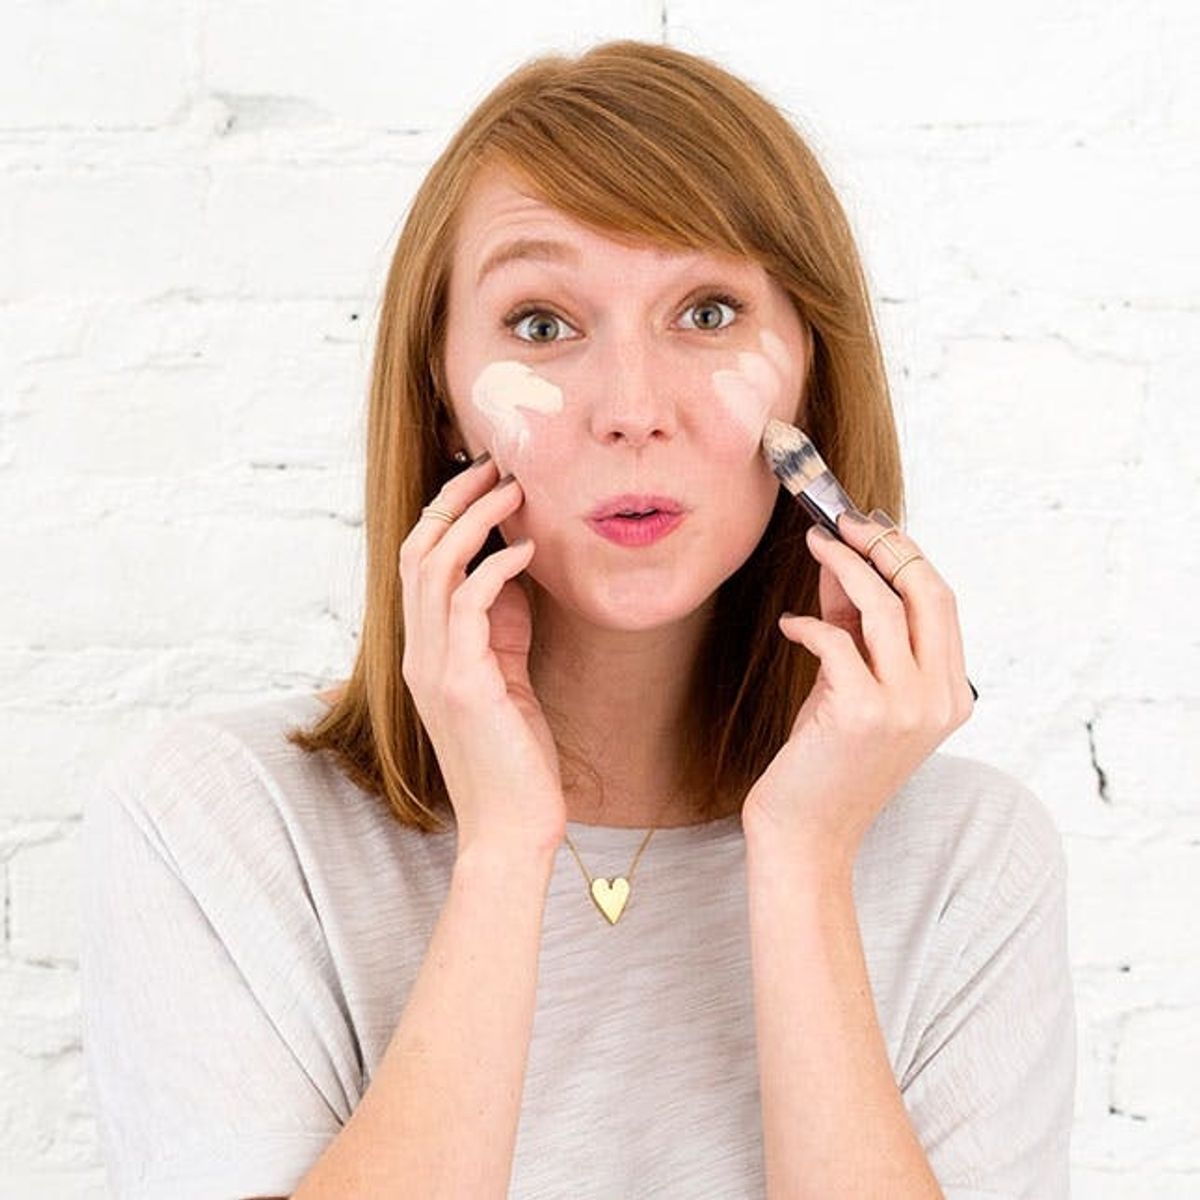
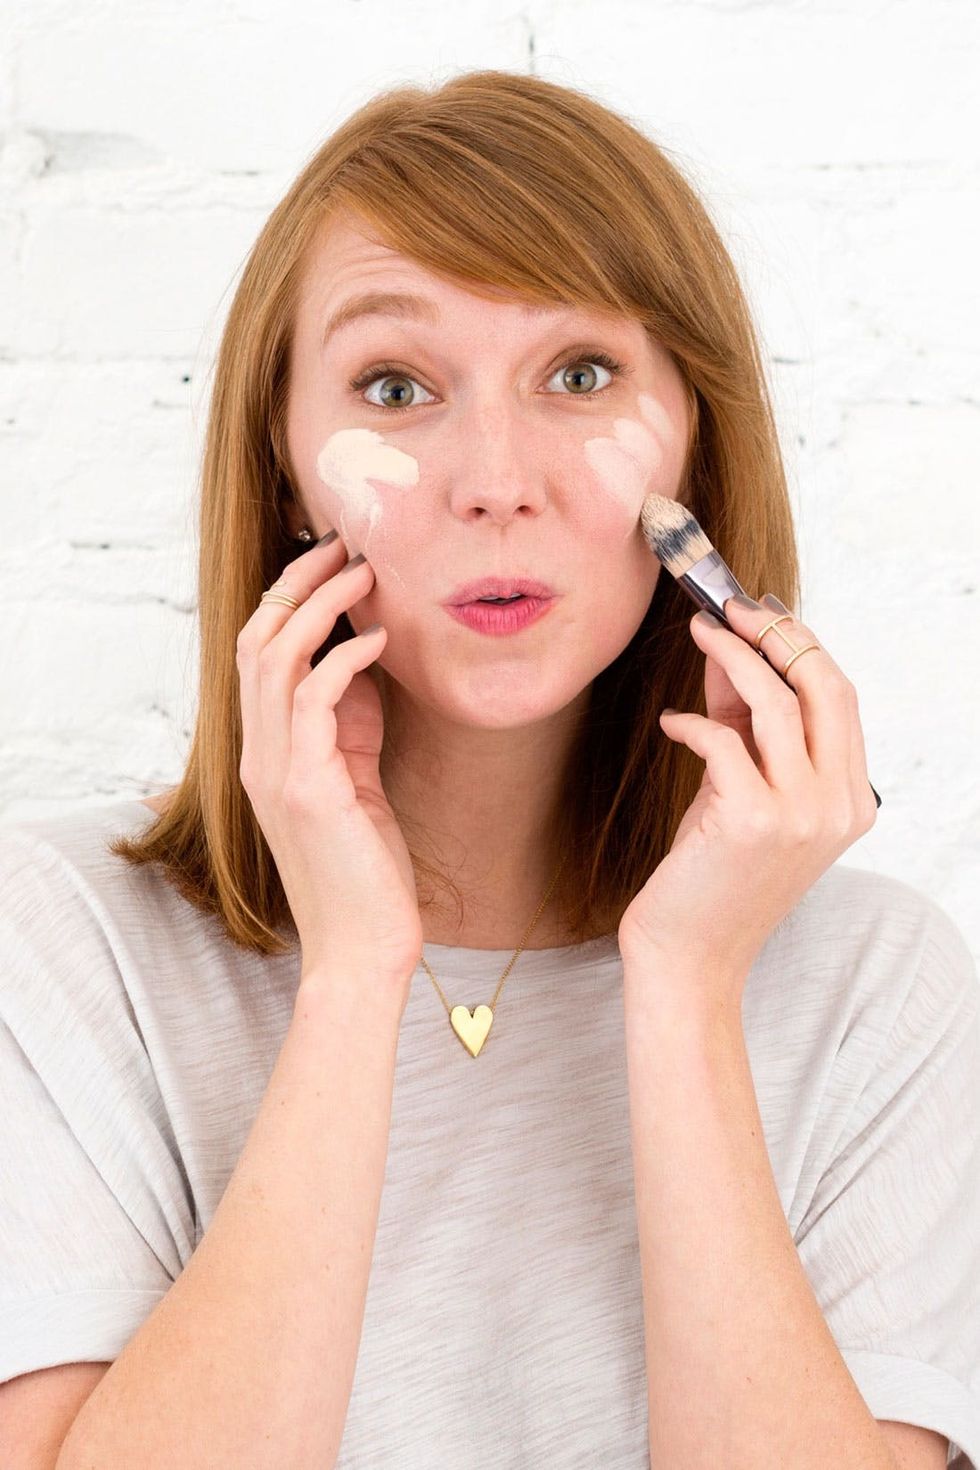
Use your ring and middle finger to pick up a small amount of product and apply it to each cheek, your forehead, down the bridge of your nose, your chin and slightly down onto your neck before you even think about blending. This should help you disperse the product more evenly.
Then, blend all of the product onto your face gently, gently being the operative word — a heavy hand can result in thick, cake-y coverage, so apply in swift sweeping upward motions for most even coverage.
You can see that after I caught her mid-beauty faux pas, Cecilia ended up blending her foundation well. So remember, when applying with your fingers:
<i>half</i>
 made for picking up that small amount and dispersing it evenly wherever you sweep it. So squeeze or pour a pea-size dollop of foundation onto the back of your hand for this technique.
Brush Application

Before we move on, let’s chat about brushes. You want to use a flat foundation brush, preferably with synthetic fibers (natural bristle brushes absorb more makeup) — you can find these at your local drugstore or on boutique beauty sites. And you want to make sure it’s clean! You wouldn’t cut your food with a dull knife, right? So don’t apply your makeup with a dirty brush — it won’t apply as flawlessly as it should.
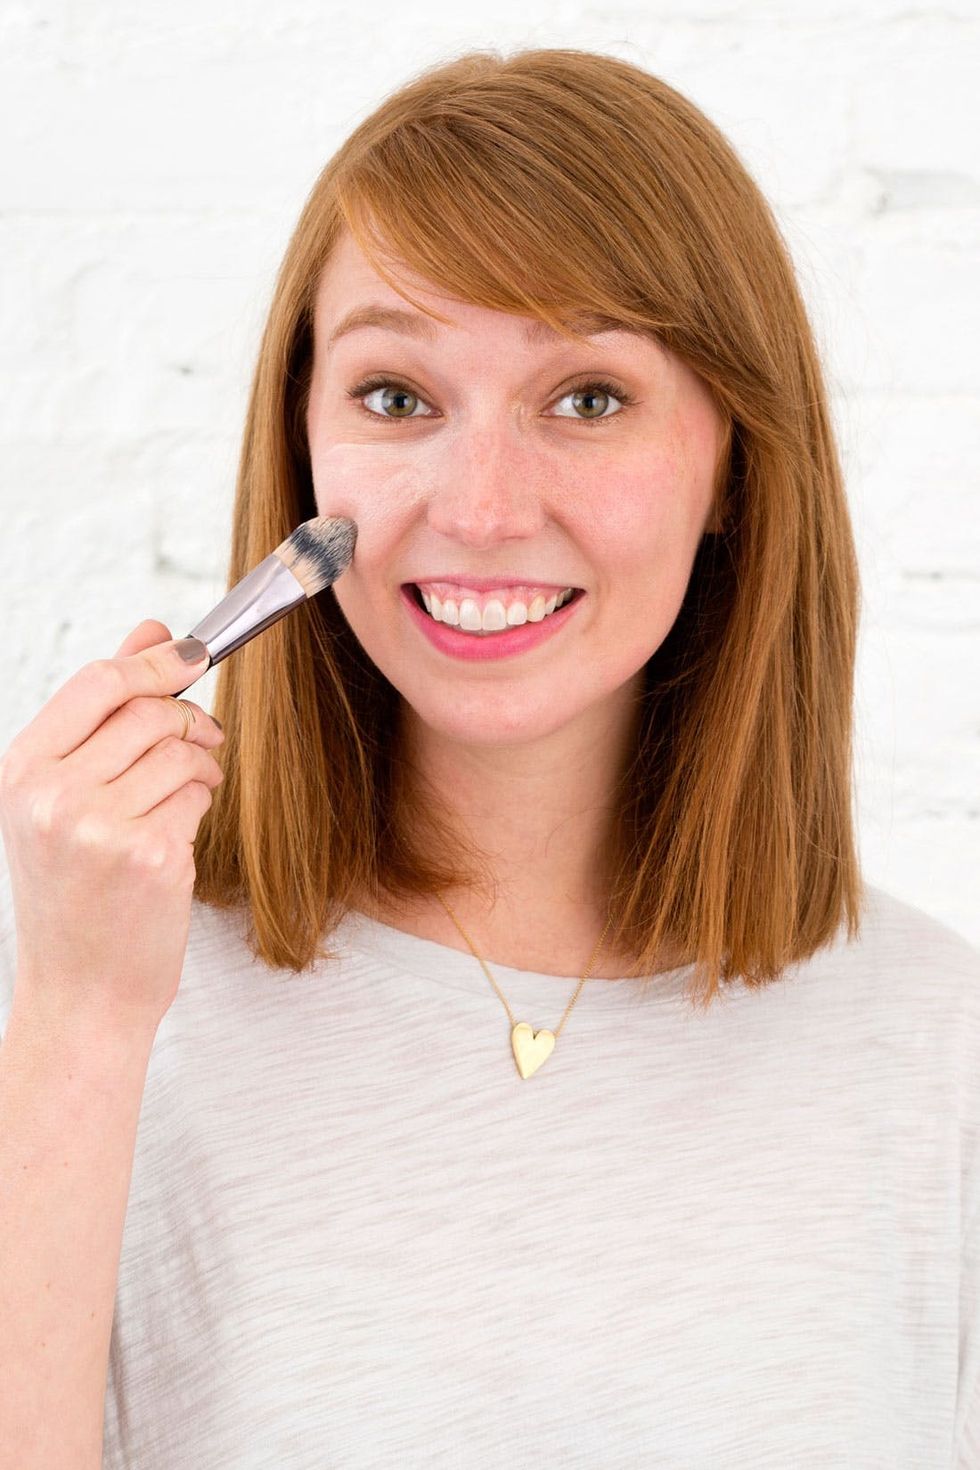
Here’s the only similarity between the finger and brush application: the areas of coverage. Place the product on each cheek, your forehead, down the bridge of your nose, on your chin and slightly down onto your neck. Then, sweep down the nose and up and back with the brush for full coverage, and use the tips of the bristles to blend.
When applied like this, a foundation brush will give you a lighter topical coverage than when you apply with your fingers, making it an easier way to get the job done for those of you who are budding beauty DIY-ers. Just remember, when you’re applying with a brush:


