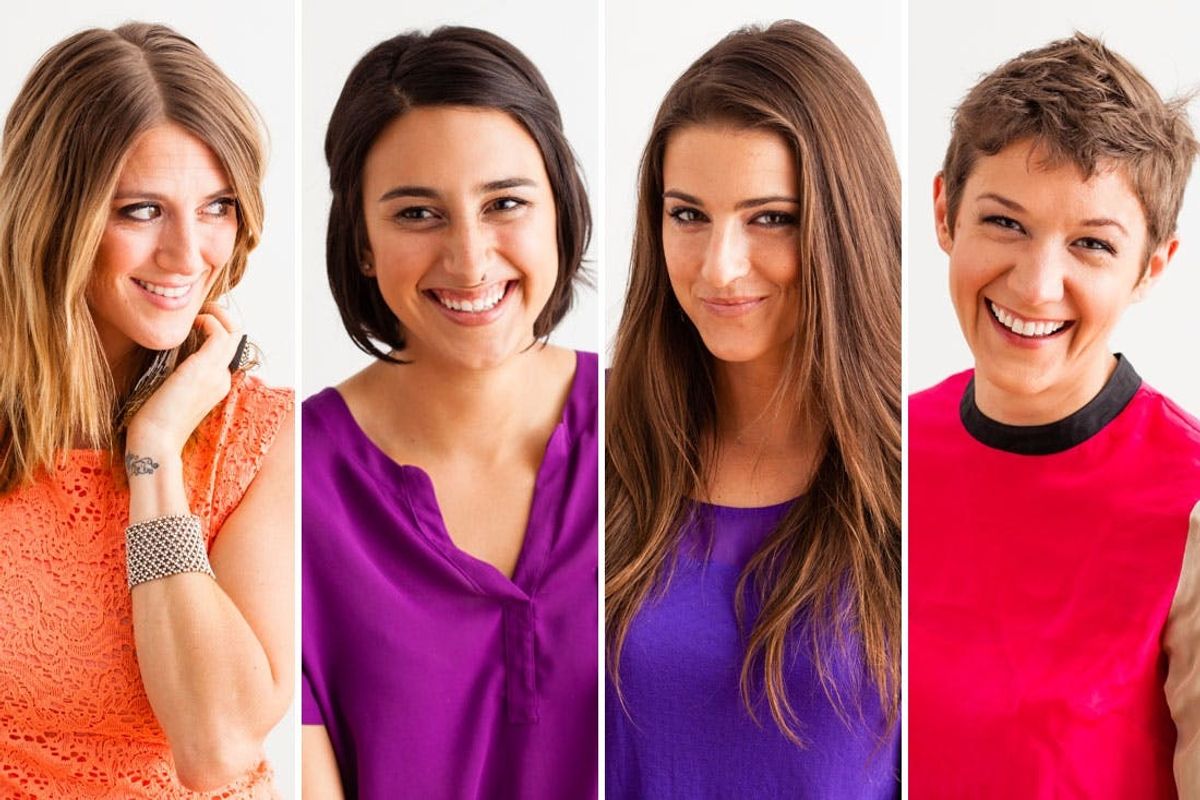
Many of us gals have a few of each of these features to create our individual eye shape. The key is to identify which one is the most dominant for your face. Once you have done so, you can follow these easy tricks. When you understand the basics, you can really apply these rules and steps to achieve many looks with varying color combinations. Now… let’s fire up those smokey eyes ;)
Nail the Perfect Smokey Eye for YOUR Eye Shape


First off, here is a chart that shows different eye shapes so you can figure out which one belongs to you. Many of us gals have a few of each of these features to create our individual eye shape. The key is to identify which one is the most dominant for your face. Once you have done so, you can follow these easy tricks. When you understand the basics, you can really apply these rules and steps to achieve many looks with varying color combinations. Now… let’s fire up those smokey eyes ;)
Close Set Eyes

The general rule to deem your eyes as close set is if the distance between each inner corner of your eyes could fit the width of one eye. Most people err on the side of close set, but for extreme versions here are some key things to remember when applying a smokey eye.

– Next, apply a medium shade on the center of your lid blending outward to the corners of each eyes. From the same palette, we used a buff matte shade called Naked for this step.
– Now to really draw the attention to the outer edges of your eyes, (giving the illusion of a wider set eye,) place a deeper more dramatic shade on the outer corners of your eyes. On Nikki, we used a mocha shimmer called Hustle from the Naked palette.
– For liner on close set eyes, you will want to avoid starting it too close to inside corners. Instead, begin your liner on the top a little more than half way in, then blend out and slightly up to enhance the outsides of your eyes.
– Finish off with some mascara to top off this look.
Having deep set eyes means your eyes have a deeper crease. This also means that they’re a fab canvas for creating many different looks from playing up the crease to disguising it for a more subtle eye.
Deep Set Eyes

– Next, take a medium shadow to blend into the outer corner, slightly underneath and only a little bit into the crease. You want to make sure not to over-enhance the crease since it is already so prominent. I used the brown matte Buck from the Naked palette to achieve this.
– On the outer corners of both, on top and underneath your eyes, use a dark shadow. I used dark metallic Creep in the same palette for a smoldering, dramatic effect. Great for a night out!
– Line with a black pencil and use a liner brush to slightly smudge the liner into the black shadow for extra drama.
– Apply a thickening mascara to complete.
Almond eyes are exactly how they sound. They are probably the most sought-after shape and the one all of these tips and tricks are trying to turn other shapes into. That being said, we will want to give eyes with this shape more height to work with their naturally elongated shapes.
Almond-Shaped Eyes

– Start with a highlighting base, but be sure to avoid your brow bone. For Ashley, we used light, shimmery Nylon by MAC and applied it right to the center of her lids and into the inside corners of her eyes.

– Now, take a medium shadow and sweep it across your lid slightly into the crease and a little above. On Ashley, we used brown matte Buck from the Naked palette.
– Now to create the height, add a darker shadow along the base of the lash line and in the center of the lid. Bring it slightly up being sure not to completely cover the last shade. We used deep purple Blackberry by MAC on Ashley.
– Line along the lash line with a black pencil.
– Apply a thickening mascara to curled lashes to complete this look.
Downturned eyes can be intimidating to work with, but rest assured it is not impossible. In fact, look how amazing Alexis looks rocking her smudgy shadow! For downturned eyes, you will want to enhance the outer corners of your eyes, drawing attention and creating balance.
Downturned Eyes

– First, apply a light base to the entire lid as well as inner corners and brow bone. We used the highlight color from the Brows A-Go-Go Kit by Benefit.


