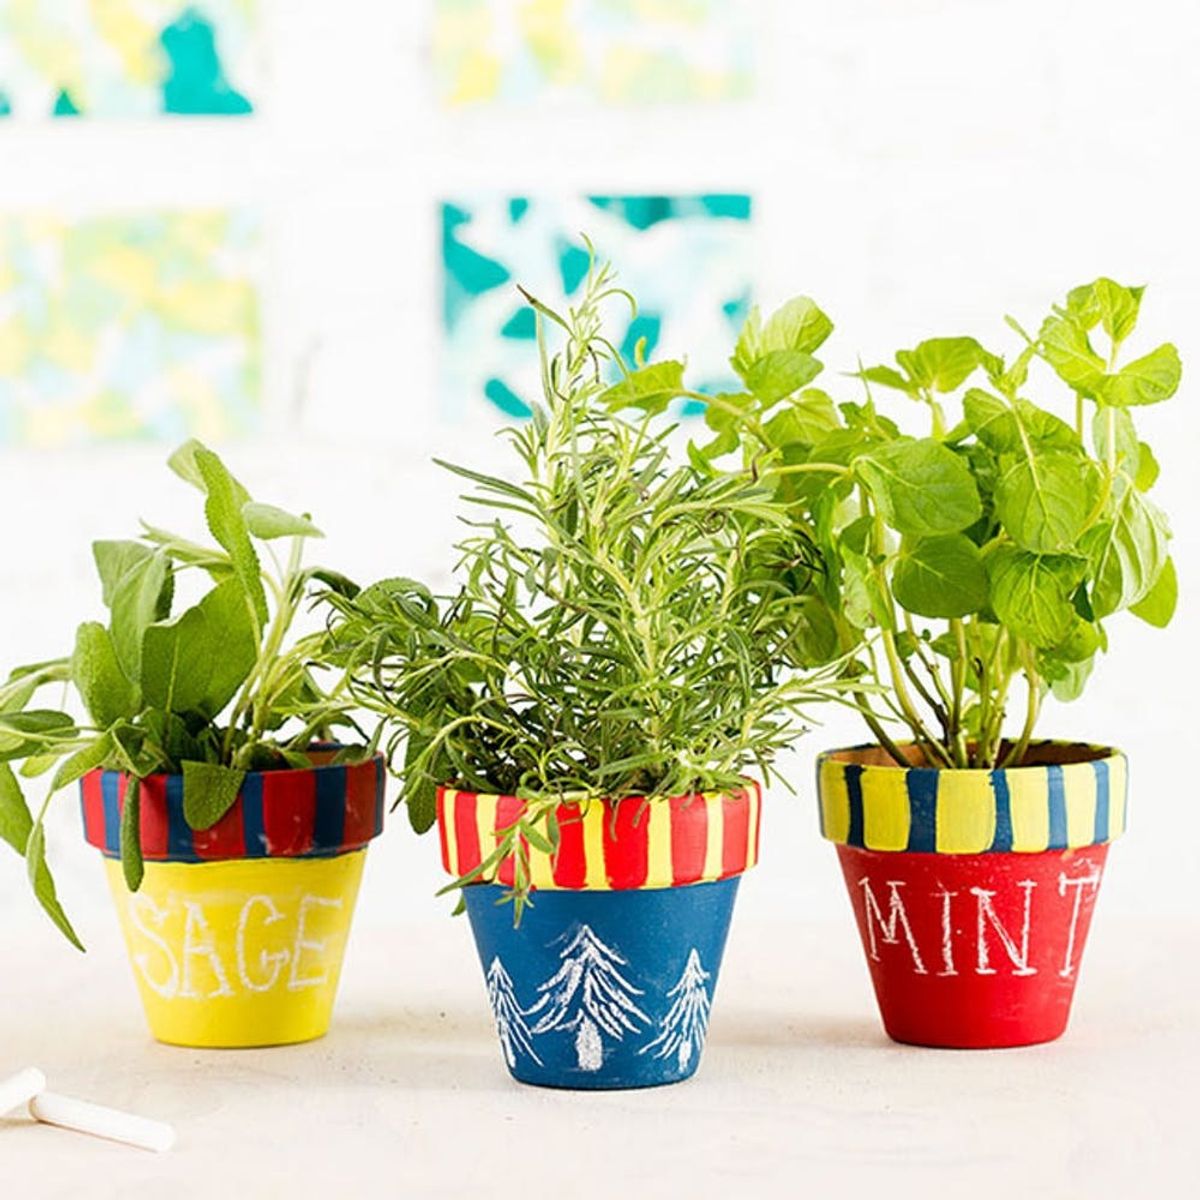
Throw on your favorite flick and get DIYing!
2 Kid-Friendly DIYs for Your Family Crafternoon

If you ask us, a crafternoon is the best way to spend quality time with your family — especially when there are kiddos involved. We’re all about getting your hands dirty together and flexing those creative muscles, no matter how old you are. Because really, what better way to spend a winter afternoon than by throwing on a Disney flick and DIYing with your littles?
Speaking of Disney movies, it just so happens that one of our favorites is coming back into our lives in a big way! Snow White and the Seven Dwarfs will be available for the first time on Digital HD and Disney Movies Anywhere January 19, and on Blu-ray™ February 2. To celebrate, we’ve teamed up with Disney to bring you two DIYs that are super kid-friendly and all about working together as a fam, just like Snow White, the Seven Dwarfs and all the enchanted forest creatures: an indoor herb garden made with chalkboard-painted pots and a modern family tree that your mini-me can keep in their room. Let’s get to it!
Indoor Herb Garden

First up: Your very own enchanted forest, kitchen edition. Indoor herb gardens are a fantastic way for kids to learn about gardening year-round, and they can actually *see* how their food grows. Plus, chalkboard paint makes every surface a canvas for your curious and creative kiddo, and it’s super easy to DIY: Simply add unsanded grout to acrylic paint and mix. We’ll show you how!
Materials + Tools:
— herbs
— soil
— terra cotta pots
— acrylic paint
— unsanded grout
— chalk
— paint brushes
— measuring cup
— Tablespoon
Instructions:
1. Mix together ½ cup of acrylic paint with 1 Tablespoon of unsanded grout, until combined.
2. Paint the outside of the pot as you like. We went with colors and patterns reminiscent of Snow White’s dress.
3. Once the paint is dry, draw on the pot with chalk. You could label it with each herb’s name, or draw a pretty forest scene — the options are endless.
4. Plant your favorite herbs, then set near a window. That’s it!

Psst: Choose a measuring cup and tablespoon you don’t use with food. Safety first :)

Mix together a half cup of acrylic paint with one Tablespoon of unsanded grout until combined.

Paint the outside of the pot. We went with colors and patterns that remind us of our favorite fair princess.

Repeat with as many pots as you like. Ta-da!

Once the paint is dry (which should be super quick!), draw on the pot with chalk.

You can also label each pot with the herb’s name.

Plant seeds in the soil in each pot, or fast-forward and buy live herbs from your local grocery store. Place somewhere near sunlight, and watch your herbs flourish!

How easy was that?

Family Tree Wall Art
Here’s one of the best lessons we learned from Snow White and the Seven Dwarfs: It’s important to celebrate family, no matter what form it takes, just like Snow White formed her own family with the Seven Dwarfs and her forest friends. This family tree is a sweet way for the kiddos to celebrate the people (and pets!) that make up your family. We went traditional with our tree, but yours could include friends, neighbors and anyone else you consider near and dear. Also, hello, easy wall art!

Materials + Tools:
— large foam board
— large piece card stock or construction paper (blue)
— smaller pieces card stock (red + yellow)
— Mod Podge
— paint brush
— scissors
— Sharpie
— pen
Instructions:
1. Start by sketching out a version of your family tree on scratch paper.
2. Draw the silhouette of the tree on the backside of your large colored paper. Cut it out, then glue it onto the large foam board using Mod Podge and a paint brush.
3. Onto the leaves! Draw them onto different colored paper, cut out, then fold down the middle to make them 3D. Write one family member’s name on each leaf.
4. Paint glue onto one side of each leaf, then glue it onto the tree.
5. Make a ribbon out of paper to “wrap” around the trunk of the tree. You can write your favorite quote here.
6. If you like, write your family name on the foam board too. Voila!

Start by sketching out a version of your family tree on scratch paper.

Draw the silhouette of the tree on the backside of your large colored paper. Cut it out, then glue it onto the large foam board using Mod Podge and a paint brush.

On to the leaves! Draw them onto different colored paper, cut out and fold down the middle to make them 3D. Write one family member’s name on each leaf.

Paint Mod Podge onto one side of each leaf, then glue it onto the tree.

Make a paper ribbon to “wrap” around the trunk of the tree. You can write your favorite quote here.

If you like, write your family name on the foam board too.

And there you have it! Easy and educational wall art.

Making these yourself? Snap a photo and post it with the tag #iamcreative so we can take a peek!
This post is a collaboration with Disney.
Authored by: Maddie Bachelder
DIY + Photo Styling: Maddie Bachelder + Anita Yung
Photography: Chris Andre


