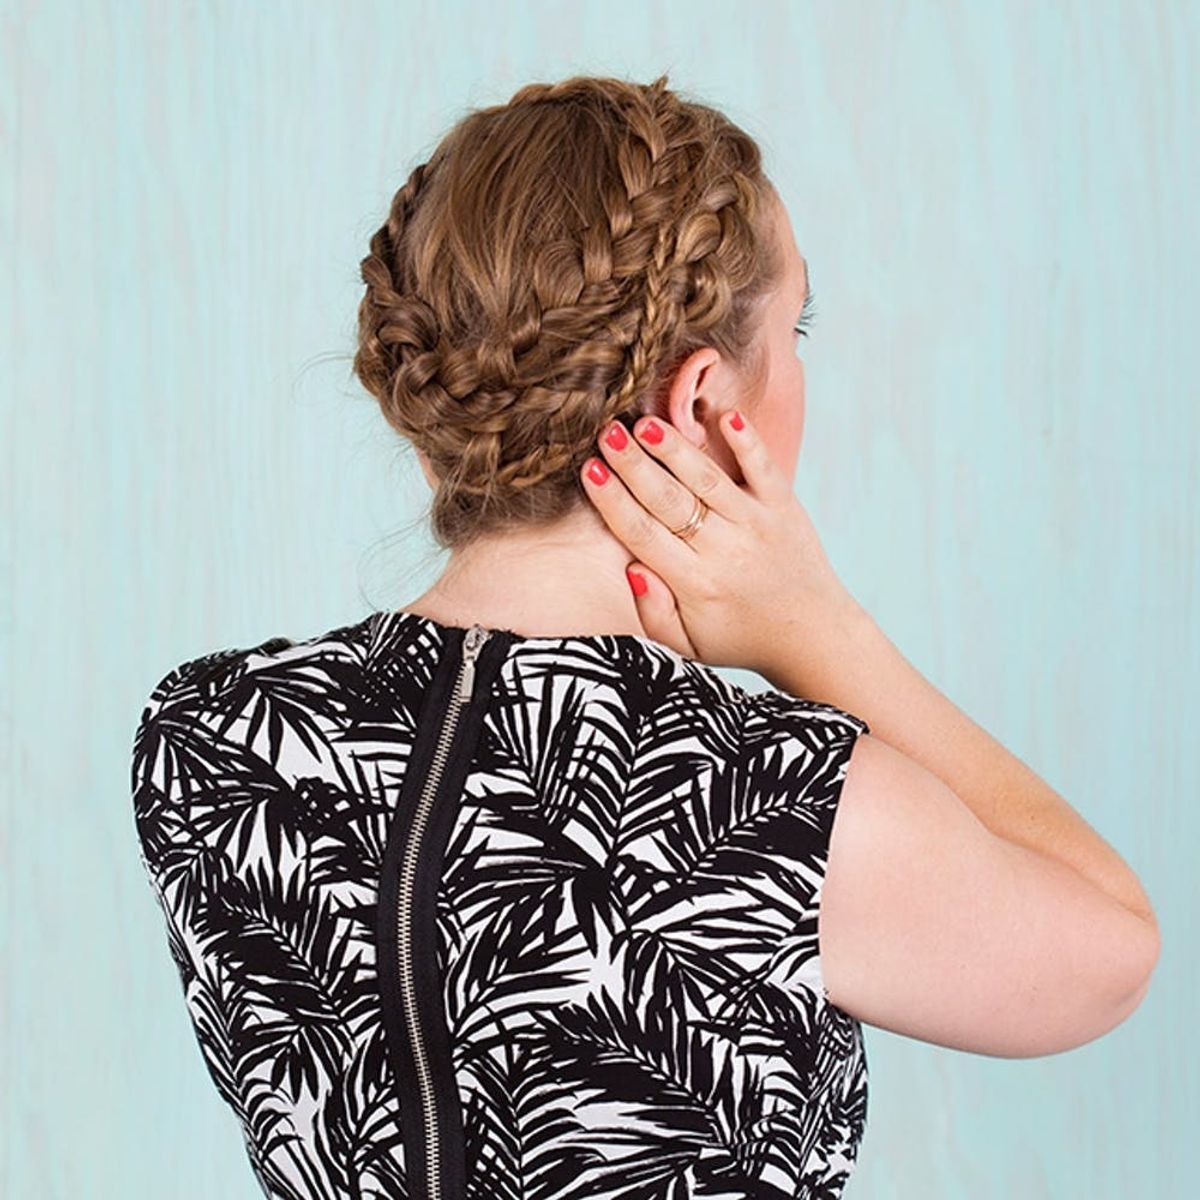
Four simple steps that even YOU can do!
You Won’t Believe How Simple It Is to Recreate This Spiral Braid

There are two types of braids. There are the classics: the basic three-strand, the fishtail and the Dutch, all five-minute ‘dos that most of us could pull off with our eyes closed. Then, there are the braids on the opposite end of the spectrum — the eye-poppingly gorgeous, head-scratchigly intricate kind of braids you see all over Pinterest on celebrities and high-fashion models. You know, the kind you couldn’t possibly pull off yourself… way wrong, you guys. Here I’m showing you how to DIY one of the most elaborate-looking braids around — the spiral braid — that you can execute before a major event, say, a Valentine’s Day date or a 30th birthday bash for your bestie. Long haired-girls, this is your time to shine!

Prep: Add Texture
- Whenever you’re styling your hair in a braid, it’s best to make sure your hair has a little bit of a rougher texture to hold it in place as you go, which will make it easier for you to style. Spray a dry shampoo like TRESemme Fresh Start Volumizing Dry Shampoo ($5) at your roots all the way through the ends of your hair and shake your fingers through your hair to disperse the product evenly.
Step 1: Heavy Part + First Braid
Place a heavy side part in your hair. Then begin to Dutch braid — aka an upside down French braid — the entire front portion of your hair, taking the front section from the side of your hair that has more hair from the part.
- Continue your Dutch braid all the way until you reach the nape of your neck on the opposite side of your head. When you reach this place, you can stop adding hair into the braid and switch to a traditional three-strand braid until you get to the ends. Tie off the braid with a small elastic.
Step 2: Make 2 More Sections + Braid Both
Divide the hair on the other side of your part into two sections. Starting with the section closest to your face, place a small Dutch braid that wraps around in the opposite direction and secure it with an elastic when you reach the ends. Do the same braid on the middle section of hair as well.
Check Point: How Your 3 Braids Should Look
Step 3: Wrap + Pin Your Braids
First Braid: Wrap the middle braid up and over your head, then pin the ends in place directly into the beginning of the braid.
Second Braid: Go back to the braid that you started with and wrap it up and over in the opposite direction, tucking in the ends to blend it into the braid and securing with bobby pins.
Third Braid: Finally, take that last little braid — the one that’s closest to your face — and wrap it around and over in the other direction. Pin it in place wherever the ends land.
Step 4: Loosen It Up
Use your fingers to gently separate the braid throughout to make it look softer and more modern.
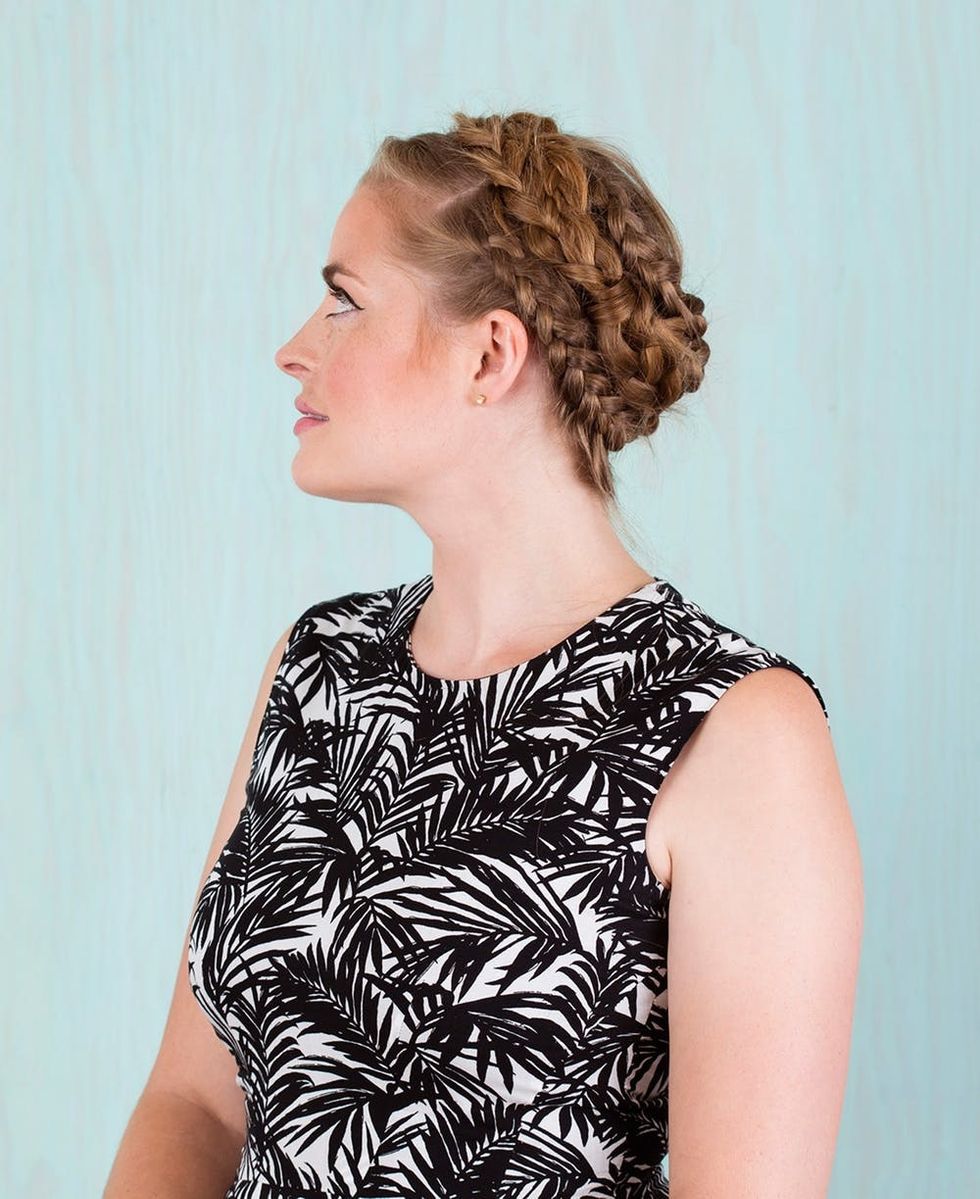
- Slightly unkempt, which gives off a soft, sexy vibe.
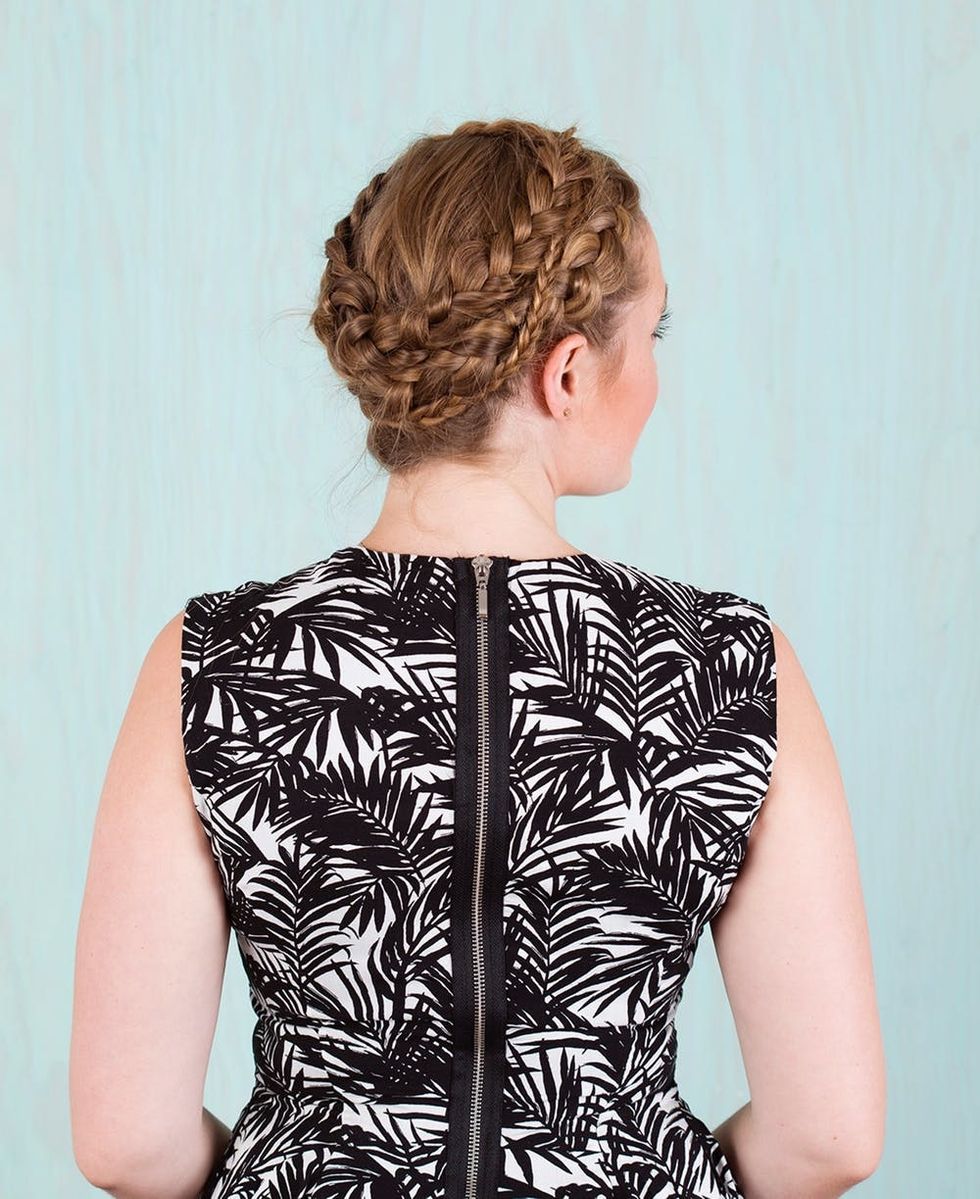
- The whole view, pretty from every angle!
See, when you break it down you realize it’s so much easier than you would have guessed just by looking at the final look. While most of us may not have Lee’s gorgeous long locks, we can still play around and recreate this look custom for our own hair. Remember that the more texture you have in your hair, the more unique you can make this look!

Have fun and share your look by tagging us on Instagram!


