THIS. IS. GORGEOUS.
Your St. Patrick’s Day Celebrations Need This Green Ombre Cake With Mirror Glaze
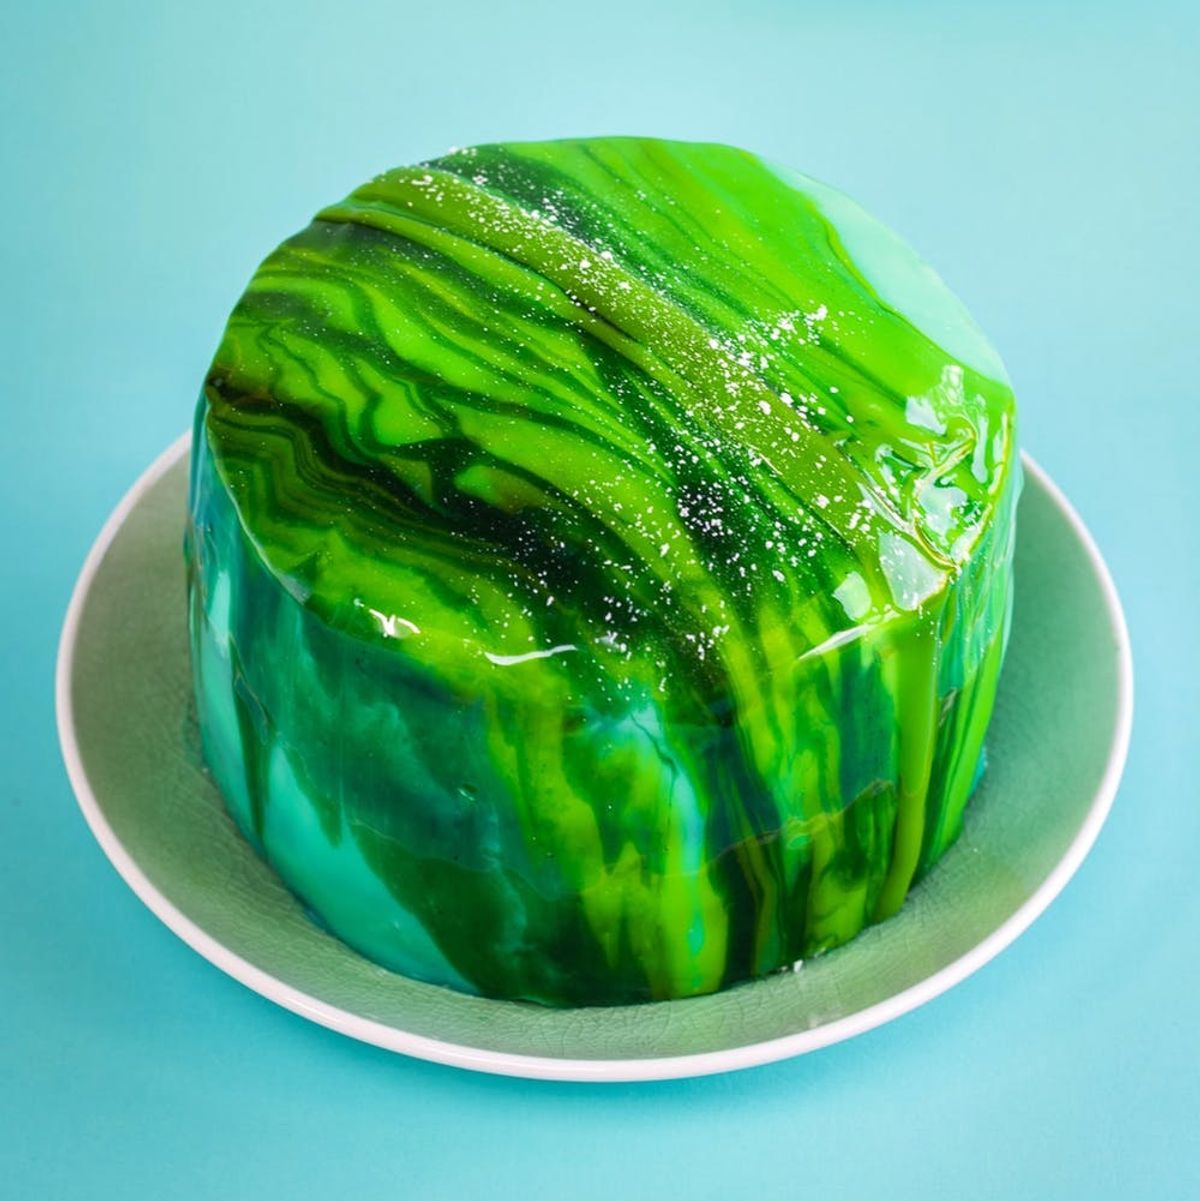
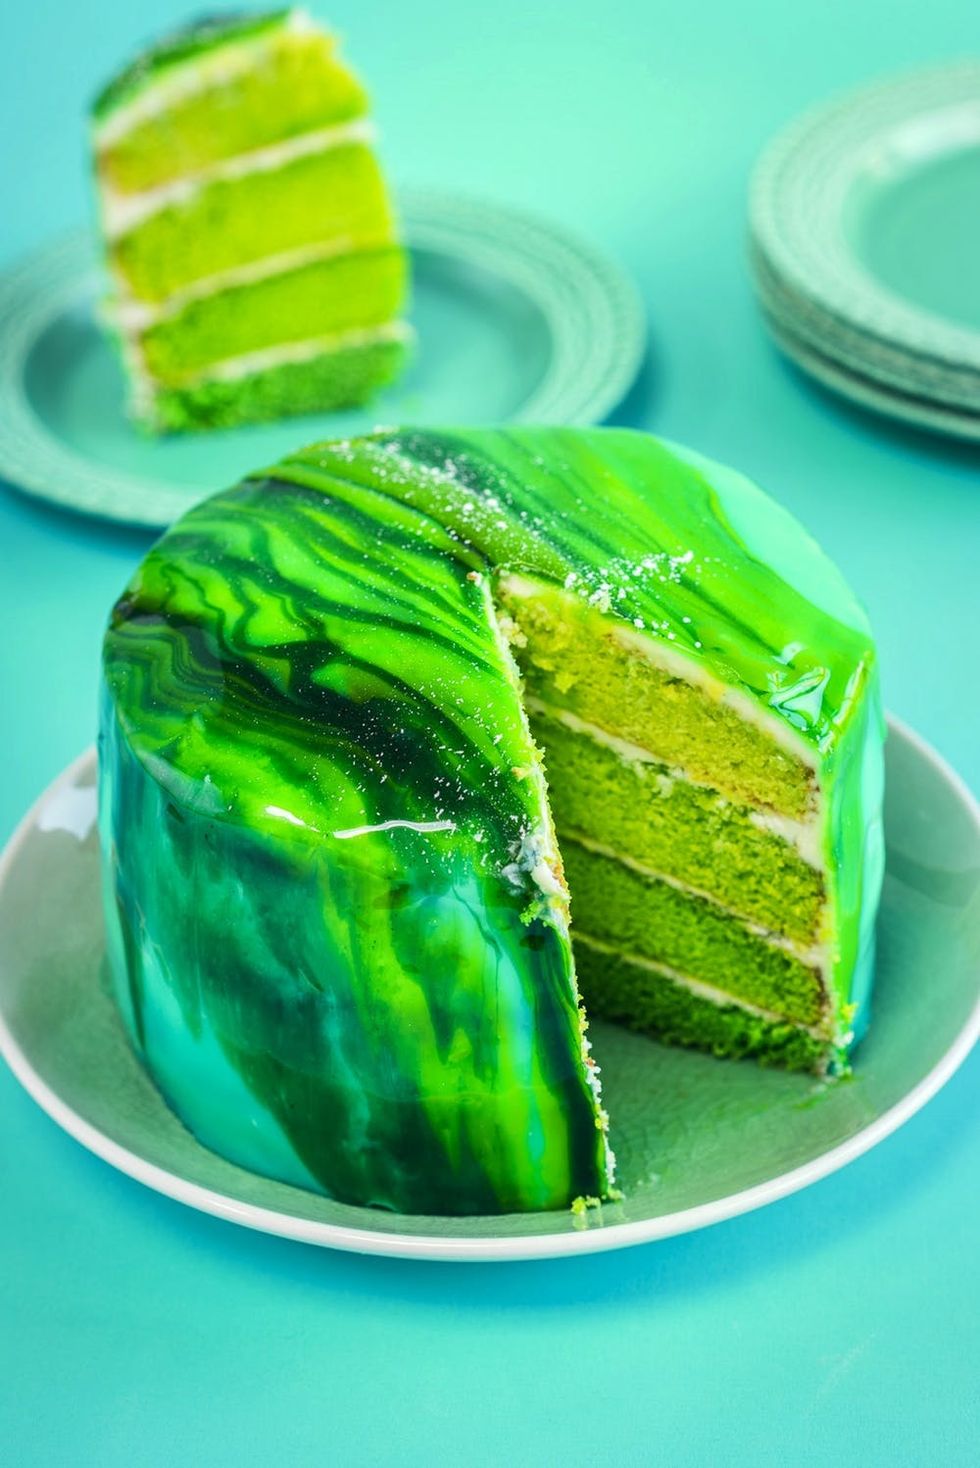
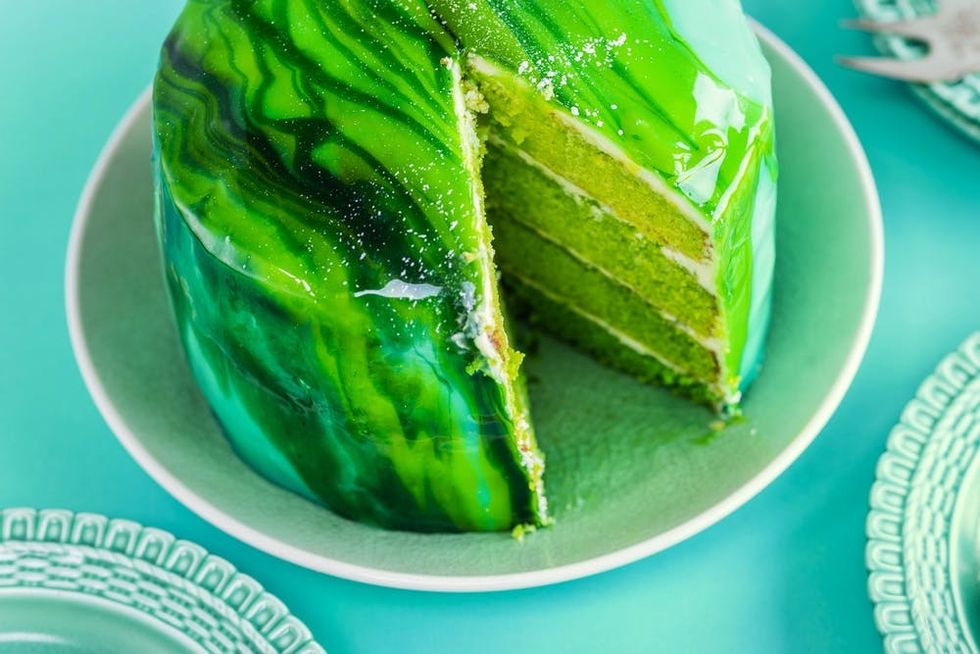
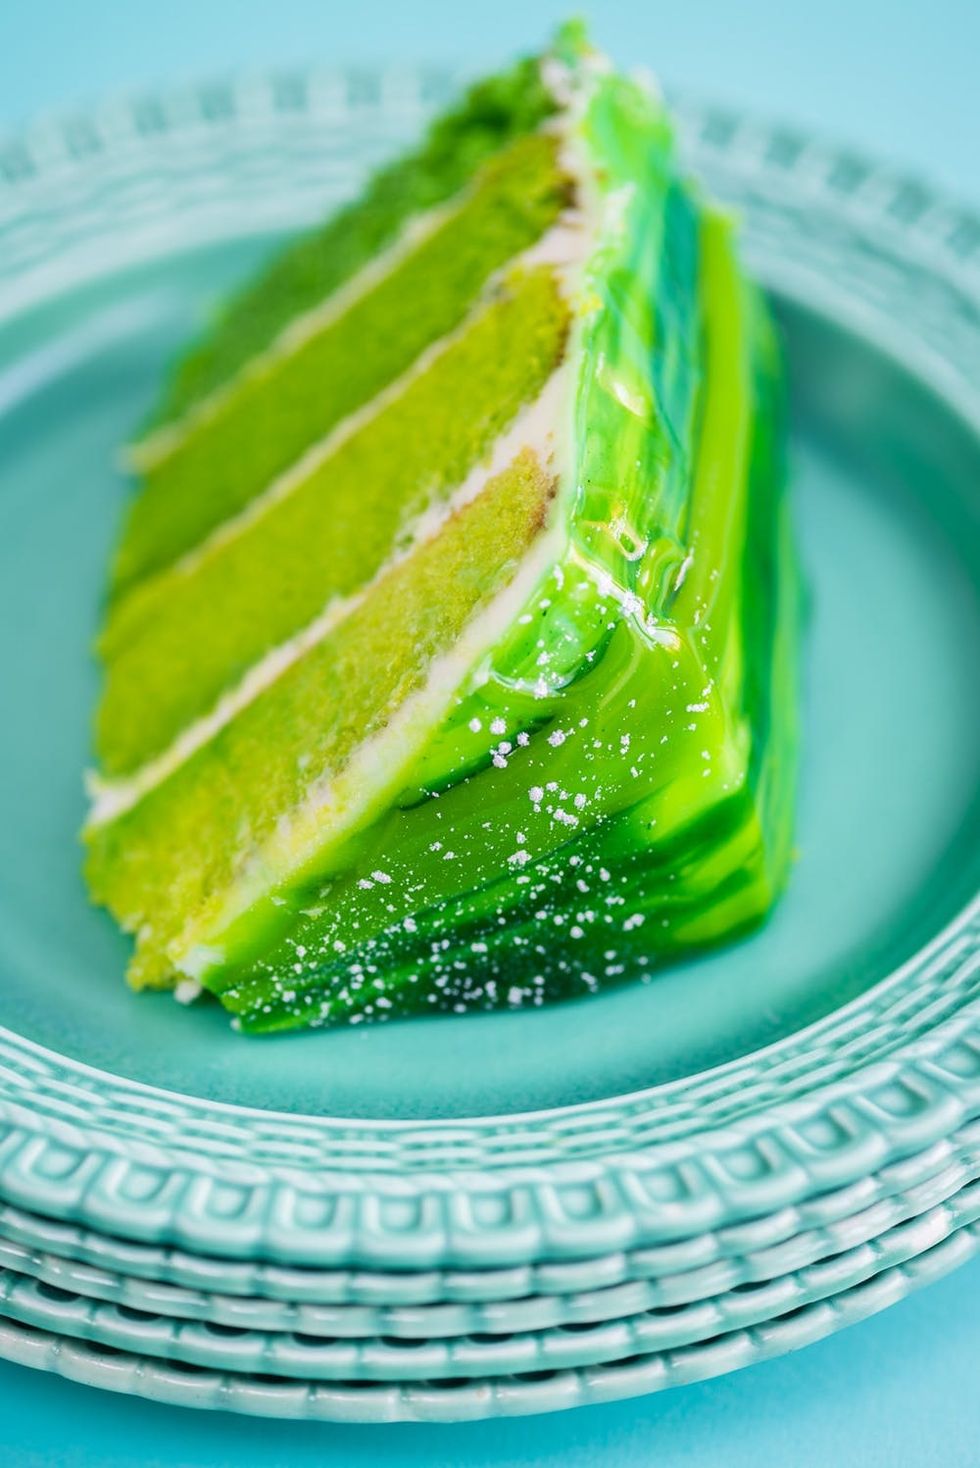
Whether you’re spending St. Patrick’s Day toasting with green beer and attending the parades or staying at home and enjoying some boozy mint shakes, you need to make this recipe! The mirror cake craze is an Instagram phenomenon, and with good reason — these cakes look simply stunning. I’ve applied Southern Fatty’s method to a green ombre cake that’s just tailor-made for St Patrick’s Day. It will make a spectacular centerpiece and — shhh! Let’s keep this under our hats — it’s actually pretty easy to make.
Ingredients:
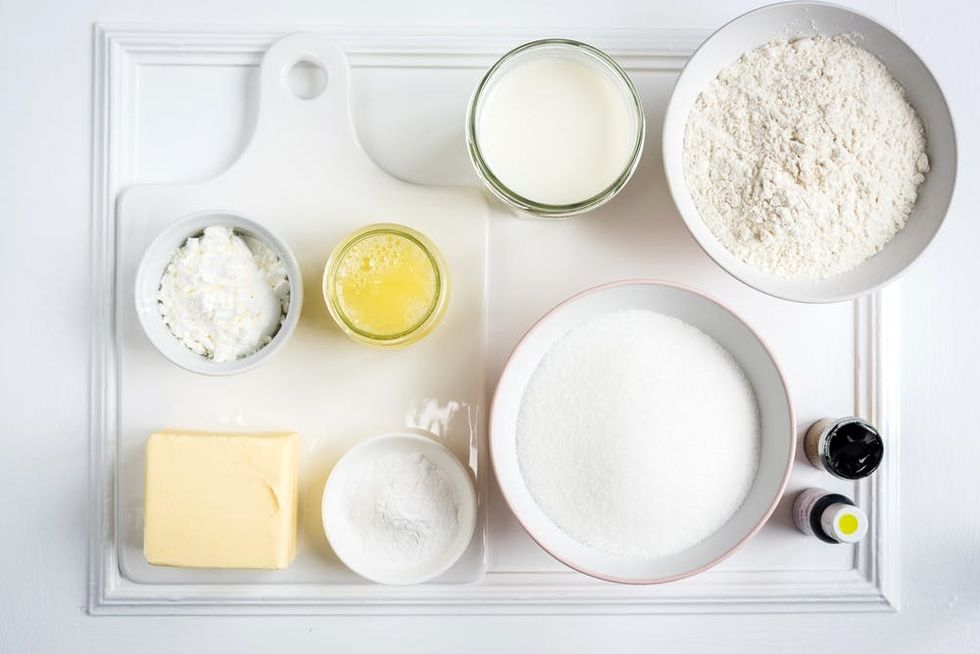
For the cake
- 12 ounces granulated sugar
- 7 1/2 ounces all purpose flour, plus more to dust the cake tins
- 3 level Tablespoons cornstarch
- 4 level teaspoons baking powder
- 1/4 teaspoon salt
- 6 ounces unsalted butter, cubed, plus more to grease the cake tins
- 1 cup coconut milk (or any milk of your choosing)
- 6 fluid ounces egg whites
- 1 teaspoon vanilla, almond, or coconut extract
- 2 or more shades of green food coloring (I used Americolor)
Instructions:
1. Preheat the oven to 350 degrees Fahrenheit. Grease 4 x 15-centimeter/6-inch cake tins with butter and line with greased baking parchment. Dust with flour, shaking out any excess.
2. Put the sugar, flour, cornstarch, baking powder, and salt in the bowl of your food processor and pulse to combine.
3. Add the cubed butter and pulse again until the mixture resembles coarse sand.
4. In a measuring jug, mix together the milk, egg whites, and any extracts.
5. Add the egg white mixture into the batter, in three stages, pulsing after each addition. Process for a couple of minutes until the batter is smooth.
6. Divide your batter into 4 bowls and add food coloring. It is best to start with a very small amount of food coloring on the tip of a chopstick, mix, then increase the quantity of food coloring gradually to intensify the color. You can mix more than one shade to create the ombre effect.
7. Divide the batter between the prepared tins and bake for 20-25 minutes, or until the cakes are well risen, firm on top, and coming away from the sides of the tin.
8. Transfer to a wire rack to cool for 10 minutes. Use a knife to loosen the edges and carefully turn out. Leave to cool completely before frosting.
Ingredients:
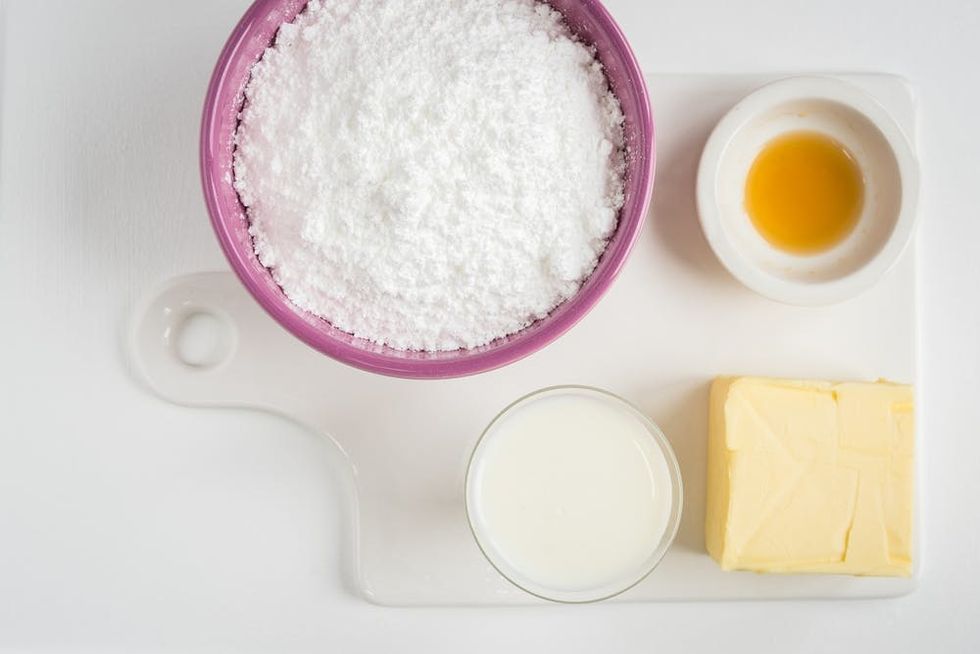
For the frosting
- 1 pound icing sugar
- 6 ounces unsalted butter at room temperature
- 4 Tablespoons tepid coconut milk (or any milk of your choosing)
- 1 teaspoon vanilla extract
Instructions:
1. Put all the ingredients apart from the milk in the bowl of your stand mixer, and start mixing at low speed to combine.
2. Start adding the milk a tablespoon at a time and increase the speed to maximum. Beat until the frosting is fluffy and smooth.
3. Spread a little frosting on the cake layers and sandwich together. Cover the entire cake with a crumb coating of frosting and freeze for an hour.
4. Add another layer of frosting and try to make it as smooth as possible using a pastry scraper. Freeze the cake until solid — at least 2 hours or overnight.
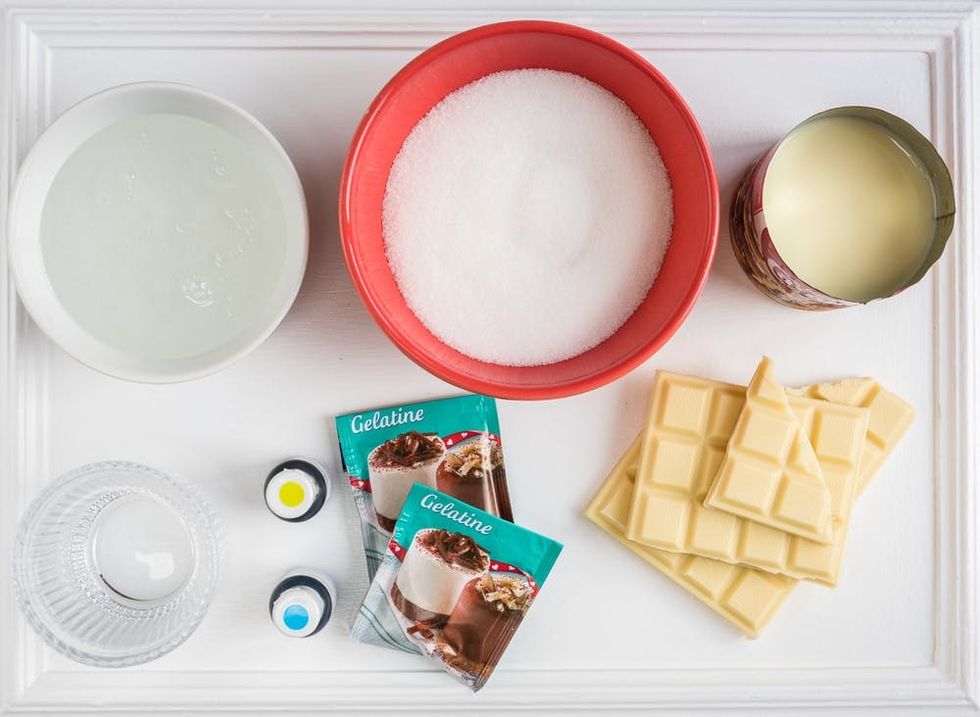
Ingredients:
For the mirror glaze
- 2 packets powdered gelatin + 1/3 cup cold water
- 7 ounces granulated sugar
- 7 ounces corn syrup
- 3 fluid ounces water
- 7 ounces white chocolate, cut into small pieces
- 3 1/2 ounces sweetened condensed milk
- green, yellow, and blue food coloring (I used Americolor)
- lustre powder (optional)
Instructions:
1. Put the gelatin in a bowl and add the cold water. Leave to stand until it swells. Put the white chocolate in a bowl.
2. Put the sugar, corn syrup, and water in a saucepan and heat gently, stirring with a balloon whisk, until the sugar dissolves.
3. Stir in the gelatin until smooth.
4. Add the condensed milk and stir again.
5. Pour over the white chocolate and leave to stand for 2-3 minutes, then gently stir with a balloon whisk, starting from the center of the bowl and increasing the motion outward until the chocolate melts completely and glaze is smooth.
6. Add your base color to the glaze and stir until combined.
7. Pour a small quantity of the glaze into two or more small bowls and add food coloring to tint darker contrasting colors. The glaze is ready to use when it reaches 95 degrees Fahrenheit — ideally, you should check this with a digital thermometer, but I found the glaze was ready to use by the time I had finished adding the food coloring.
8. Place your frozen cake on a wire rack set over a deep tray. Pour the base color over your cake, letting it drip over the sides. Keep adding more glaze until you have a strong base color.
9. Drizzle the contrasting colors over the base color to create an interesting pattern. Dust with a little lustre powder, if you like.
10. Allow the cake to come to room temperature before slicing and serving.
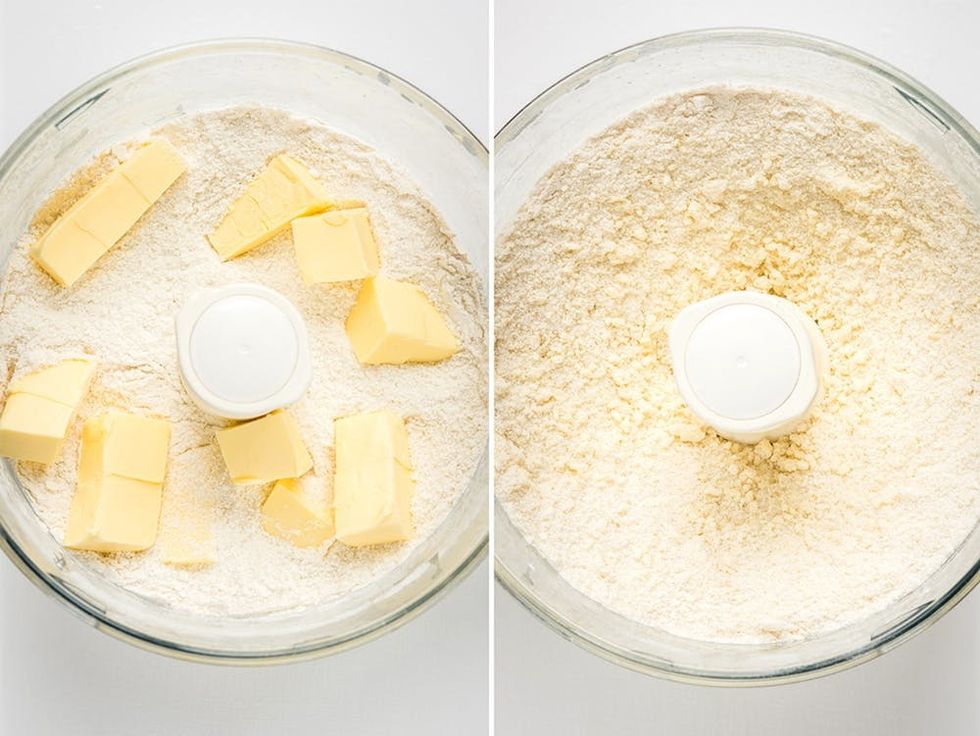
Preheat the oven to 350 degrees Fahrenheit. Grease 4 x 15-centimeter/6-inch cake tins with butter and line with greased baking parchment. Dust with flour, shaking out any excess. Put the sugar, flour, cornstarch, baking powder, and salt in the bowl of your food processor and pulse to combine. Add the cubed butter and pulse again until the mixture resembles coarse sand.
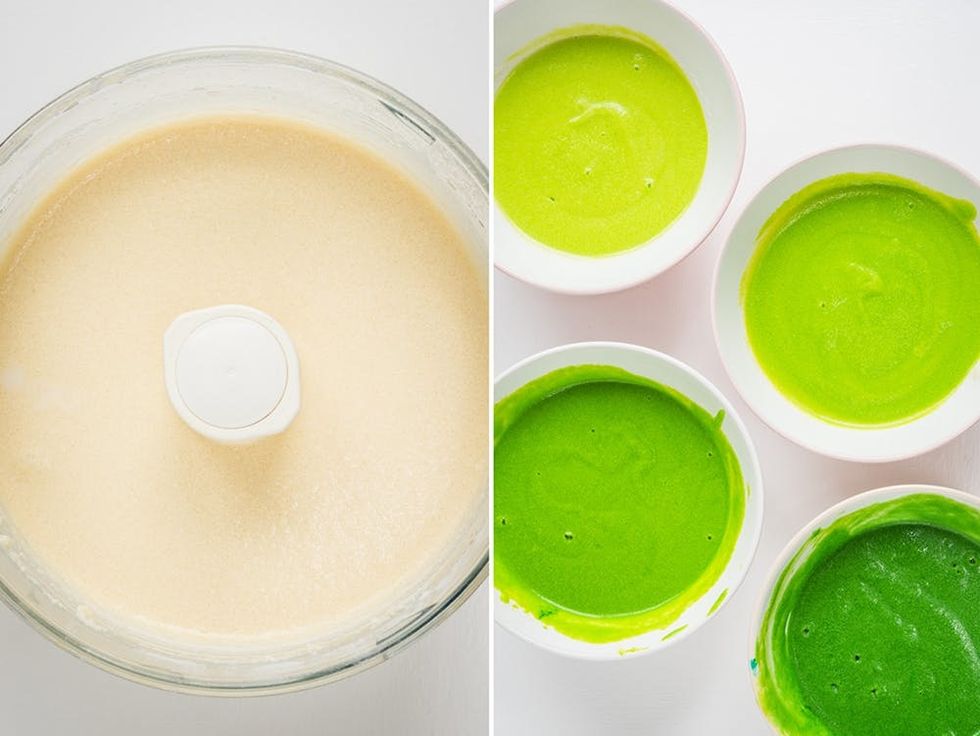
In a measuring jug, mix together the milk, egg whites, and any extracts. Add the egg white mixture into the batter, in three stages, pulsing after each addition. Process for a couple of minutes until the batter is smooth.
Divide your batter into four bowls and add food coloring. It is best to start with a very small amount of food coloring on the tip of a chopstick, mix, then increase the quantity of food coloring gradually to intensify the color. You can mix more than one shade to create the ombre effect.
Divide the batter between the prepared tins and bake for 20-25 minutes, or until the cakes are well risen, firm on top, and coming away from the sides of the tin.
Transfer to a wire rack to cool for 10 minutes. Use a knife to loosen the edges and carefully turn out. Leave to cool completely before frosting.
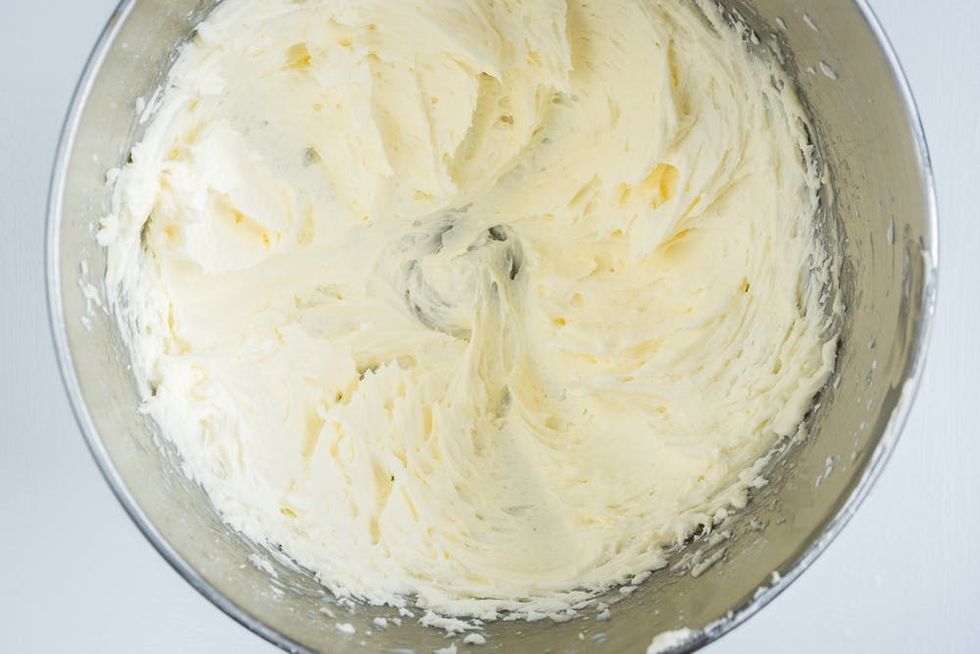
Put all the ingredients apart from the milk in the bowl of your stand mixer and start mixing at low speed to combine. Start adding the milk a tablespoon at a time and increase the speed to maximum. Beat until the frosting is fluffy and smooth.
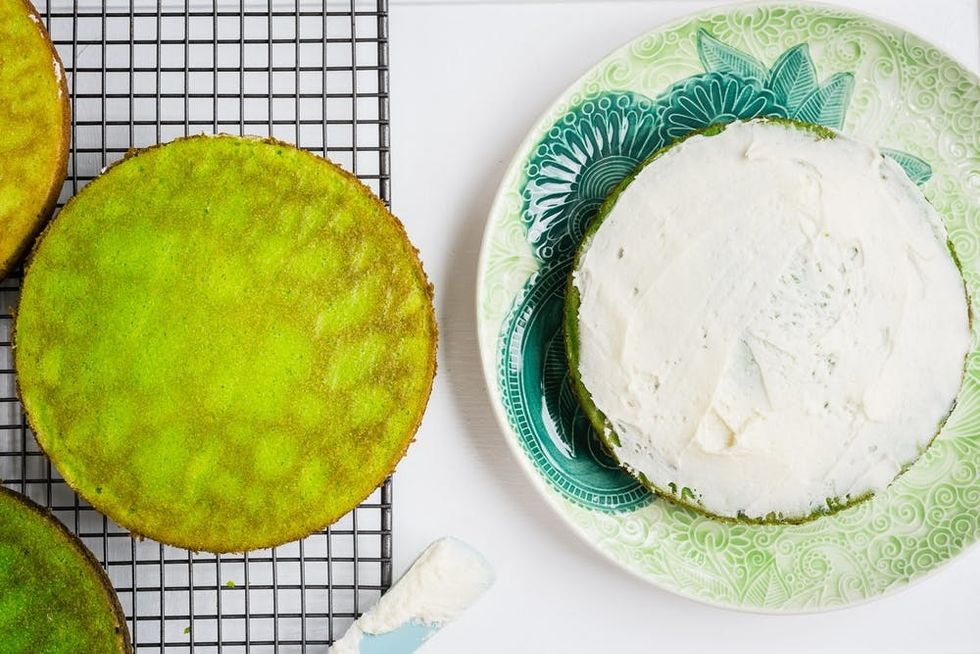
Spread a little frosting on the cake layers and sandwich together. Cover the entire cake with a crumb coating of frosting and freeze for an hour. Add another layer of frosting and try to make it as smooth as possible using a pastry scraper. Freeze the cake until solid — at least two hours or overnight.
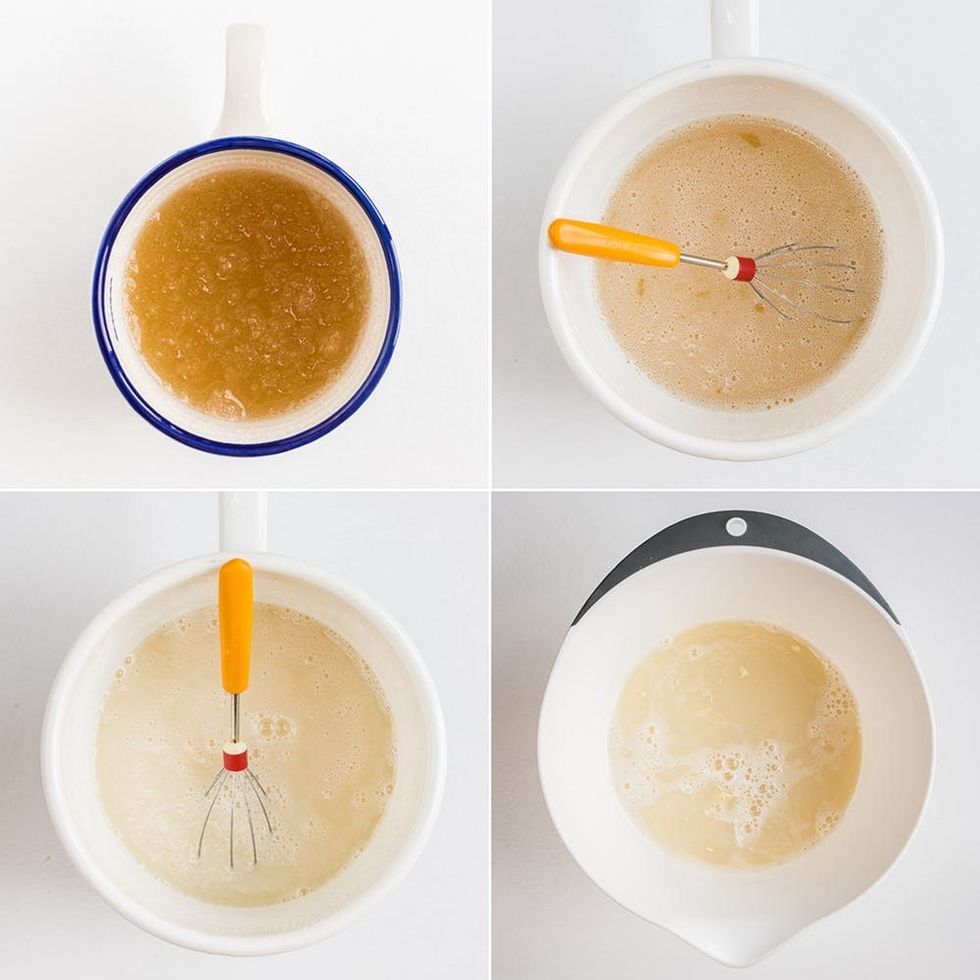
Put the gelatin in a bowl and add the cold water. Leave to stand until it swells. Put the white chocolate in a bowl. Put the sugar, corn syrup, and water in saucepan and heat gently, stirring with a balloon whisk, until the sugar dissolves. Stir in the gelatin until smooth. Add the condensed milk and stir again. Pour over the white chocolate and leave to stand for 2-3 minutes, then gently stir with a balloon whisk, starting from the center of the bowl and increasing the motion outward until the chocolate melts completely and glaze is smooth.
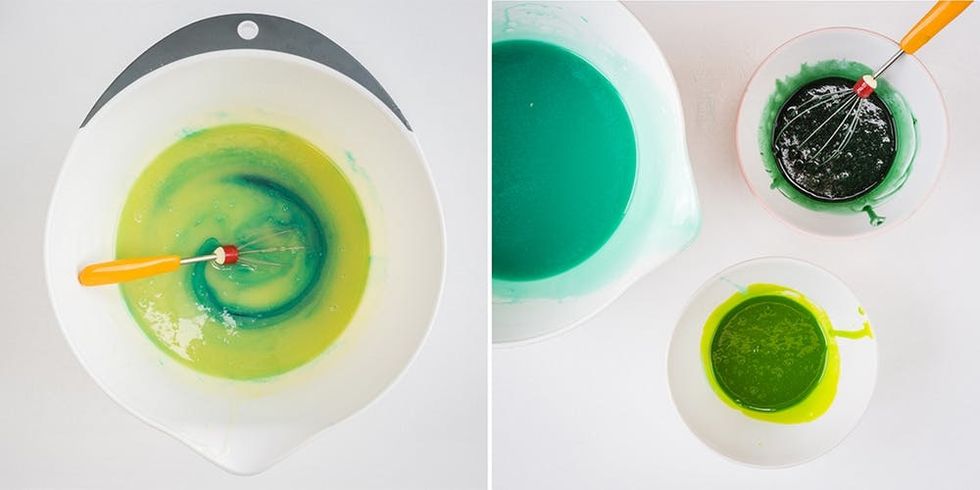
Add your base color to the glaze and stir until combined. Pour a small quantity of the glaze into one or two more small bowls and add food coloring to tint darker contrasting colors. The glaze is ready to use when it reaches 95 degrees Fahrenheit — ideally, you should check this with a digital thermometer, but I found the glaze was ready to use by the time I had finished adding the food coloring.
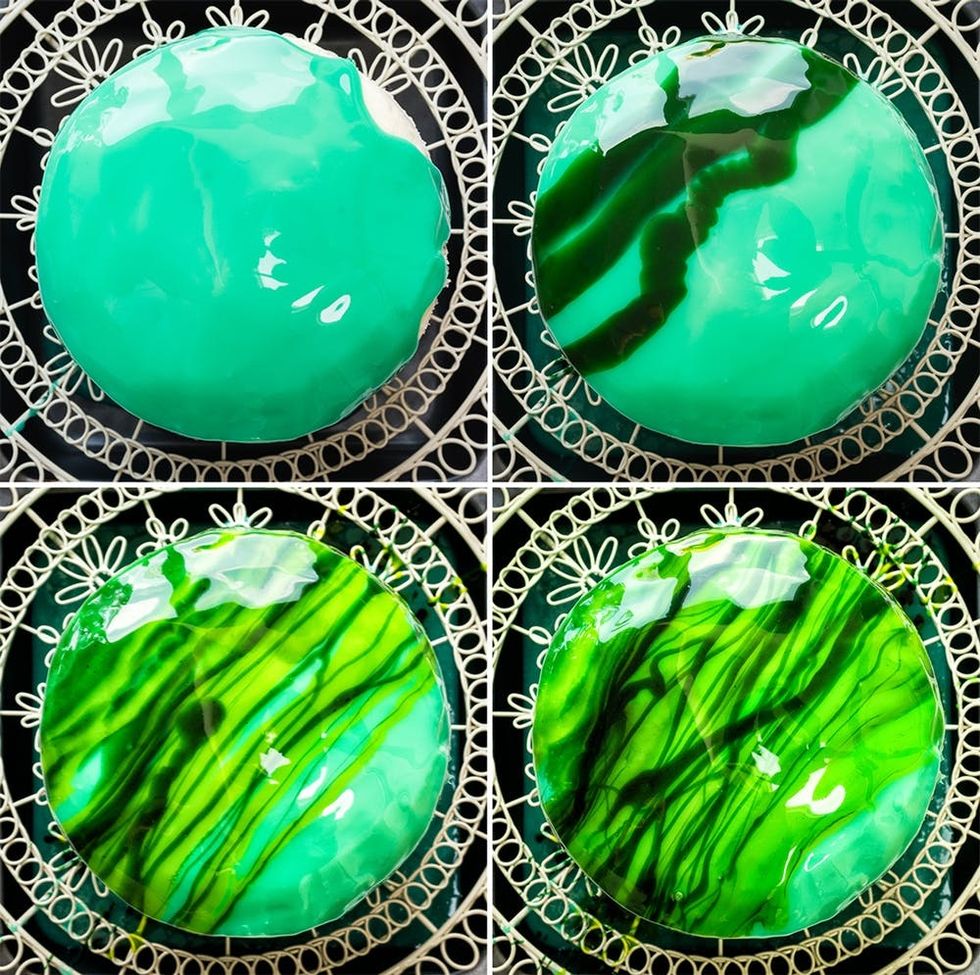
Place your frozen cake on a wire rack set over a deep tray. Pour the base color over your cake, letting it drip over the sides. Keep adding more glaze until you have a strong base color. Drizzle the contrasting colors over the base color to create an interesting pattern.
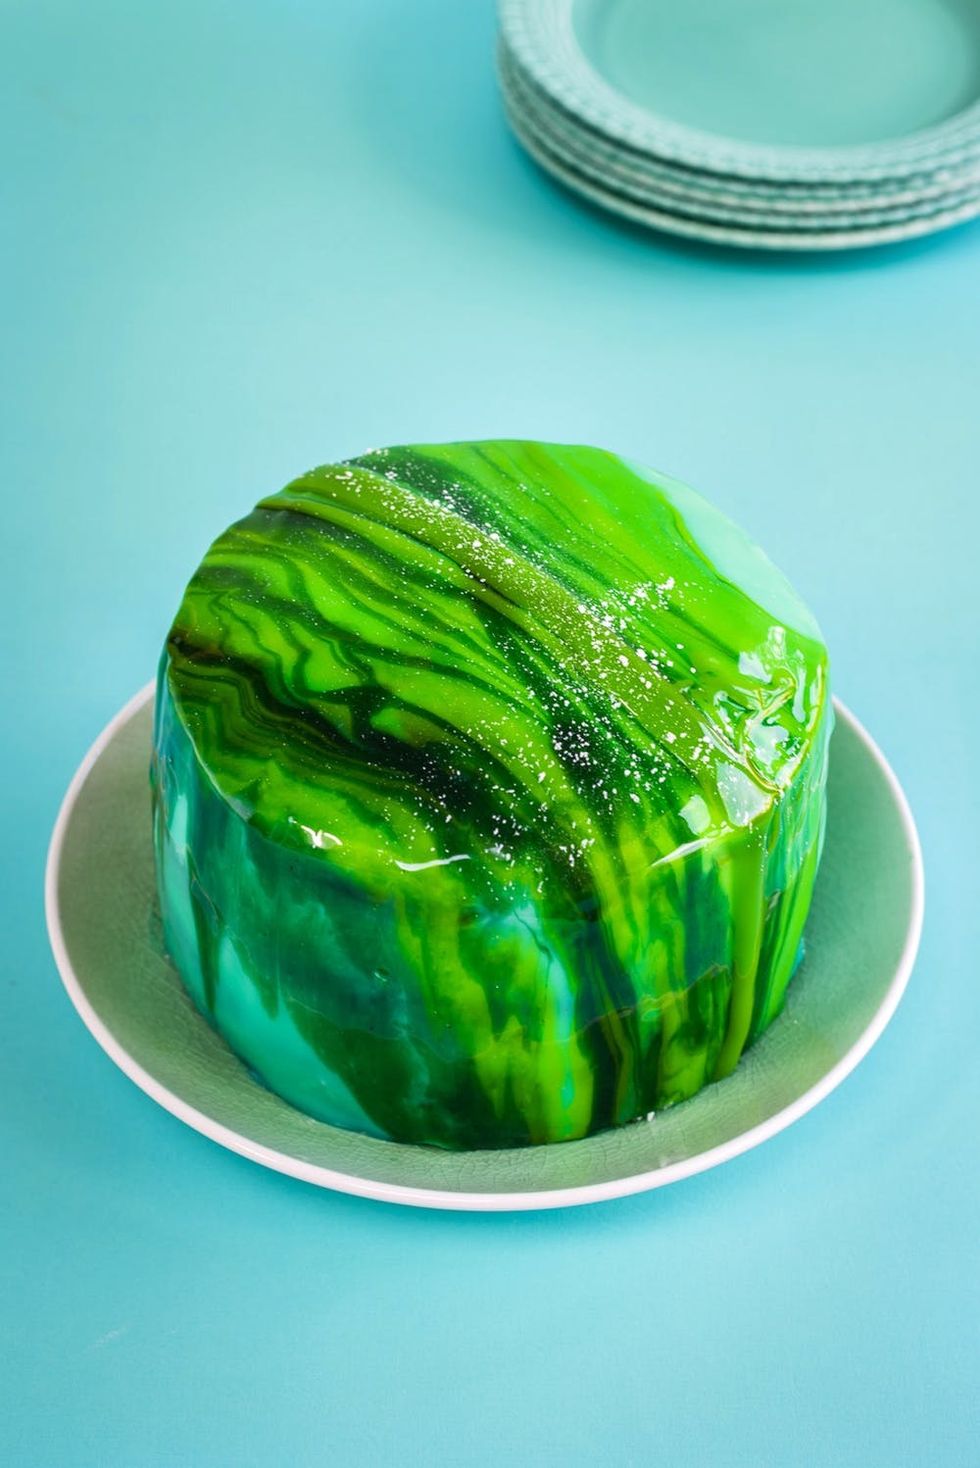
Dust with a little lustre powder if you like. Allow the cake to come to room temperature before slicing and serving.
How will you celebrate this St. Patrick’s Day? Follow us on Pinterest for more St. Patrick’s Day recipe ideas.


