It’s time to upgrade those boring coasters.
Coast Into Adulthood With These DIY Leather Coasters
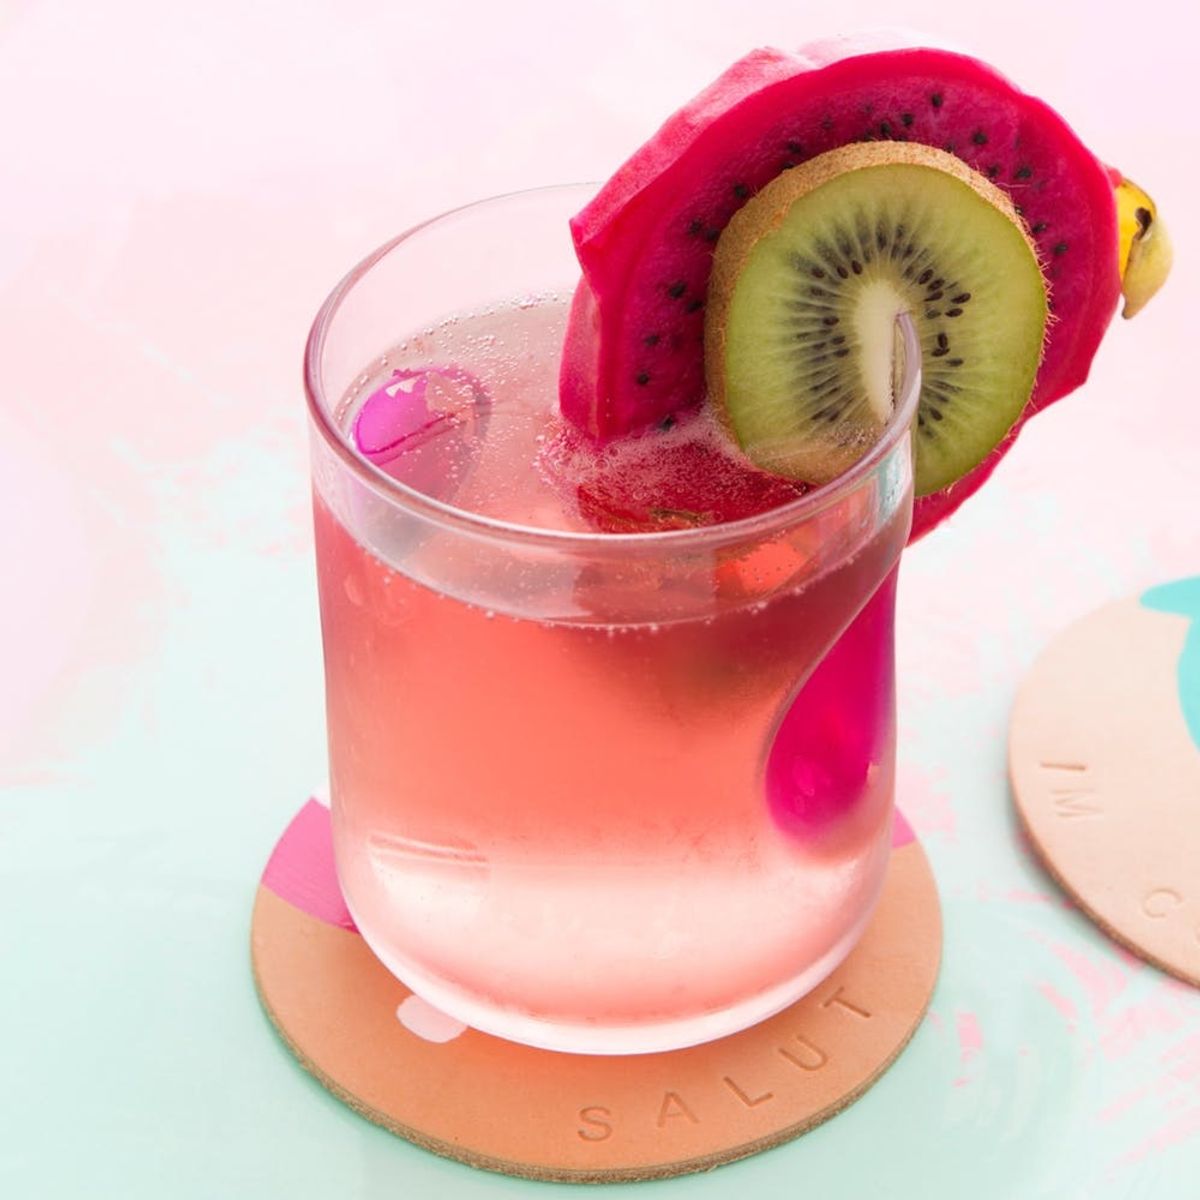
Confession: I like to think I’m an adult because I use coasters, but the reality is that I’ll leave them out on my coffee table for WEEKS after I bring them out. They’re like ugly land mines littered throughout my living room. What is it about coasters that makes it so easy to avoid cleaning them up? If you have the same problem that I do, you’ll be thrilled to hear about my solution ;) No, it’s not to actually put the coasters away, it’s to make really cute ones that’ll look great on my coffee table instead! We put together a DIY Stamped Leather Coasters Kit so you can make some seriously chic coasters to upgrade your home decor. A little additional paint really makes these coasters pop.
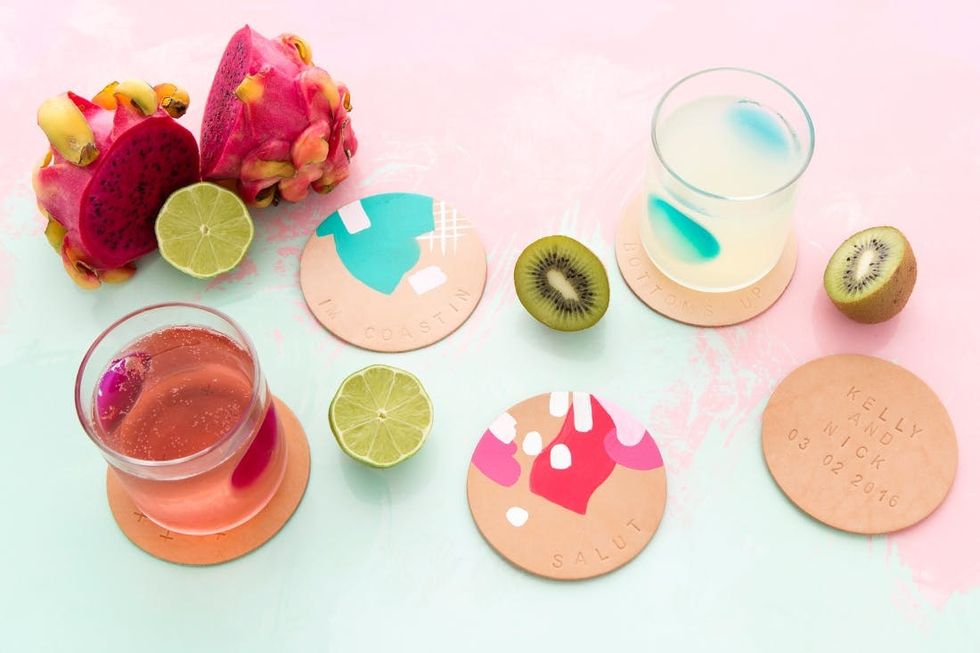
These are coasters you won’t be ashamed of leaving out on your coffee table.

I mean, how could you possibly hide these?!

Materials (kit available in our shop):
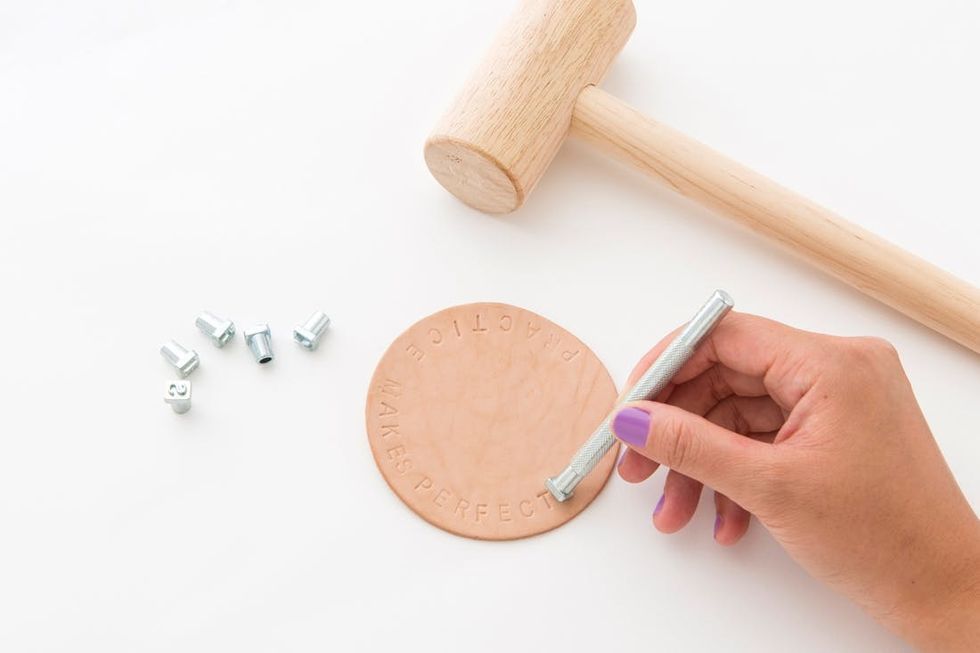
— alphabet stamps for leather
— mallet
— 4 x 3 3/4 inch leather coasters
— practice piece (1 extra coaster)
*Please note: leather is a natural material and variations in color should be anticipated.
Get your materials together (or purchase a kit), and let’s get started!
Instructions:
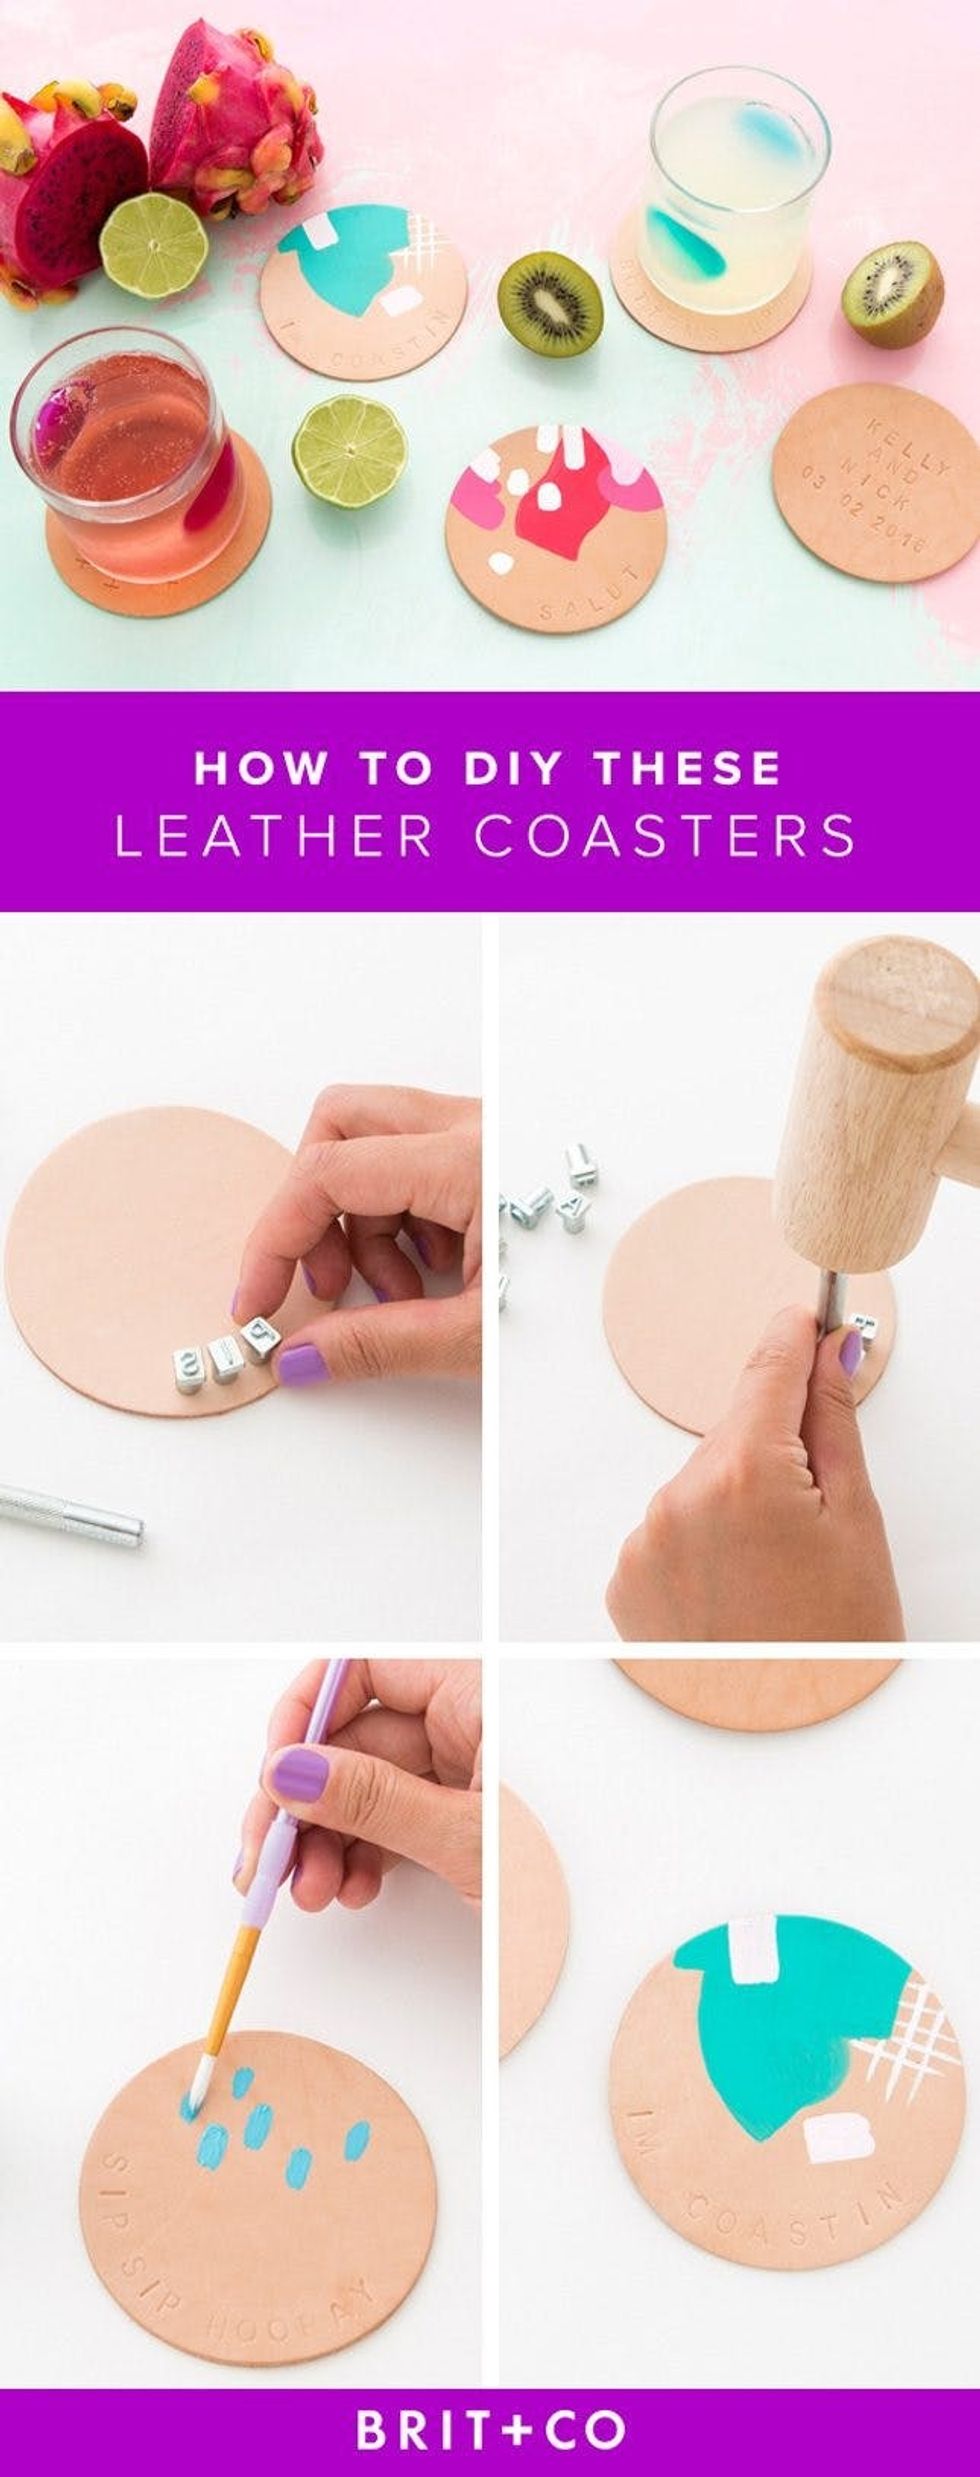
1. Get accustomed to stamping by practicing on the extra piece of leather.
2. When you feel comfortable, arrange the alphabet stamps on the leather coaster.
3. Insert the alphabet stamp into the handle, position the stamp (letter faces downward) onto the leather and strike the stamp with the mallet once. Repeat this until you’re finished spelling out your phrase.
4. To take your coasters to the next level, add swatches of color using nail polish or acrylic paint.
Get accustomed to stamping by practicing on the extra piece of leather. We recommend choosing your least favorite piece of the five that we provide in our kit.
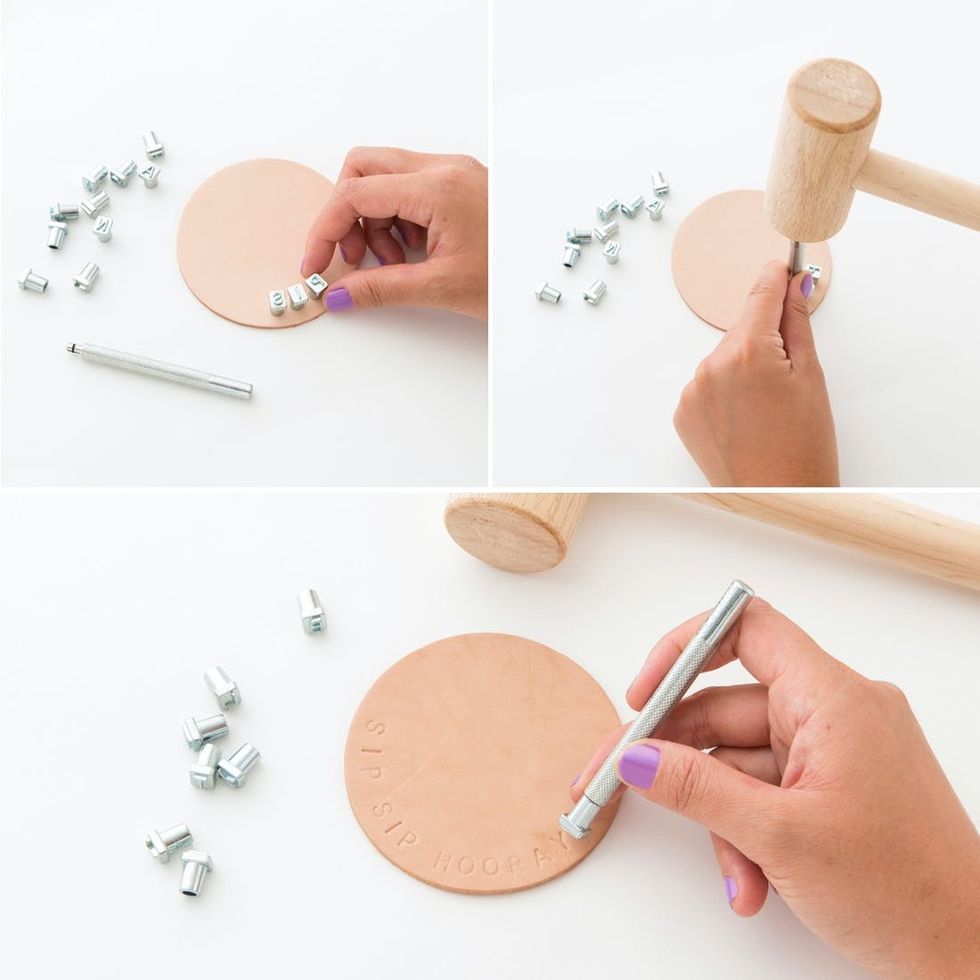
When you feel comfortable with the stamps, move onto the real deal. Arrange the stamps on the leather coaster so you get an idea for spacing. Insert the alphabet stamp into the handle, position the stamp onto the leather and strike the stamp ONCE with the mallet. The key is to only strike once or you’ll end up duplicating letters (which will appear like you’re looking at the text cross-eyed — no bueno).
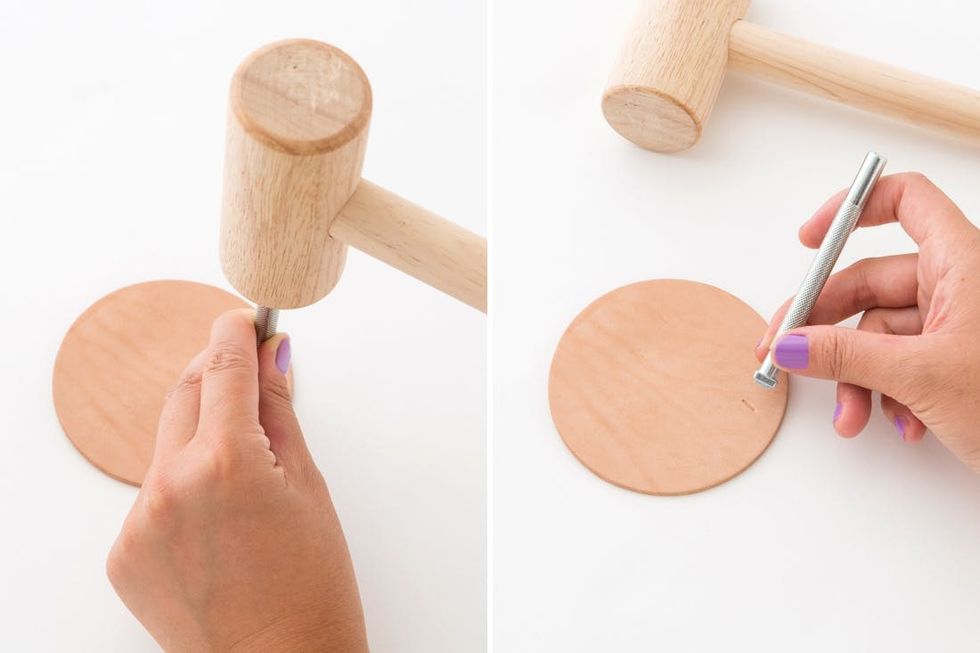
To create a simple “+” pattern, we used the I stamp and stamped in one direction first…
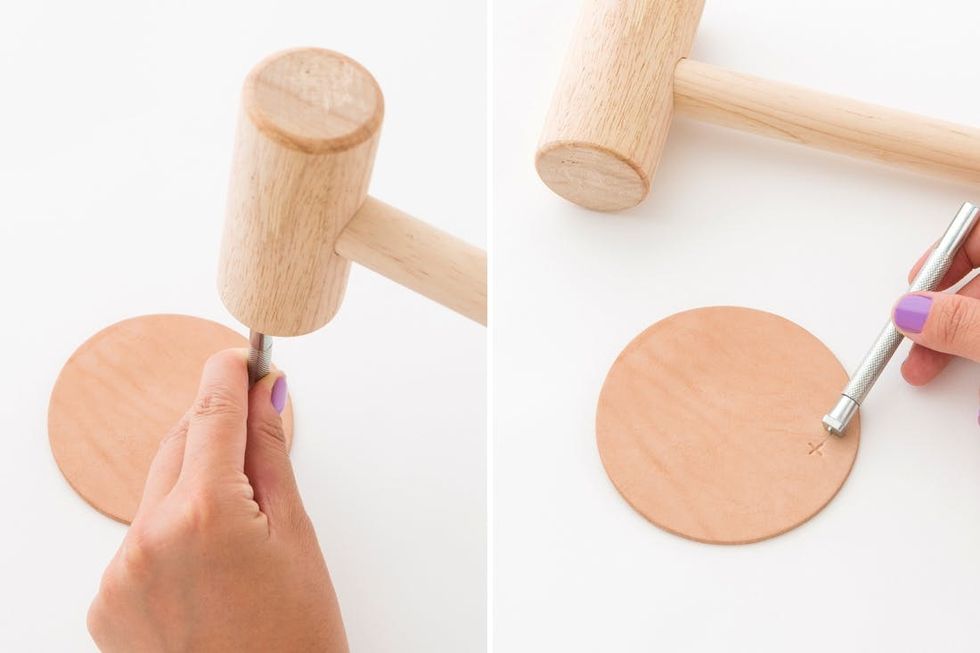
… and then stamped in the other direction right on top of the first stamp.
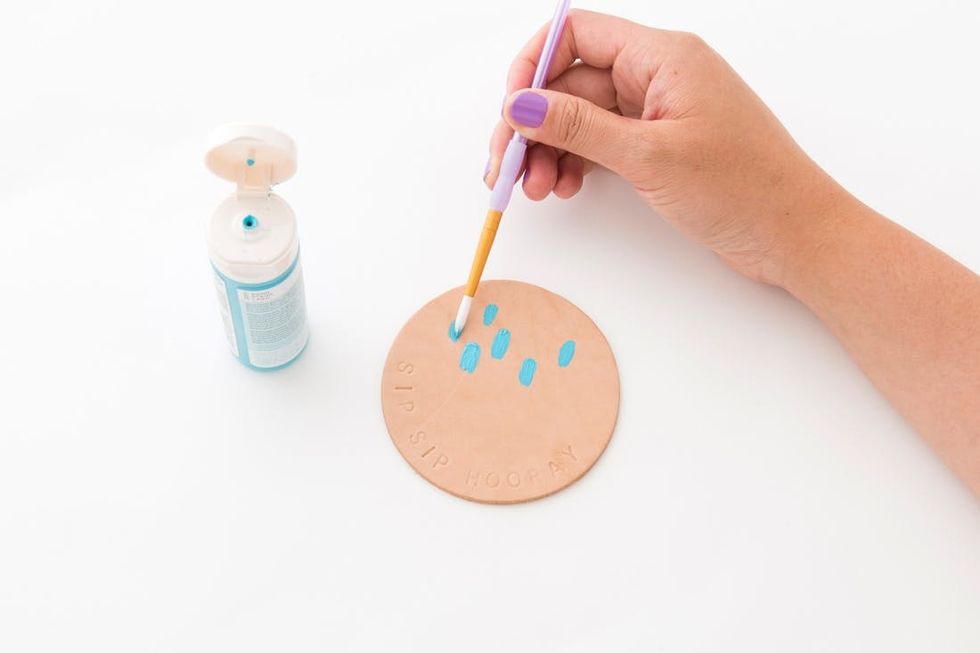
To add a pop of color, we chose to paint our coasters with acrylic paint. Nail polish works too.
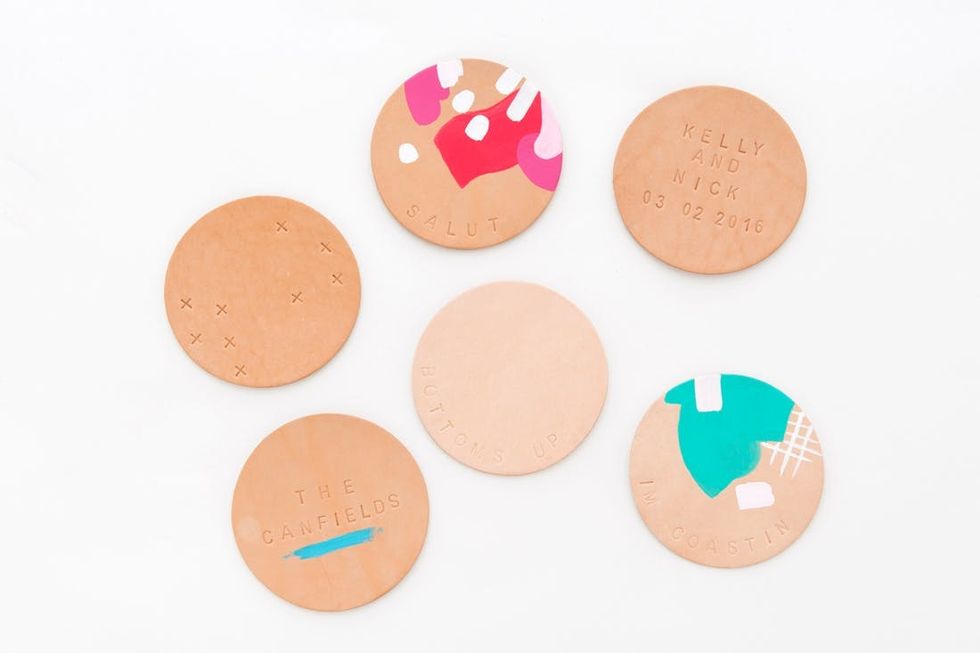
That’s all it takes to make some seriously chic coasters.
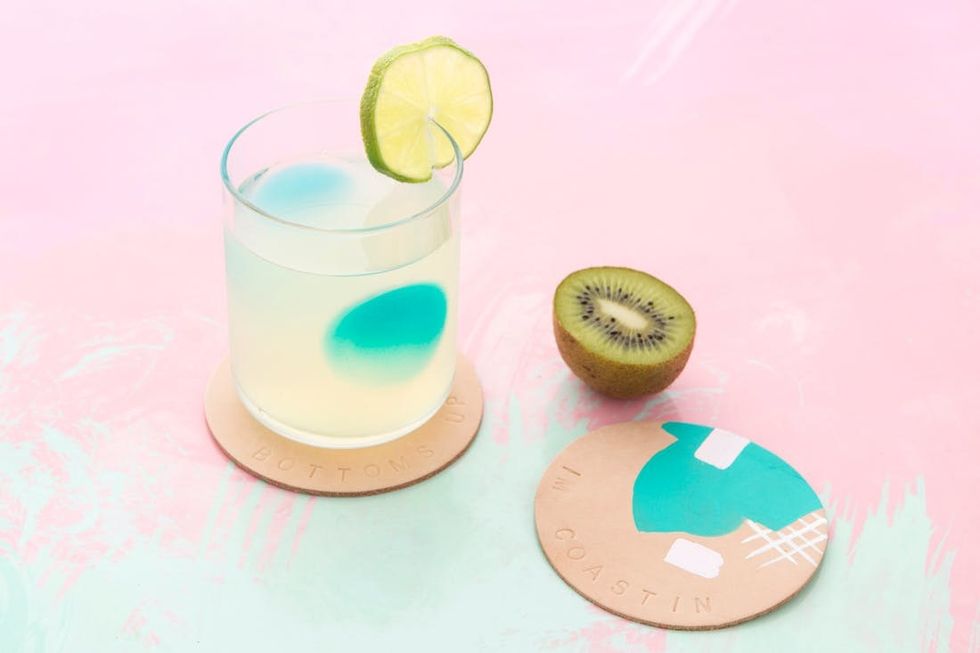
Your coffee table will thank you.
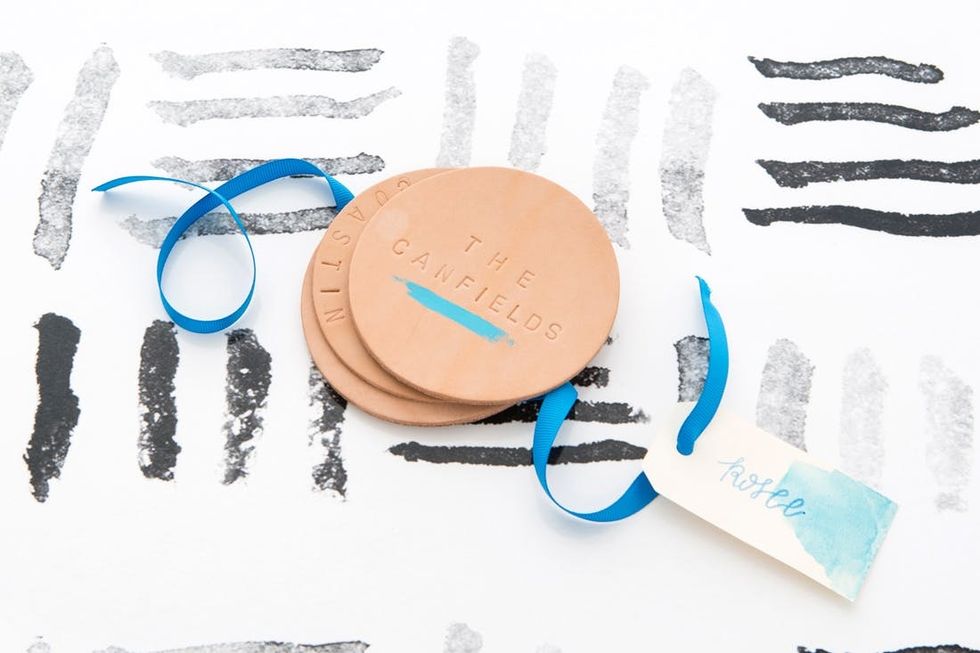
These also make the most adorable wedding gift or last-minute housewarming gift!
How are you customizing your stamped leather coasters? Show us your project by tagging us on Instagram and using the hashtag #iamcreative!
DIY Production and Styling: Marianne Koo
Photography: Kurt Andre


