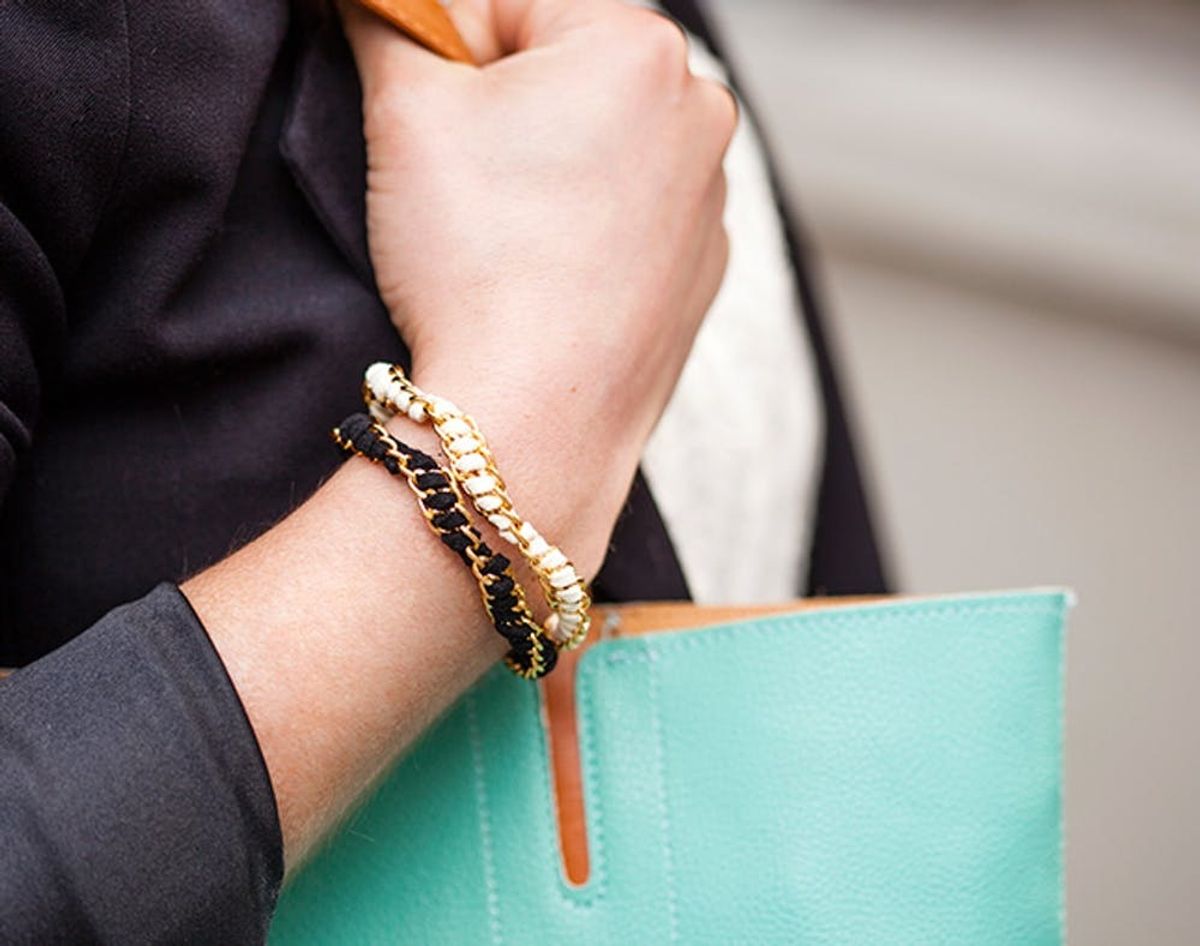
Some girls gawk at pretty purses, others ogle at shoes in any form, but when we style stalk around Brit HQ, we’re all about the arm candy. We firmly believe no wrist should be left unadorned, so whether it’s a single eye-catching piece or a bunch of bracelets stacked up on your wrist, we’ll most certainly be obsessed. That’s why were so into our latest jewelry DIY that yields not one, but two super cool stacking bracelets: a chic spiral bracelet and a wrap bracelet that you could wear as a posh pair or piece by piece. Don’t you love having options? Get the kit in the shop for just $24.99.
How to Make Chic Suede Chain Stacking Bracelets

Some girls gawk at pretty purses, others ogle at shoes in any form, but when we style stalk around Brit HQ, we’re all about the arm candy. We firmly believe no wrist should be left unadorned, so whether it’s a single eye-catching piece or a bunch of bracelets stacked up on your wrist, we’ll most certainly be obsessed. That’s why were so into our latest jewelry DIY that yields not one, but two super cool stacking bracelets: a chic spiral bracelet and a wrap bracelet that you could wear as a posh pair or piece by piece. Don’t you love having options? Get the kit in the shop for just $24.99.
Materials:
– white or black suede cording
– E6000
– clothespins
– gold curb chain
– lobster clasps
– jump rings
Tools:
– needle nose pliers
– scissors
Let’s start with the wrap bracelet. Measure the size your wrist by wrapping the curb chain around your wrist twice. Then cut the chain to your designated length—my wrist measured 6 1/2 inches around, so I cut the chain for this bracelet to 13 inches. While you’re at it, cut the suede cord about two inches longer than your chain, (you’ll want that extra cord on either end to make the closures a little later on), then, weave the cord through each opening on the chain until you reach the end. It’s that easy!
Now we’ll make the cord closures. Slip a jump ring onto that extra cord, dab on some E6000, ford the cord over, and clamp it down with a clothespin to hold it in place until it’s dry, about an hour. Then, move to the other end—make sure you add a lobster clasp to your jump ring before you slide it onto your cord (just open up that sucker with your pliers enough to slide on the clasp). Then, it’s the same process as before: dab with E6000, fold, add the clothespin, and wait for it to dry before you unclamp it. Then, snip off the excess cord.
Check it: a simple, yet stunning wrap bracelet.
Onto the spiral bracelet! Cut the same amount of chain as before, but this time, cut it in half—you want two smaller chains of equal length. Then, cut a piece of cord that is triple the length of the chain.
Now line your chain up side by side and thread the first two links together with the cord. Slide the chains to one end of the cord, leaving some extra cord at the top just like last time. Once you have the chain in place, start weaving: take the long piece of cord and thread it through the back of the next left-hand chain link (so you’ll pull the cord toward you). Then, thread the cord through the front of the next right-hand chain link (so you’ll pull the cord away from you). Once you get going, the cord will start to wrap around the back side of the chain. How cool is that?
When you’re at the end, make to add closures exactly like you did with the wrap bracelet: slide a jump ring onto one end, then glue, fold, and clamp. Then slide a jump ring with a lobster clasp onto the other end, and repeat those last steps. Again, wait about an hour, then trim any excess cord.
On its own, that spiral looks so sleek! But we’re pretty excited for the wrap bracelet to join the party…
It’s cool to see them side by side so you can really see the difference between the two.
But why stop there? We had some extra cord and chain left over, so we went ahead and made matching pairs.
Now the arm candy combinations are nearly endless! Wear all four at once, or what about just both spiral bracelets together?
Oh yeah! We’re totally hooked on this look—are you that surprised? ;)
We’re obsessed with just how simple these jewelry DIYs are. What would you wear these bracelets with?


