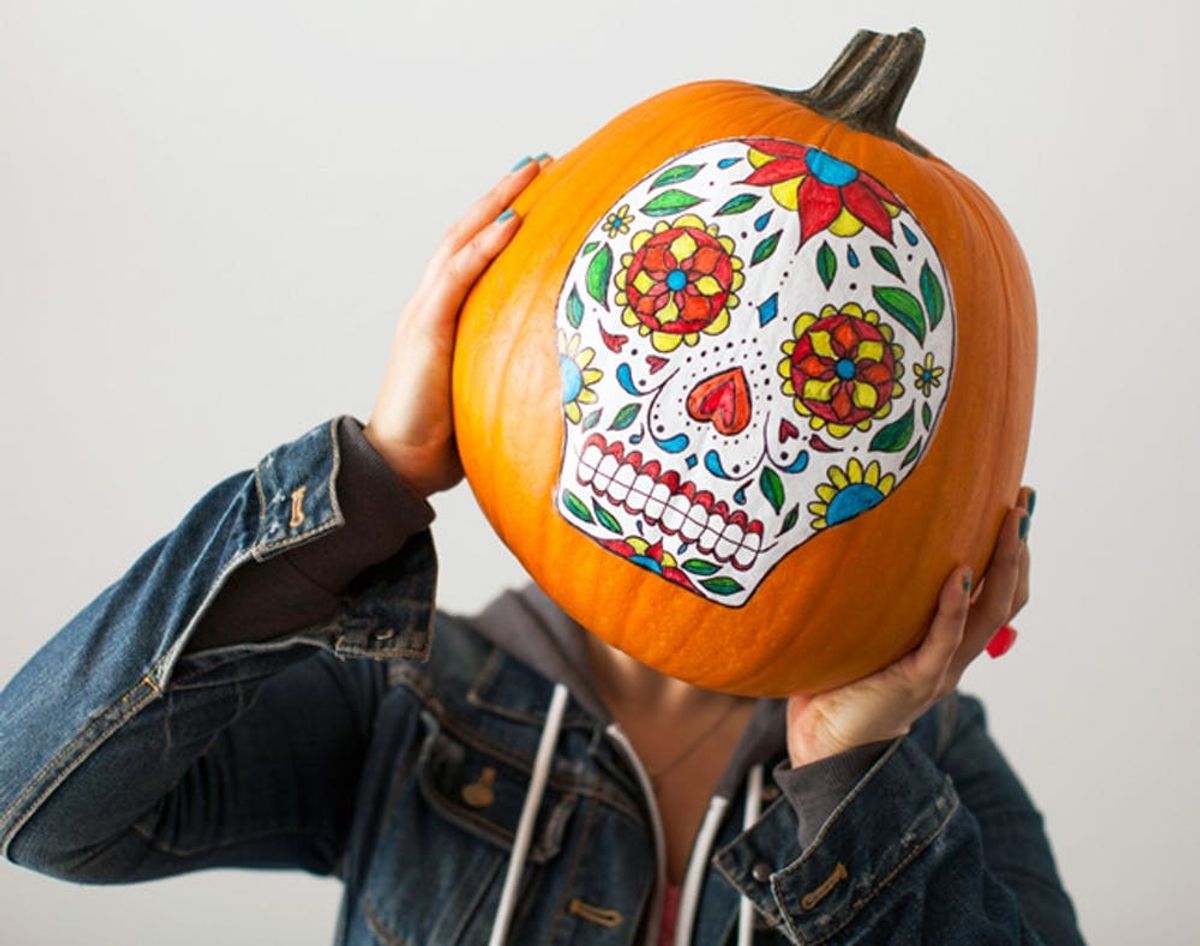
When you consider our obsession with Halloween and our addiction to color, going all out for a Dia de los Muertos celebration seems like a no brainer. We kicked things off this week with an edible sugar skull round up and moved on to decor. These no-carve sugar skull pumpkins are the perfect decoration for a colorful halloween party and they are super fun to make.
No-Carve Sugar Skull Pumpkins
When you consider our obsession with Halloween and our addiction to color, going all out for a Dia de los Muertos celebration seems like a no brainer. We kicked things off this week with an edible sugar skull round up and moved on to decor. These no-carve sugar skull pumpkins are the perfect decoration for a colorful halloween party and they are super fun to make.
Ok muchachos, let the fun begin.
Materials:
– pumpkins
Tools:
– black and colorful sharpies
– white acrylic paint
– paint brushe(s)
– printable skull template and practice sheets (download here)
– cutting mat
– xacto knife
– pencil
Instructions:
1. Print out the skull template and practice sheet.
2. Cut the gray area out of the skull template with an xacto knife.
3. Make sure the surface of your pumpkin is clean. Hold the template on the pumpkin and trace ONLY the outside of the skull.
4. Fill in the skull with white paint and allow to dry completely.
5. While your paint is drying, start planning out your skull designs. Visit our Dia de los Muertos pinterest board for lots of inspiration. Use the practice templates to plan out your designs.
6. Now, take your pumpkin and place the template back over the white area to draw in the eyes, nose and teeth with your black sharpie
7. Then get creative with your sugar skull elements! Use the black sharpie to draw in the shapes. We used a lot of graphic floral shapes, flourishes, dots and even a spider web on one.
8. Fill in your design with lots of bright color using your sharpie markers! Try not to press too hard or you will take the white paint off. One thing I noticed is that a brand new sharpie doesn’t work as well as one that has had the tip softened from use but still has a lot of ink in it. On some of the newer markers, I smashed the tip of the marker down on a piece of paper to soften it, which made it more like paint brush and the color became more intense.
First, materials! We are obsessed with our collection of colorful Sharpies.
Print your skull template and cut the gray area out using an xacto knife.
Make sure the surface of your pumpkin is clean. Hold the template on the pumpkin and trace ONLY the outside of the skull. Fill in the skull with white paint and allow to dry completely.
While your paint is drying, start planning out your skull designs. Visit our Dia de los Muertos pinterest board for lots of inspiration. Use the practice templates to plan out your designs.
Now, take your pumpkin and place the template back over the white area to draw in the eyes, nose and teeth with your black Sharpie. Start drawing your designs!
We used a lot of graphic floral shapes, flourishes, dots and even a spider web on one.
Fill in your design with lots of bright color using your sharpie markers! Try not to press too hard or you will take the white paint off. One thing I noticed is that a brand new sharpie doesn’t work as well as one that has had the tip softened from use but still has a lot of ink in it. On some of the newer markers, I smashed the tip of the marker down on a piece of paper to soften it, which made it more like paint brush and the color became more intense.
Now, channel your inner Ichabod Crane and… dance with a pumpkin on your head?
How will you decorate pumpkins this Halloween? Talk to us in the comments below.


