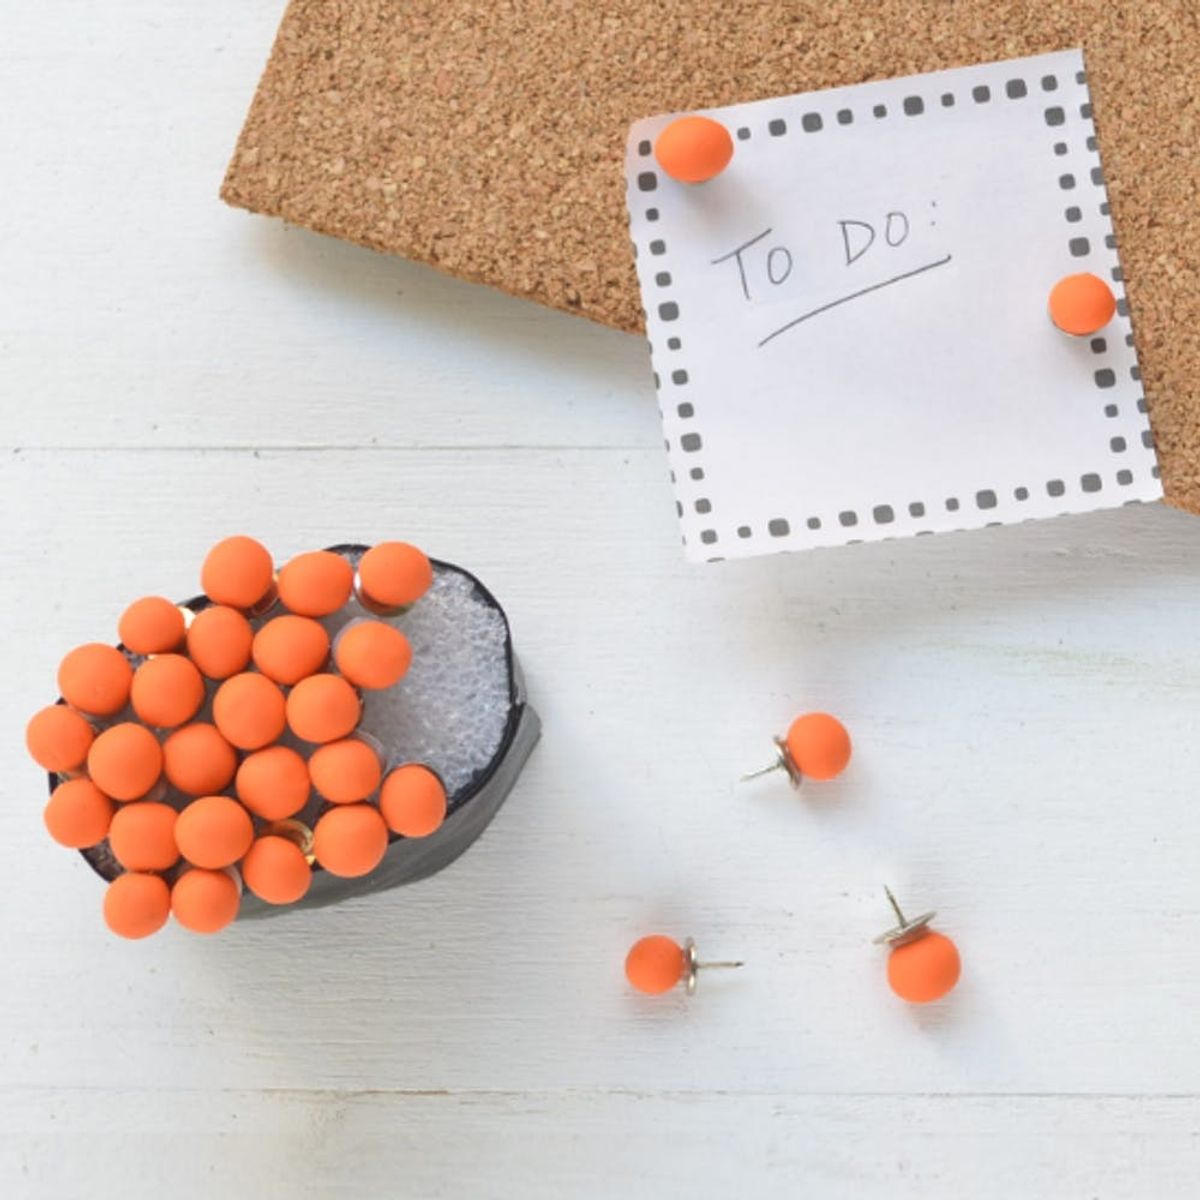
Soy sauce optional.
This Office Supply DIY Turns Your Pins into Sushi

Organized foodies, listen up! We figured out a way to give plain jane push pins a major upgrade. Thanks to some oven-bake clay and a whole lot of awesomeness, your school supply game just got so much cooler. Like, sushi cool. And since we have a thing for adorable school supplies, we couldn’t help but share this idea. There’s just something too fun about functional and fun items (especially when they look good enough to eat).
Materials:
- — black faux leather
- — dark green acrylic paint
- — marker
- — 2-inch thick styrofoam
- — orange oven-bake clay
- — parchment paper
- — thumbtacks
Tools:
— fabric scissors
— foam brush
— craft knife
— hot glue gun
Instructions:
1. Using a dry brush, add a light wash of green paint to the faux leather. Let dry.
2. Draw an oval on the Styrofoam.
3. Carefully carve out the oval with a craft knife.
4. Hot glue the faux leather to the Styrofoam.
5. Mold the clay into 3/8-inch balls and bake in the oven.
6. Once cool, glue the clay balls to the push pins.
7. Add the push pins to the Styrofoam for instant cuteness.

When it comes to Styrofoam, the craft store is home to an endless variety of shape, thickness and size options. For best results, use a two-inch thick block measuring 1.75 x 2.75 inches. This is the perfect size for a piece of faux leather measuring 6.5 x 2 inches.
Use caution when taking a craft knife to the Styrofoam. Work slowly. A self-healing craft mat is useful for protecting your work space. Here’s a tip: Carve away the Styrofoam in small chunks. Insert the knife about halfway down through the Styrofoam and tilt your knife outwards. A piece of Styrofoam will snap and break off. Continue all the way around and flip the block over to work through the bottom half. Once you have a general oval shape going on, run the knife down the sides to finish off.

When it’s time to bake the clay, line a cookie sheet with parchment paper. Bake according to the package’s instructions. Our clay needed to be baked at 275 degrees Fahrenheit for 15 minutes. When time is up, carefully remove the cookie sheet using an oven mitt. Once cooled, the clay is ready to be glued to the pins. Opt for white or silver pins for best results. The colorful ones will throw off the sushi vibe, so it’s best to save those for your cork board.

Once you pierce the push pins into the Styrofoam, your sushi will take shape. Keep it organic and natural. Don’t worry about lining the pins up, because they aren’t supposed to be perfect.
This is one of those awesome projects where the storage element doubles as design. We’re all kinds of in love with this.
BRB, ordering some sushi and pinning up our to-do list.
Readers, what would you use your new push pin set for? Let us know in the comments below!


