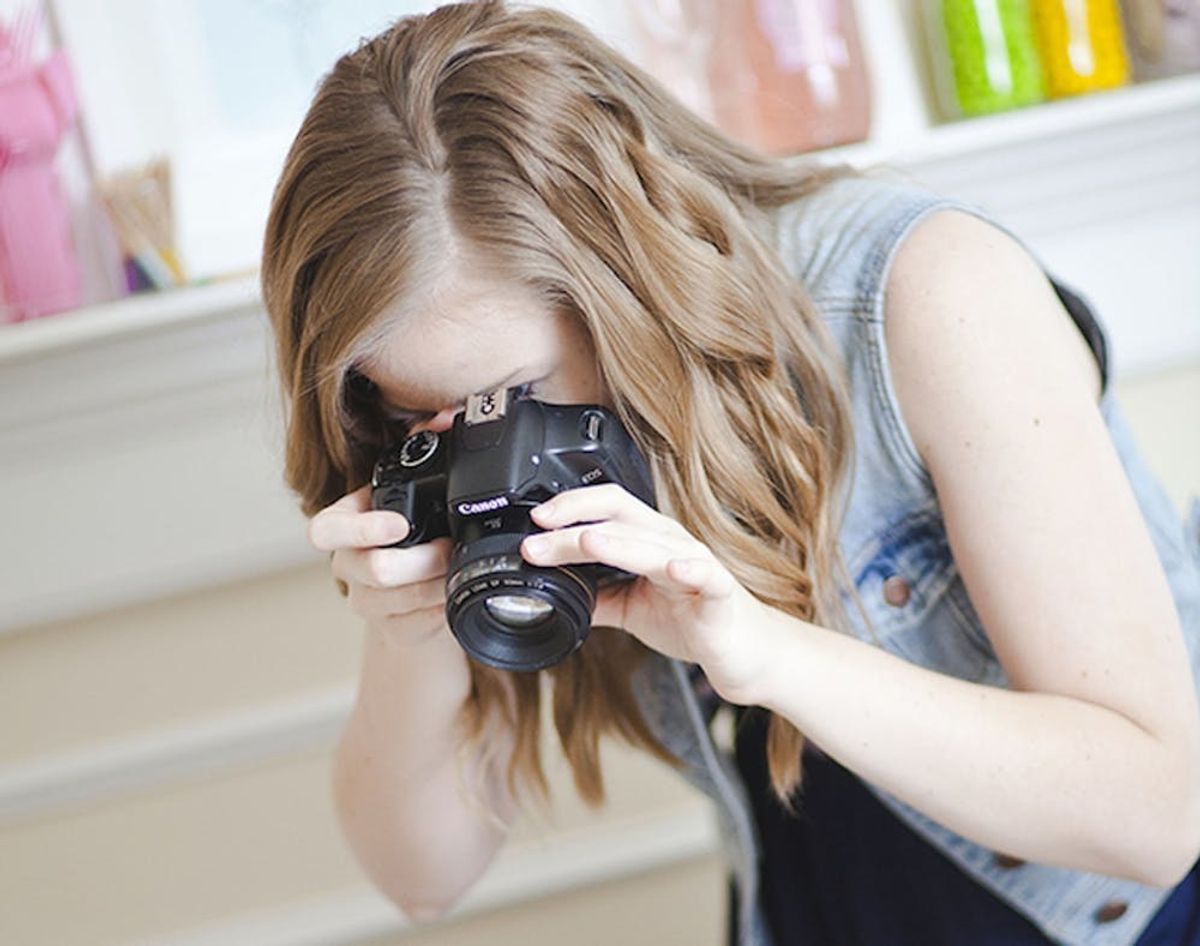
We’re here to offer you 10 tips on how to make your tabletop the best photography studio it can be, without spending a fortune on expensive equipment.
Oh Snap! 10 Tabletop Photography Tips Everyone Should Know

As any creative blogger knows, good photography is all about the light. And if you don’t have a professionally lit studio, that can be a real challenge! As fellow makers, we understand standing on chairs, laying on the floor and twisting your neck at unnatural angles to perfectly capture that sprinkle ombre cake or that cool new DIY jewelry project. We’re here to offer you 10 tips on how to make your tabletop the best photography studio it can be, without spending a fortune on expensive equipment.
1. Natural Light: The best light is the kind coming through your window. Never EVER use your built-in flash! Move through your house to find the best spot, and don’t feel confined to taking pictures in your kitchen or office. If the light is best in your bathroom… well, go for it! (via Food Woolf)
2. Fake It: The most useful and inexpensive thing you can get is a collapsible bounce reflector with white and gold sides. This will let you fill in any areas of your shot that are dark. Get a friend to hold it, use a clamp or put your camera on a tripod and go hands-free. (via Celebrate Creativity)
3. Easy Backdrops: A roll of white paper, or a big piece of white foam board, is a brilliantly cheap solution for creating backdrops. Just make sure to choose paper with a matte and subtly textured finish that will help avoid reflections. Sheer white fabric hung over a light source can be a great way to soften light, and a black background will help create more dramatic shadows. (via Design Eat Repeat)
4. Dodge Light: Yes, natural light is beautiful, but it doesn’t always do what you want. Using cards cut out of foam core or reflective surfaces like mirror or tinfoil help bounce light to where you need it. Handheld mirrors or a flashlight are other creative ways to add some extra light into your shot. (via Food Woolf)
5. Work Your Angles: Sure, you’re excited about completing the project, but don’t forget to have some patience and work your angles. Sometimes the difference between a 2 o’clock angle versus a 6 o’clock angle can make all the difference. Think about taking your pictures from a 90 degree angle, a 45 degree angle and straight on. (via Food Woolf)
6. Compose It: Composition is key, so don’t stop at one setup. Play with all kinds of shots, even the ones you don’t think will work, because it might look different on your computer than it does on your viewfinder. Try the overhead shot, the lowdown shot and group things together in odd numbers as a general rule. (via Sweet Paul)
7. Get a Third Leg: If you’re serious about getting the best shots possible, consider investing in a tripod. Not only will it save you from precarious perches on top of chairs and counters, it will also allow you to operate at a slower shutter speed without relying on steady hands for sharp images. (via Creature Comforts)
6. Creatively Based: Get creative with that tabletop! Use household items like old cookie sheets, parchment paper, white dish towels, bead board and printer paper to make inspirational backgrounds. (via Pinch of Yum)
7. Up Close and Personal: No matter what you’re photographing, whether it’s food or other projects, get as close as possible. From a distance, that muffin just looks like an average baked good. But zoom in, and all of a sudden it’s a tasty masterpiece. (via Design Eat Repeat)
8. Add Visual Interest: The trick here is to make your shot look effortless, like you just happened upon this beautiful object and the lighting just happened to be perfect. Adding some flowers, glasses, candles or jewelry can make the photo seem realistic, but still attractive. (via A Beach Cottage)
9. Know Your Settings: Learn the settings on your camera so you can adjust to a wider aperture, which gives you shallow depth of field. This comes in handy when shooting things like food, which looks most attractive when only a portion is in focus. Learn to white-balance your shots also, either while shooting or on the computer. (via Dinner With Julie)
10. Practice, Practice, Practice: Follow beautiful blogs and photographers to see what they are doing with their angles and composition. Try to copy, recreate and practice, practice, practice. (via Smitten Kitchen)
Which of these tips will you be taking to your next photo sesh? Give us a shout out below or on Facebook.


