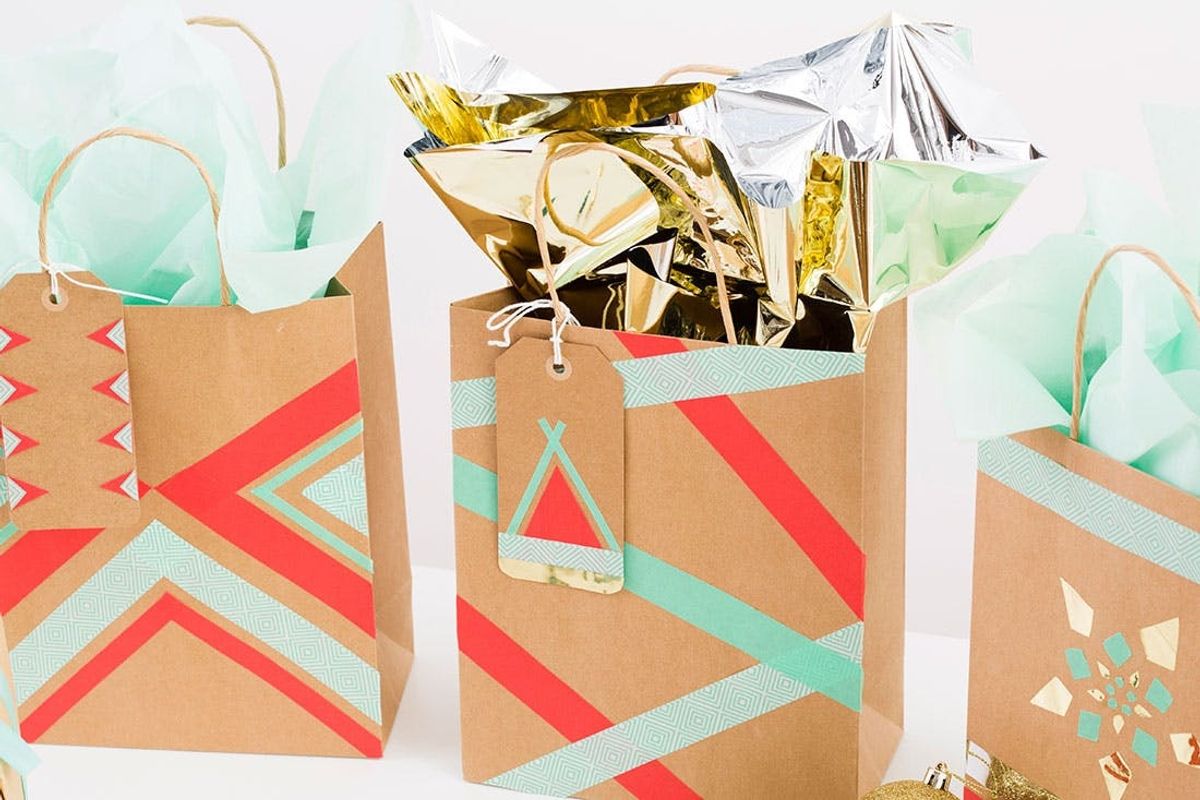
‘Twas the night before Christmas (or Chanukah) and all through the house, you were definitely stirring, frantically wrapping the last of the gifts! This year, rather than waiting until the last minute, or even if you only have a few to spare, we’ve got an easy wrapping solution to make your prezzies look amazing. We’ve joined forces with Hallmark to make cards, gift tags and gift bags perfect for the coming holiday season.
How to Use Tape to Trick Out Holiday Gift Bags, Tags and Cards

Twas the night before Christmas (or Chanukah) and all through the house, you were definitely stirring, frantically wrapping the last of the gifts! This year, rather than waiting until the last minute, or even if you only have a few to spare, we’ve got an easy wrapping solution to make your prezzies look amazing. We’ve joined forces with Hallmark to make cards, gift tags and gift bags perfect for the coming holiday season.
<br/>
 blank bags

– blank tags
– blank cards
– string
Tools:
– Scotch masking and washi tape
– cutting mat
– X-acto knife
– scissors
– ruler
We’ve partnered with Hallmark this year and will be offering gift wrap tutorials in thirteen of their stores so that you can re-create these presents. So head to one of their locations, go crazy with the supplies they’re offering and get creative. Head here for more deets on where and when you can #DIYtheHalls! If you can’t make it in person, follow along to check out three techniques we used to make designs and patterns we love.
Stripes are the best DIY pattern. They are totally doable regardless of your skill level, and they always look great!
Roll out some tape and place it on your cutting mat. Using your ruler and X-acto knife, and slice the strip of tape into thinner pieces.
Stripes

Pull them off of the mat and adhere them to your gift tag. Then snip off the excess tape.

Now add the string.

Cut a short piece of string, fold it in half and thread the loop through the hole in the tag. Then pull the loose strands through the loop.

How cute are these tags!

Snowflakes are gorgeous, unique and there are so many ways you can draw them. So get out your pen. We recommend that you draw your snowflake first.
When you’re ready, stick some tape to your cutting mat. For larger pieces, add two pieces of tape overlapping them a bit so that they stick together. Then use your X-acto knife to cut out the pieces that will come together to form your snowflake. Add each section to your bag.
Snowflake

We added some stripes to give this back some extra flair.

So fun!

Bring on the tribal patterns!
As with the snowflake, draw your pattern first. Then add tape to your cutting mat slightly overlapping each piece to create a sheet of tape. Use your ruler to ensure you cut straight lines, cut our your design and stick it to a blank card.
Navajo Pattern

It’s amazing what you can do with a couple rolls of tape!

We just LOVE how these turned out!

How are you wrapping your gifts this season? Share your secrets in the comments!


