These tees were made for tasslin’.
DIY These Trendy Low Cost Tassel Tees for Your Kid’s BEST Back to School Look

Fashion moves fast, and while your pin boards may be glowing with trendy new looks, your wallet may have a harder time keeping up. And when it comes to back-to-school shopping with the kids, this becomes an even bigger deal with their rapidly changing sizes, dress codes and personal styles. That’s why we teamed up with JCPenney to turn simple, cost-conscious basics for kids and teens into stand-out trendy pieces for back to school. Never worry about investing too much in a too-specific piece (or size!) again after you see how easy it is to transform a basic t-shirt with a few supplies.
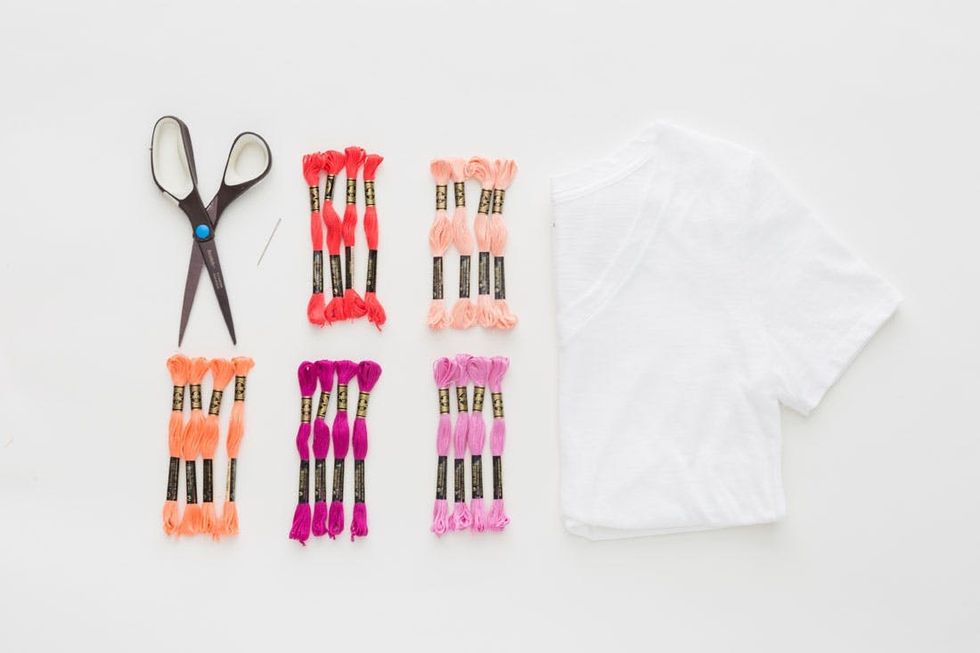
Materials:
— Arizona Short-Sleeve Solid V-Neck T-Shirt
— embroidery thread (in assorted colors)
— embroidery needle
— scissors
Instructions:
1. Remove the labels from a skein of embroidery thread, cut four pieces of thread to the same length as the skein and then cut the rest of the embroidery thread directly in half.
2. Tie one of the four short pieces of thread around the middle bend of each thread bundle using a double knot and leaving the extra ends long to use later.
3. Then tie another short piece of thread around the entire bundle to create the top of the tassel, securing with a double knot and trimming off the extra ends.
4. Trim the bottom edge of the tassel down to the length of your choice. We trimmed it to about an inch.
5. Sew your tassels onto your tee by threading each top thread through your needle and then sewing through the shirt from the front to the back side.
6. When both top threads have been sewn through to the back side of your tee, tie them together in a double knot and trim with scissors.
7. Repeat to add a row of tassels to the ends of your sleeves, bottom hems or anywhere else on your tee that you’d like to add color and flair!
Grab one of these v-neck tees, embroidery thread in the colors of your choice, a pair of scissors and an embroidery needle!
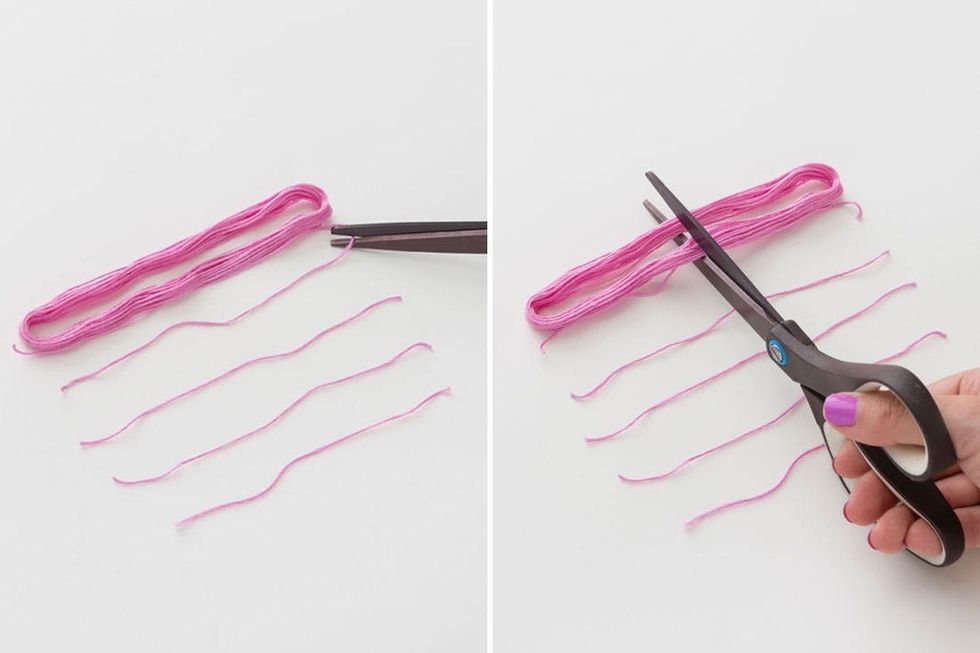
Remove the labels from a skein of embroidery thread, cut four pieces of thread to the same length as the skein and then cut the rest of the embroidery thread directly in half.
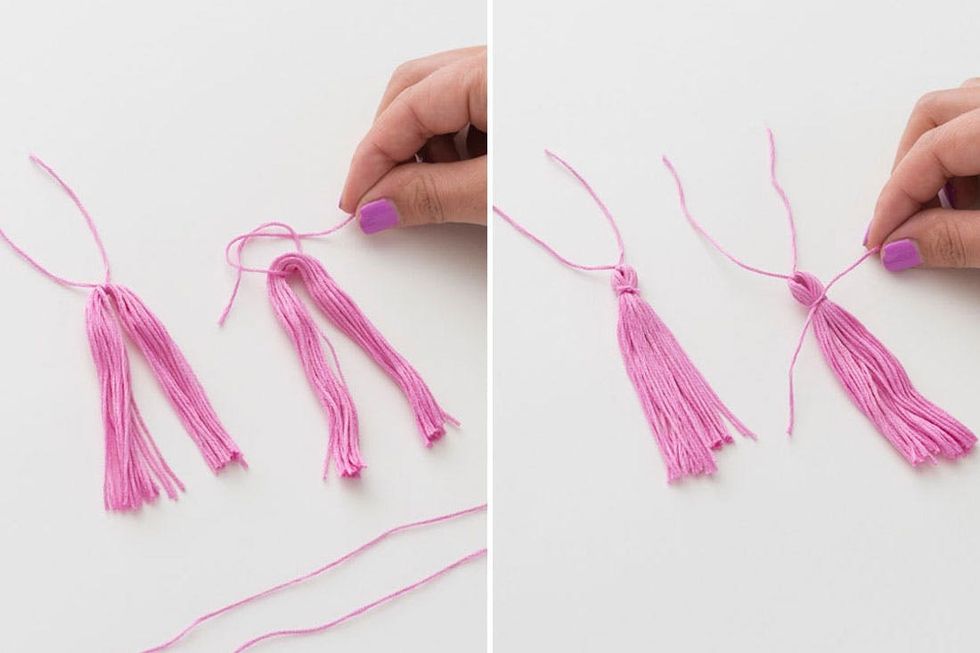
Tie one of the four short pieces of thread around the middle bend of each thread bundle, using a double knot and then leaving the extra ends long to use later. Then tie another short piece of thread around the entire bundle to create the top of the tassel, securing with a double knot and trimming off the extra ends.

Trim the bottom edge of the tassel down to the length of your choice. We trimmed it to about an inch.
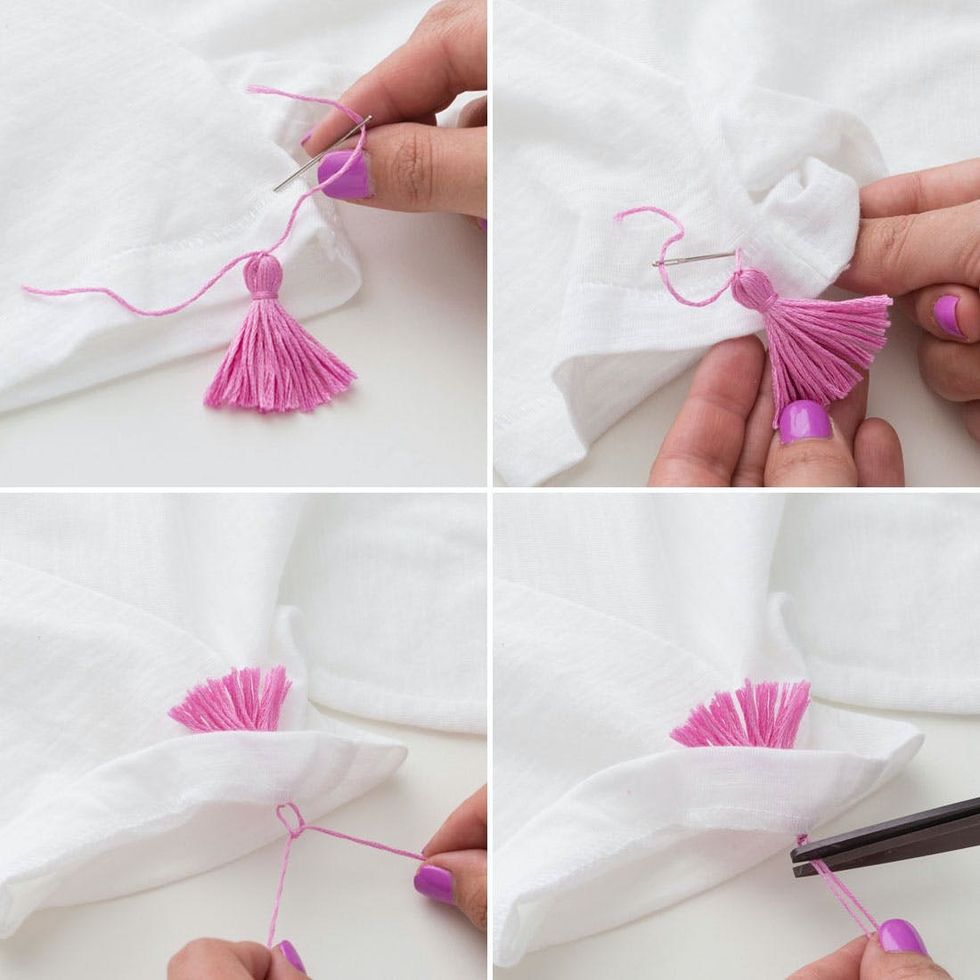
Sew your tassels onto your tee by threading each top thread through your needle and then sewing through the shirt from the front to the back side. When both top threads have been sewn through to the back side of your tee, tie them together in a double knot and trim with scissors.
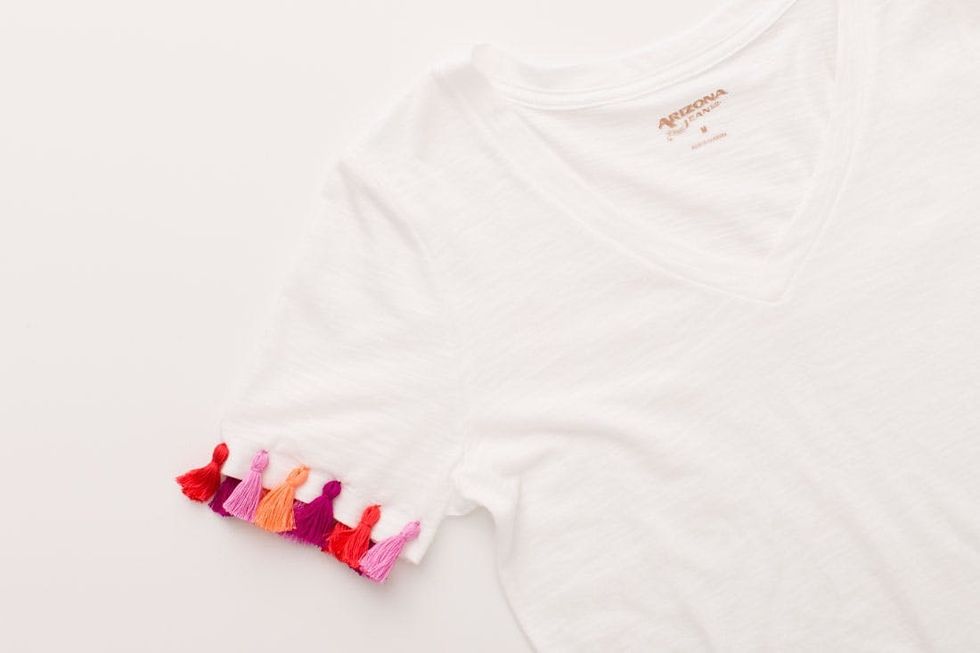
Repeat to add a row of tassels to the ends of your sleeves, bottom hems or anywhere else on your tee that you’d like to add color and flair!

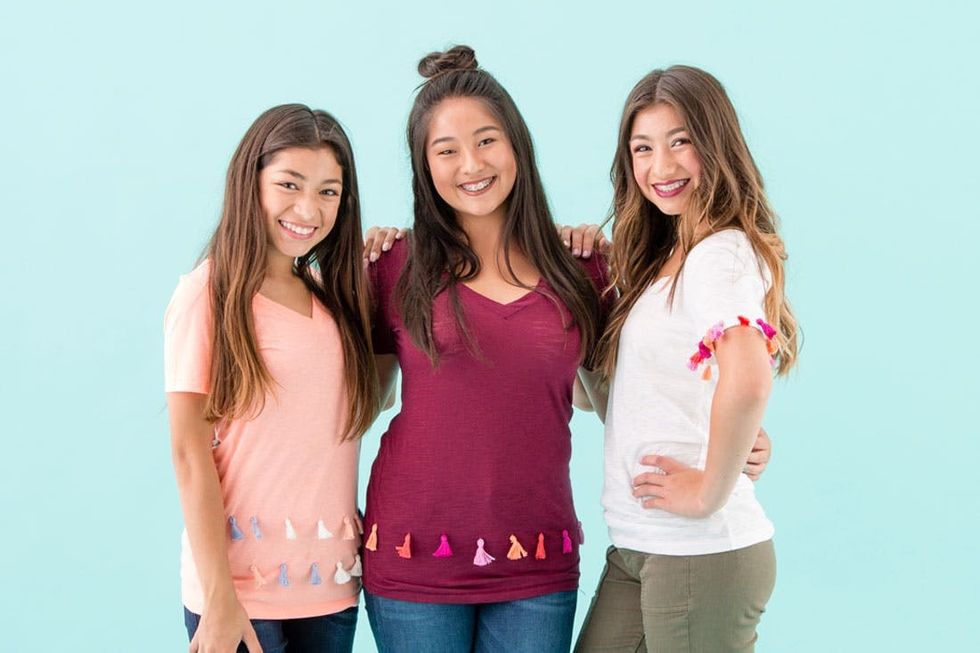
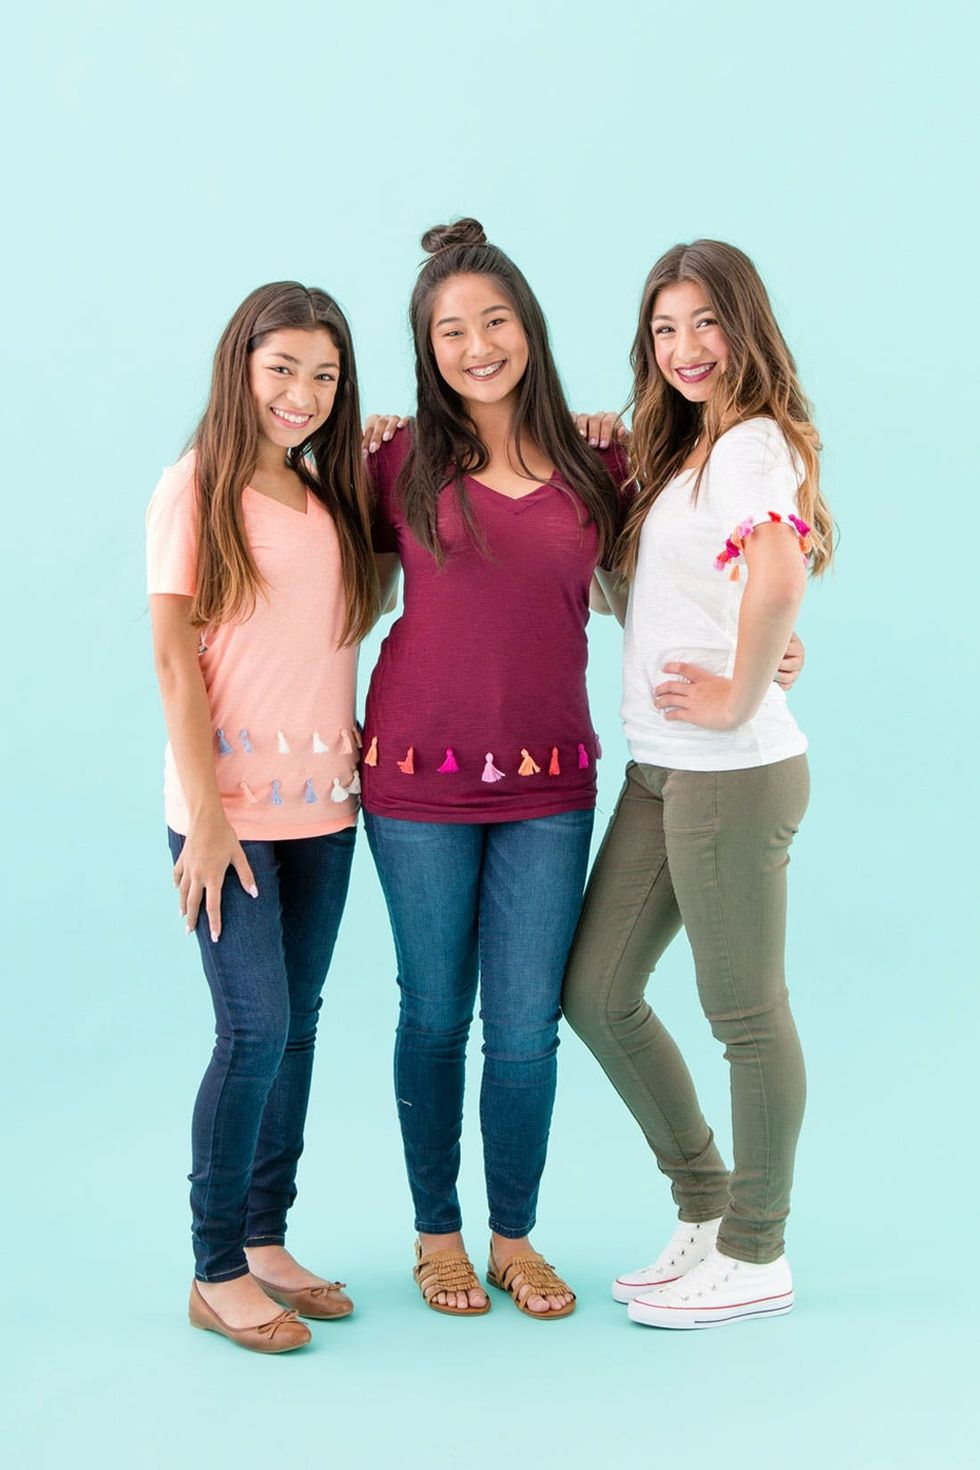
The first of our three beautiful models, Amber, has this tasseled-sleeve look on lock for her first day back to school.

It just goes to show that sometimes the smallest details can make the biggest impact!

Next up, our gorgeous model #2, Amaya, is showing off another version of this tassel party tee!
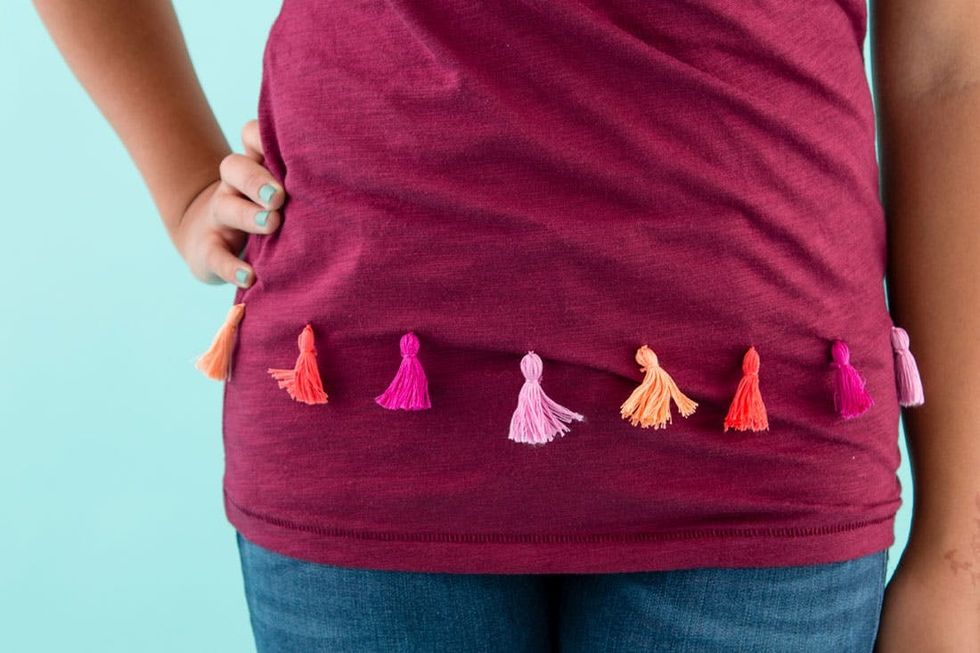
Apply the same steps as before, but attach the tassels to the front of your shirt, right above the bottom hem so that they lay flat no matter how you style or scrunch your tee.

And last but certainly not least, our third model Amelie is looking ADORBS in this two-tiered tassel tee.
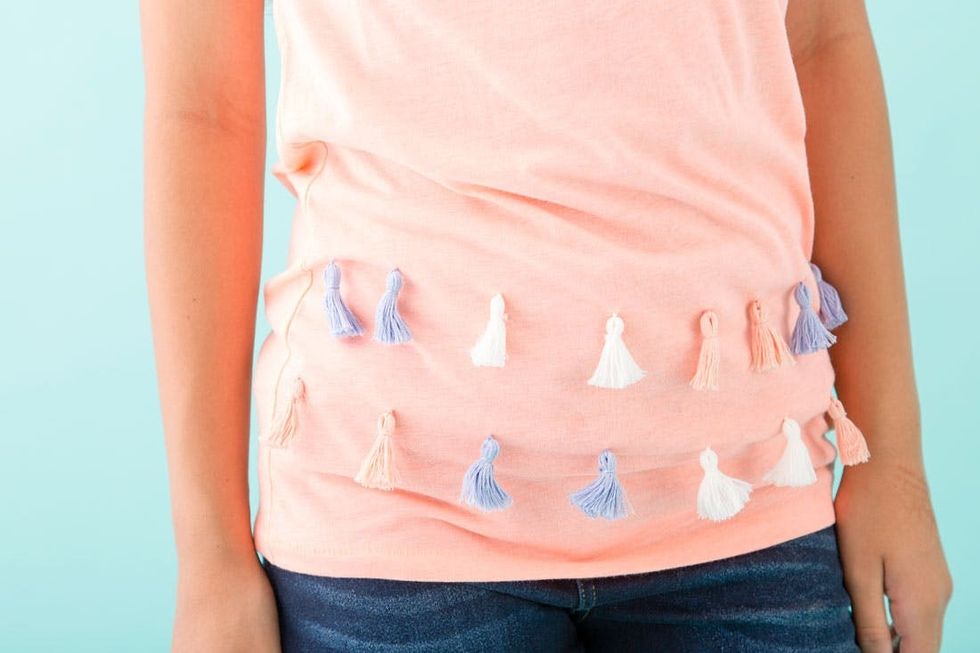
Switch up those colors for each new tee to get a louder or softer look depending on your vibe!
Have more basic tee hacks of your own? Share with us on Twitter @BritandCo!


