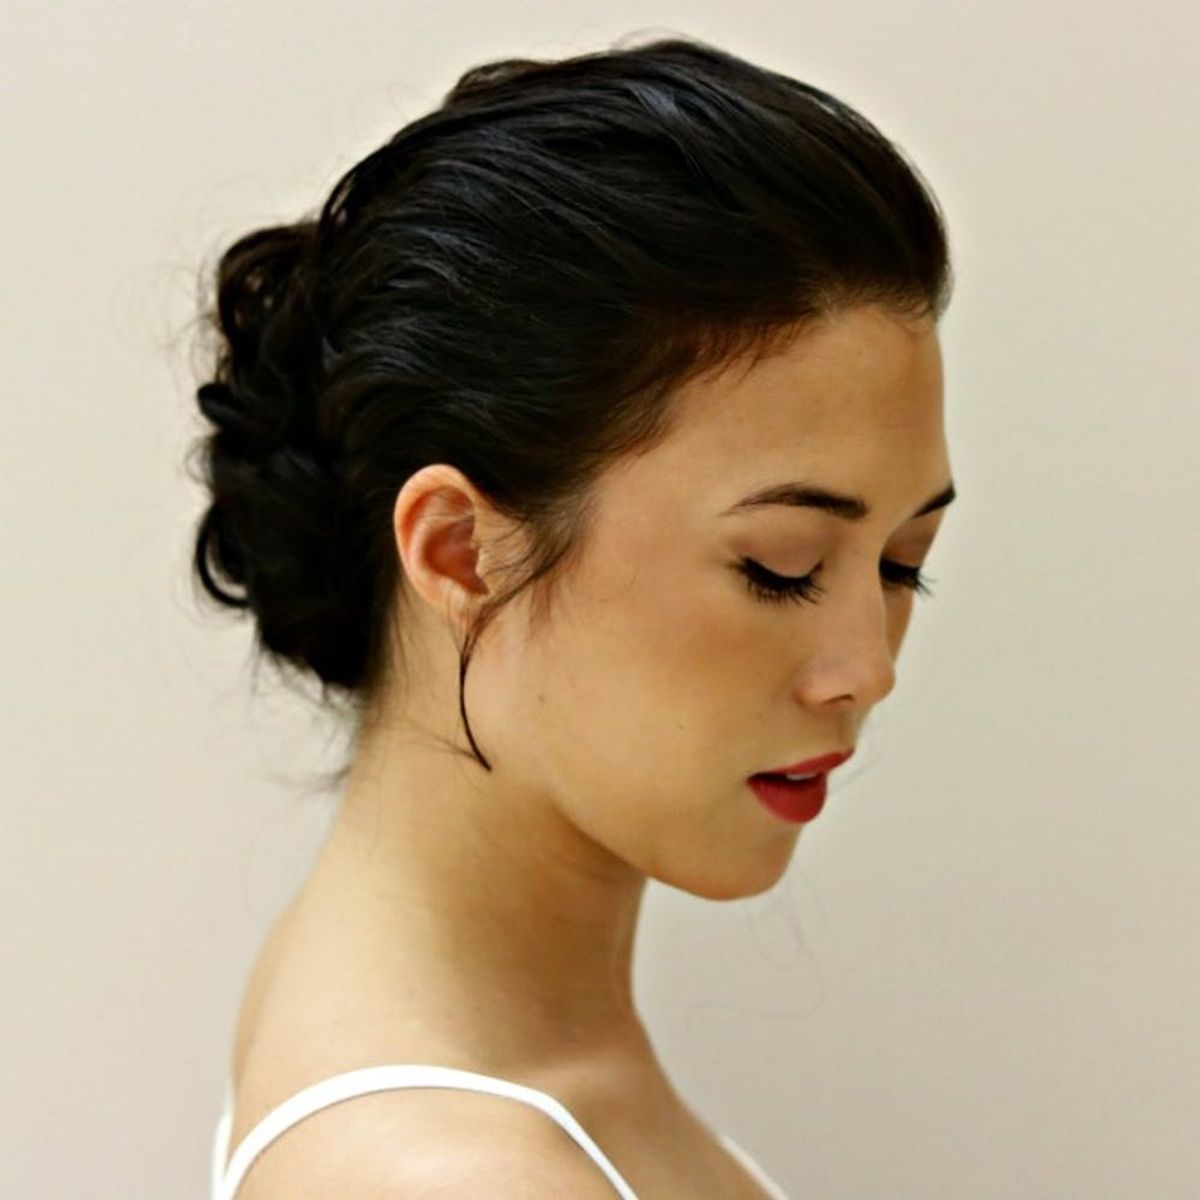
So. Dang. Easy.
How to Create a Textured Updo (in 6 EASY Steps!)

Many brides today are opting for looks that are more organic and natural looking, rather than stiff and structured. With this said, one of the most requested updos at Beautini, a Manhattan beauty company that specializes in weddings, is a textured updo. Of course, this look varies based on the bride’s personal style and wedding OOTD, but it should come as no surprise that a great updo photographs beautifully. Follow the steps below to create your own textured updo that will have you screaming “I do!”
STEP 1 — Curl your hair

Begin by curling sections of hair with a ½-inch curling iron. The tighter the curls, the more definition you’ll get.
STEP 2 — ADD A PONYTAIL

Once all the hair is curled, part the hair at the crown of the head and pull the bottom half into a ponytail. This will be the base of your updo.
STEP 3 — LOOSEN WITH HANDS

Gently pull your fingers through the loose pieces of curls and pull each section back to the ponytail. For added height, tease the top sections and be careful not to comb through the curls too much.
STEP 4 — TEASE, TEASE, TEASE

Next, tease the ponytail to give added volume and texture.
STEP 5 — WRAP YOUR BUN

Wrap the hair into a loose bun. The beauty of doing a textured updo is that there is room to play around with the level of texture you want in your bun. However, remember that there’s a fine line between a look being textured and looking messy!
STEP 6 — SPRAY TO FINISH

Once all the pieces of hair are secured, spray the updo with a finishing spray and hairspray to hold. Feel free to pull out a few pieces of hair for some tendrils to frame the face.

Follow us on Pinterest for more creative ideas!


