It’s like the best roommate ever.
This Gadget Will Take Care of Your Plants for You

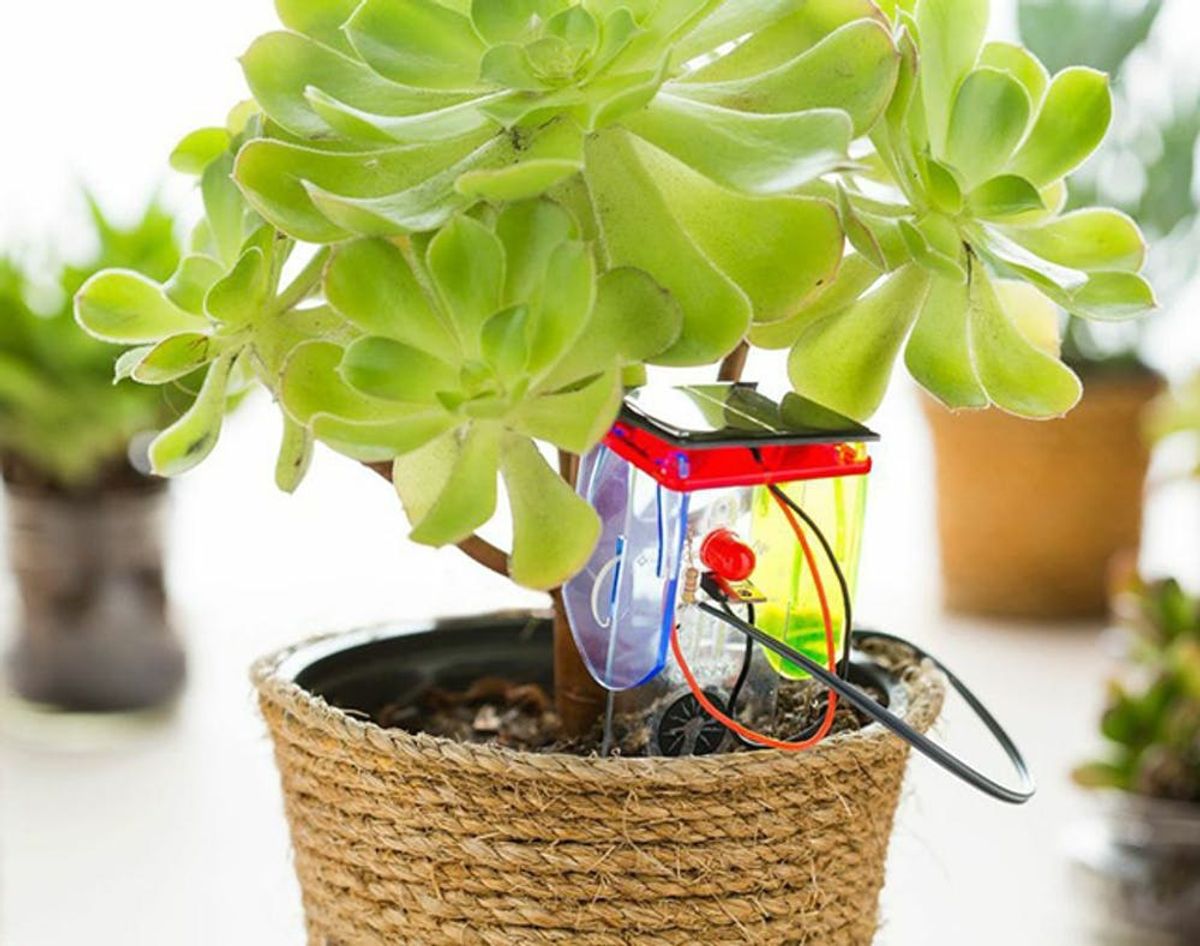
For all of us peeps on the go, watering our plants can be the last thing on our mind. (Could this be the reason that low-maintenance succulents are so popular?) Our buddies over at Tech Will Save Us have created a clever solution — the DIY Thirsty Plant Kit ($32), a solar-powered tech device that will tell you when your plants need watering. Their kit comes with all the materials you need to make a simple circuit board (yeah, a circuit board!) and sensor to keep your beloved plants hydrated and happy. And don’t worry, it’s much easier than you think :) Read on for instructions, and check out this DIY kit in the B+C Shop!
Each kit contains:
– LEDs
– MOSFET
– ohm resistors
– copper nails
– rubber tubing
– solar panel
– waterproof casing pieces
– plastic containers
– plaster of paris
Let’s get building!
1. Start by making a sensor out of the plaster of paris and water in those nifty plastic containers included in your kit. You’ll want to pour the plaster of paris in slowly so as to avoid air bubbles. The final consistency should be similar to whipping cream.
2. Pour this concoction into the rubber tubing and prop upright. Again, make sure there are no air bubbles. Place your copper nails into the plaster, ensuring the two nails are not touching one another. Let dry completely (this may take 24 hours).
3. Now, for some wiring! Let’s start with the LED light. Place the LED where the illustration implies, with the the longer leg facing down and to the right and the shorter leg in the opposite direction. Bend the legs so that they’re flush with the plastic marker. Next, thread the ohm resistor below and to the left of the LED, as shown in the photo above. Twist the longer LED leg tightly with the top leg of the resistor.
4. On to the solar panel: Start by taking the film off the panel. See the sun and “+” sign on the marker, to the top left of the resistor? Thread the red (positive) wire through this hole. Flip over the marker and twist this exposed wire with the previously-twisted LED and resistor legs. We’ll thread the solar panel’s black wire a few steps from now.
5. Next up are the sensor wires. Thread the two grey wires into the marker where it’s labelled “sensor.” On the other side of the marker, twist the right sensor wire with the bottom, untouched resistor wire. Now back to the black (negative) solar panel wire — thread this through the second sun and “-” sign on the marker. Twist the exposed wire with the untouched sensor wire.
6. Let’s move on to the MOSFET. This gadget helps currents flow to the LED from the two nails in your sensor. Insert it right below the LED, as pictured. Make sure the metal part faces up towards the LED. Here comes the trickiest part — flip over the marker and twist the left MOSFET leg with the black (negative) solar panel wire and the left sensor wire, twist the middle leg with the untouched LED leg, and finally, twist the right MOSFET leg with the bottom resistor leg and right sensor wire. (We used our hands, but you can also do this with jewelry pliers.) If you hold the solar panel to sunlight at this point, the LED should flash :)
7. Now take your dried sensor (the copper nails in plaster of paris) and carefully remove the rubber tubing. Snap the sensor in half — it will naturally break at the right spot. (Cool, huh?) Wrap one end of each grey sensor wire around a copper nail head tightly. Make sure they do not touch.
8. Attach the waterproof casing pieces (those neon plastic plates) to one another as shown in the photo. Snap the wired marker into the two grooves on the side, so it sits snugly between them. And bam, you’ve made yourself a Thirsty Plant detector! Virtual high five!
To use your super cool DIY detector, place the sensor deep into the soil so that it’s mostly covered. Then place the marker in the soil, ensuring that the solar panel is in direct sunlight. Voila! Happy gardening :)
What do you think of this Thirsty Kit DIY? Share with us in the comments below!


