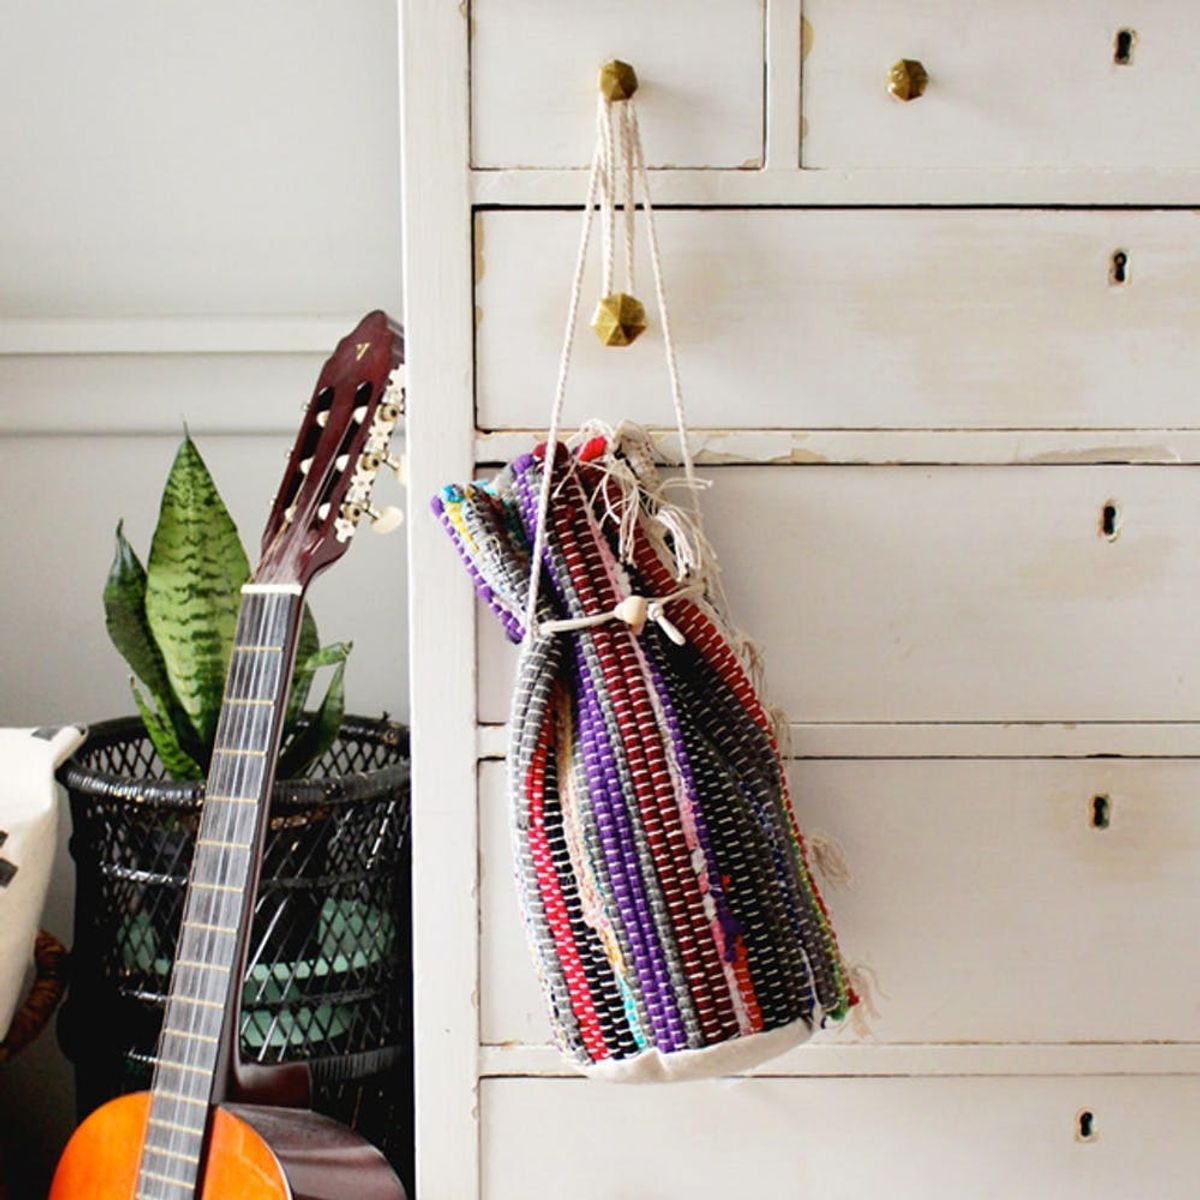
This DIY Boho Bucket Bag Is All You Need for Festival Season

Whether you’re hitting up a music festival or the beach this summer, you can never have too many options for toting your summer essentials. We’re adding one more with this easy hack that transforms a rag rug into a colorful, DIY boho bucket bag. The soft fabrics and brilliant colors in rag rugs set the perfect boho vibe for festival season. All you need to complete your festival look are some boho updos and this easy crop top. Scroll on to discover how to make this gorgeous bag!
Materials + Tools
— rag rug
— canvas or thick fabric (12 x 12 inches)
— ruler
— chalk
— fabric scissors
— thread
— sewing needle
— eyelets with setter kit
— hammer
— cord
— suede lace
Instructions
1. Measure, mark and cut your rug to about 13 x 15 inches. NOTE: When you cut a rag rug width-wise, the thread will start to unravel if you handle it too much, so work quickly. To avoid this entirely, you can use the whole rug or superglue the thread on the cut side.
2. Use a plate or round object to trace a circle on your canvas. Use colored chalk so you can see the outline, and cut the circle out. This will be the bottom of your bag.
3. Thread your needle and knot the end of the thread. Start hand stitching the rug to the canvas bottom. We used a basic whip stitch, but you can use whatever method you’re comfortable with.
4. Once you’re done stitching the bottom of the bag together, it will create a cylindrical shape, and you can hand stitch the two sides of the bag together. Afterwards, turn the bag inside out so the stitches are neatly inside the bag.
5. Now we’ll use an eyelet kit, which comes with a setter, an anvil and eyelets to create two holes for our bag strap. Using sharp scissors, cut a very tiny slit into the middle-top corner of the bag. Then follow the package instructions to attach one eyelet in each top corner of the bag.
6. Measure and cut your cord into your desired length (ours was about 45 inches long). Thread the cord through each eyelet and knot it on the inside of the bag. You can also attach a suede tie around the top of the bag to keep your things safely inside.
Measure, mark and cut your rug to about 13 x 15 inches. Just a note: When you cut a rag rug width-wise, the thread will start to unravel if you handle it too much, so work quickly. To avoid this entirely, you can use the whole rug or superglue the thread on the cut side.
Use a plate or round object to trace a circle on your canvas. Use colored chalk so you can see the outline and cut the circle out. This will be the bottom of your bag.
Thread your needle and knot the end of the thread. Start hand stitching the rug to the canvas bottom. We used a basic whip stitch, but you can use whatever method you’re comfortable with.
Once you’re done stitching the bottom of the bag together, it will create a cylindrical shape, and you can hand stitch the two sides of the bag together. Once you’re done, turn the bag inside out so the stitches are neatly inside the bag.
Now we’ll use an eyelet kit, which comes with a setter, an anvil and eyelets to create two holes for our bag strap. Using sharp scissors, cut a very tiny slit into the middle-top corner of the bag. Then follow the package instructions to attach one eyelet in each top corner of the bag.
Measure and cut your cord into your desired length (ours was about 45 inches long). Thread the cord through each eyelet and knot it on the inside of the bag. You can also attach a suede tie around the top of the bag to keep your things safely inside.
What’s your summer style? Follow us on Pinterest for more style inspiration.


