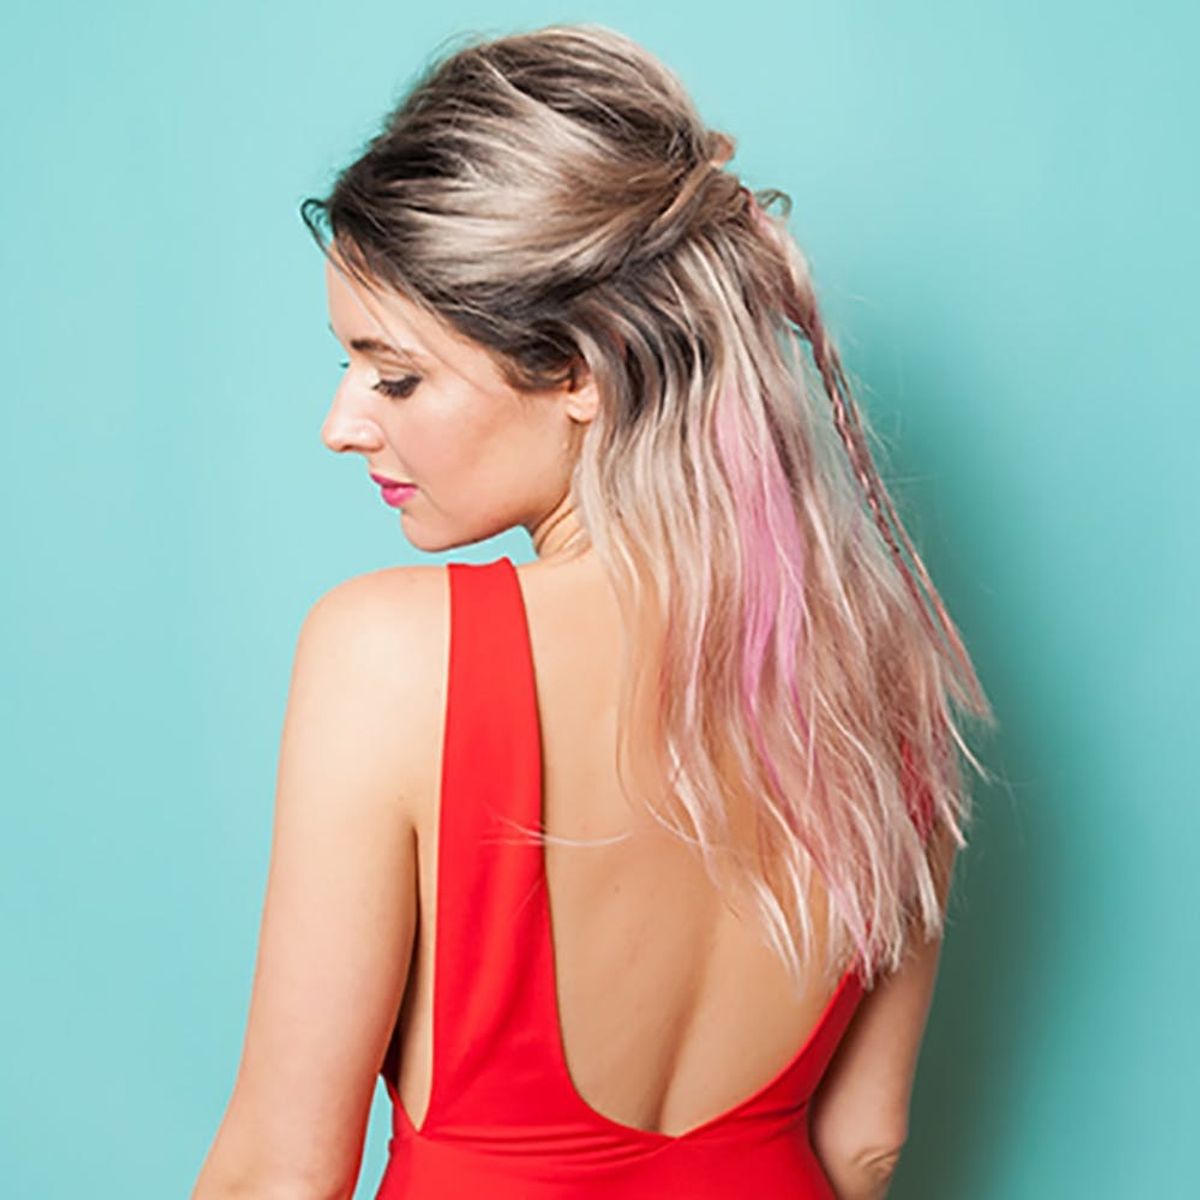
Here’s your new go-to date night hairstyle.
Why You Should Take 5 Minutes to Put 2 Tiny Braids in Your Hair

There’s nothing better than jetting off to an event knowing that your hair is looking totally on point. That said, it’s not always easy to think of creative styles that are actually easy to master and pull off IRL. Meet this tiny braid ‘do. It’s an elevated half up, half down look even better than the new top knot trend that adds fullness, texture and easy, enviable style to your hair. Get ready to kill it in five minutes flat.

STEP 1: PUMP UP THE VOLUME

Start this look by creating a ton of volume. Lift the hair on your crown and then set it in place with hairpins that are placed both horizontally and vertically.

Then, take a small section of hair from the middle and begin forming a three-strand French braid like Casey is doing here.
STEP 2: PANCAKE YOUR BRAID

Now, thicken that braid up! Pancake your strands (by tugging on them) to add dimension and fullness to your tiny braid. You can either secure your braid with an elastic band or tease the ends of your hair so that the texture acts as a way to keep it in place.
STEP 3: CREATE WATERFALL BRAIDS AT THE SIDES

It’s time to focus on the sides of your hair now. Create waterfall braids on the left and right sides of your head by styling a traditional French braid, but drop every third lower strand (the strand that’s closest to your ends). FYI, this is an insider trick for keeping volume intact when you wear your hair half up or half down.

STEP 4: PIN ‘EM AND ADD EVEN MORE VOLUME

Repeat another French braid at the back of your head to make this style really eye catching and increase fullness even more. Finally, pin your left and right waterfall braids to the back of your head.

Bam! You’re rocking fly, teeny-tiny braids that are perfect for a shindig any day of the week.

Tag us on Instagram @britandco in your favorite snaps of braids!
Hair and Art Direction by Maritza Buelvas
Photography by Jennifer Coffey
Modeling by Casey Shteamer
Location Beauty for Bloggers Studio


