Mask your battered mani with these three quick-fix lifesavers.
3 Quick Ways to Save Your Chipped Manicure

We all know the terrible feeling of running out of your apartment to catch the train and rummaging in your bag to find your keys, only to pull your hand out to discover a chip or smudge on your fresh mani. Ugh! Rather than rushing to remove your polish or angrily staring at your chipped nails all day, try out these quick nail art tricks to rejuvenate your manicure. They’ll make your nails look brand new whether you DIY just one or all three at once (a lifesaver for those beauty SOS moments). Plus, they only take a few minutes to bust out. Scroll through for three quick mani fixes every girl should know.
Products:
– silver Stripe Rite nail art brush ($4)
– coral polish, we used Kara by Zoya ($9)
– white polish, we used Alpine Snow by OPI ($7)
– topcoat like Seche Vite Fast Dry Topcoat ($9)
Tools:
– thin nail art brush
Starbursts For Chipped Tips + Base
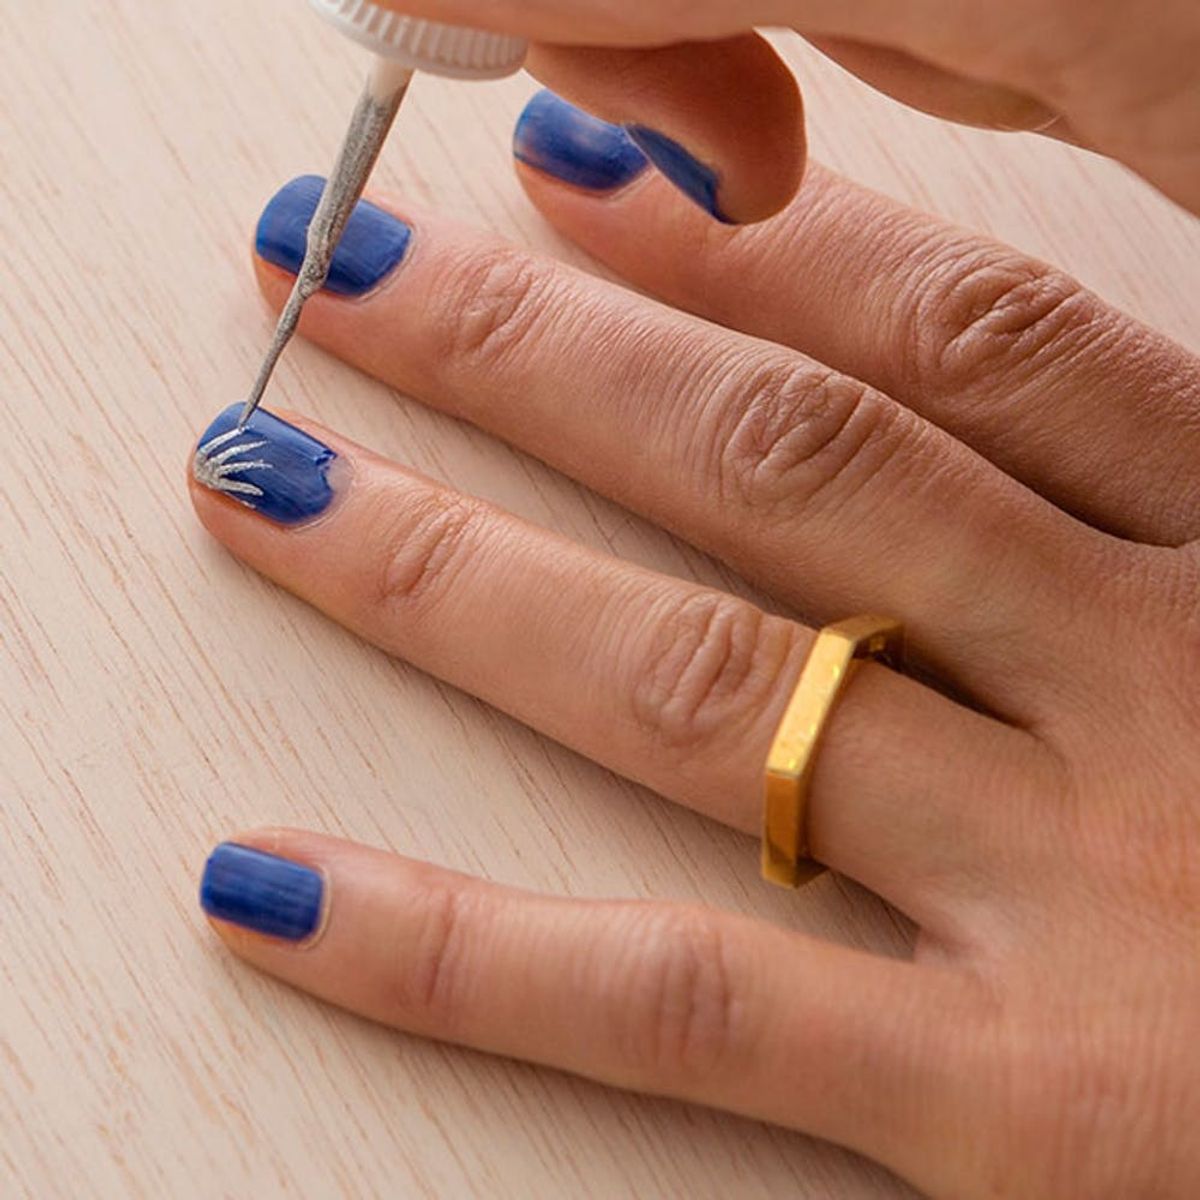
If your nails tend to chip on the corners, you should try out this super simple starburst pattern. Using the silver nail art brush, paint a diagonal line that starts in the middle of the chipped corner and ends near the center of the nail. Paint a few more diagonal lines on either side of the first line, always starting at the corner of the nail and painting toward the middle. The final product is a super cute starburst. Make sure to finish with a layer of topcoat to seal in your work.
Cross Hatches For Patchy Polish
Have you ever tried out a new polish shade that looks perfect in the bottle, but ends up looking patchy and uneven once you’ve painted on a few coats? I love using a small criss-crosses to create an all-over pattern that will hide inconsistencies in your polish. For this fix, grab two polishes that complement your mani and your trusty nail art brush. I chose to use a bright white (Alpine Snow by OPI) and a punchy coral (Kara by Zoya) to complement this deep blue base color.
Using white polish, start by painting short horizontal lines over any parts of the nail where the polish looks lighter or inconsistent. Let these lines dry for a minute, and then add short horizontal lines to turn them into crosses. Once the white crosses are completely dry, dip your nail art brush into the bright coral shade and paint over the horizontal line in each cross. Pro tip: it’s important to layer bright colors over white polish if you want them to pop, especially when you’re working with a darker base color.
Jagged Stripe For Center Knicks
When a nail chips in the middle, I like to add a pop of color through the center of the entire nail. For this look, use white polish and your nail art brush to paint a bunch of thin horizontal lines in the middle of the nail. Once the white polish is dry, paint over your design with the bright coral polish. This super quick trick will hide all evidence of a botched mani.
How adorable are these nail art fixes? They’re so easy to do, you just might find yourself trying these out over non-chipped nails as well.
Have fun (and save $$$) extending those manis!
Do you have any other tips that you use to fix a chipped manicure? Share your ideas below!


