*Can’t eat burgers any other way now*
Get Your Grill Pan Ready for This Copycat Umami Burger

Cookbookmarked! is our new series where we review the latest cookbooks from the foodie influencers you follow. Check back often to find out which new releases are worth your hard-earned cash and the recipes you should try first from each.
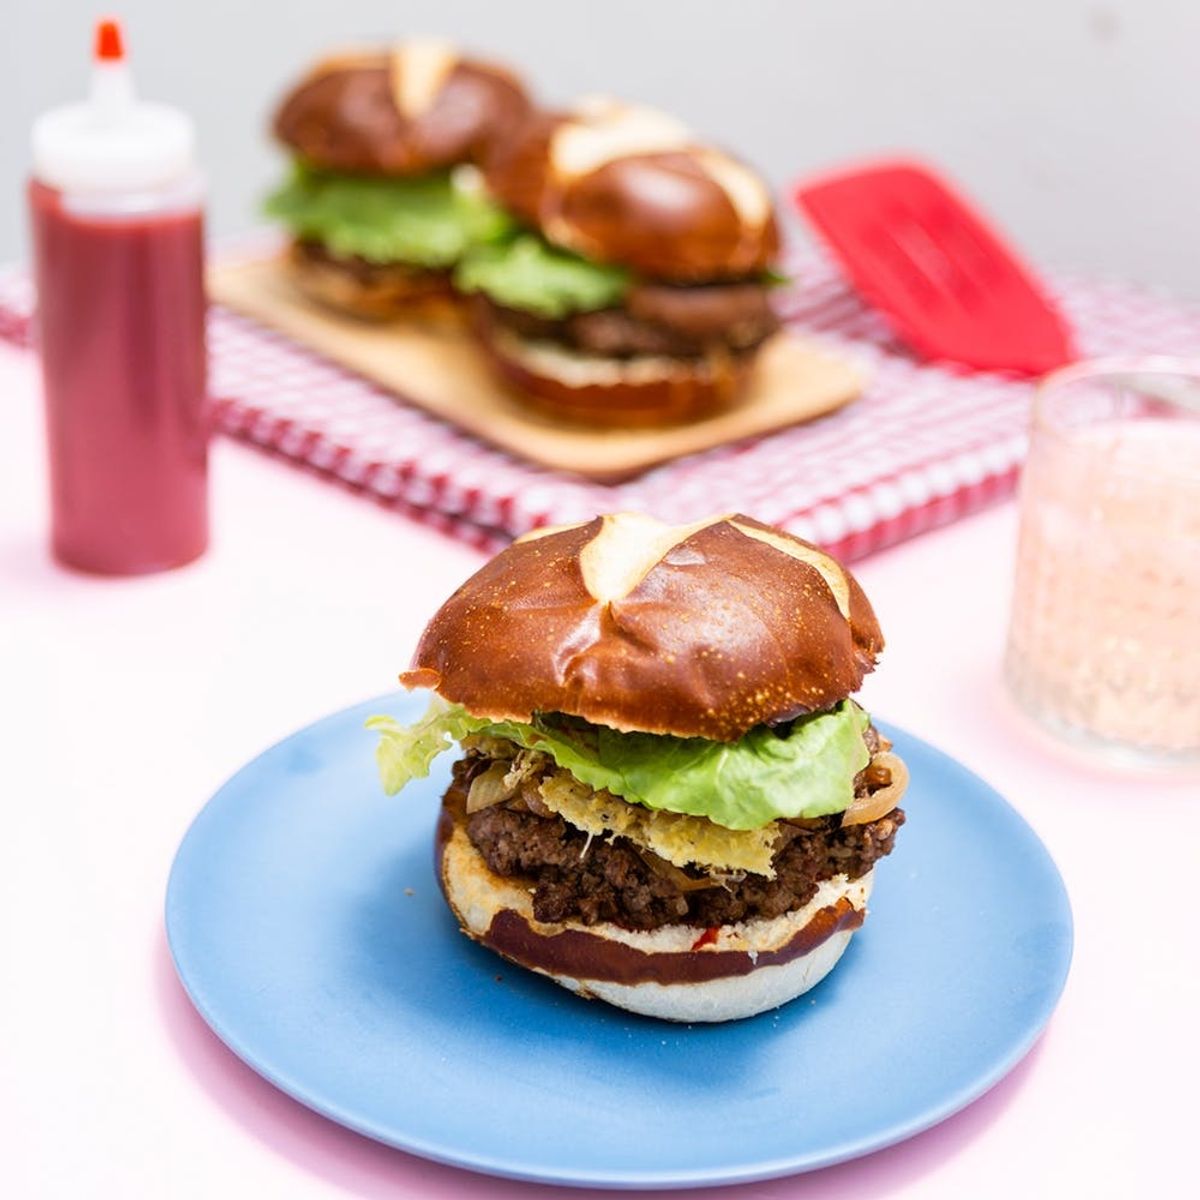
When we sunk our teeth into the world-famous Umami Burger that’s served in locations as far as Japan, it was love at first bite. Every component from the Parmesan crisp to the caramelized onions to the seared patty itself bursts with savory flavor. That’s why we flipped immediately to the burger recipe in Flavor Bombs: The Umami Ingredients That Make Taste Explode ($25), a new cookbook written by the founder of the restaurant, Adam Fleischman. We had to know — what’s the secret?!

TBH, the recipe in its entirety is pretty intense — it’s five pages long and calls for some rare ingredients like powdered soy sauce. Therefore, we simplified things a little bit for you. You can always pick up the cookbook if you feel inspired to commit to making ketchup from scratch and dehydrating some tomatoes. But if you want the abbreviated version, keep on reading.
For the record, our adaptation still packs in plenty of umami-liciousness. We made very slight changes to the printed recipe, like sautéing the veg in ghee (over butter and oil) for more toasted flavor, slathering honey-sweetened ketchup on the buns instead of homemade ketchup (for convenience), sandwiching the patties in between rich pretzel buns and not potato buns (the outer caramelized crust offers an umami punch), and garnishing with lettuce for extra crunch and freshness. Despite these minor tweaks, the signature components of the Umami Burger, i.e., the burger, caramelized onion, shiitake mushrooms, and Parm crisp, remain intact.
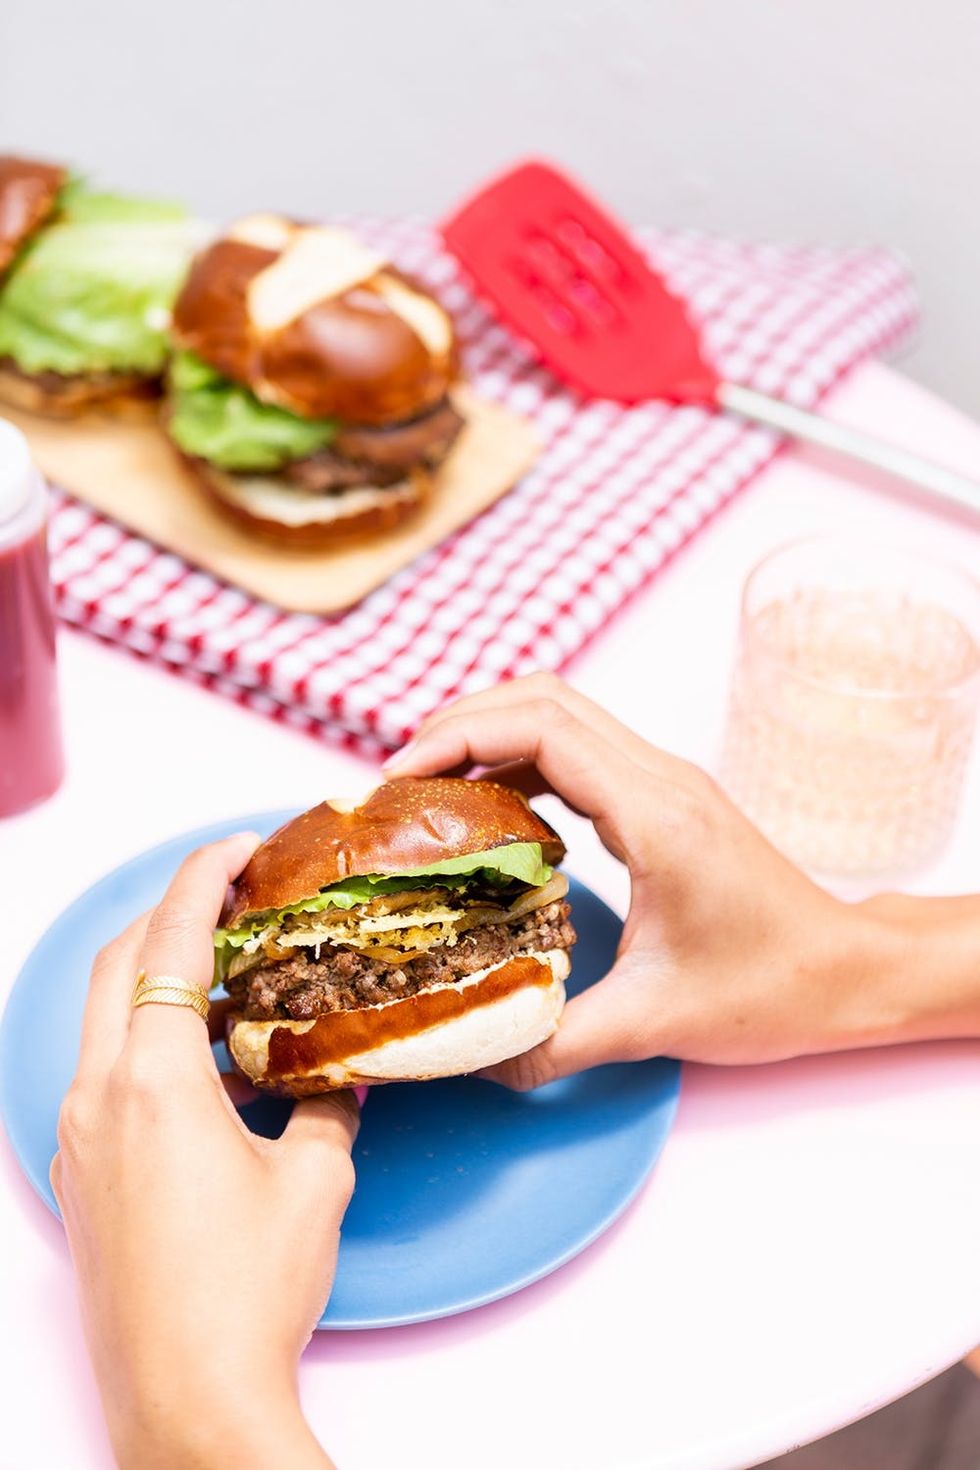
PS, this recipe is definitely forgiving. You can’t really burn the onions or the mushrooms, so that’s a plus! If your burger or Parmesan crisps fall apart a little (guilty), just take a swig of rosé, let it go, and build that burger anyway. No one will be able to tell, and the results are oh-so-tasty.
B+C’s Umami Burger adapted from flavor bombs
(Makes 3 burgers)
Cook Time: 1 1/2 hours
This is it. This is the original. The Umami Burger, the burger that I pulled together in my home kitchen with not much more than a few umami-intense ingredients, a cast-iron skillet, and a food processor. This is versatile: If you don’t have time to make the oven-dried tomatoes, sub in ripe tomatoes. If you’re out of Parmesan cheese, omit the Parmesan cheese crisp. It’s your burger. Do it your way.
Recipe Note:Ghee is clarified butter, a pure fat with no protein or water that cooks at high temps without burning. It has a comforting, roasted flavor that we love too. We recommend using it over butter or vegetable oil when you are sautéing, as we have done in this particular recipe.
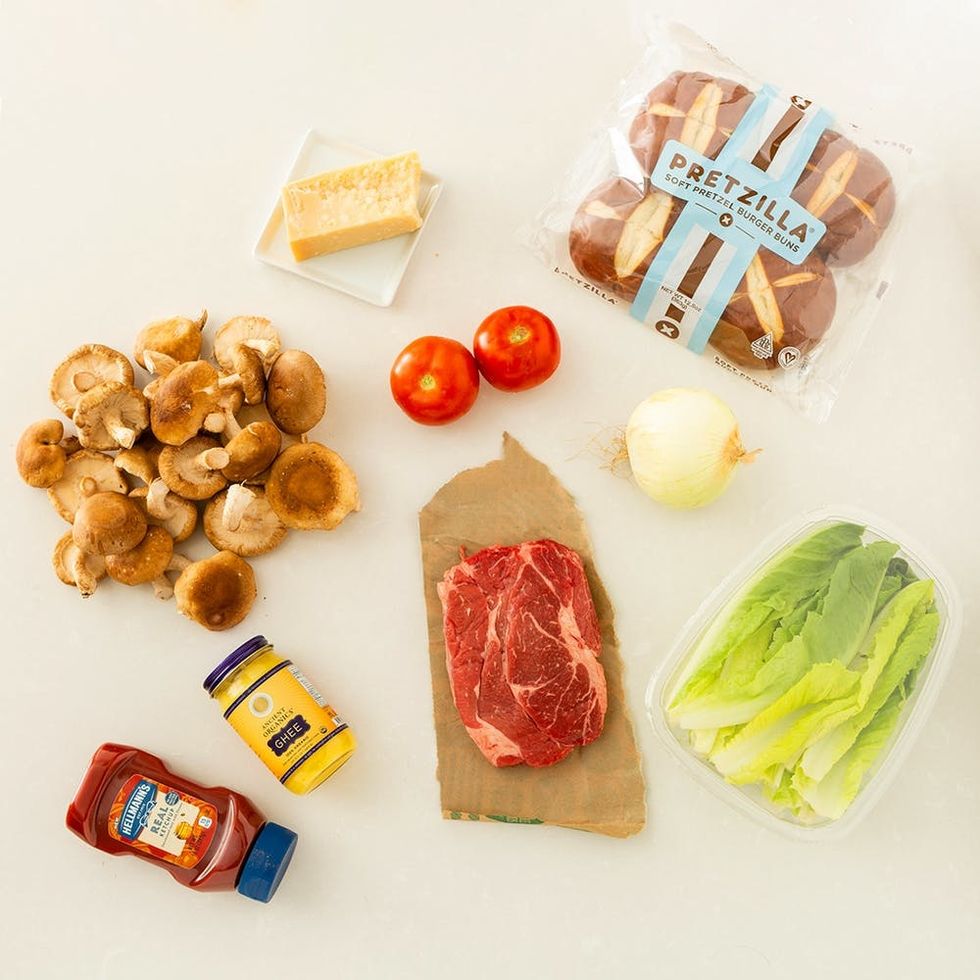
Ingredients:
- 1 onion
- 1 teaspoon ghee
- 1 cup (4 ounces) grated Parmigiano-Reggiano
- 16 ounces chuck, boneless short ribs, skirt steak, or hanger steak,nicely marbled, about 20% fat, or a combination
- Sea salt and freshly ground black pepper
- 1 tablespoon vegetable oil (or ghee)
- 1 tablespoon unsalted butter (or ghee)
- 1 pound fresh shiitake mushrooms, stemmed
- 3 pretzel buns, split
- ketchup
- tomatoes, for garnishing
- lettuce, for garnishing
Directions:
1. Begin by peeling and halving the onions, then thinly slice them.
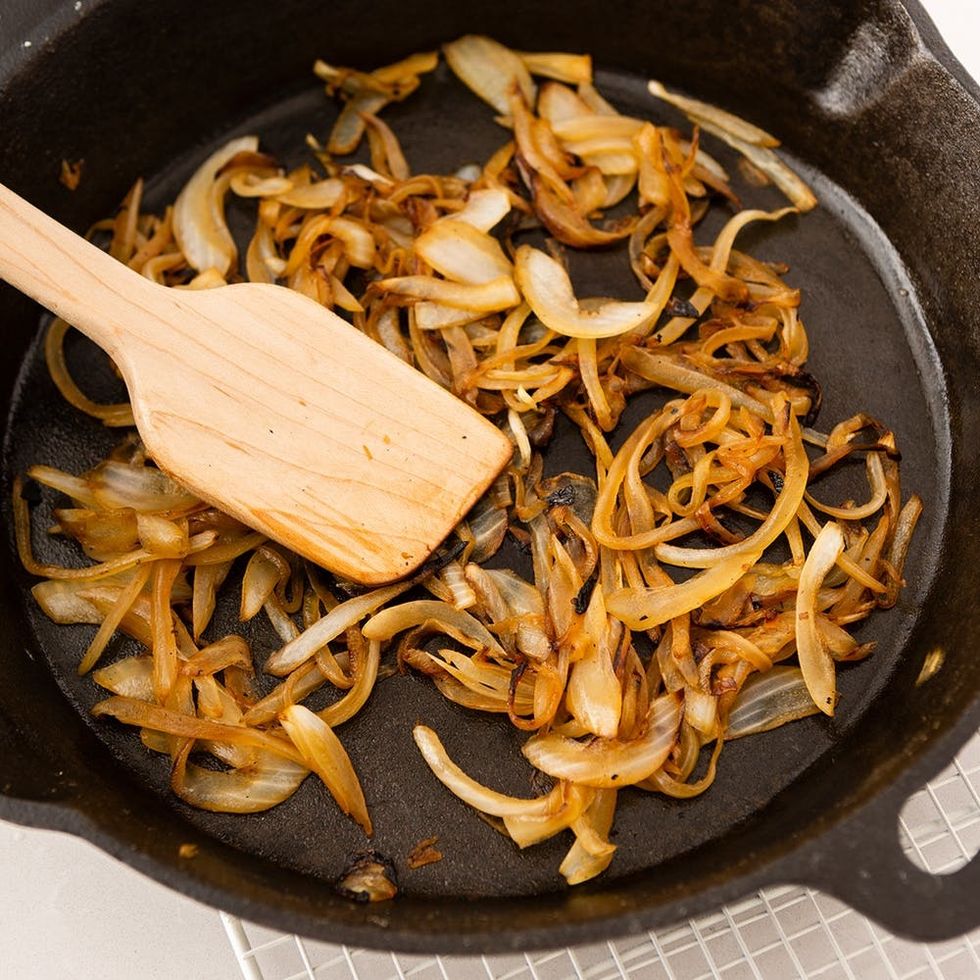
2. Heat the ghee in a large saucepan over medium-low heat and, when it’s rippling, add the onions. Stir them a bit, then let the onions do their thing. Every once in a while, give them a good stir. The onions will slowly break down and take on a beautiful dark-brown shade as they caramelize. Don’t rush this process; if you do, you’ll burn the onions instead of caramelizing them. If you find that the onions are browning too quickly, turn the heat down to low. In total this will take 45 minutes or more; the darker, the sweeter, the better.
3. Preheat the oven to 375°F. Line a baking sheet with a Silpat mat or parchment paper. Divide the cheese into neat piles on the baking sheet about 4 inches apart. Flatten the piles with a spatula or the bottom of a cup to form 3-inch rounds.
4. Bake until the rounds are crisp and golden, about 10 minutes, then remove the pan from the oven and cool in the pan for 10 minutes. Using a spatula, carefully transfer the cheese crisps to a rack and let them cool completely before using; you should have 15 to 20 crisps. You’ll need only one Parmesan crisp per burger; save the rest for other burgers, or for snacking on later. Store them in an airtight container for up to 3 days. Do not refrigerate.
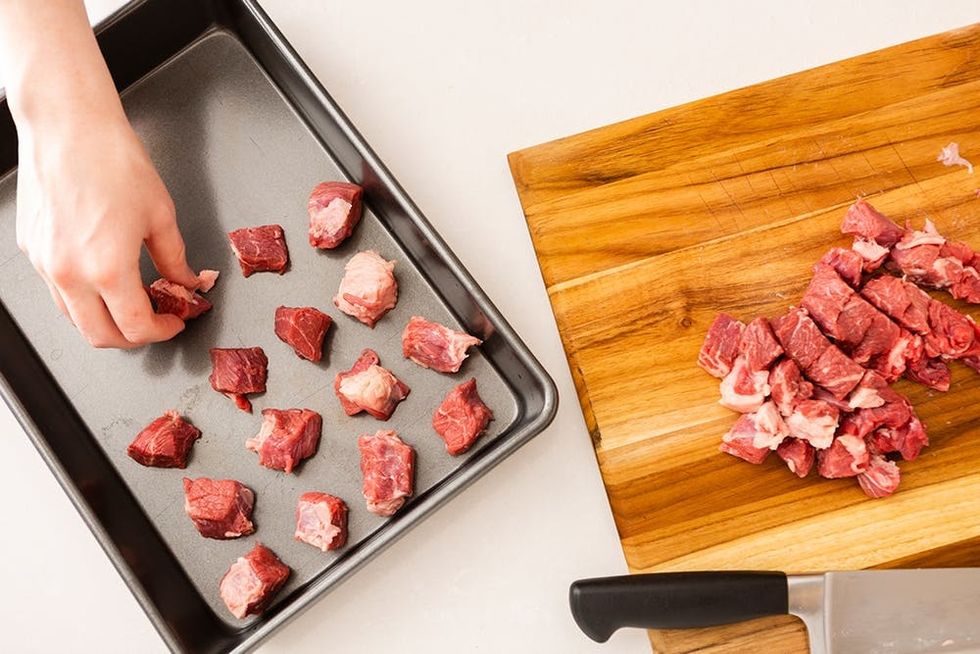
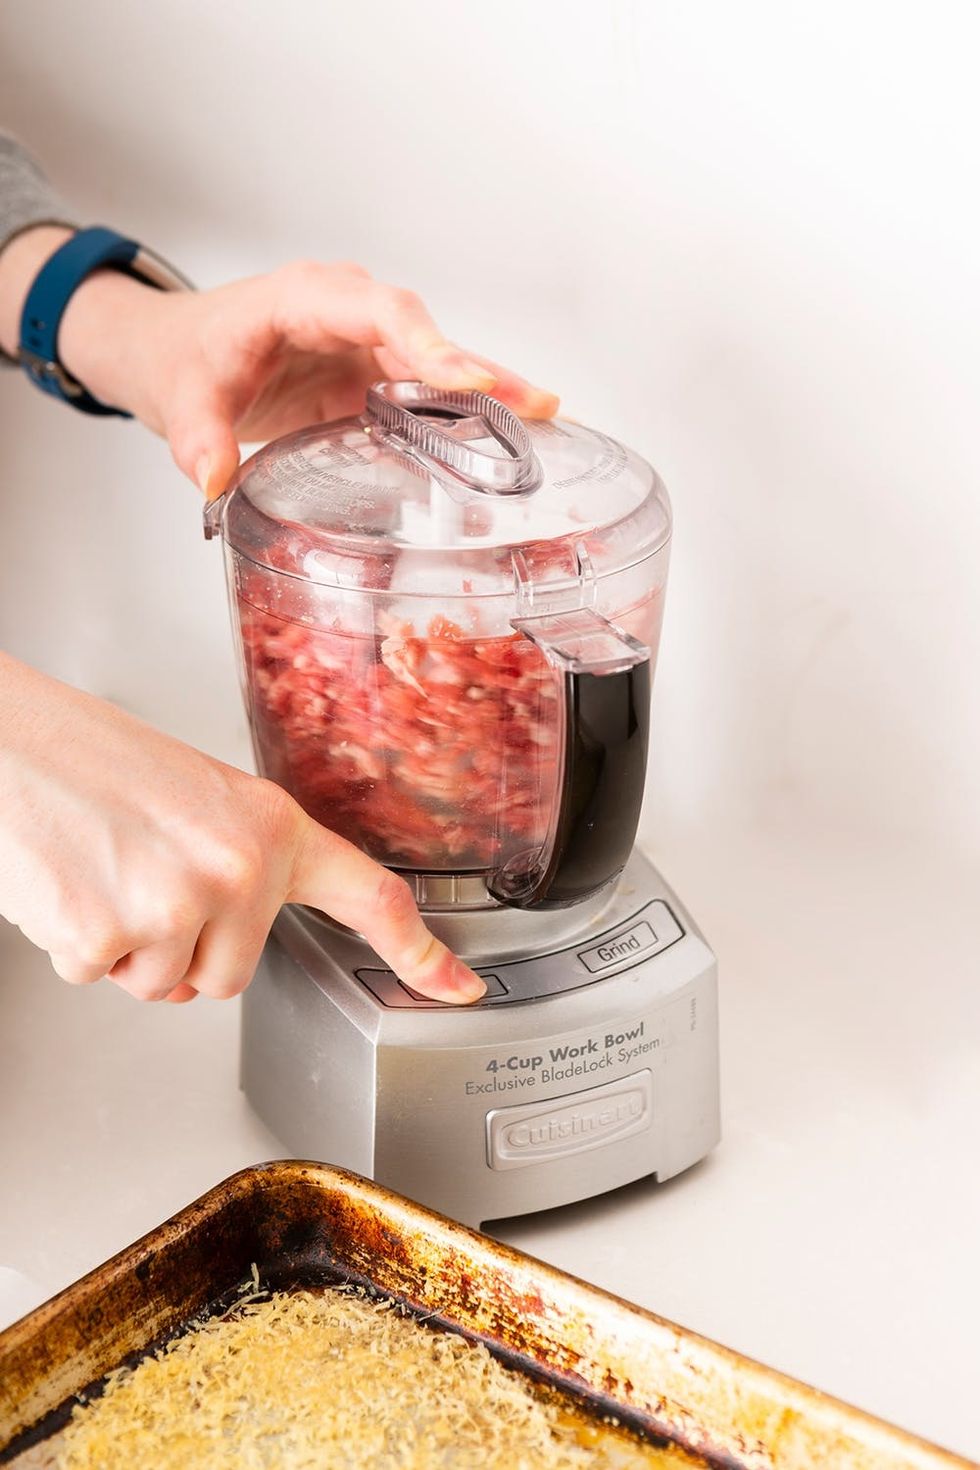
5. While the cheese crisps cool, make the patty. Cube the meat and place it in the freezer for 20 minutes. When the meat is cold, place it in your food processor and pulse a few times, just until it’s coarsely ground.
6. Place a cast-iron skillet on the highest heat. You want the pan to be wicked hot so you can quickly sear the patty crisp without overcooking the inside.
7. Dump the meat out on a plate and loosely shape it into a flat ball or something close to that general shape. Don’t pack the patty—it should barely hold together. Season the patty generously with salt and pepper.
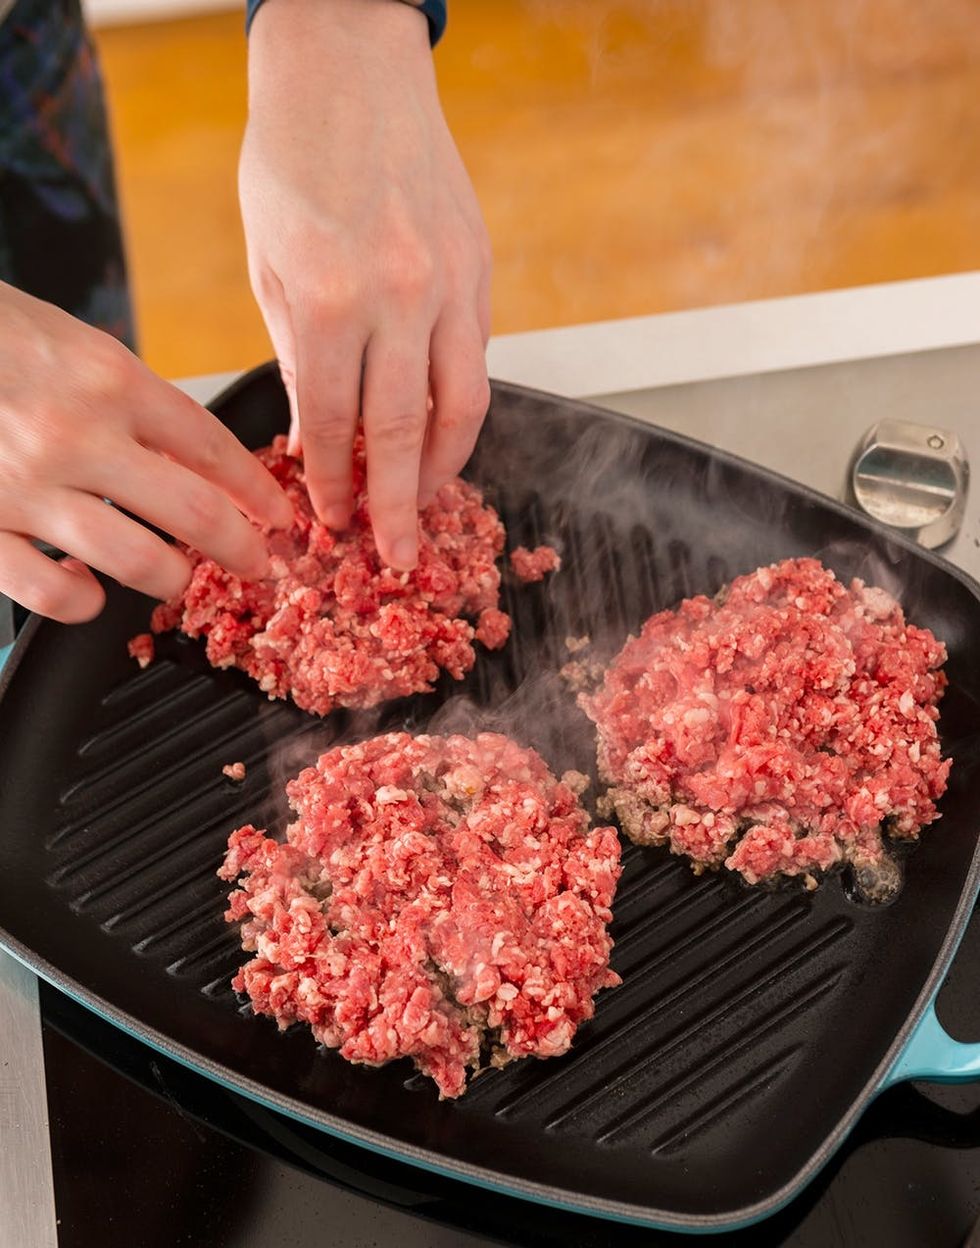
8. Add the oil to the pan, wait a few seconds, then carefully place the patty in the pan; it should crackle and pop right away.
9. Sear the patty for 3 minutes, then flip it over and cook another 3 minutes for a medium-rare burger. Set aside.
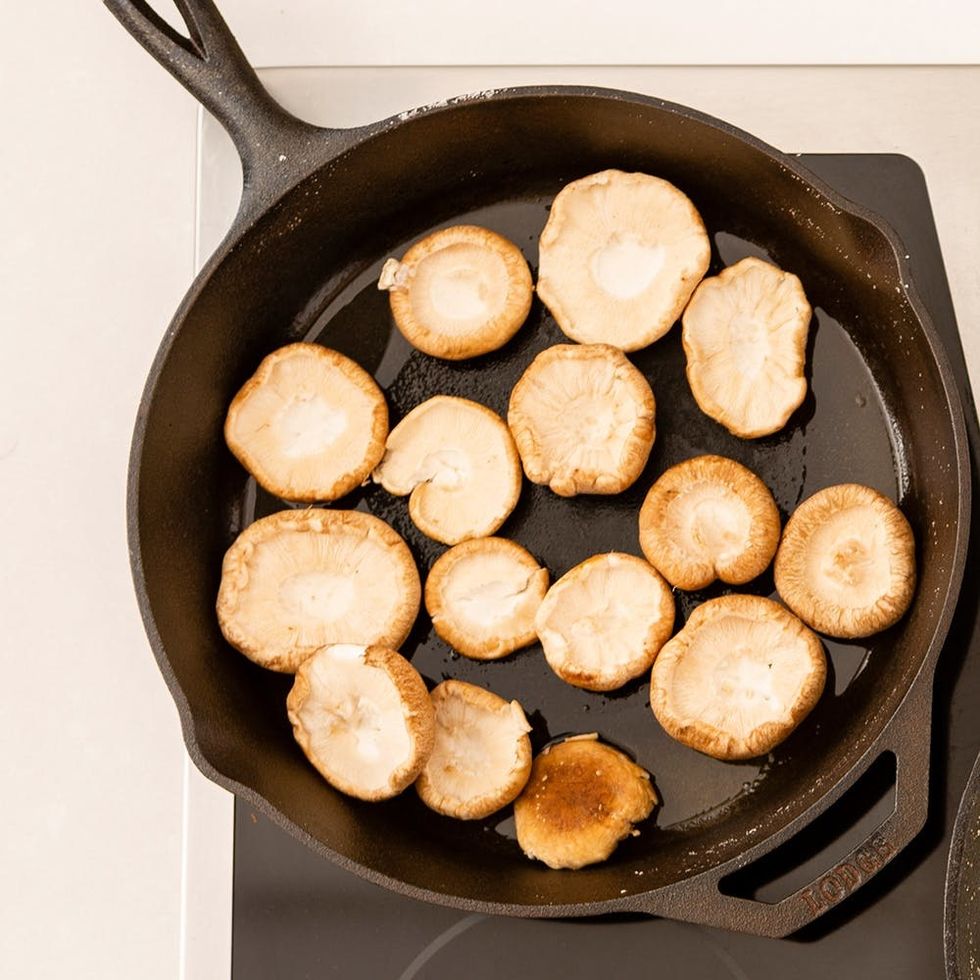
10. Lower the flame to medium. Place ½ tablespoon of the butter in a small skillet, then toss in the mushrooms. Sauté until the caps are softened, about 2 minutes. Remove the mushrooms, wipe the skillet clean with a paper towel, throw in the remaining ½ tablespoon butter, and toast both halves of the potato bun cut side down.
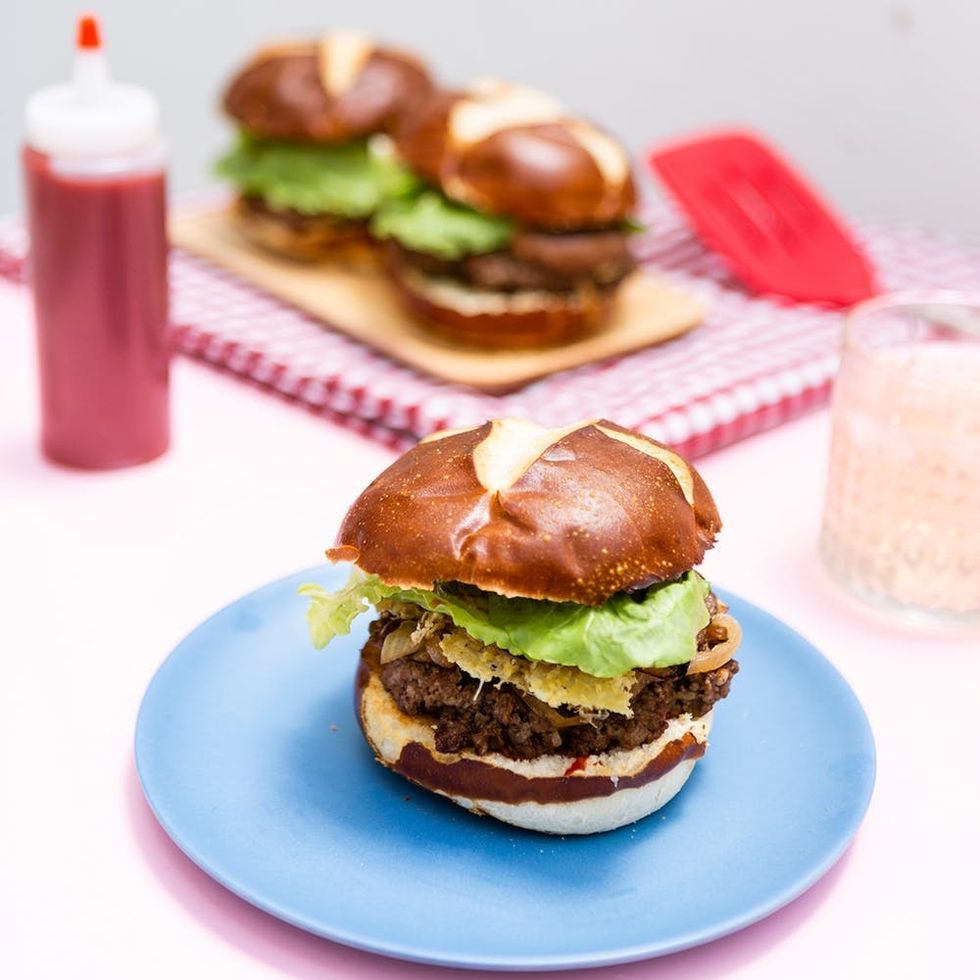
11. When the bun is nice and toasted, remove it from the pan and assemble your burger, starting with the ketchup. Spread ketchup on both the top and bottom bun, but use as much or as little as you want. Place the patty on the bottom bun and top with the caramelized onions, a Parmesan crisp, mushroom caps, tomato slices, lettuce, and the top bun. Eat. Enjoy.
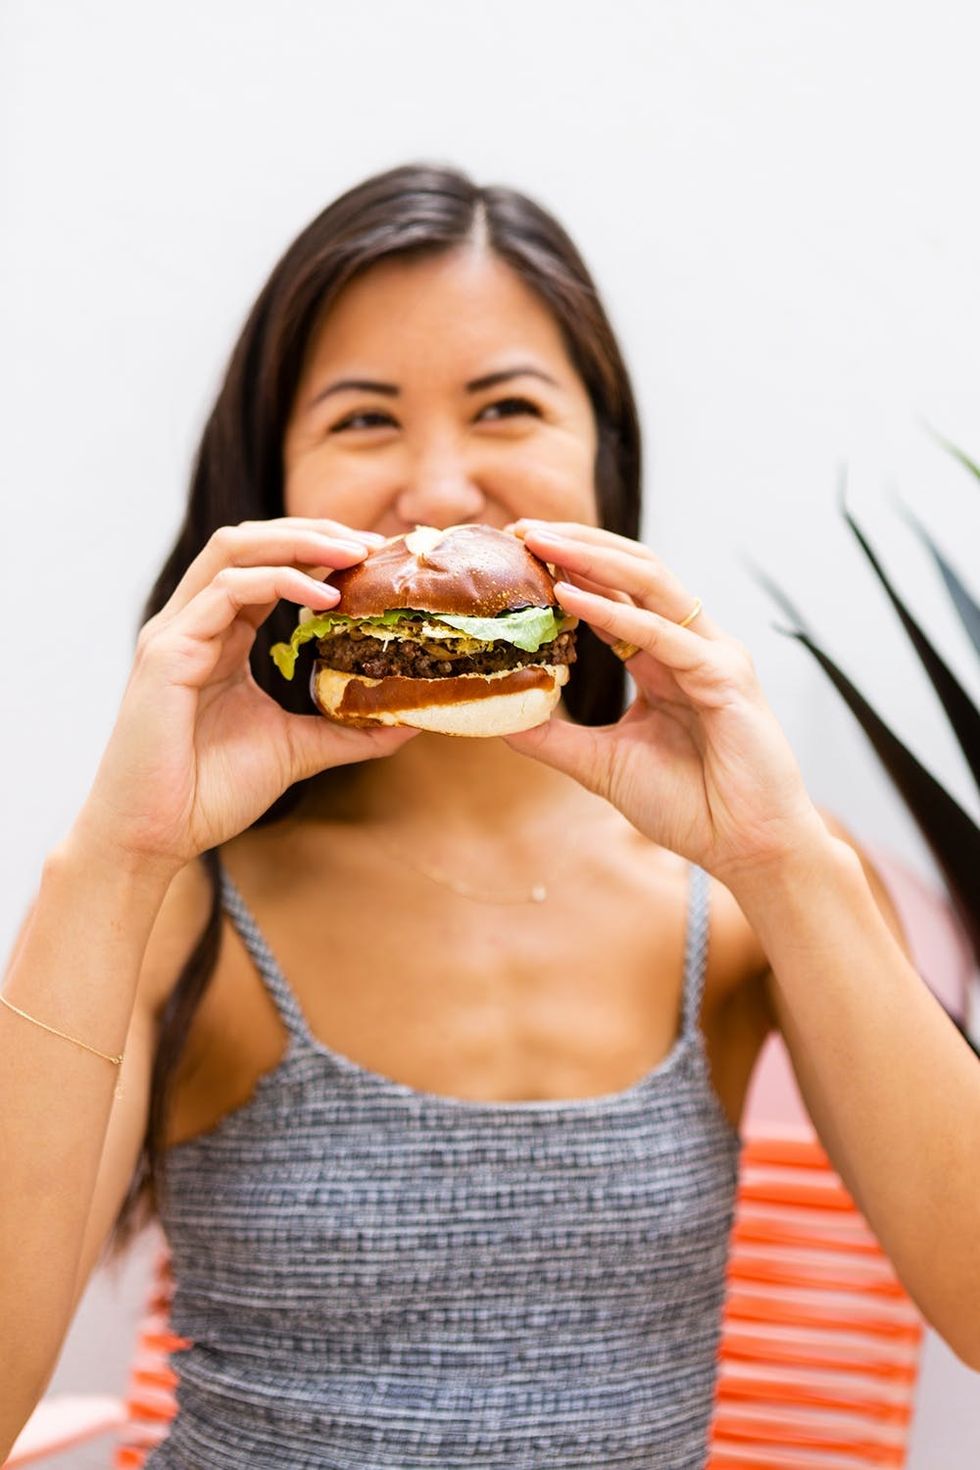
For more summer grilling inspo, head over to Brit + Co’s Pinterest page!
(Photos via Brittany Griffin / Brit + Co; recipe adapted slightly from FLAVOR BOMBS © 2018 by Adam Fleischman. Used by permission of Rux Martin Books/Houghton Mifflin Harcourt. All rights reserved.)


