Thrift shops FTW.
Use Nail Polish to Update Thrift Store Accessories
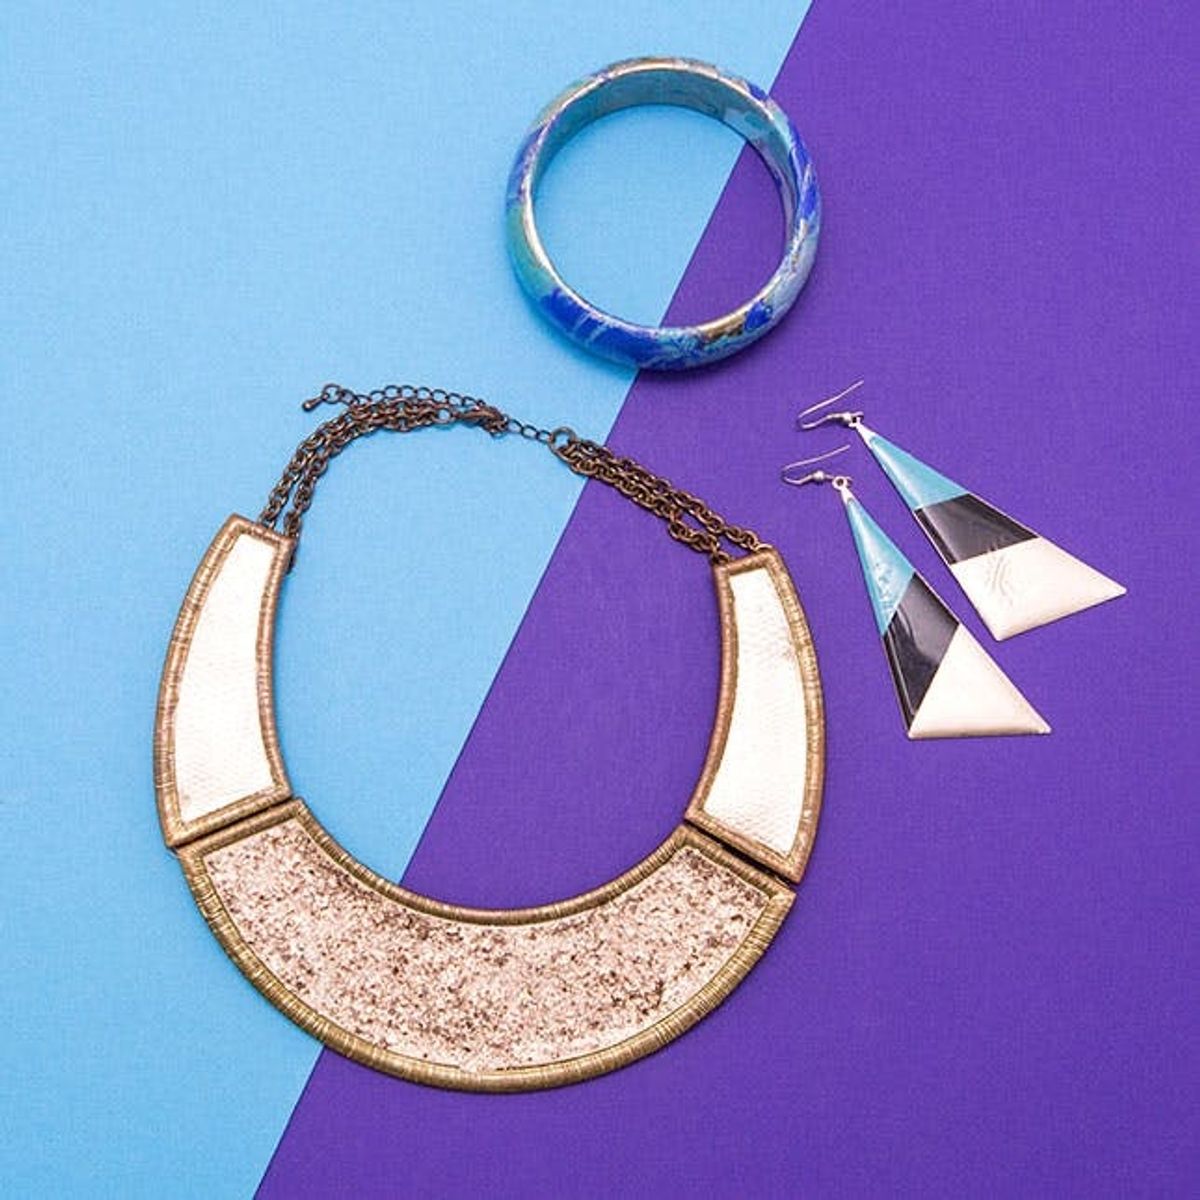
Did you know that August 17th is National Thrift Shop Day? Thrift stores are some of our favorite places to shop for DIY goodies! They are filled with low-cost treasures that simply need a new home or style update. We love scouring the racks of thrift stores to find the perfect piece for a costume or an awesome vintage jacket to add to our wardrobe. And we’re not the only ones. According to Savers, 76% of people have shopped at thrift stores, and 39% make a monthly trip to a second-hand store. Like us, shoppers are looking for great deals and love a good treasure hunt. For this thrift store adventure, we headed to one of our favorite thrift stores, Savers, to find some amazing statement jewelry pieces, and then we added a touch of B+C flair to give them an update. In this video, we will show you a few tips and tricks for revamping your favorite thrift store finds.
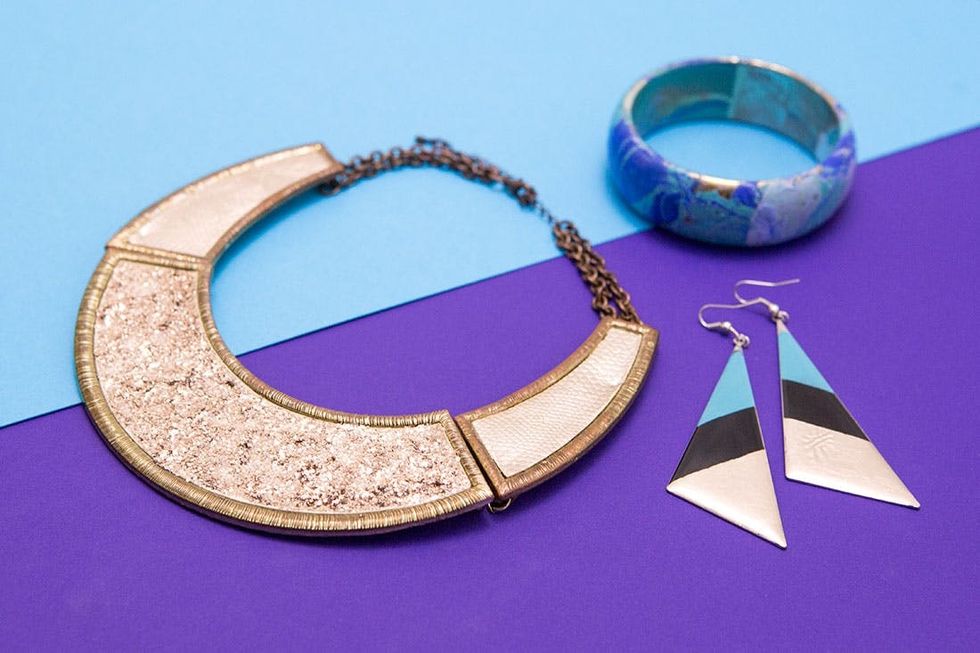
Savers is a family of thrift stores, which also includes Value Village, Village des Valeurs and Unique Thrift stores, and has more than 330 awesome locations in the United States, Canada and Australia. That's a lot of thrifting! Local residents can donate gently used goods they don't need anymore to a local nonprofit organization at their stores, and in return Savers will pay money to local nonprofits that support community programs and services. Whatever items that Savers cannot sell, they then recycle or ship to developing countries for reuse, rather than sending to a landfill. That means by thrifting, you are helping others and the planet. Not bad, eh?
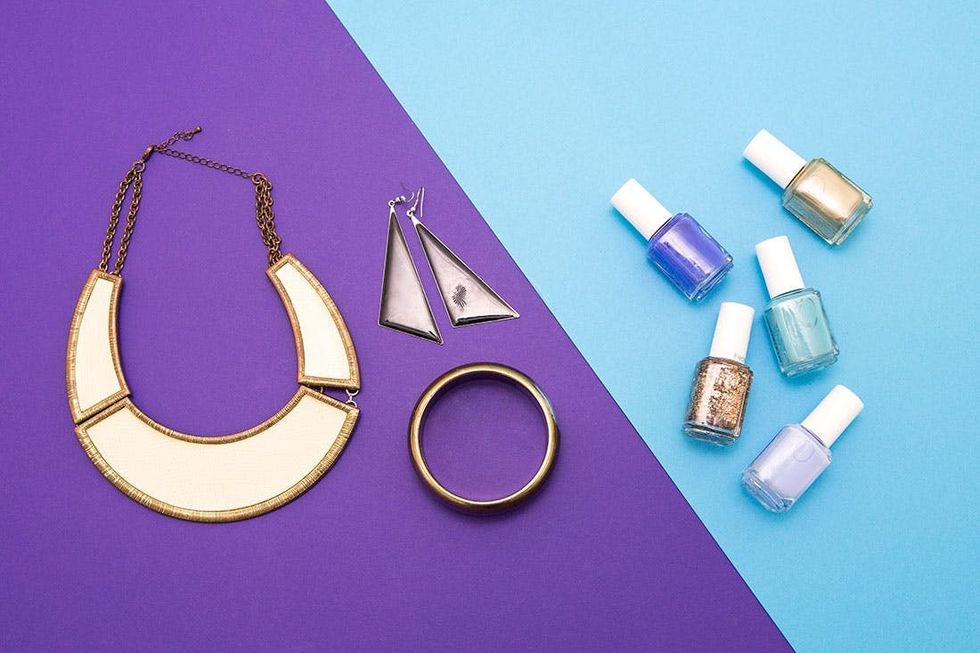
Materials + Tools:
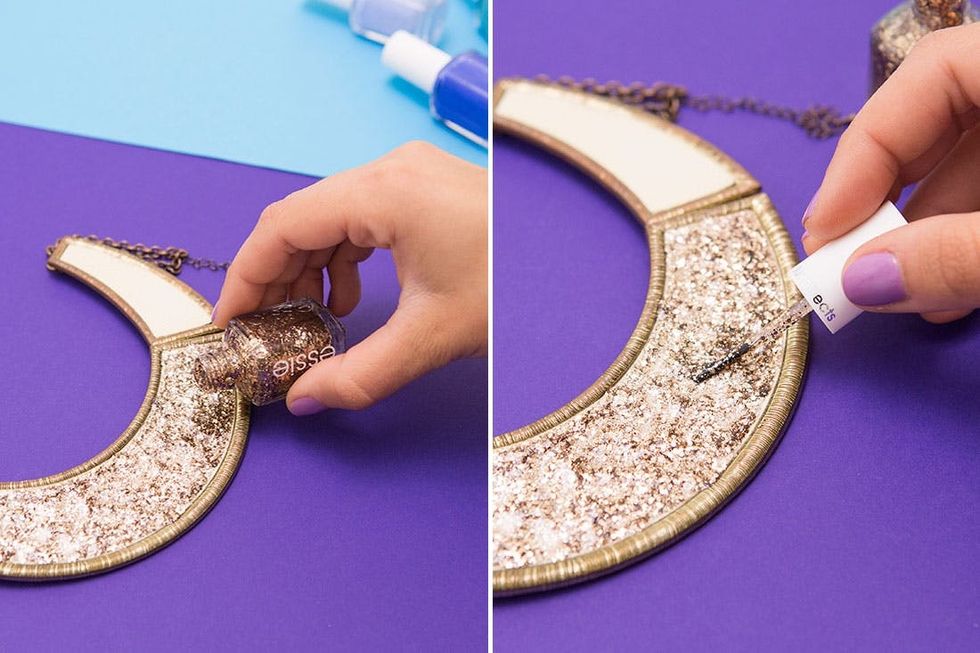
– amazing thrift store jewelry finds
– a bunch of nail polish
– tape
– bowl + water
– stir stick
Gold everything, all the time.
This statement necklace was an amazing find. Check out its raised brass edge. So cool! It was just asking for us to pour in a layer of gold sparkly nail polish. Once you’ve poured enough polish, use the brush to even out the layer.
Golden Necklace
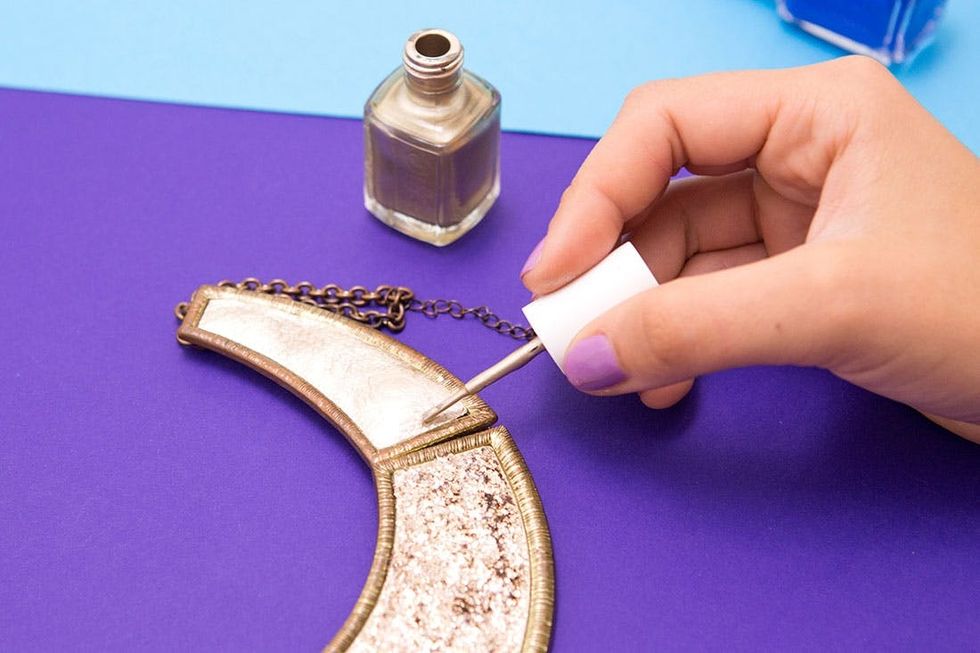
Don’t be afraid to play with textures! We updated the side panels with a shiny gold layer.
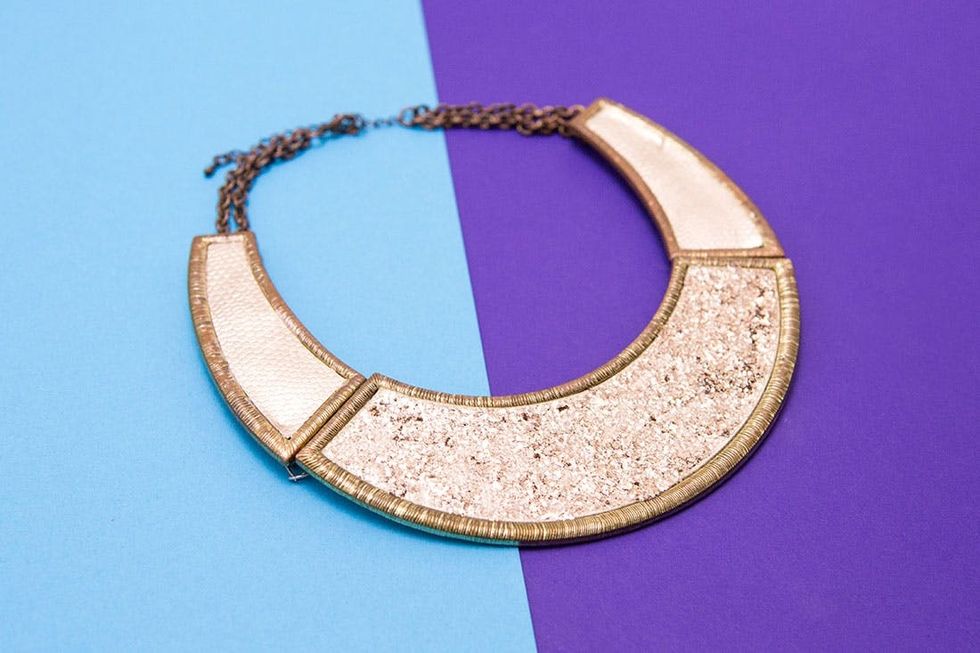
This piece was always an amazing statement necklace, but with the help of nail polish, we brought up the glam factor by 100%.
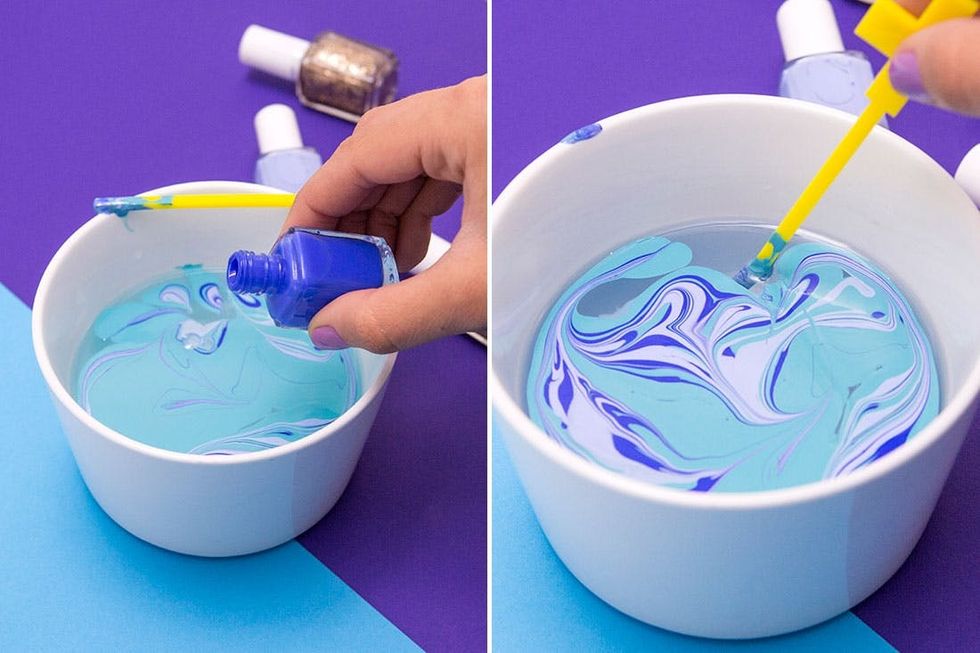
We love this marbling technique. Check out more ways to marble here!
For this jewelry updating technique, start off with a bowl that you don’t mind getting dirty. Fill it up with water, and add your nail polish. Use a stir stick to mix them around and create a marbled pattern.
Marbled Bangle
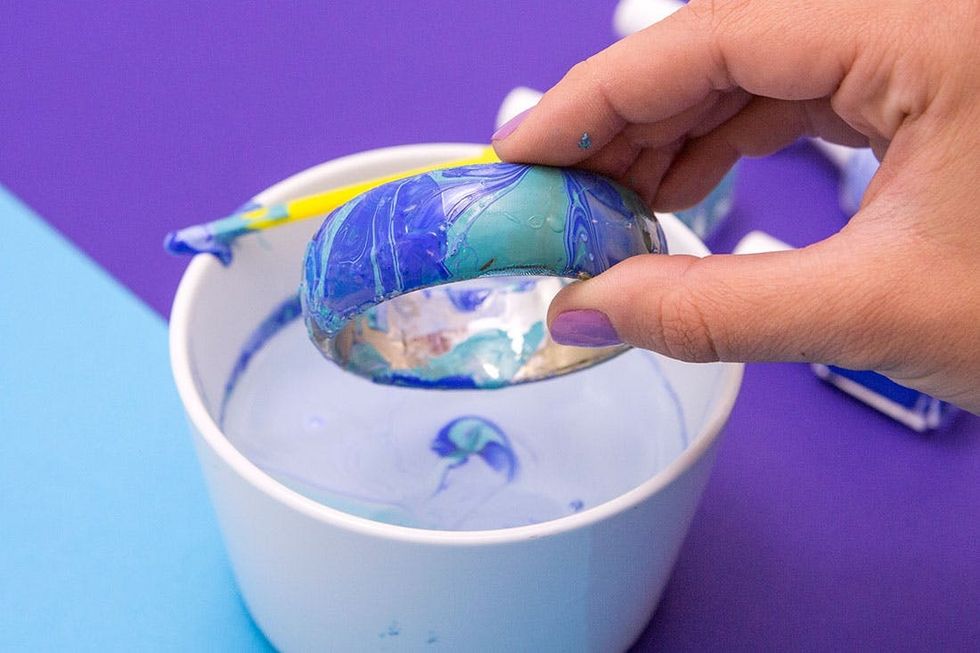
Let the face of your bangle kiss the surface of the marbled nail polish, then slightly roll it to one side. You will need to repeat these two steps at least two more times to marble the entire bangle.
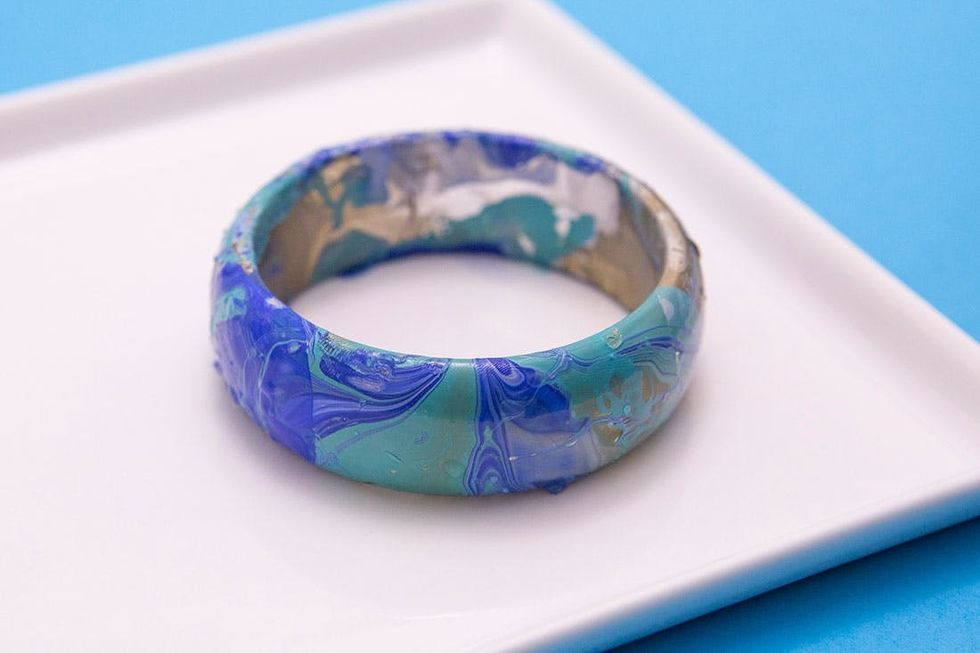
Set the bangle down and let it dry. The nail polish will dry first, and then you can use a paper towel to wipe the extra water droplets.
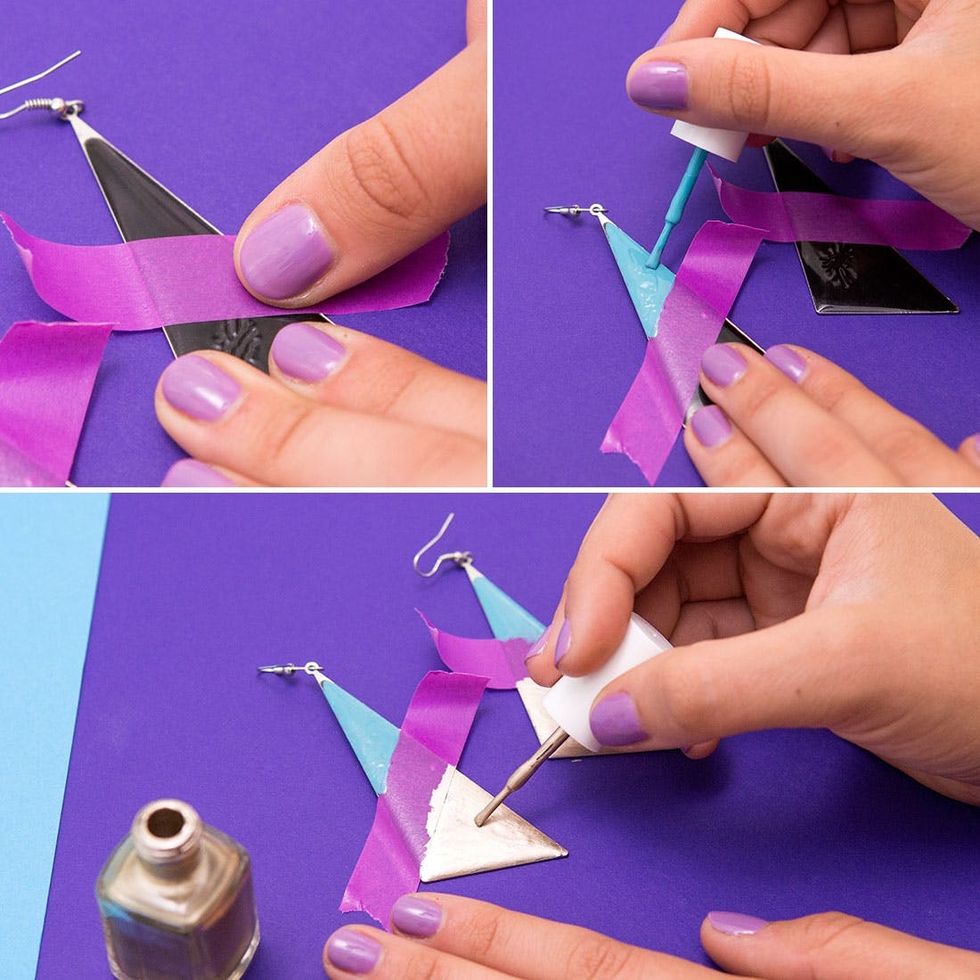
Did someone say geometric? That’s our favorite DIY adjective ever :)
Section off your earring with a piece of tape. Then use the nail polish brush to fill in the sections surrounding the tape. Yes – it’s that easy!
Geometric Earrings
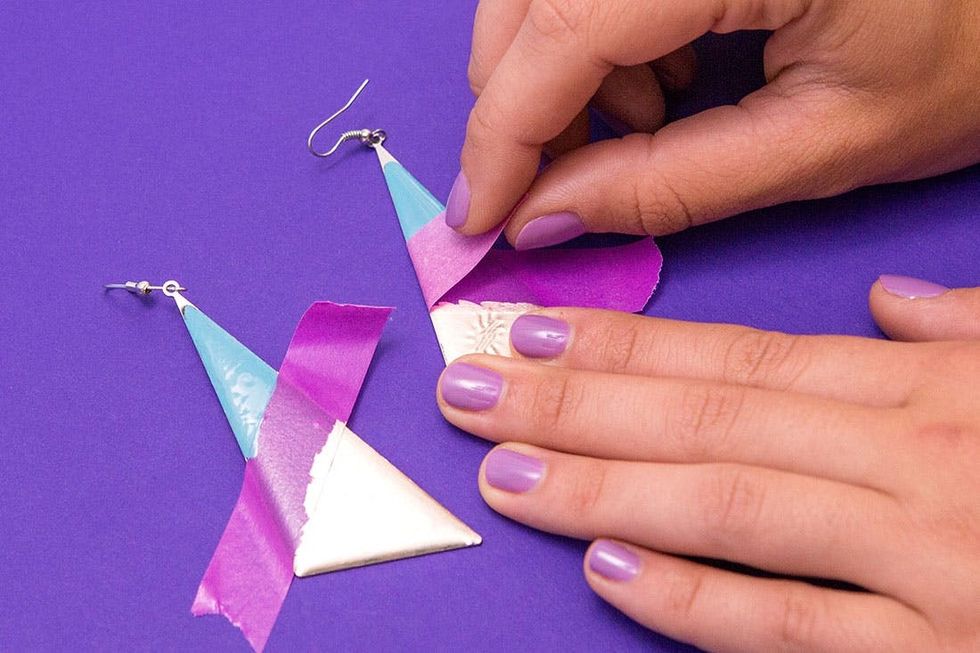
Once dry, peel back the tape to reveal your design.
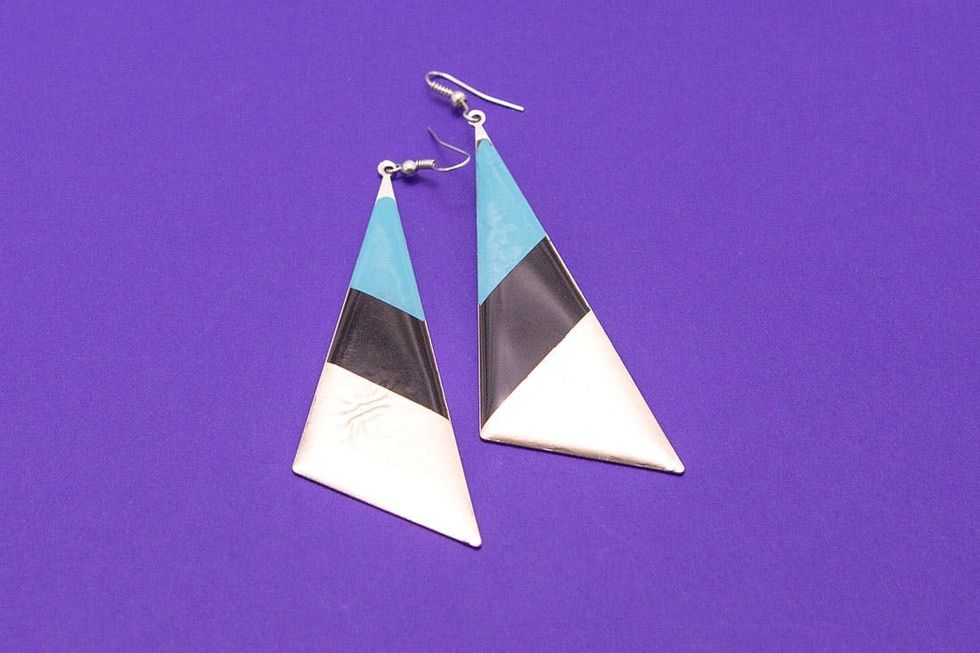
This is one of our favorite ways to update thrifted accessories. The possibilities are endless!
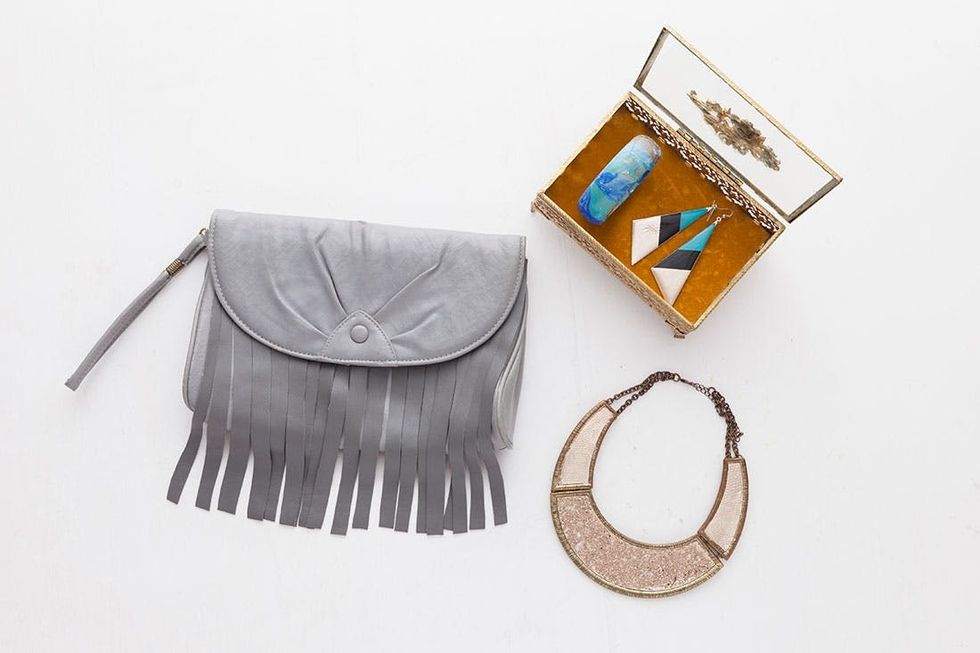
Obsessed with this leather clutch? So are we. Check out how we made it here.

If you haven’t headed over to a Savers, Value Village, Unique or Village des Valeurs, you need to now! Share with us all of your thrift store finds and DIYs using the hashtag #iamcreative and #thriftshopday, and connect with Savers by following @SaversVVillage on Twitter and @Savers_Thrift on Instagram.


