Time to start thinking of all the things to do with that leftover money :)
Upholster This $250 IKEA Couch into a $2800 Anthropologie Couch
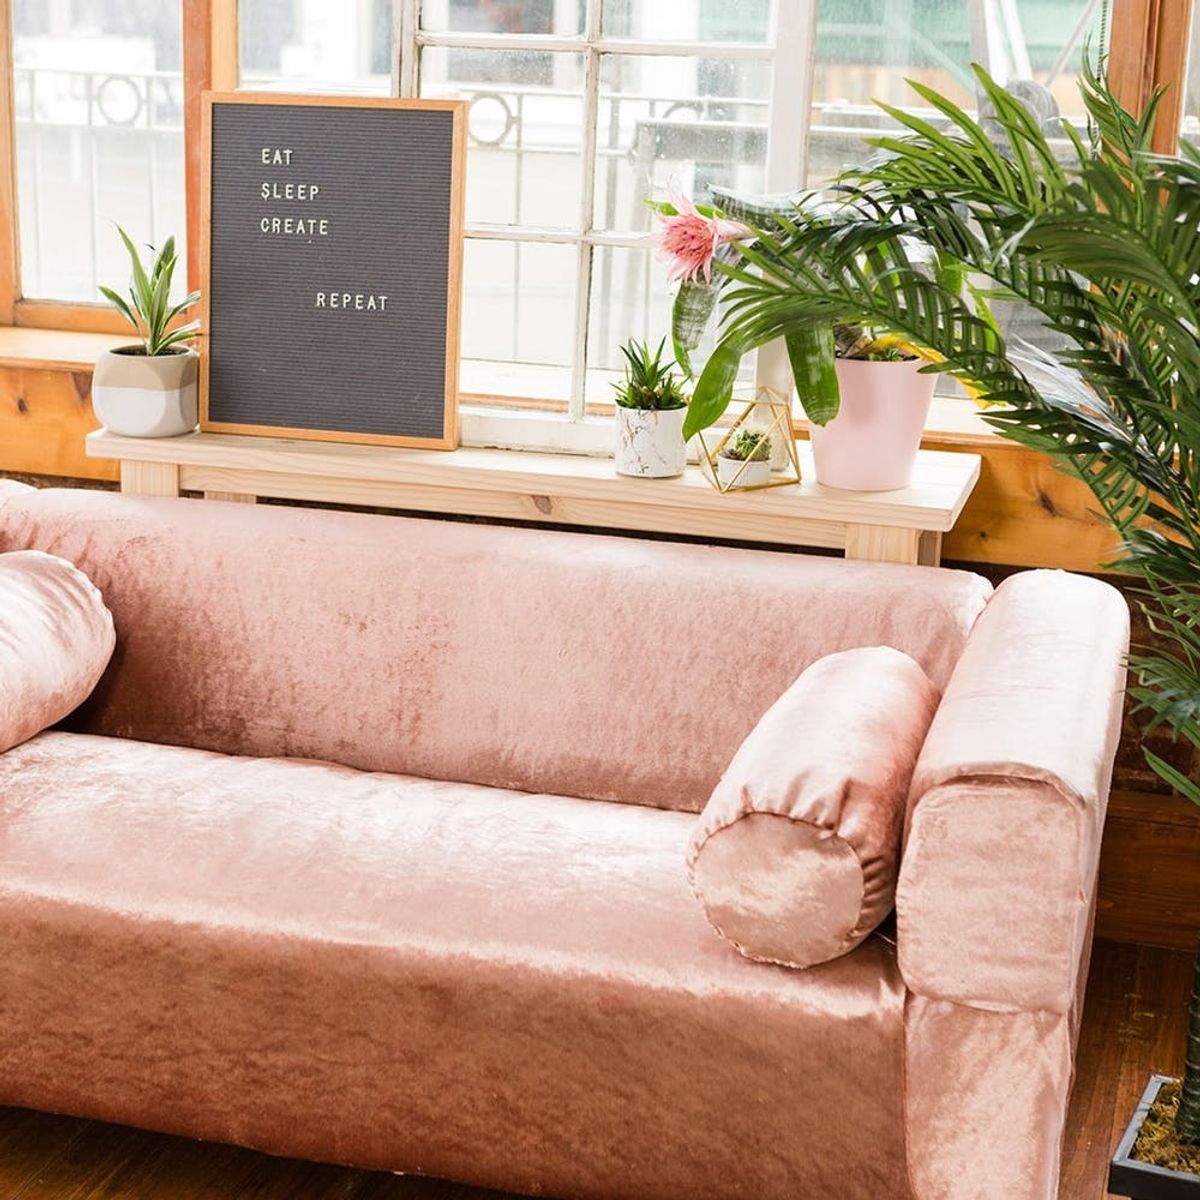
My name is Kelly Bryden, and I am still waiting for the day when I can casually walk into Anthropologie and just dump everything that I’m interested in into a bag, pay for it, and take it home with me. Sadly, I think this day is far, far away, so for now I just rely on Anthro hacks to fill all my needs. So say hello to the Anthropologie couch hack made from an IKEA couch deemed the best IKEA piece of all time.
FYI, folks: This couch is actually the first I’ve ever upholstered! It’s pretty easy, but it does require some sewing knowledge. We made this Anthropology Slub Velvet Leonella Sofa ($2798) for a total of $500 — $250 for couch and $250 for fabric. Head to IKEA and hack this Anthro masterpiece.
Materials and Tools:
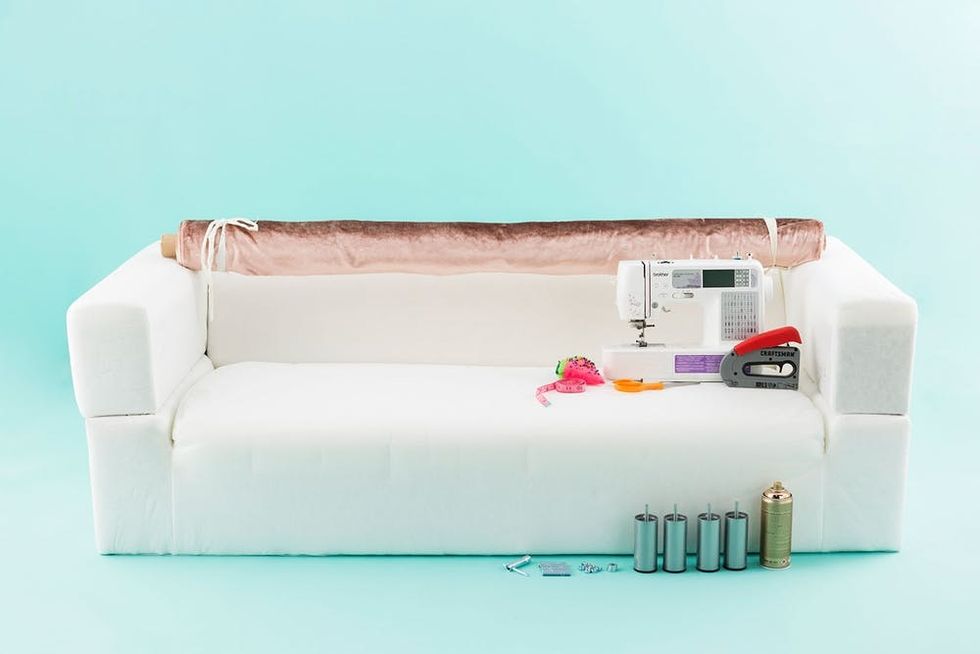
- Klippan IKEA loveseat
- 8 yards of upholstery velvet
- gold spray paint
- staple gun
- fabric scissors
- sewing machine
- measuring tape
Instructions:
- Roll out a piece of velvet that covers the seat of the couch.
- Measure the bottom rectangle panels and cut out pieces of fabric to reflect the sizes.
- Pin the fabric together to create one large square around the base of the couch. Make sure that the good side of the fabric is facing in and that the fabric is laying smooth and taught. Set aside to sew once you have all other pieces measured, cut, and pinned.
- Lay fabric over the arms of the couch and trim to an appropriate size.
- Cut out a square to fit the front of the arm and pin in place. This piece is curved, so make sure the fabric is smooth when pinning. Complete this on both arms of the couch, pull off, and then set aside to sew.
- Sew all three pieces — base of the couch and two arm covers. Follow the pins and sew slowly.
- Slide covers onto the couch pieces and staple gun into place. Trim off all excess fabric.
- Lay fabric over the back of the couch and trim to the appropriate length. Flip the velvet over and place the back of the couch on top. Pull the fabric taught and staple in place.
- Follow the IKEA instructions on how to put the couch together using the tools provided.
- To make the couch pillows, you’ll want four velvet circles traced from a 9-inch plate and two rectangles that measure 28×23 inches.
- Fold in half and sew along the side that measures 23 inches.
- Pin the circles to the edge of the sewn rectangle and then sew in place. Leave a 4-inch opening on one of the circles. Turn the pillow right side out, stuff with fiberfill, and then whipstitch the pillow closed.
Time to measure and pin!
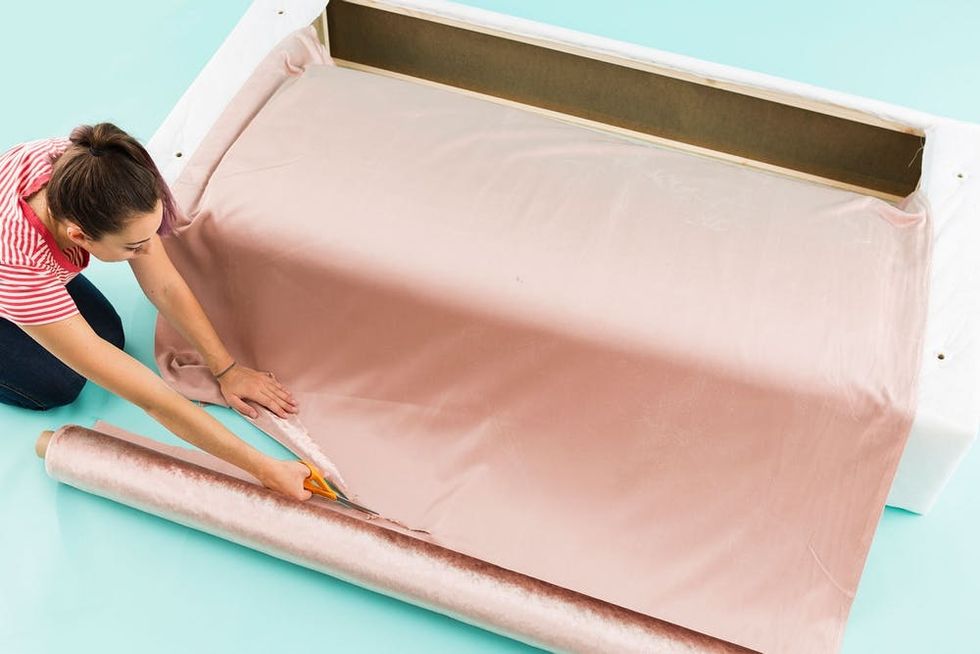
Lay your fabric over the seat of the couch. Make sure there is about 10 inches hanging from both the inside edge and bottom edge of the seat. It’s always best to leave more and trim later than to cut too little.
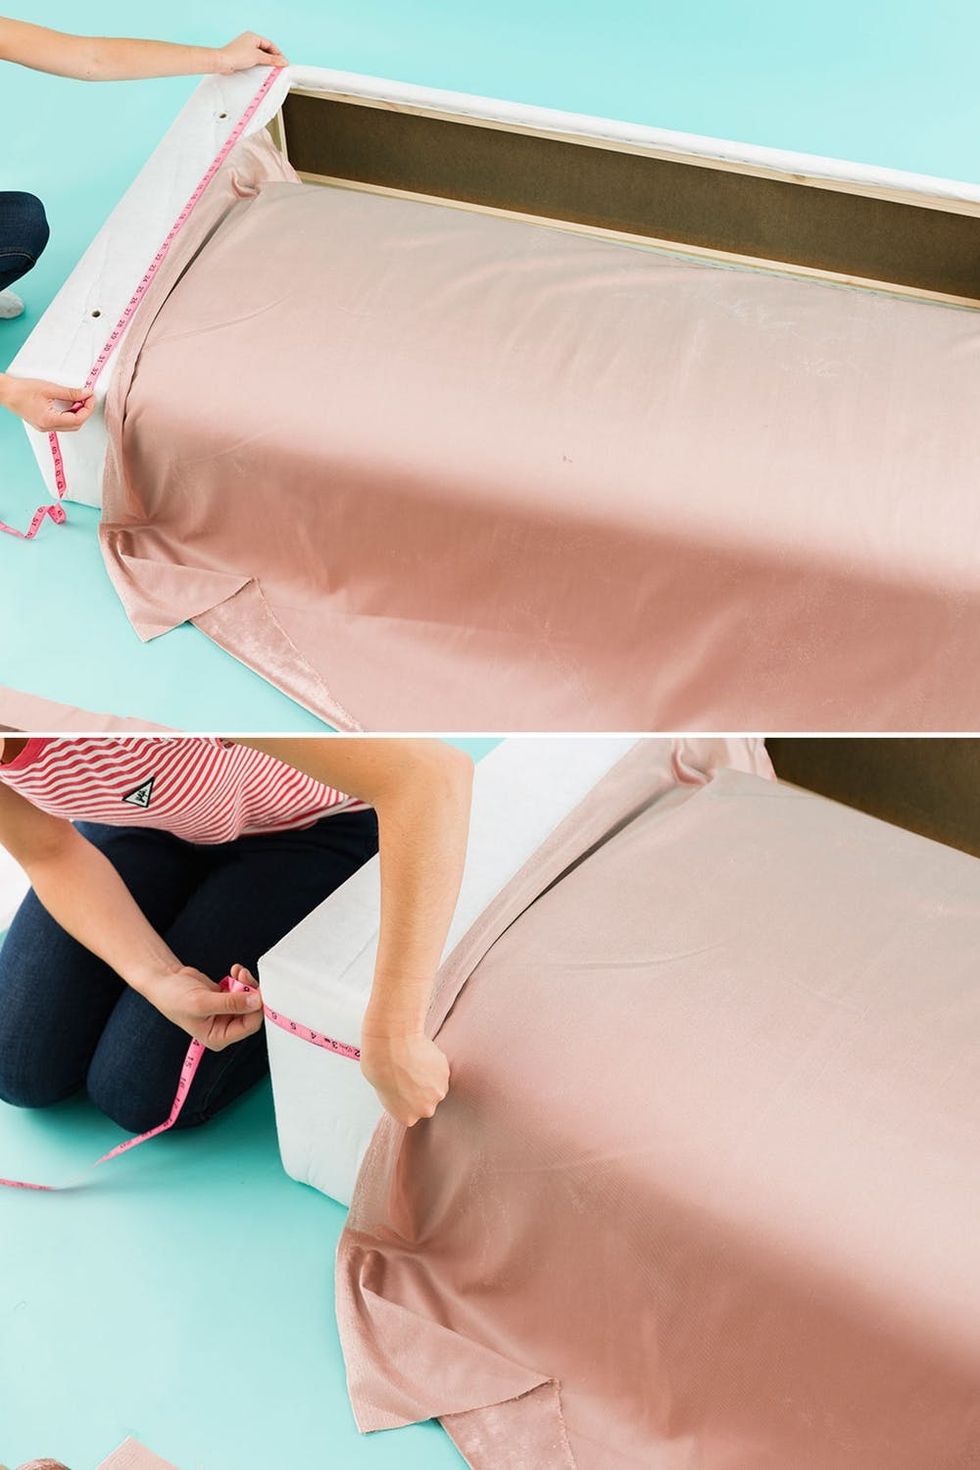
Measure the rectangles around the base of the couch. Add three inches to each measurement you take, and then cut pieces of fabric to match these rectangles.
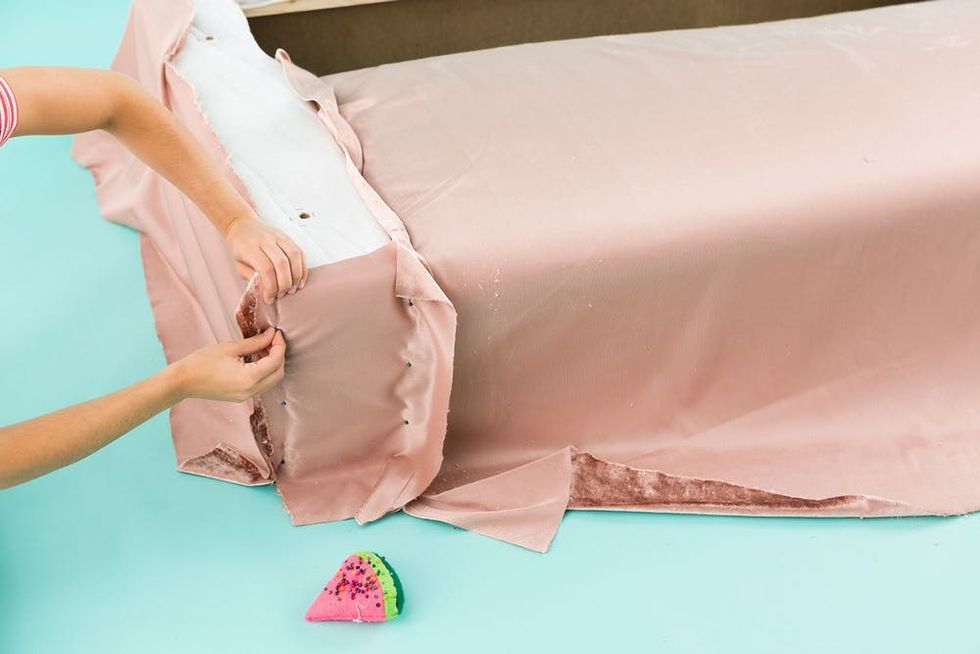
Pin your cut pieces together. Make sure the velvet is facing inward and that the fabric is laying smooth and is taught to the base of the couch.
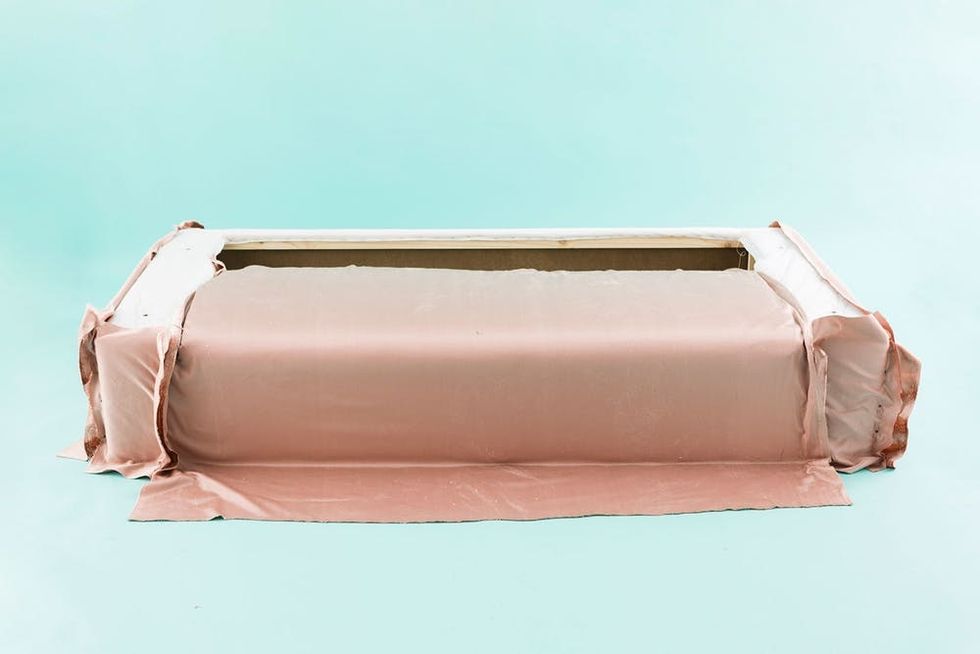
The base of the couch should have six large rectangles all pinned together. Once pinned, pull off of the base of the couch and set aside to sew.
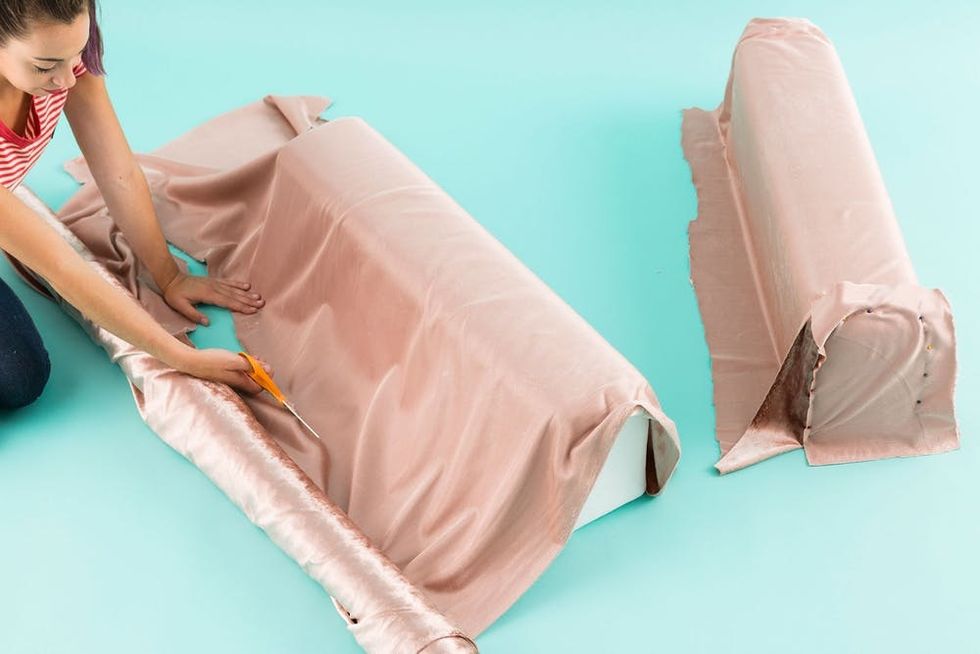
Next are the arms of the couch. Lay fabric over the mailbox shape and trim, leaving about five inches on both sides.
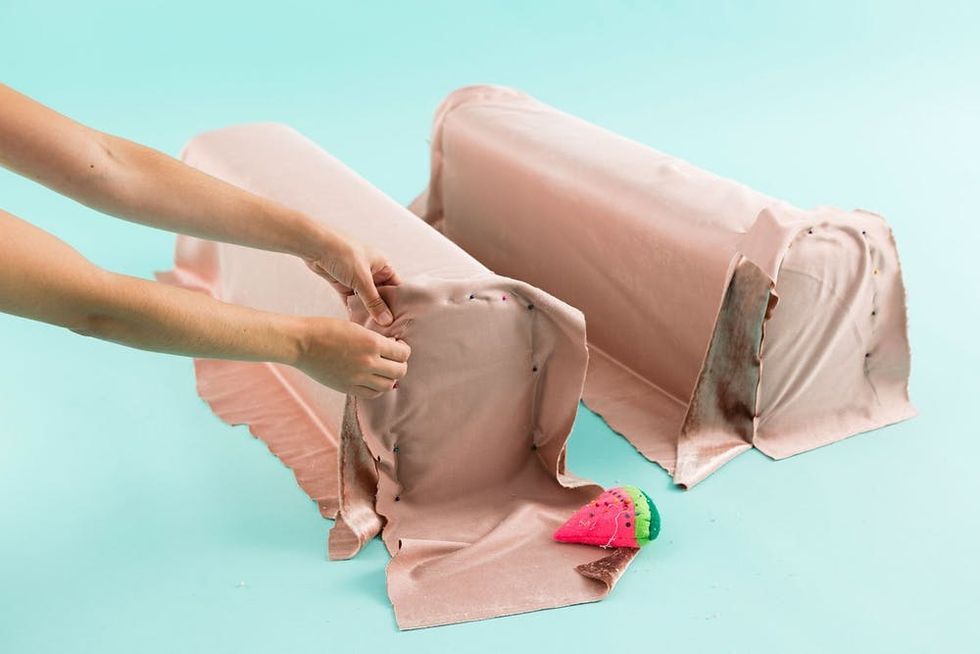
Cut two rectangles to cover the front and back of the arm piece. Pin in place. This is a curved piece, so make sure you pull the fabric taught and that it’s lying smooth.
*Note: The back piece of the couch doesn’t require sewing! So lucky! You will staple gun that fabric in place later on in the tutorial.
Time to sew!
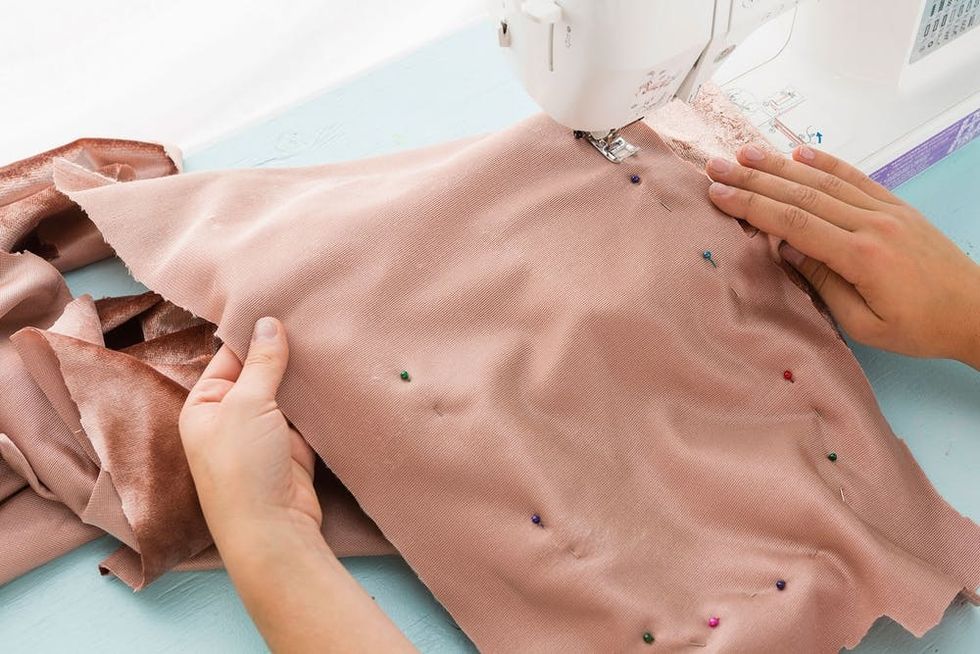
Follow all of your pinned lines and sew all pieces together. The trickiest piece will be the curves for the arm of the couch. Sew slowly and trust your pins.
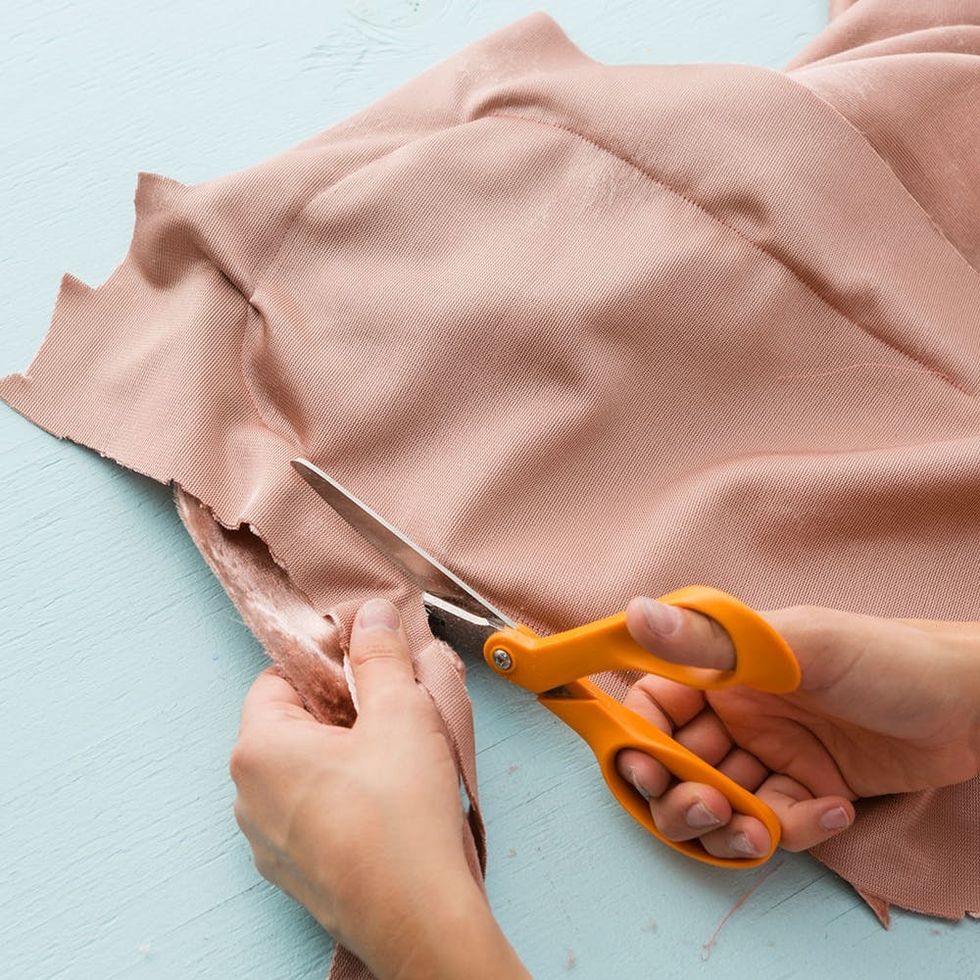
Once you have all your pieces sewn, trim away the extra fabric. There should only be about a half inch (or less) of fabric on the other side of the sewn seam.
Time for the staple gun!
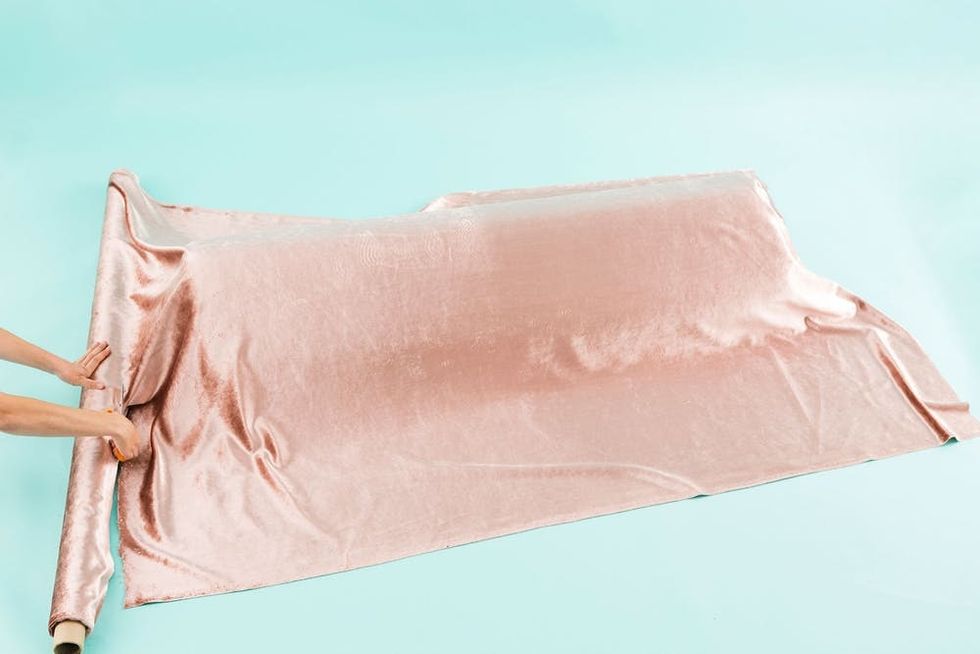
The last piece, the back of the couch, involves just your handy staple gun. Roll out your velvet and trim so there are at least five inches on each side.
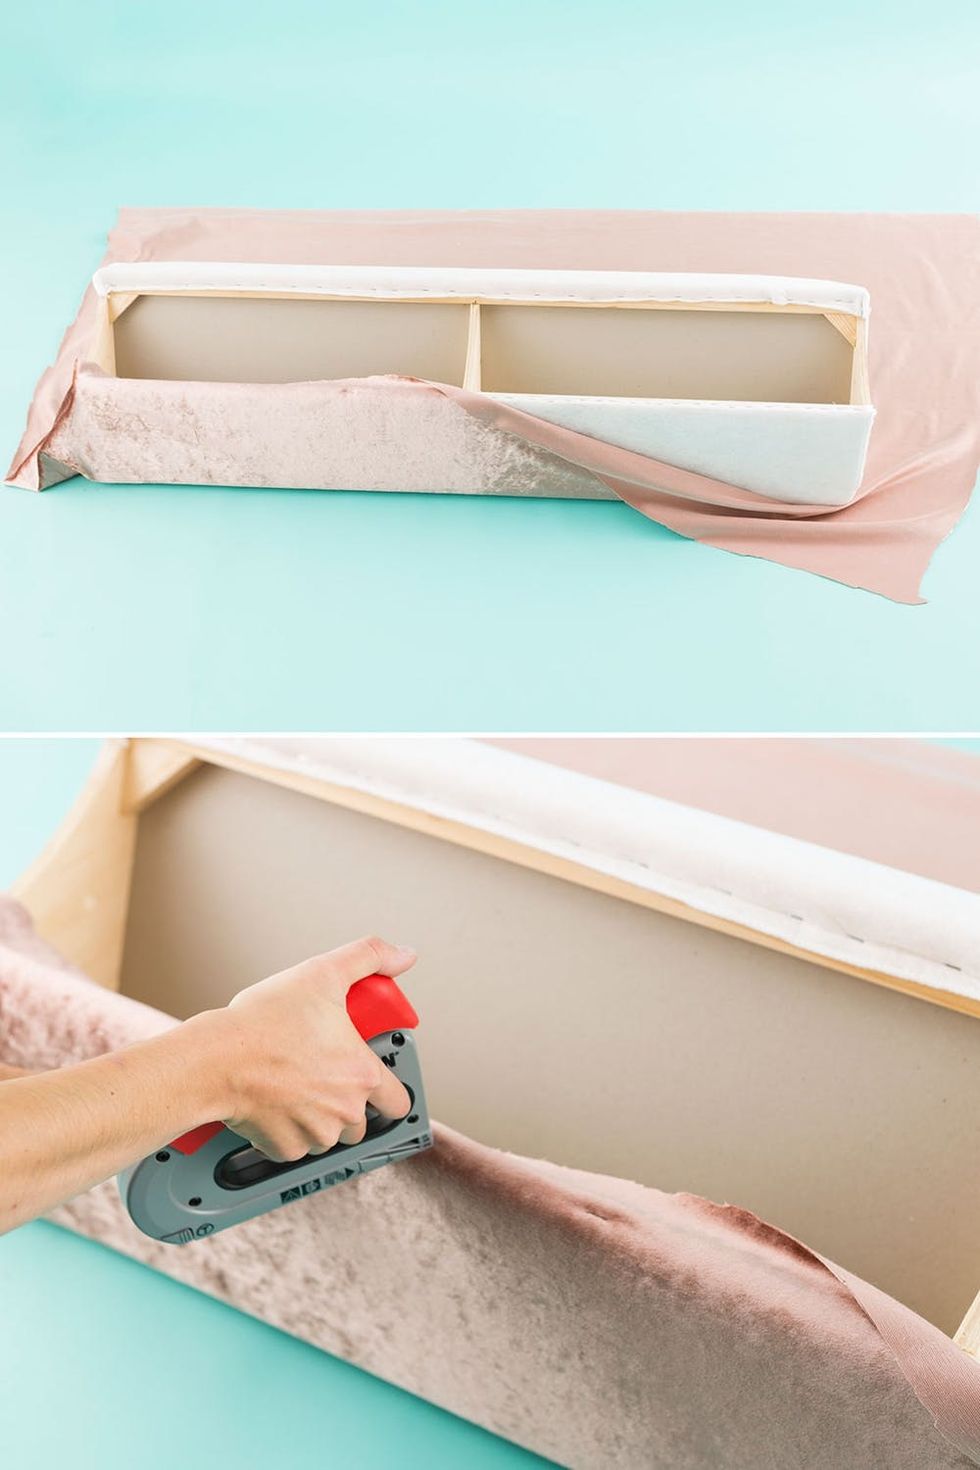
Lay the velvet face down and put the couch piece on top. Pull the edges of fabric to the underside of the piece and staple gun in place. You will notice where IKEA has already staple gunned the batting to the piece. Have your staples in about the same location — this will ensure that the staples won’t be seen.

Pull and fold the velvet to fit the curve of the piece. Staple and trim the excess fabric away.
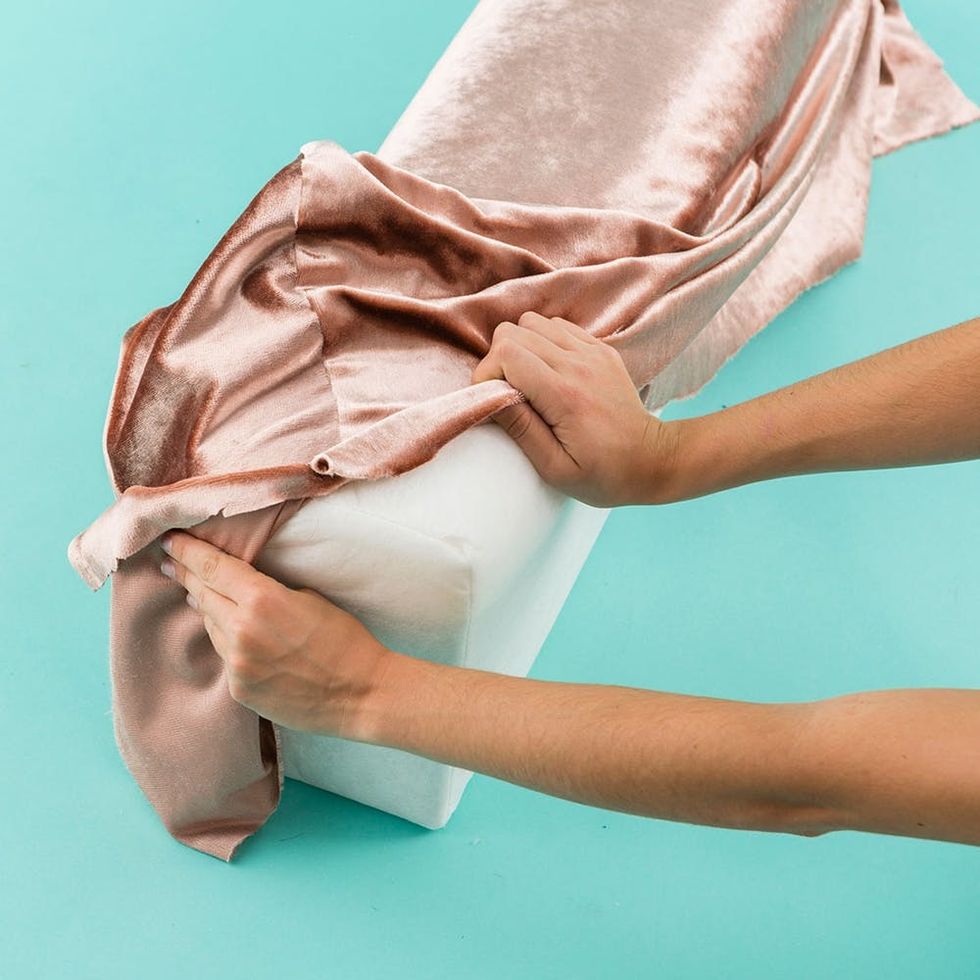
Now it’s time to put our sewn covers onto the couch pieces. Slide the arm covers over the arms of the couch.
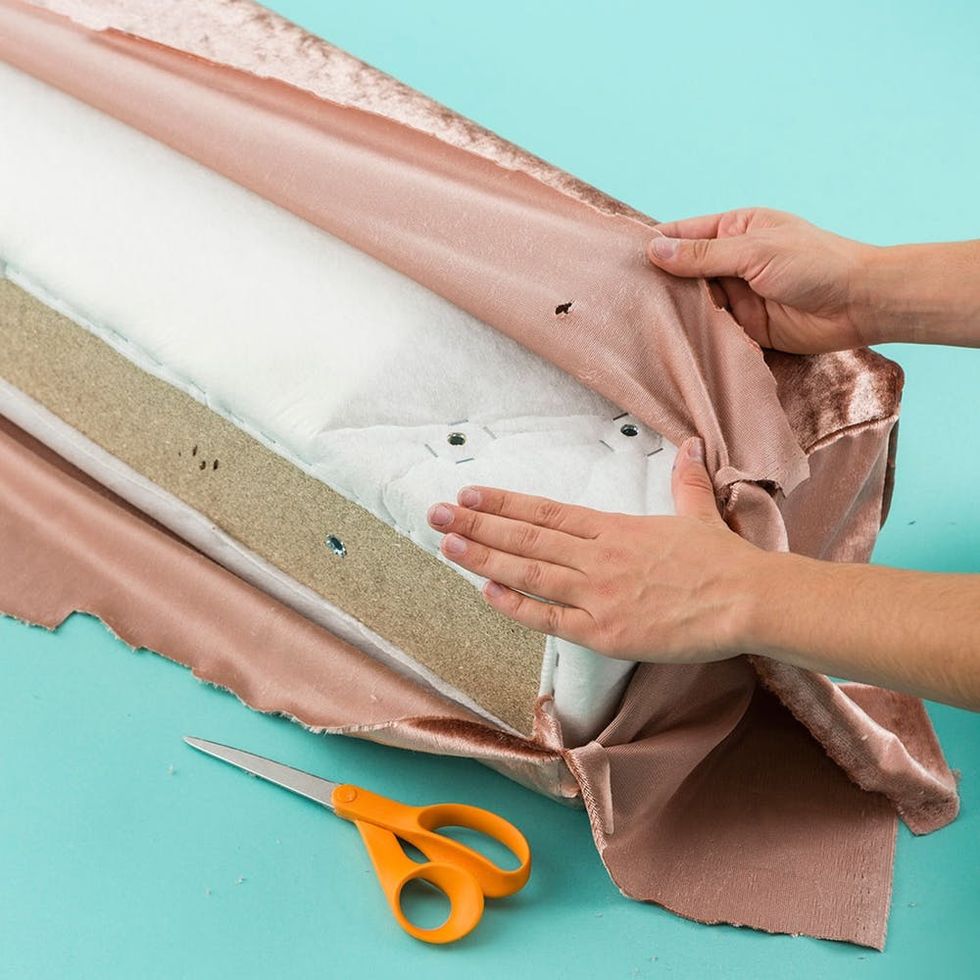
*Note: There are holes that are necessary in building the couch. Make holes in the fabric so you don’t lose this area.
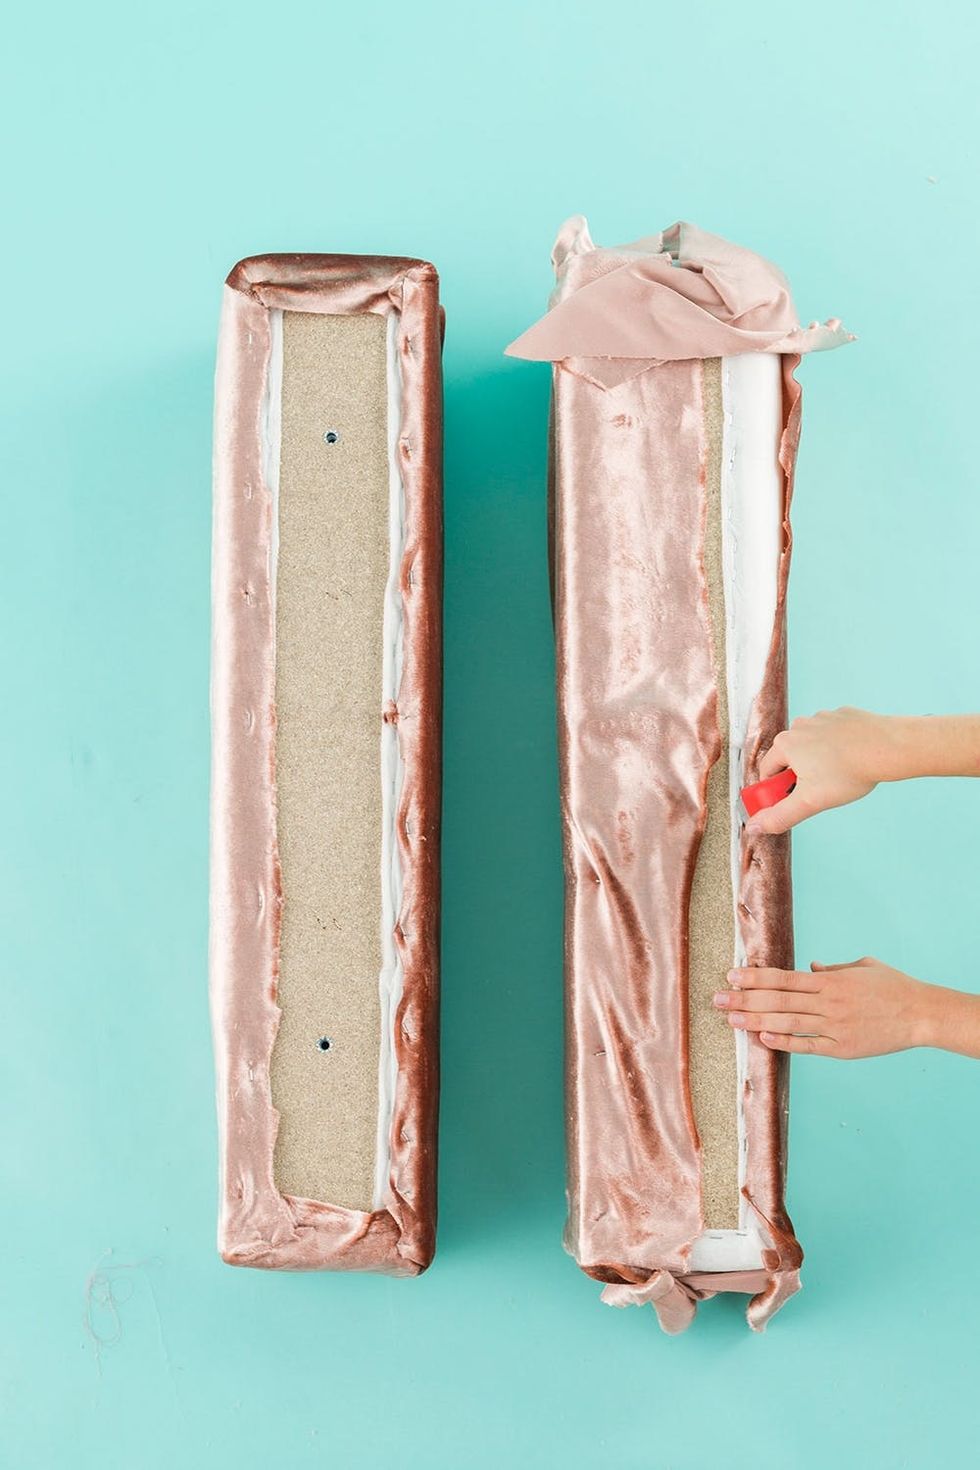
Pull tight and staple gun to the bottom of the couch arm. Trim away any extra fabric.
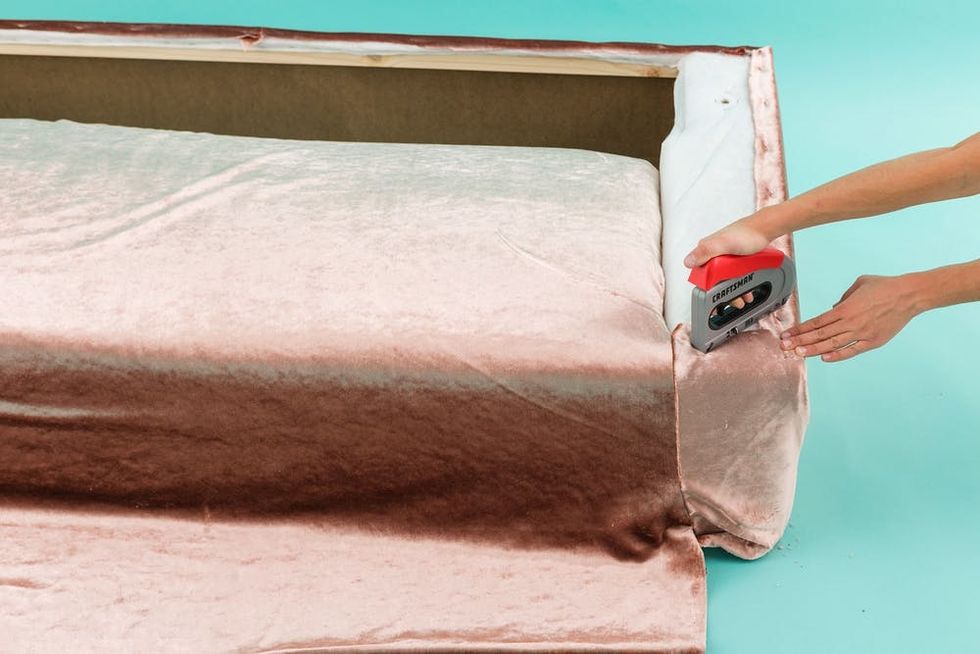
Slide the larger sewn bottom piece onto the bottom portion of the couch. Staple gun the top of the cover to the couch structure.
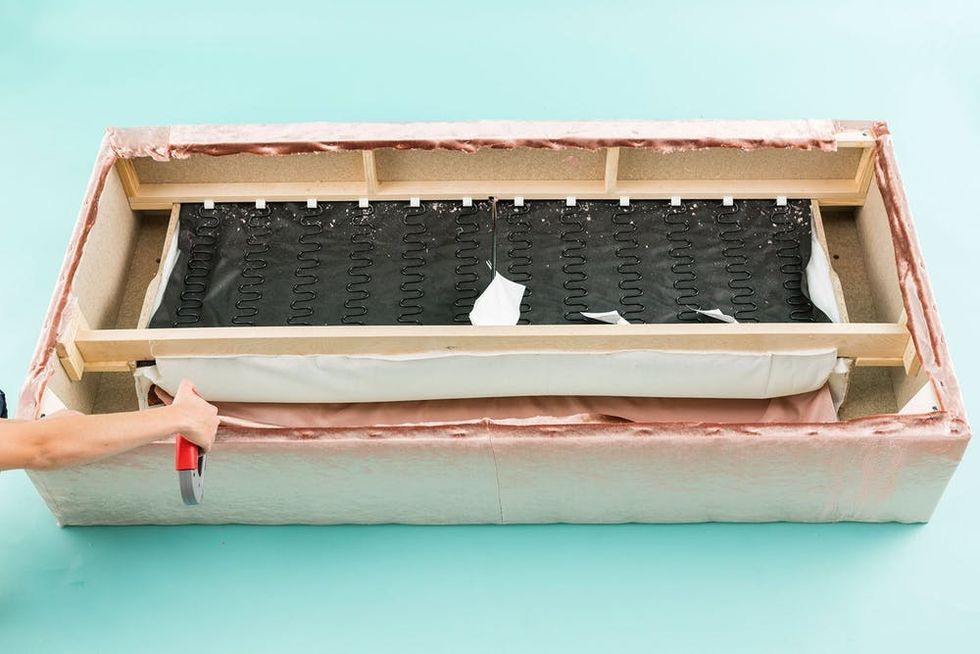
Flip the piece over and staple gun the bottom of the cover to the bottom of the couch. Cut away the excess fabric.
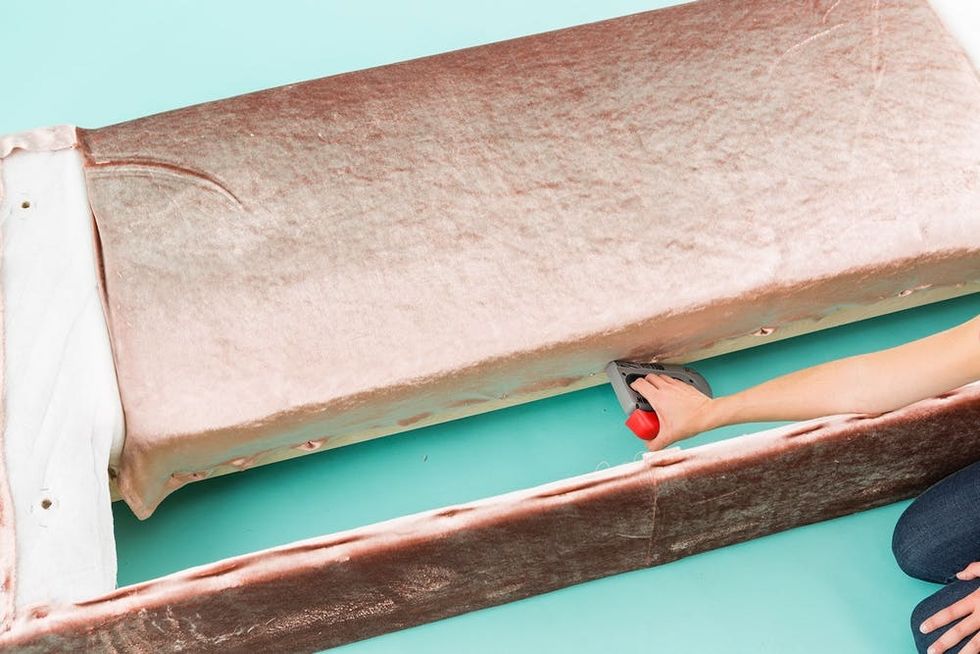
Pull the fabric tightly over the seat section of the couch and staple to the inside wood.
Time to build this bad boy!
Spray paint the legs your favorite shade (of gold) and screw into place.

Follow the instructions from IKEA on how to put this piece together. You’ll need to screw in rods to the arms and then feed them through the back section of the couch. Keep the screw in place by adding bolts and using the tools provided to tighten.

Add the top piece to the bottom piece and tighten the screws to hold it all together.
*Note: Once I put the couch together I noticed how a piece of the white batting was still showing. We’ll be making pillows to complete this IKEA to Anthro transition, but if you’re worried about your guests seeing the whites, I would add in a top rectangular panel when creating the cover for the base of the couch.
Time for pillows!
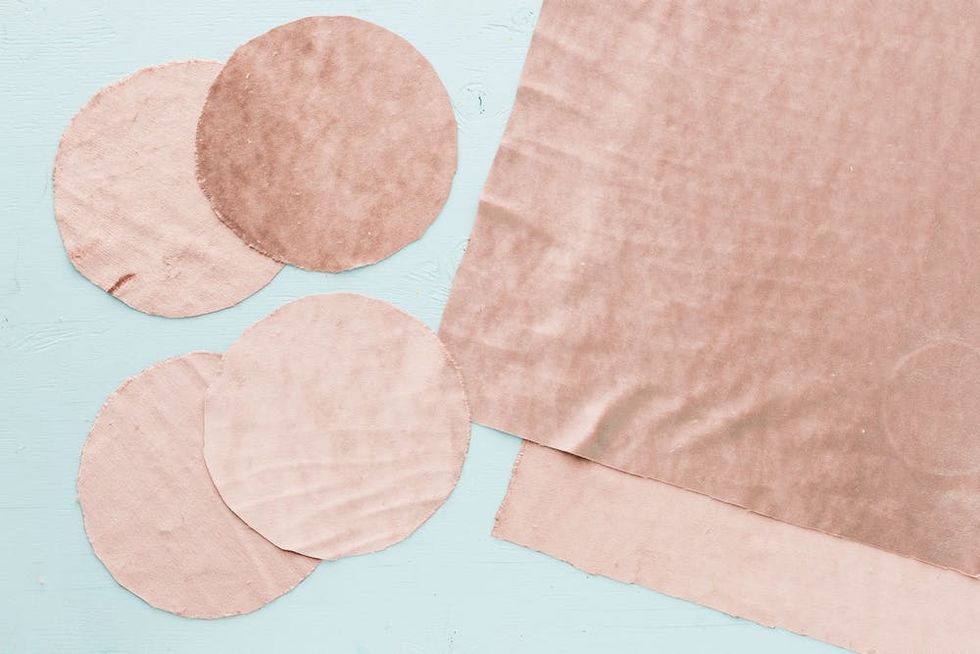
Use a nine-inch plate to create four velvet circles, and then cut out two rectangles that measure 28 x 23 inches.
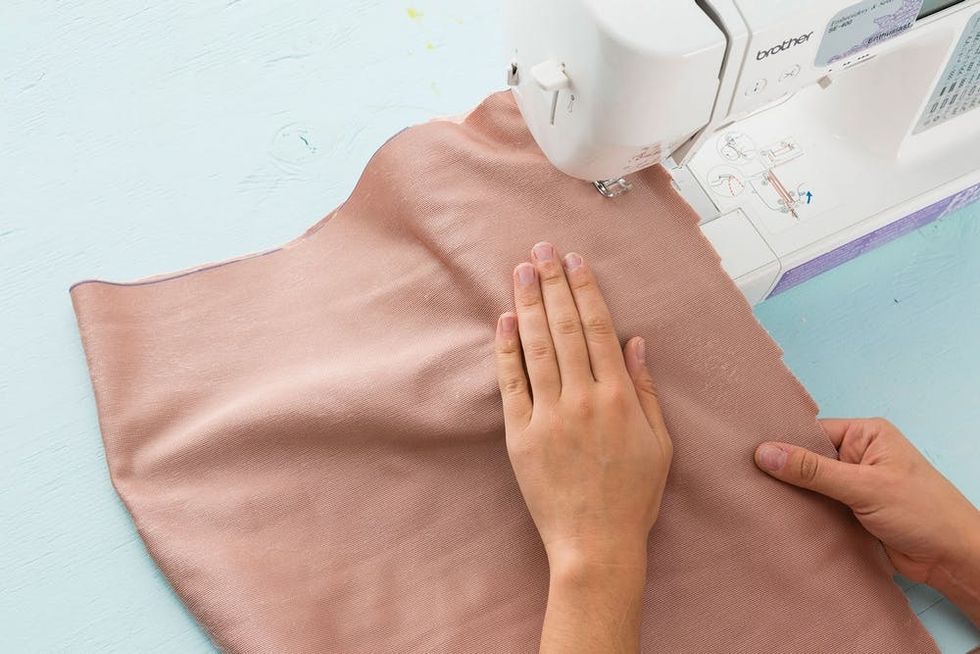
Sew together the size that measures 23 inches.
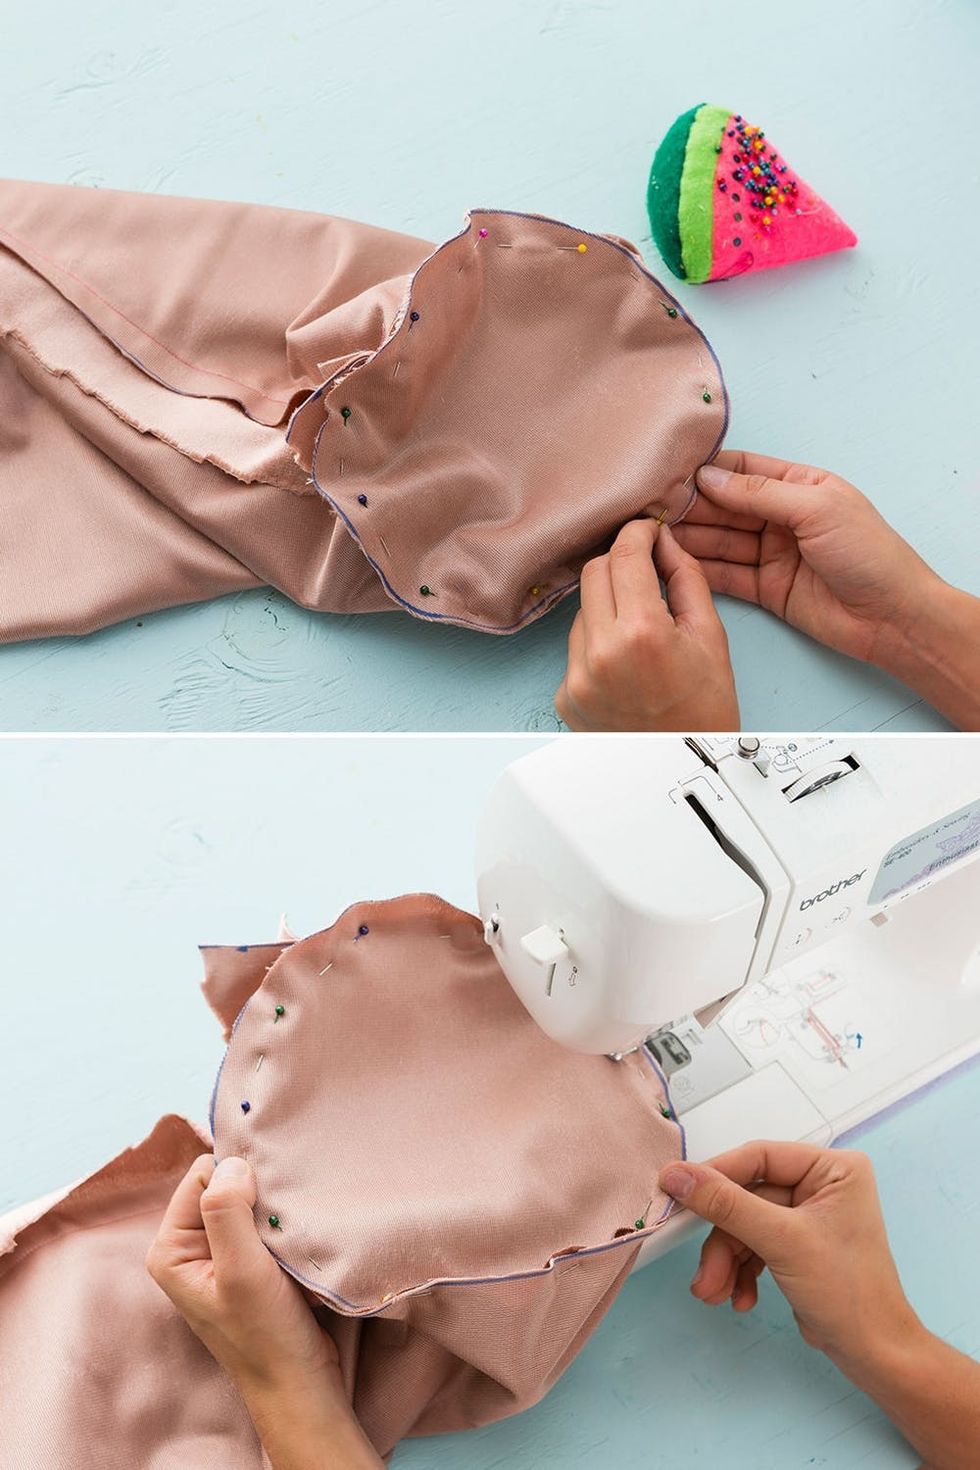
Pin the circle to the ends of the sewn rectangle and then sew in place. Leave a four-inch opening on one of the circles so you’re able to stuff your pillow.
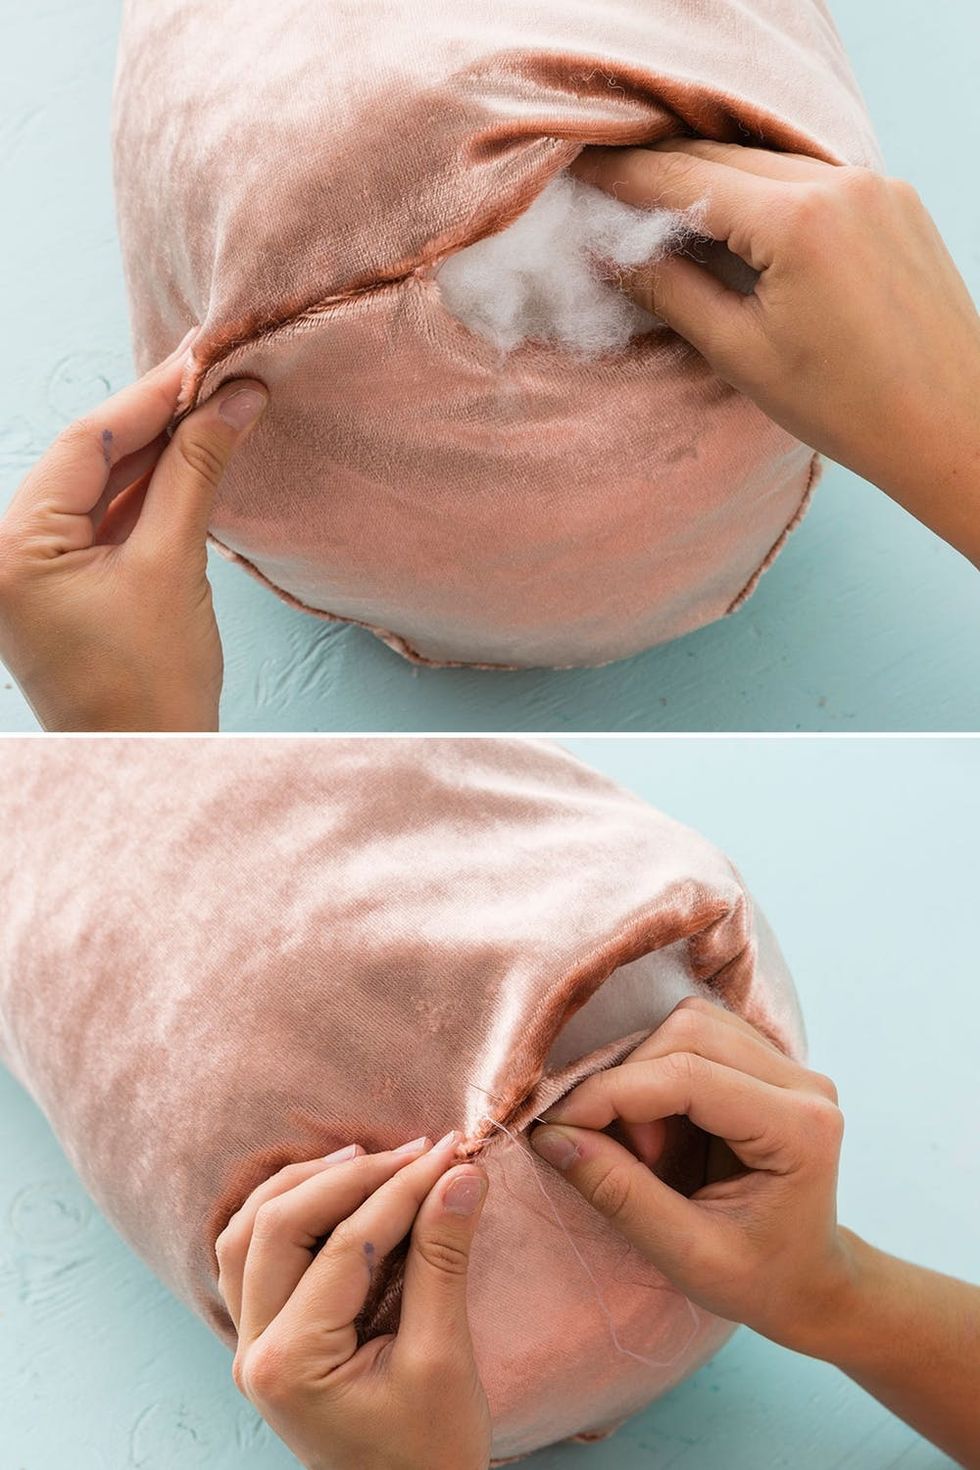
Flip your pillow right side out, stuff with fiber fill, and then whipstitch the edge closed.
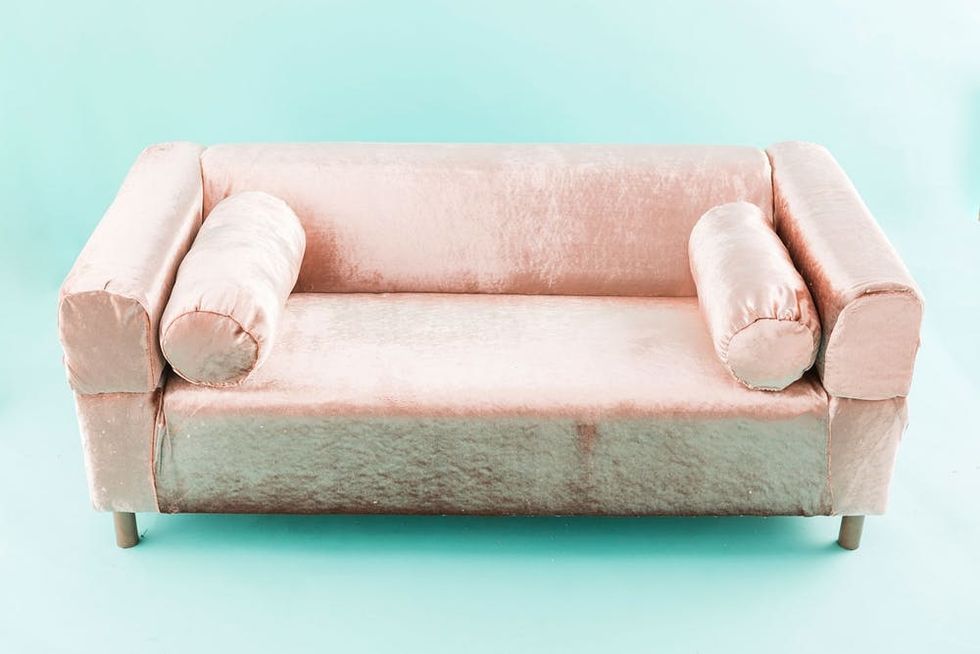
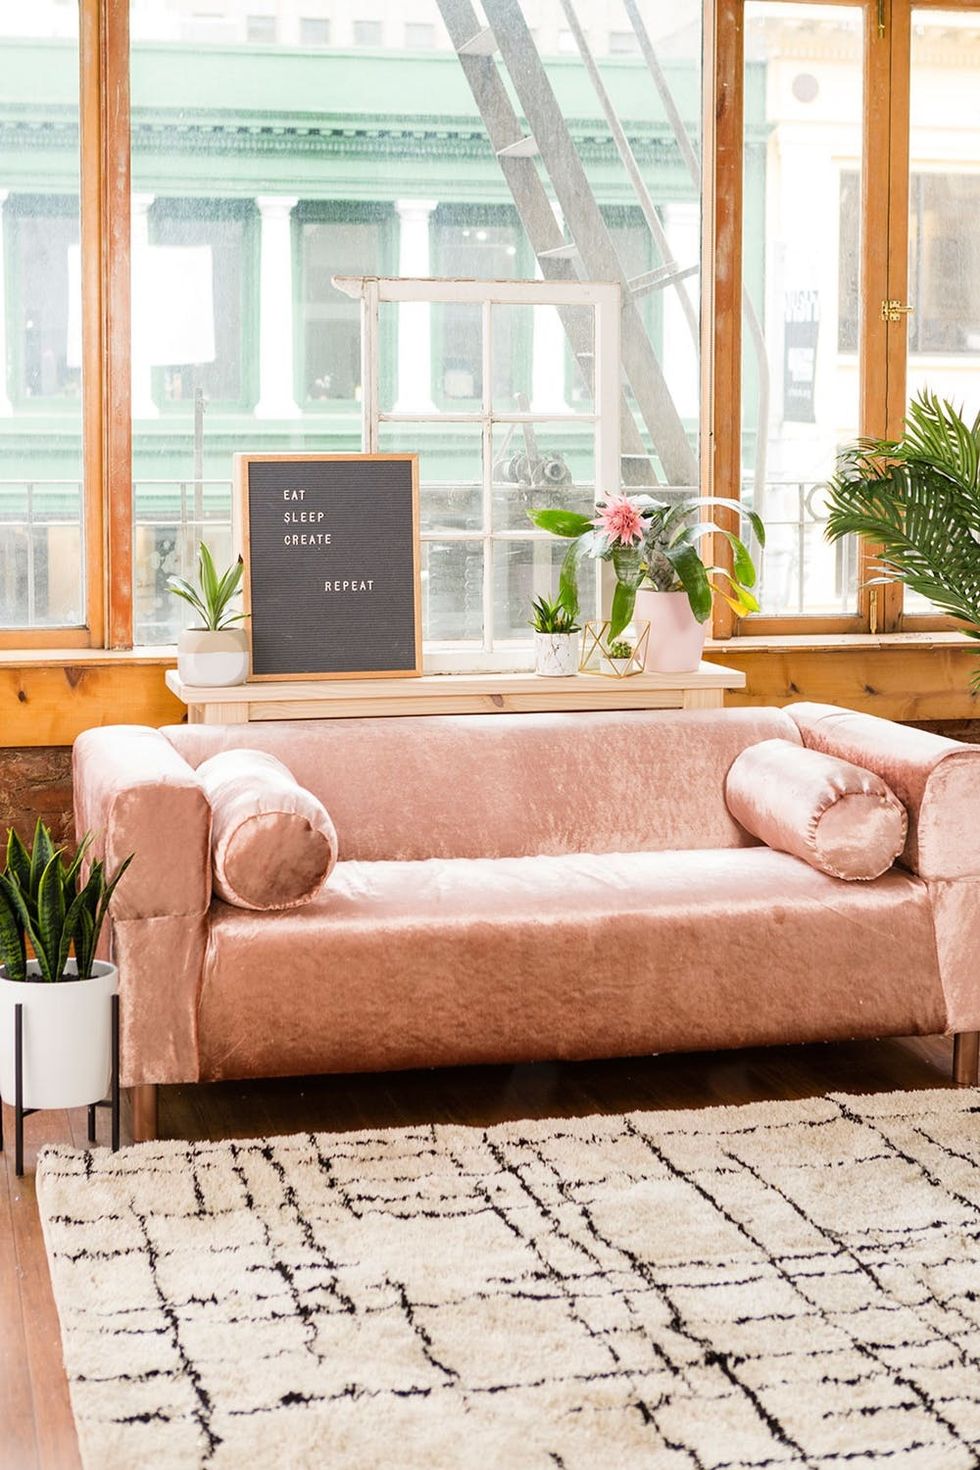
Toss those pillow onto the couch and you’ve got yourself an Anthro look-alike :)
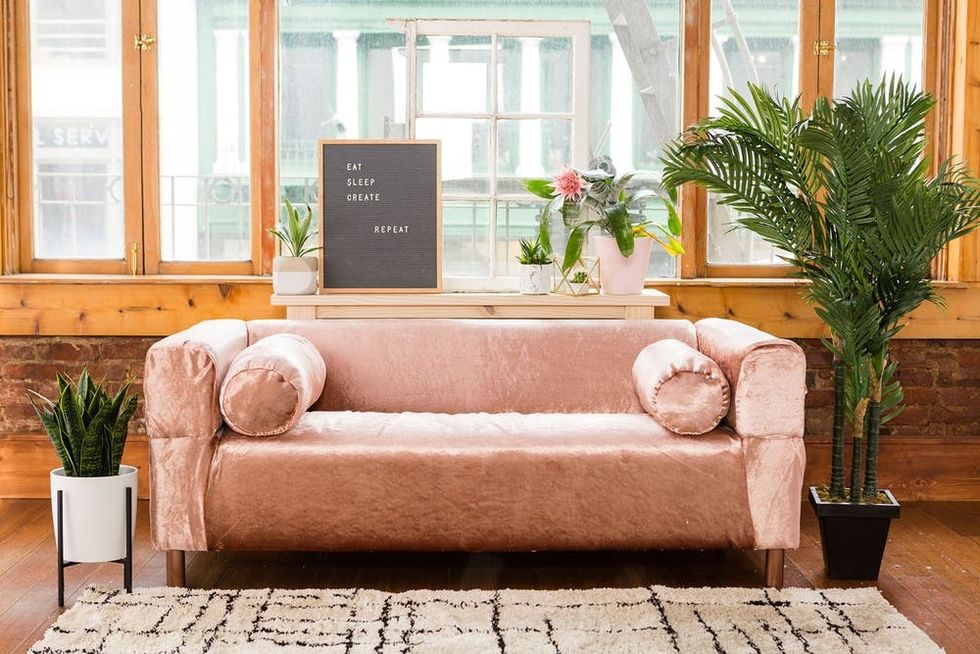
Time to stare in amazement of what you’ve just accomplished. I know I sure did :)
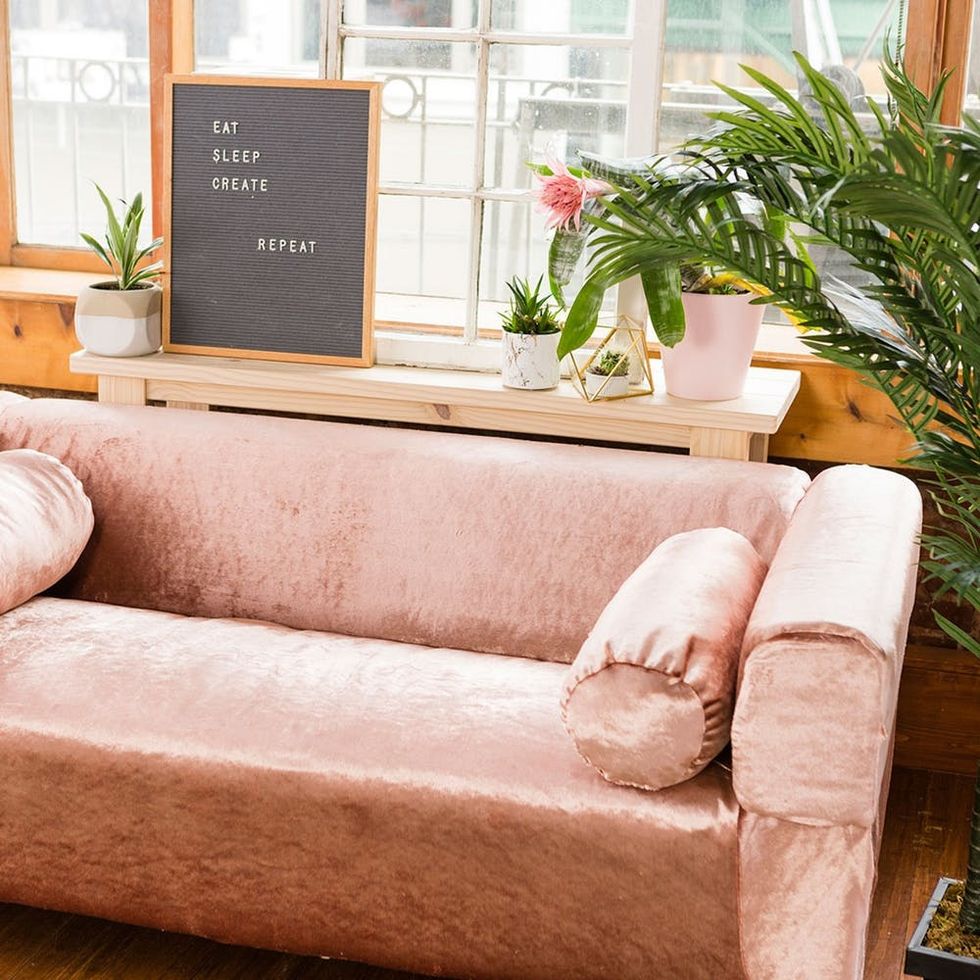
Adorn your new pink couch with your favorite plants, because plants look best when they’re near pink.
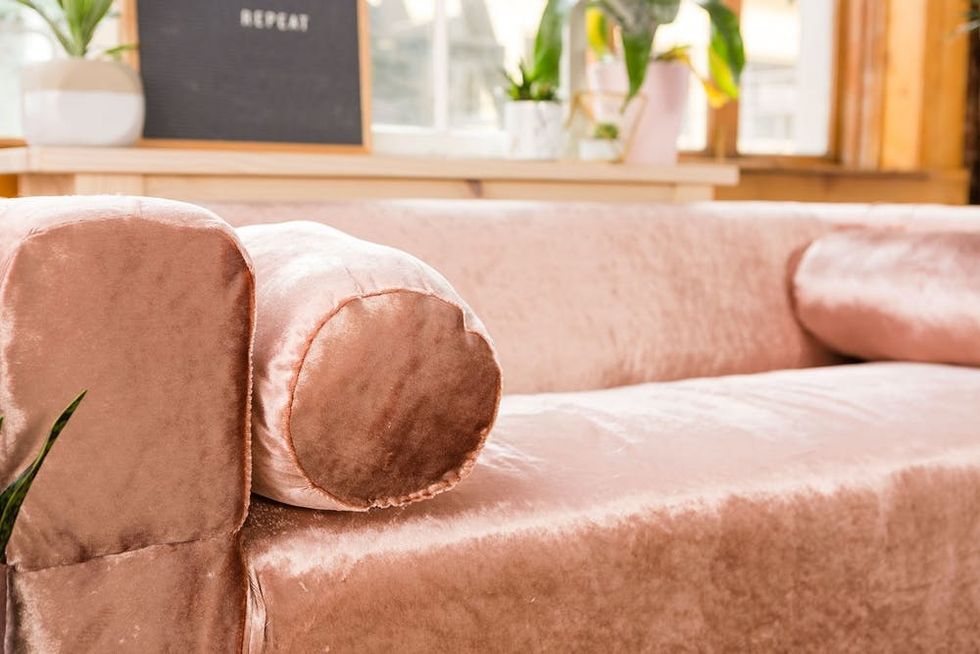
These cylinder pillows really add a royal touch and are very, very comfortable.
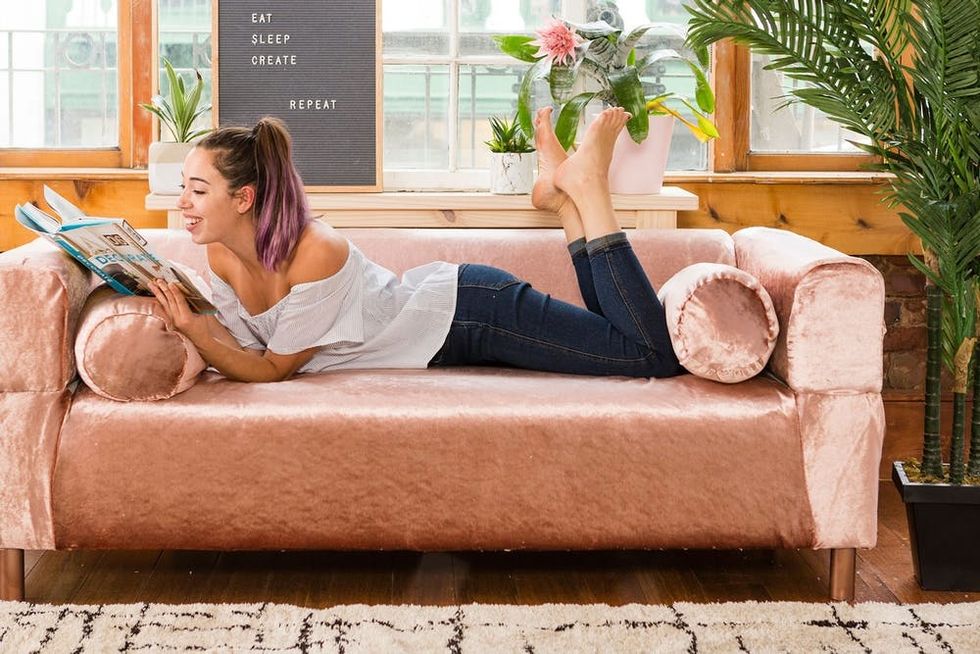
Time to relax and start reading about what DIY project you’re going to tackle next :)
Show us your project by tagging us on Instagram + using hashtag #iamcreative, and follow us on Pinterest for more DIY hacks!
DIY Production and Styling: Kelly Bryden
Photography: Brittany Griffin
Brit + Co may at times use affiliate links to promote products sold by others, but always offers genuine editorial recommendations.


