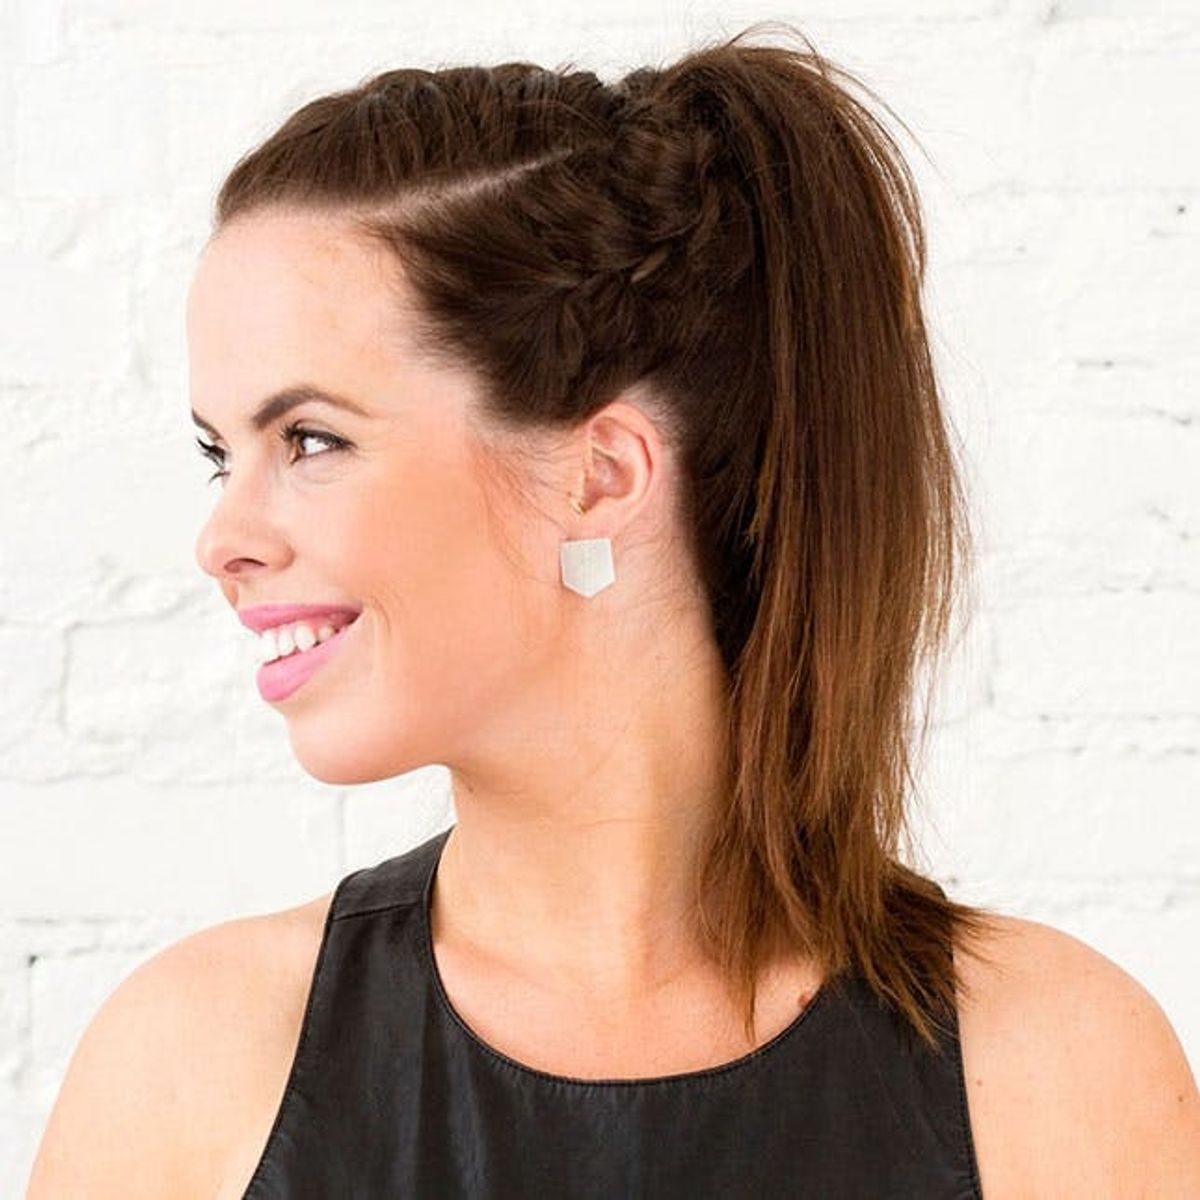
This is gonna be *the* look of the summer.
3 NEW Ways to Do the Most Popular Braid on Pinterest

Do you remember when that upside down French braid with a top knot or hair bow was all over Pinterest? You know, the style where you’d plait *just* the back portion of your head? Well, I do, and I think it’s time to keep that train a-goin! ‘Tis the season for high ponytails — that’s if you have not yet jumped on the lob bandwagon — and so I thought we’d bring back the majorly Pinned hairstyle with a fresh new twist: a fully braided dome. We think this has potential to be more popular than its predecessor.
basic braid
 make your brunch outfit) before you try to bust it out before work one morning. Scroll through to learn how to DIY this summer-ready look + three ways to wear it.

Prep your hair by applying a texturizing spray or dry shampoo like TRESenne Fresh Start Dry Shampoo ($10). Spray from roots to the ends of your hair and then gently backcomb from the midshaft of your roots all throughout your hair. This is going to give your hair more texture, which will help the braids look fuller and more unkempt as well as help to hold them in place.
Step 1: Texturize Your Hair

Using a fine tooth comb to make sure you’re getting even sections, divide your hair into four equal sections. Start off with the top section. Pro tip: Use the mid to outside points of your eyebrows as a reference for how wide your sections should be. Then pull each side section in place and finally the back. Just place each section in little buns secured with an elastic to keep out of the way until you are ready to work with each one.
Step 2: Section + Pin

Starting with the back section, pull it out of the elastic, flip your head upside down and French braid it until you get to the top where you will secure it with an elastic for now.
Step 3: First Upside Down French Braid

Move on to the side sections, placing a French braid in each one and ending in the back close to where you tied off your first elastic. Then finally place your last French braid in the top section and tie it off as well.
Step 4: French Braid The Rest

Once you’ve tied all of the braids together with one big elastic, use beauty scissors to cut all the smaller elastics. This will merge them seamlessly into one giant ponytail.
Step 5: Tie Them All Together + Cut the Elastic

Use a comb to blend the base of the ponytail together and tease the hair around it, then use your fingers to loosen up the braids for a softer look.
Step 7: Mess It Up A Little

Straighten the hairs in your ponytail to rock the ultimate edgy romantic look for a date night out with your love or even dancing with your ladies!
The final look: ponytail for a date night dream ‘do

Use a wax like product like TIGI Bed Head Hair Stick ($13) to lay any unruly hairs down since we want this style to look more sophisticated than the last one :)
Up in a bun for the Office! Step 1: Tame It Down

Now twist the hair in your ponytail until it starts to wrap into a bun. secure the ends into a bun shape with a few bobby pins.
Step 2: Bun It Up

Boardroom ready!

Tousled for a Beach Day! Step 1: Add Waves

Use a flat iron to get the perfect beach waves in your ponytail.

What better way to prep for the beach than to add your favorite sea salt beach spray to your hair? We are using Not Your Mothers Beach Babe Texturizing Sea Salt Spray ($11).
Step 2: Add Beachy Texture

The prettiest messy hair there is!


