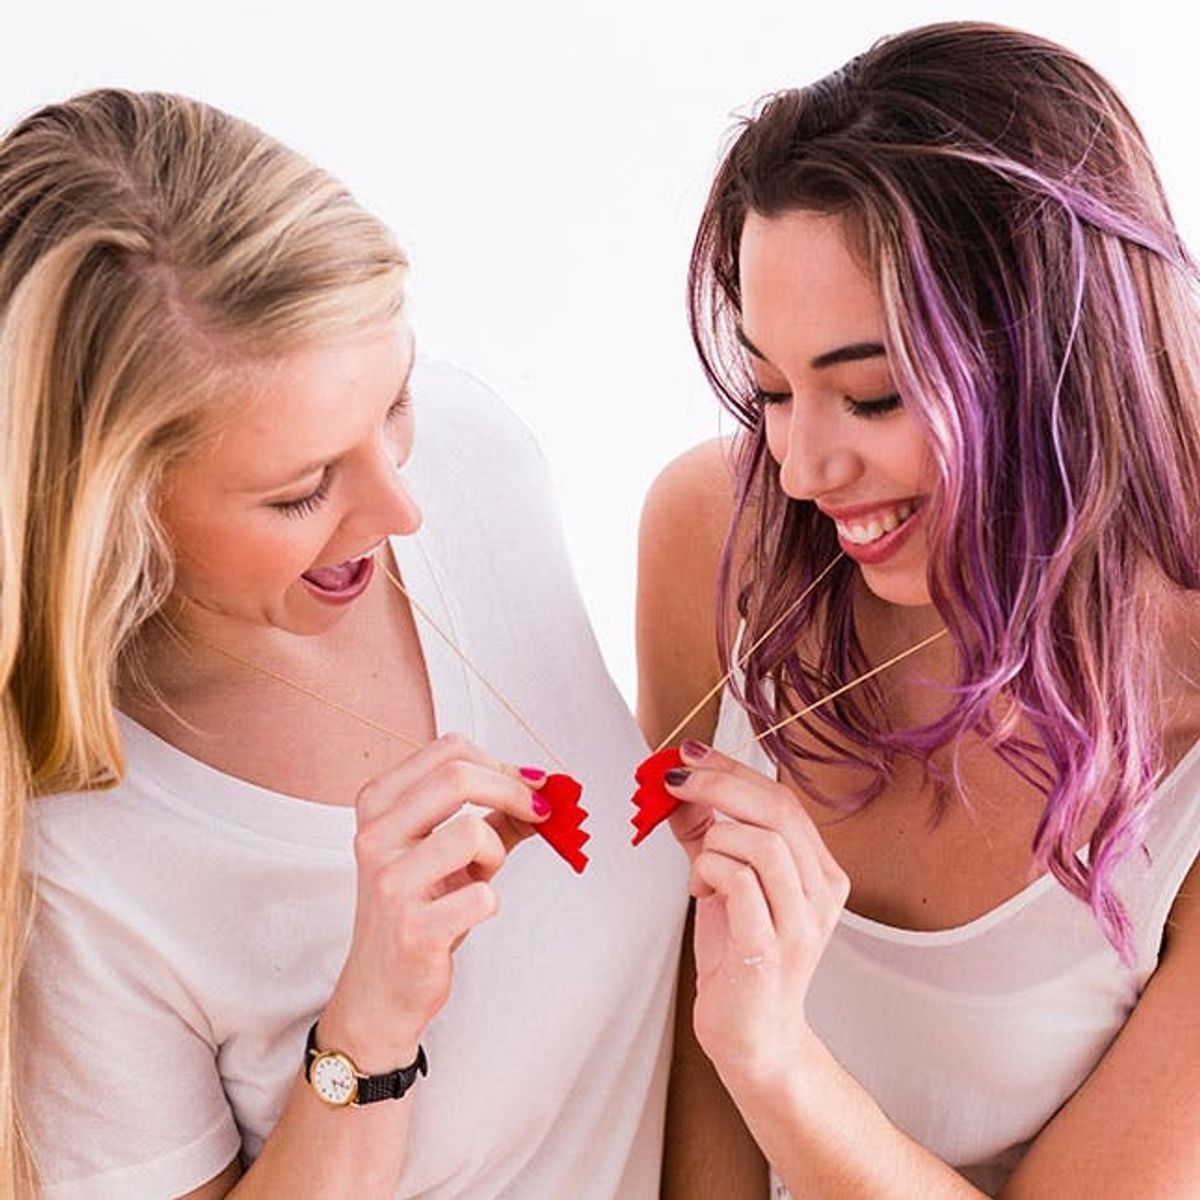
For your besties and your boo, we’ve got a Valentine’s necklace for you.
How to Make Clay Necklaces That Say “I Love You!”

When any holiday rolls around, it’s nice to add a little bit of flair to your outfit, even if you’re not into wearing red, white and blue head to toe for the Fourth of July. A subtle accessory, or one that really pops, will give your wardrobe a hint of holiday cheer. For Valentine’s Day, we made some clay necklaces that are both playful and sassy and say, “Hey, I’m down with love.” Check out the tutorial below.

Materials:

– Sculpey clay
– chain
– eye pins
– jump rings
– lobster clasps
Tools:
– 2 sets of jewelry pliers
– wire cutters
– potter’s needle
– scrapper
Instructions:

We love Valentine’s Day because we get to go crazy with hearts. And we couldn’t resist making a neon pink heart to rock for that love-filled day.
- Roll your clay between your hands and press it down on a flat surface.
- Using your potter’s needle, draw your desired shape and then go back a second time and carve the shape, pulling the excess clay aside.
- Smooth your shape with your fingertips.
- Poke a hole through your shape with the potter’s needle, moving it around until the hole is large enough to fit your chain.
- Follow the instructions on the Sculpey packaging to bake your pendant.
- When the clay has cooled, file your chain through the hole, add jump rings (or eye pins if your chain is really thin like ours), and then a clasp.
I Heart You

Prepare your clay and press it firmly on a flat surface until it’s about ¼ inch thick.

Draw a heart with your potter’s needle, and then carve it out. Gently smooth the edges, taking care not to distort the shape.

Then add your hole by poking the needle through the side, much like a heart with an arrow. Add your chain, jump rings and a clasp, and then rock that baby!

Best Friends Foreva’ Eva’

Remember those BFF heart necklaces that you’d share with your favorite gal pal? Are those still a thing? Well we say yes, yes they are.

For this set of necklaces, follow the same process as the neon pink heart, but cut your heart in half, making a zigzag design down the middle.

Smooth out the bumps and add the hole.

Then add the chain. Our chain was very thin, so we used an eye pin to create a loop. Then we put a jump ring through the loop and added the clasp.

Besties!

With this pendant, you’ll send a message to the world (or at least to the people you walk past on the street). Your message: free hugs and kisses! So maybe a good thing, maybe kind of weird. But oh so cute, and so totally worth the occasional stranger hug.
Hugs and Kisses

Again, follow the same process but be very careful with your letters. You don’t want to lose a leg on your “x” or wind up with a deformed “o.”

Also, take note: If you’ve been using colorful clay and you want to switch to white, be sure to wash your hands. The remnants from the colored clay will show up on the white. Measure the size of your “o” by placing the “x” right next to it.

Cupid Was Here

We couldn’t resist making a little arrow necklace, and we love how it turned out!

The only difference in making this pendant is the findings.

Rather than poking a hole through the entire arrow (we tried — it was hard!), we opted to put an eye pin on each end. We baked the clay with the pins in place, which worked nicely. For this necklace, cut one piece of chain for each side.

This arrow looks great over your heart.

Enjoy your new necklaces! Kiss, kiss!


