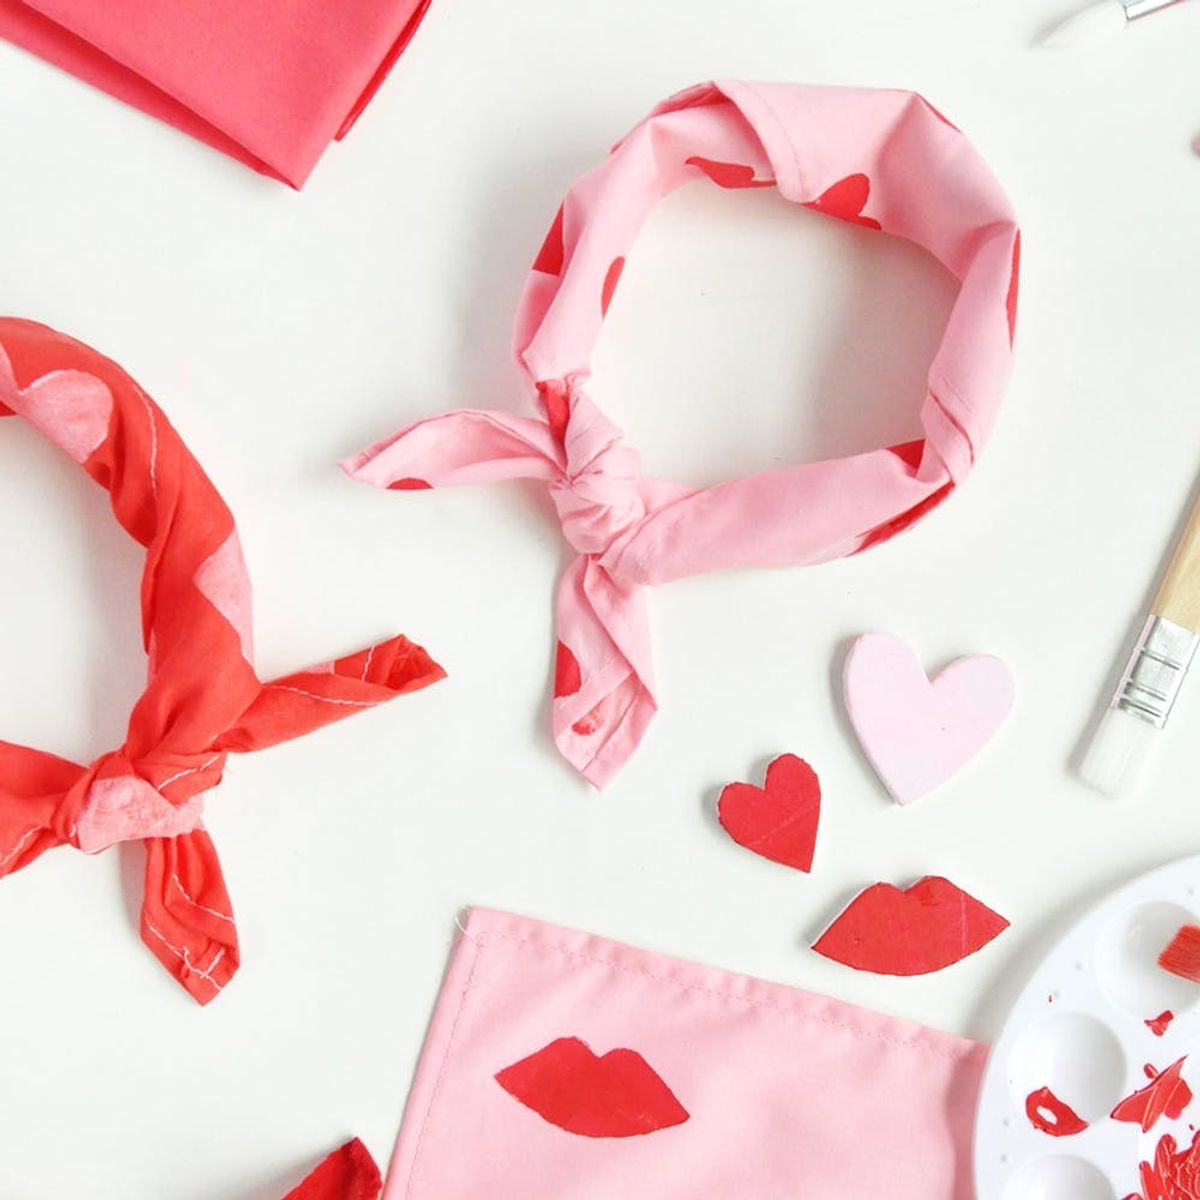
So chic.
These DIY Scarves Are the Perfect Valentine’s Day Accessories

If there’s one trend we’re embracing this winter, it’s the oh-so-chic neck scarf. A cute pop of color plus keeping your neck warm? Yes, please! So to celebrate Valentine’s Day this year, we just had to make these DIY hand-stamped neck scarves. They’re so simple, you can make a handful in no time. Your scarf collection just gained a few new members — you’re welcome! ;)

Materials and Tools:
- pink and red lightweight cotton
- matching thread
- measuring tape
- pins
- sewing machine (not pictured)
- iron (not pictured)
- cutting mat
- craft knife
- foam sheet (1/4-inch or thicker)
- scissors
- fabric paint
- paintbrushes
- pencil

Instructions:
- Cut the fabric into 19-inch squares.
- Use an iron to press the edges of each square. First press a 1/4-inch hem on each side and then roll the hem in one more time and press. Secure the pressed edges with pins.
- Use a straight stitch on your sewing machine to sew around the edge, securing the hem in place.
- Draw your desired stamp shapes onto the sheet of foam. It can help to draw the shapes on scrap paper first, and then trace those onto the foam.
- Use a sharp craft knife to cut out the stamps on a cutting mat.
- Time to start stamping! Apply paint onto the stamp with a brush, and do a test on a piece of scrap fabric. Adjust the amount of paint applied if needed, and stamp away! Let dry completely before folding and wearing.

Cut the fabric into 19-inch squares.

Use an iron to press in the edges of each square. First press a 1/4-inch hem on each side and then roll the hem in one more time and press. Secure the pressed edges with pins.

Use a straight stitch on your sewing machine to sew around the edge, securing the hem in place.

Draw your desired stamp shapes onto the sheet of foam. It can help to draw the shapes on scrap paper first, and then trace those onto the foam.

Use a sharp craft knife to cut out the stamps on a cutting mat.

Time to start stamping! Apply paint onto the stamp with a brush, and do a test on a piece of scrap fabric. Adjust the amount of paint applied if needed, and stamp away! If you’re having trouble holding onto the stamp, try gluing it onto a piece of cardboard or poke an unfolded paperclip into the back to form a little handle. Let dry completely before folding and wearing.


Kiss kiss!


What DIYs have you been making to prepare for Valentine’s Day? Share your crafty projects with us on Instagram using hashtag #iamcreative and #britstagram, and follow us on Pinterest for more DIY inspo!
Brit + Co may at times use affiliate links to promote products sold by others, but always offers genuine editorial recommendations.


