Hack Your Velvet Christmas Tree Skirt So You Can Wear It Too
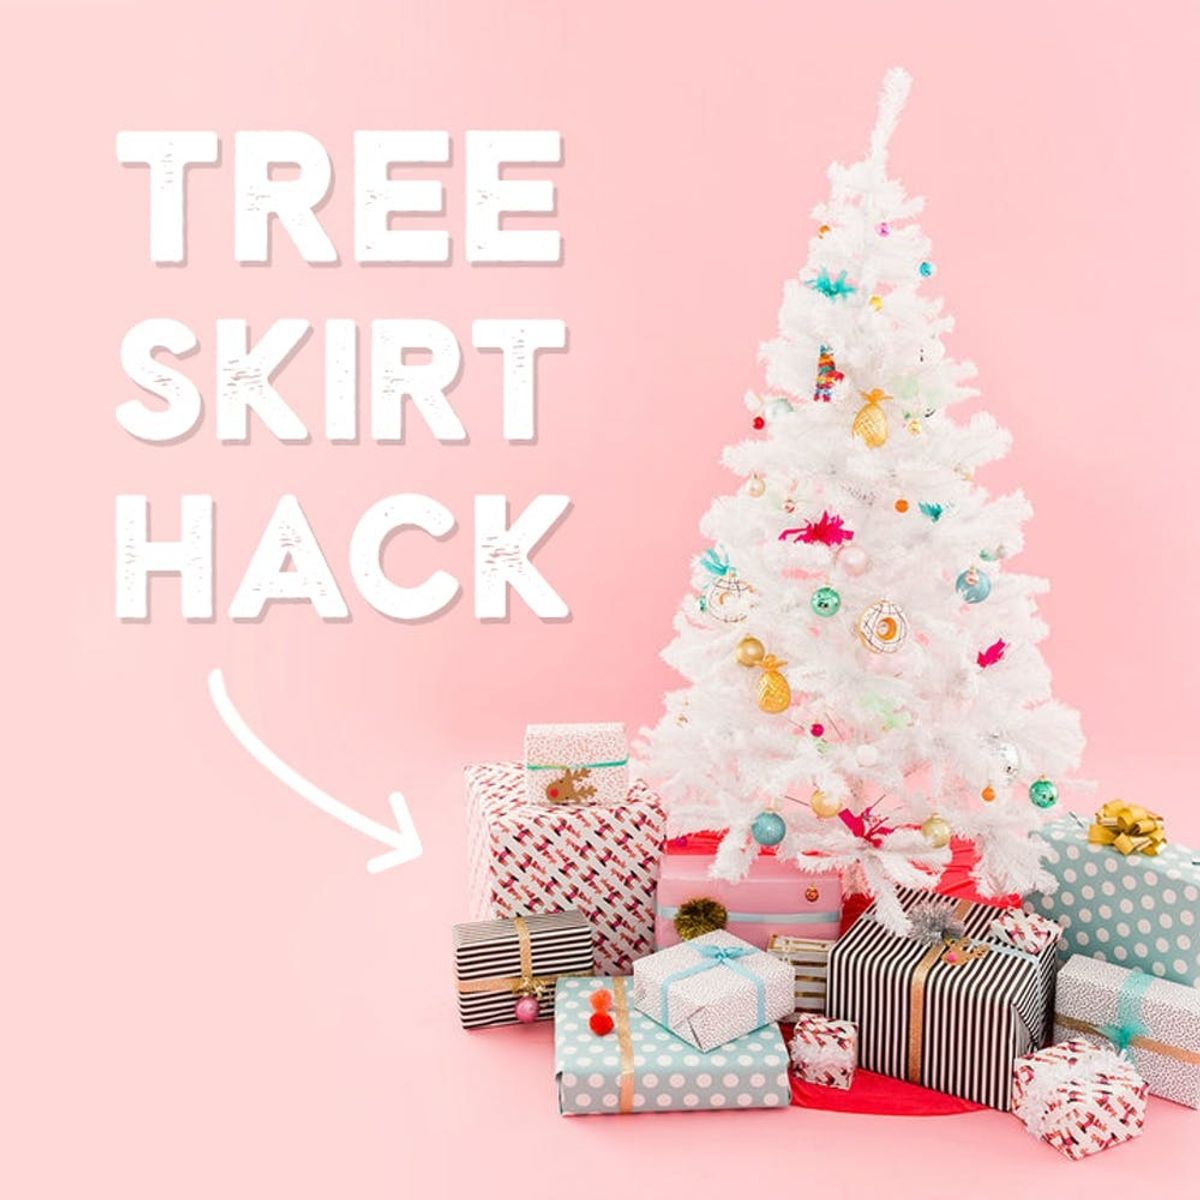
I love things that have multiple functions. It’s so satisfying to repurpose stuff; don’t you think? Enter the tree skirt hack. A Christmas tree skirt is called a skirt for a reason — it’s a SKIRT. With that in mind, I decided to make a skirt that doubles as a tree skirt. To keep it on point, I went with velvet — our fave ’90s material that has made a major comeback this year. (Only after I purchased it in RED did I remember that Santa wears red velvet. Ha! It’s more thematic that way, riiiight?) Read on for the tutorial.

Okay, so there are a bunch of circle skirt DIYs on the internet, but before I consulted with them, I simply chatted about this project with a gal over at our local fabric store, Britex. She told me that I should fold the fabric into fours and then cut quarter circles for the waist and the edge. When I got to the office to figure out the calculation, I measured my waist, then determined that I needed the radius of that measurement to draw a quarter of the circle. I was surprised to find that the circle this measurement created was actually WAY too big for my waist! So, I looked up a bunch of tutorials (landing on Birdee’s as my fave), and found that they were ALL using the same measurement that I had already used. Here’s the thing — the waistband will fit around you and the skirt will have some pleats in it. Let’s get to it!

Materials and Tools:
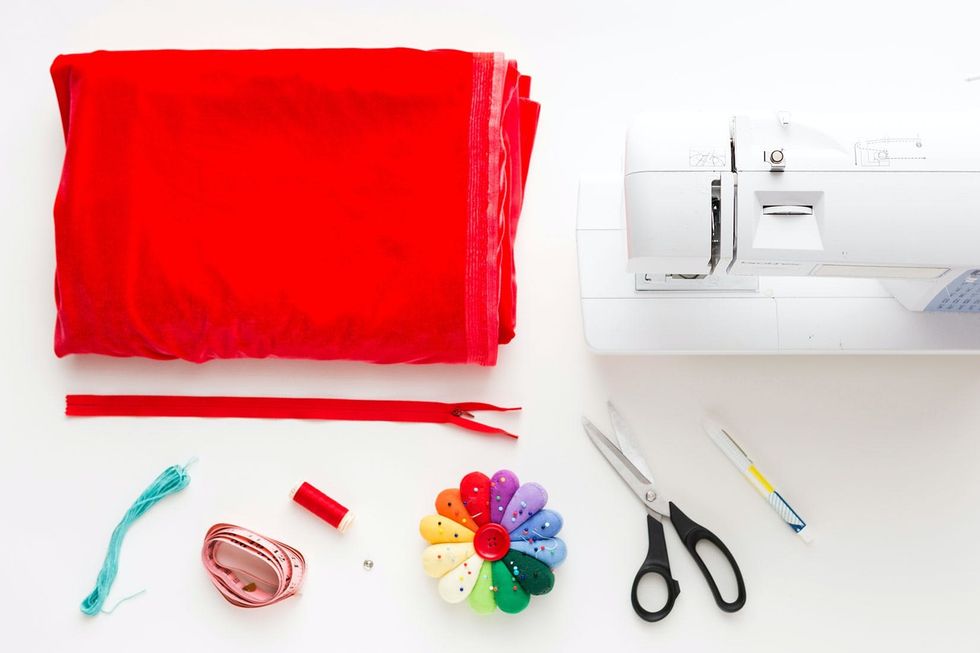
Remember, always measure twice and cut once.
- fabric of your choice (I bought a piece that was 1 1/2 square yards)
- sewing machine
- fabric scissors
- tape measure
- zipper
- ballpoint pen or tailor’s chalk
- matching thread
- snap
- pins
- embroidery floss or other string
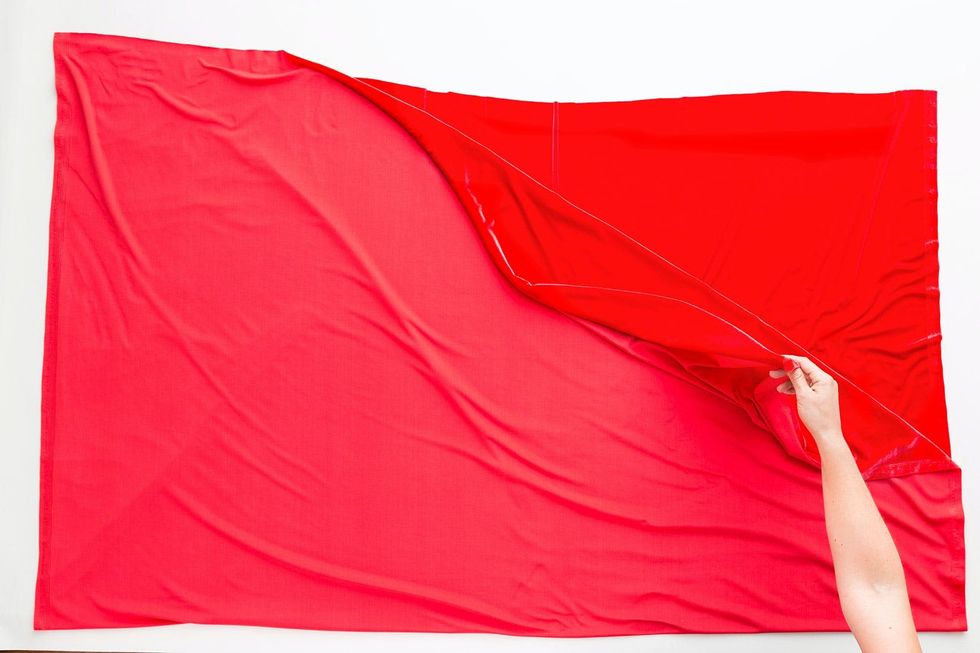
First, fold your fabric in half.
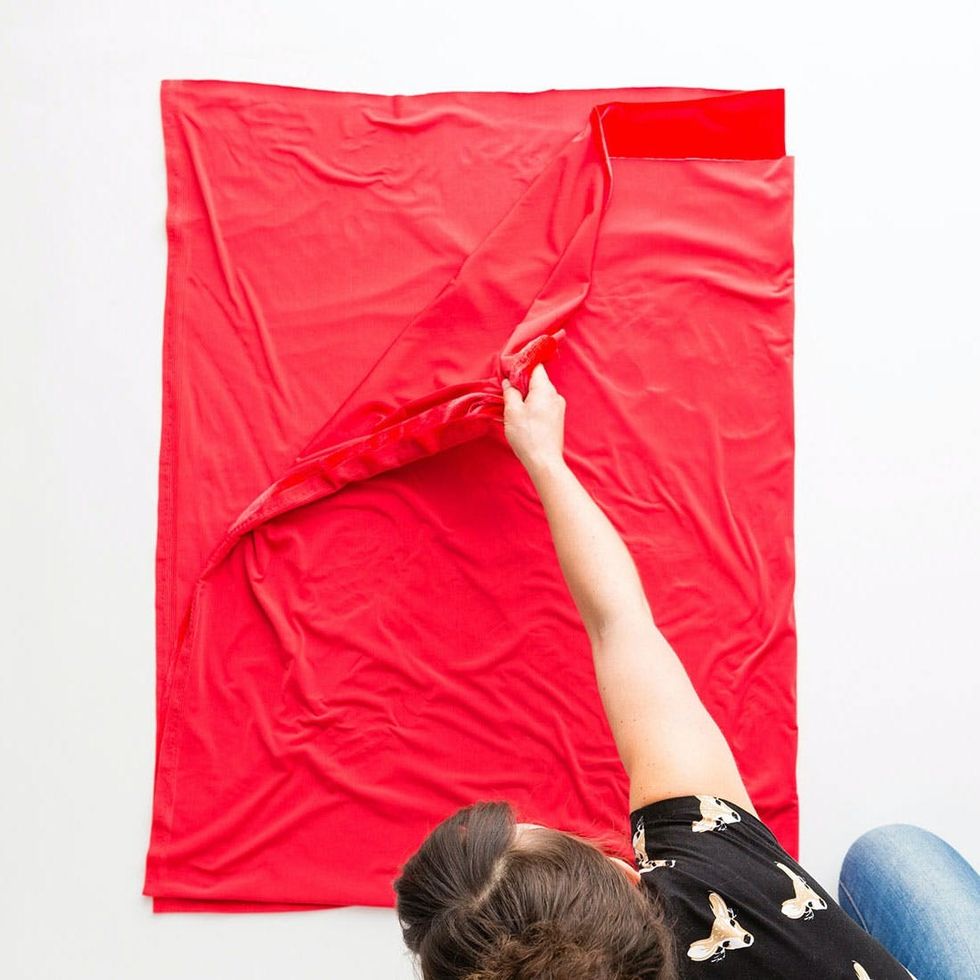
Then fold it in half again.
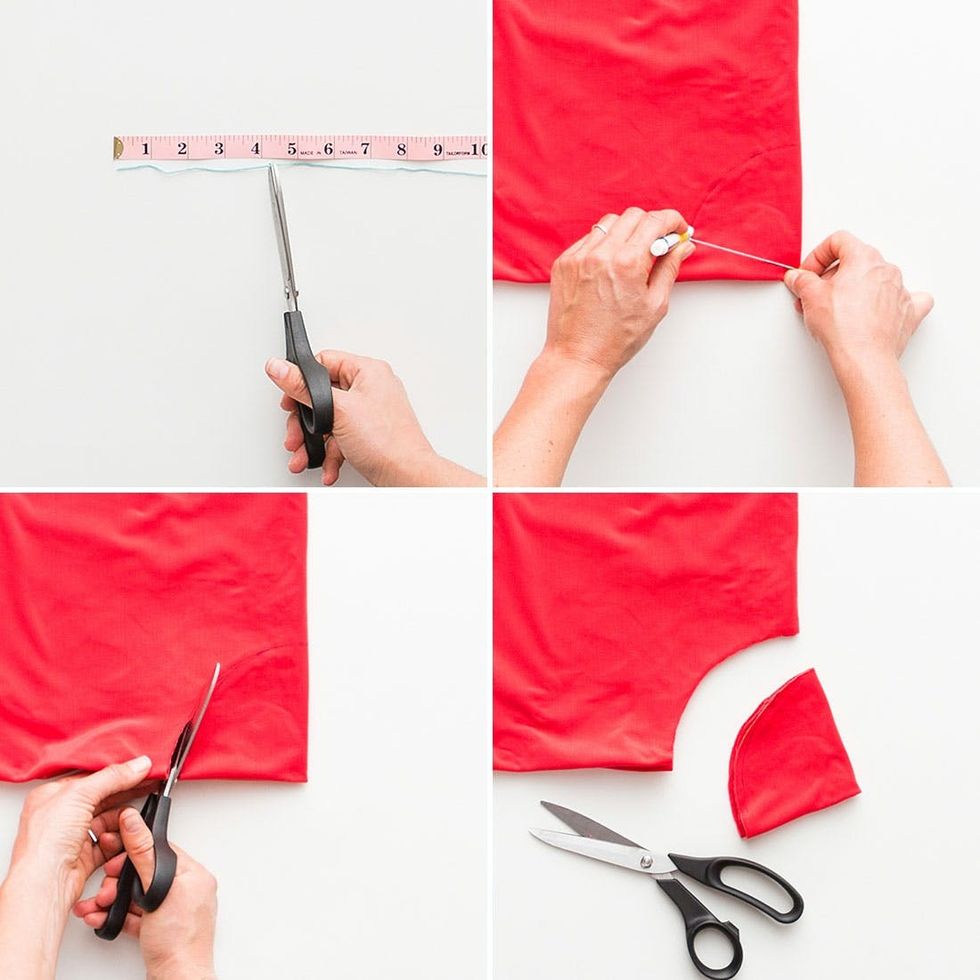
To make the hole for your waist, get your waist measurement. Then take that and divide it by Pi x 2 (that’s 6.28). Mine was 26 inches divided by 6.28, which equals 4.14 inches. Cut your string to that size, adding a bit extra so that you can tie it to your pen. I actually didn’t leave the extra because I wanted fewer pleats in my skirt. Place the string in the folded corner of the fabric and draw an arch. Then cut it out.
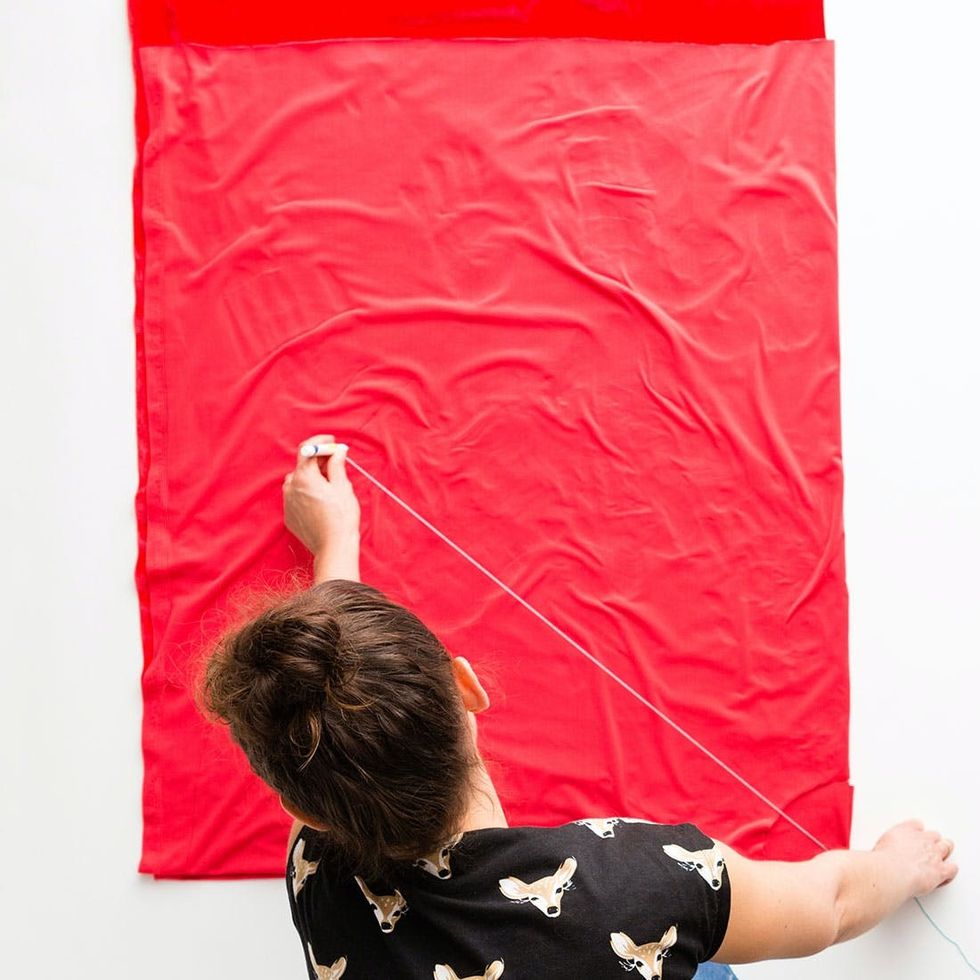
Now repeat that step to cut the edge of the skirt. You can pick the length you want the skirt to be.
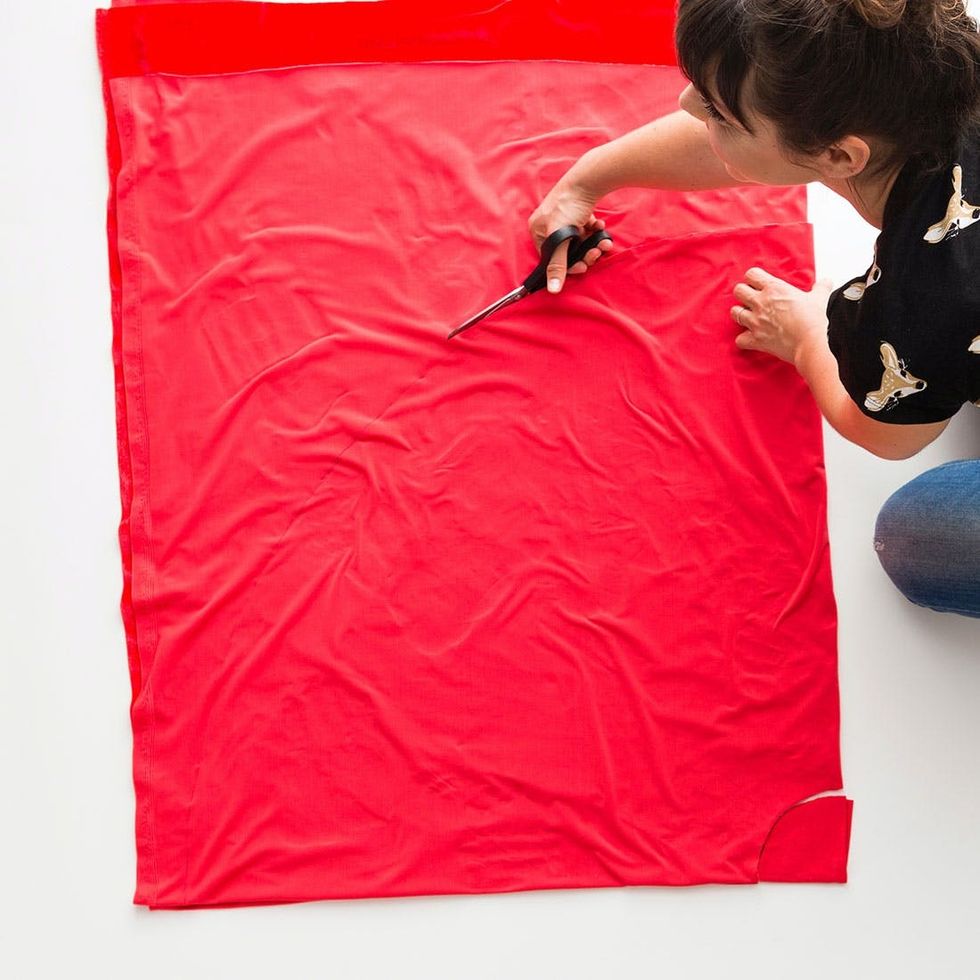
Cut out your arch.

Unfold the fabric and you should have a ring like this! Now we’ll cut out a section for the zipper.

Place the zipper where you want it to be, considering the waistband that you will be adding. Cut alongside the zipper.
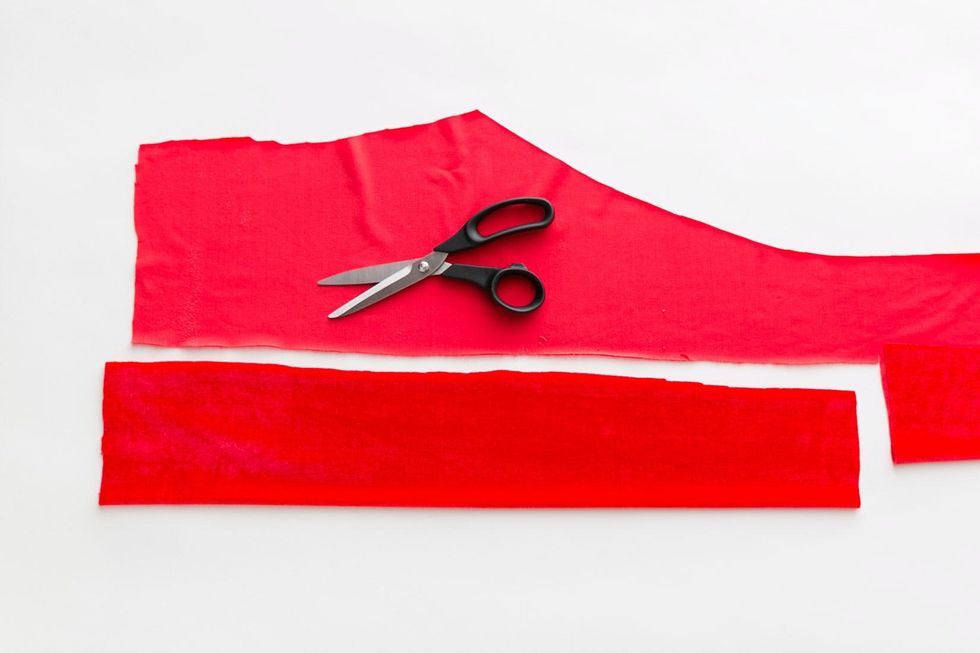
To make your waistband, fold an extra piece of fabric in half, then cut it to your waist measurement (26 inches for moi). My fabric was a bit stretchy, so I cut it to my exact waist measurement and didn’t add any extra for the seam.
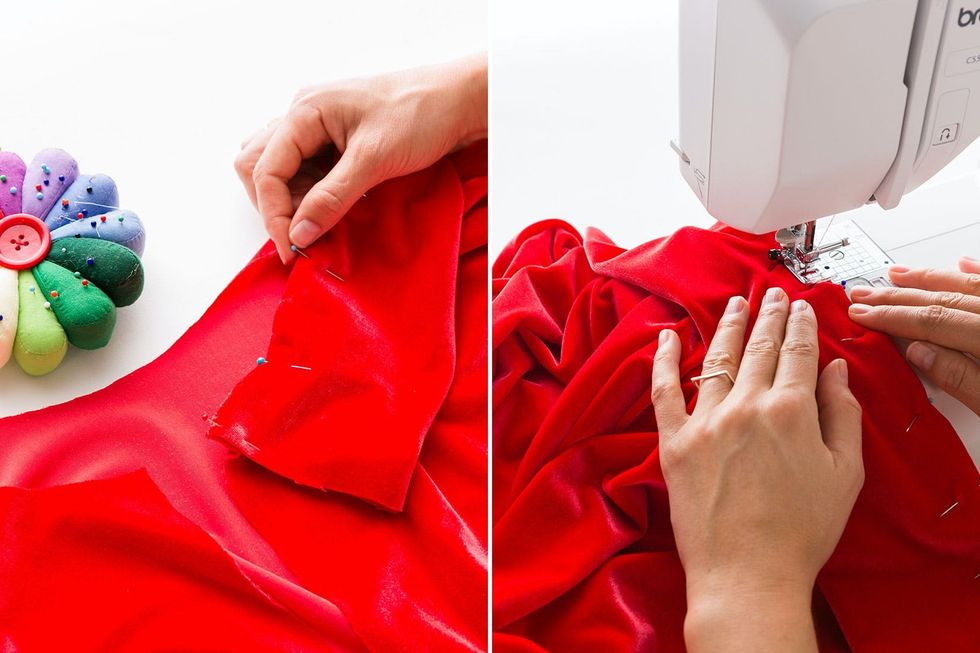
Pin the folded waistband to the inner circle (pinning the open end, not the folded side), starting at the zipper cut. You’ll need to add in pleats (small folds), so be sure to place them evenly throughout. Sew using a zigzag stitch (this is necessary on stretchy fabric).
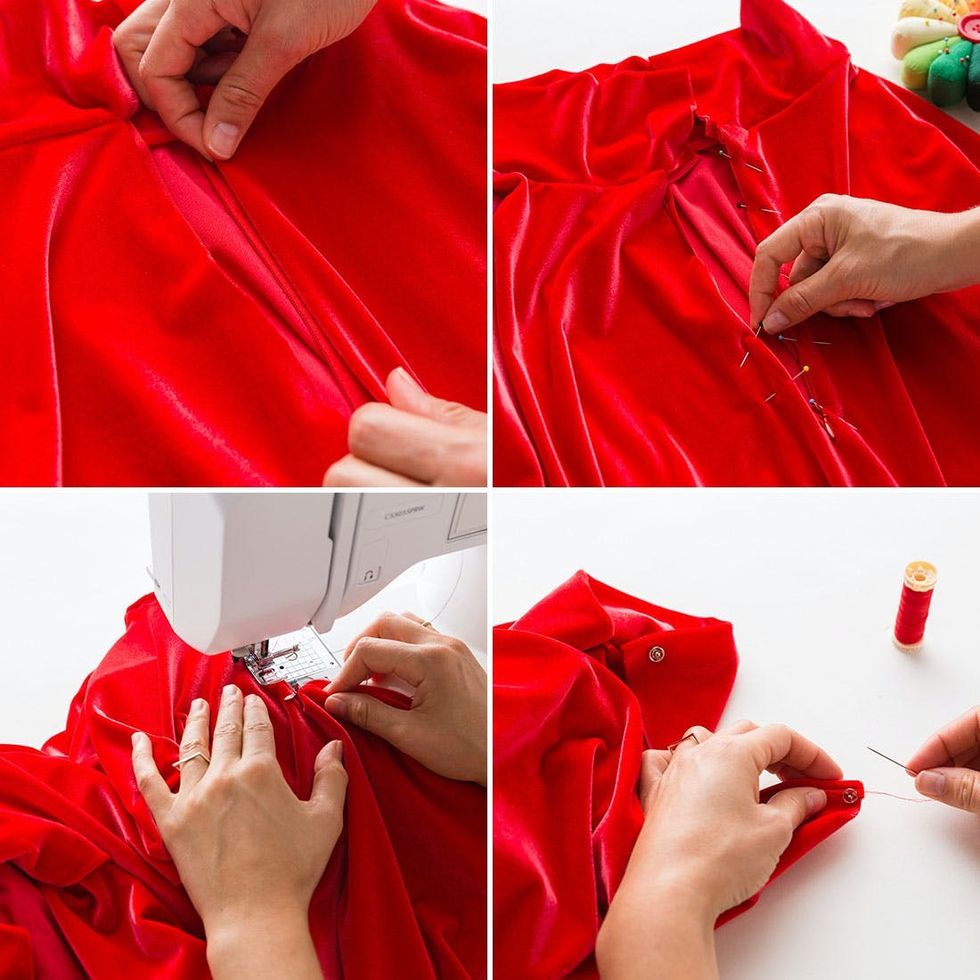
Fold over the cut zipper edge and pin it along the zipper, then sew in place. Add a snap up top, stitching it by hand.

Hem the bottom edge and you’re done!
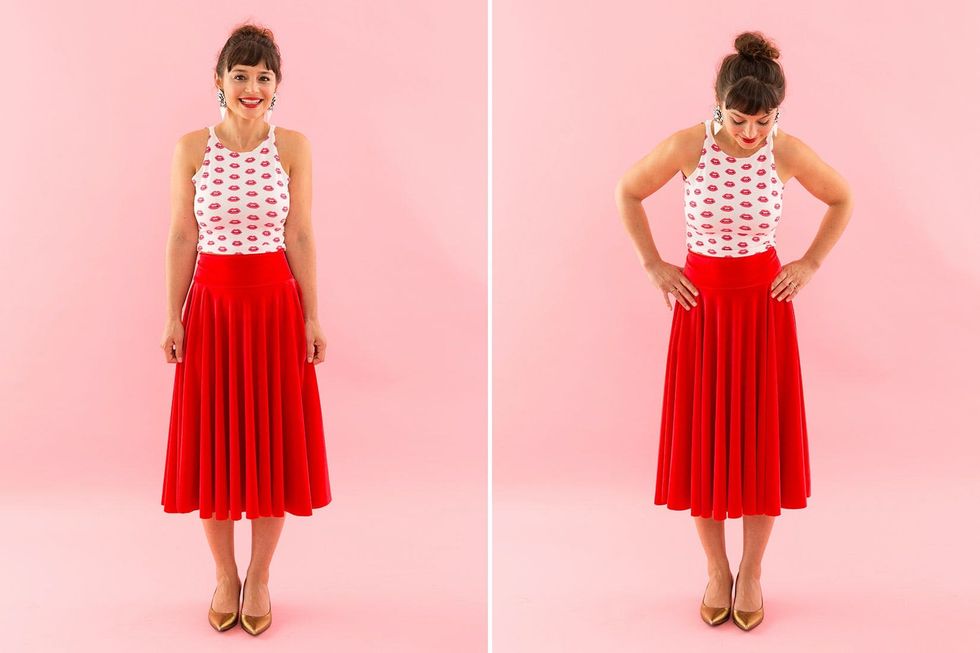
So satisfying to make your own holiday skirt which is perfect for parties.
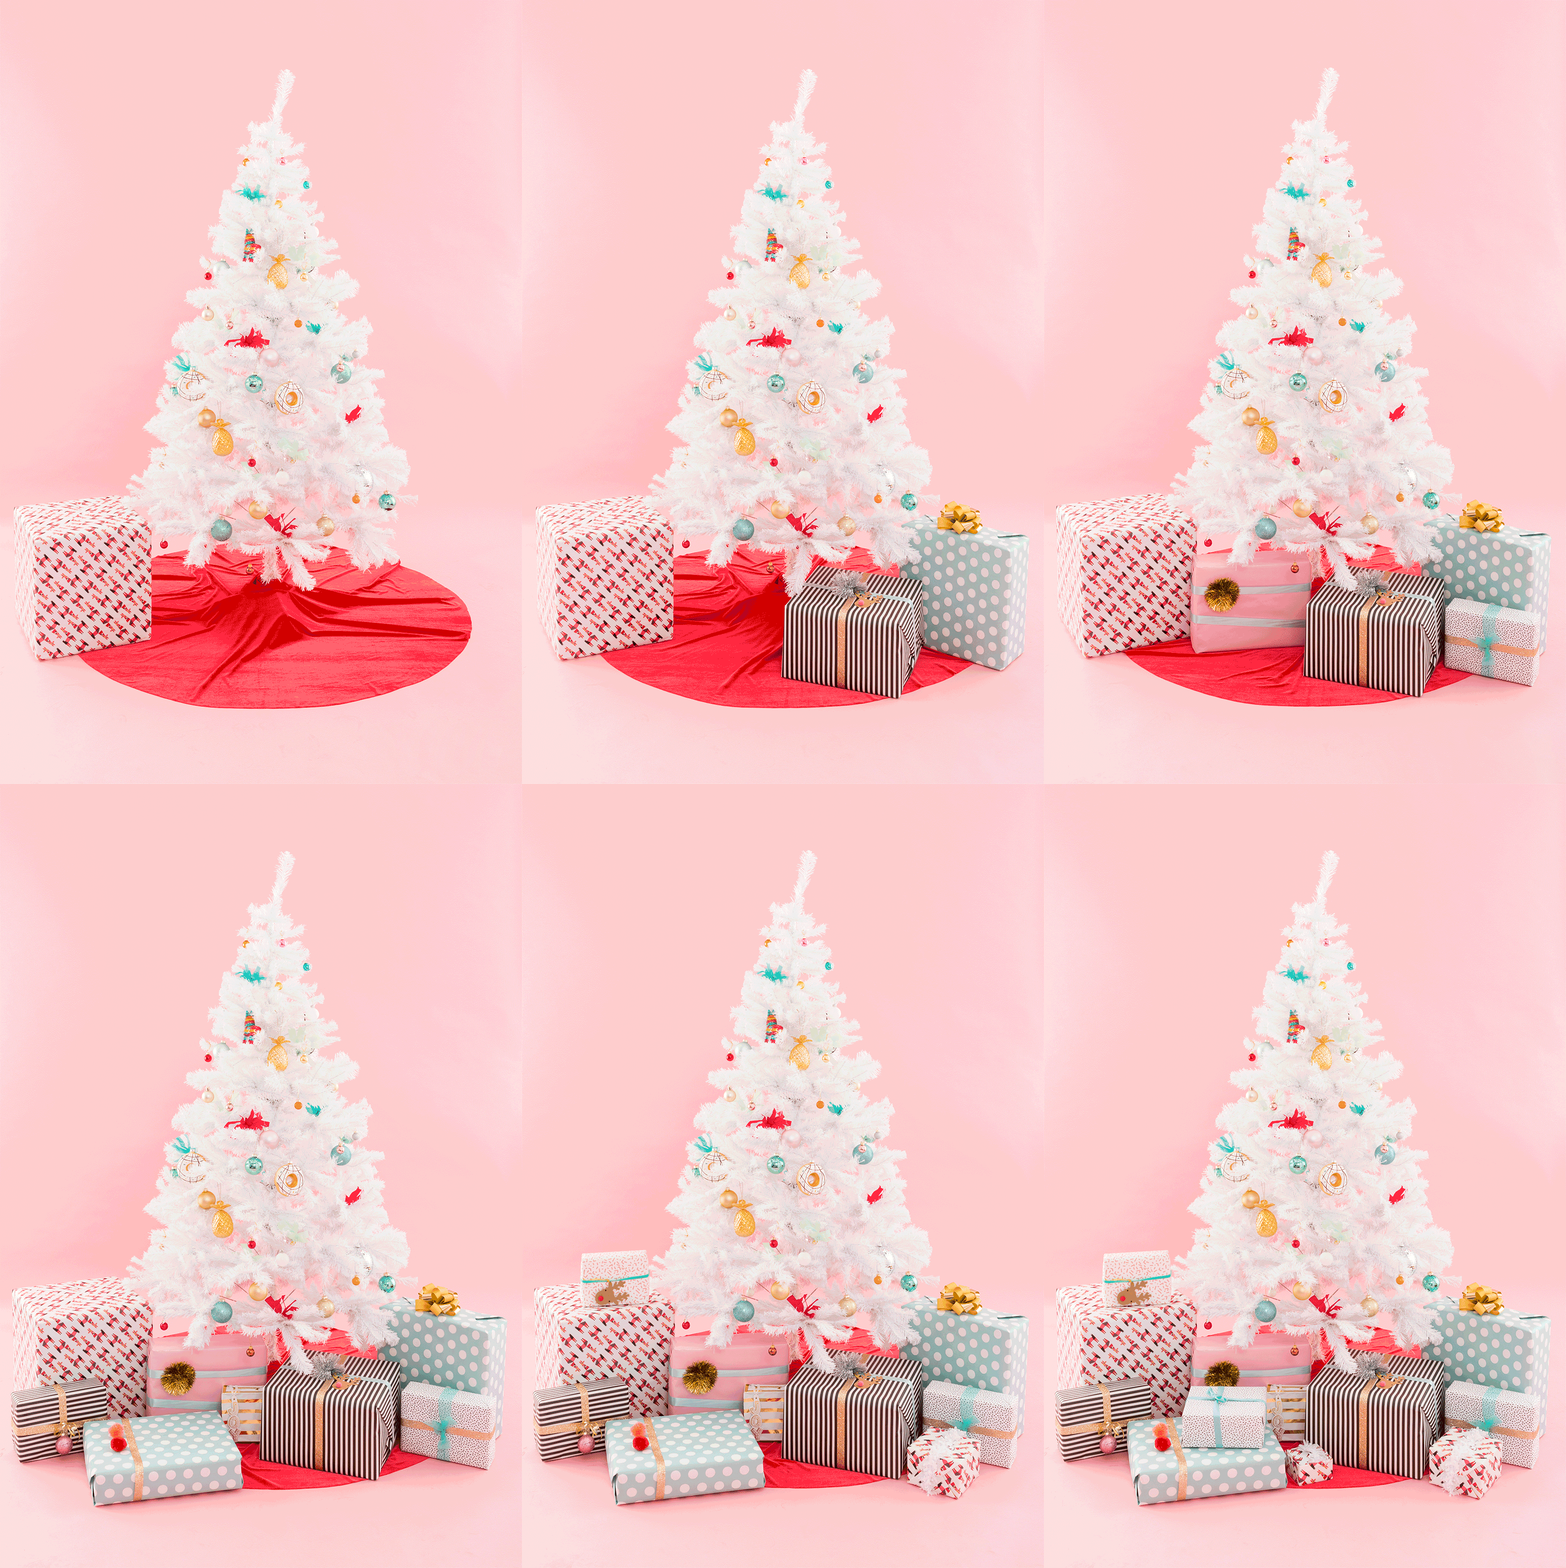
And when you decorate your tree, you can pop it around the base. Repurposed skirt FTW!

No shoot is complete these days without a One Brown Bump addition. This skirt is Baby Temple approved.


