3 Quick Festive Projects for the Modern Holiday Hostess
The holidays are here! And we’re making, baking and shaking up a storm here at Brit HQ. While the 3D printers are busy printing ornaments for the half dozen trees we’ve got popping up around here, we’ve teamed up with Starbucks to bring you three festive projects to kick up your holiday decor, cards and dessert table.
Check out the video above to see how all of these projects come to life, and follow each tutorial below to see how to create them yourself. Before you get started on the DIY front, serve yourself up a few iced coffee drinks!

We combined Starbucks® Discoveries Iced Café Favorites™ Peppermint Mocha with ice, crushed peppermint candy and freshly made whipped cream to create a sweet sipper.
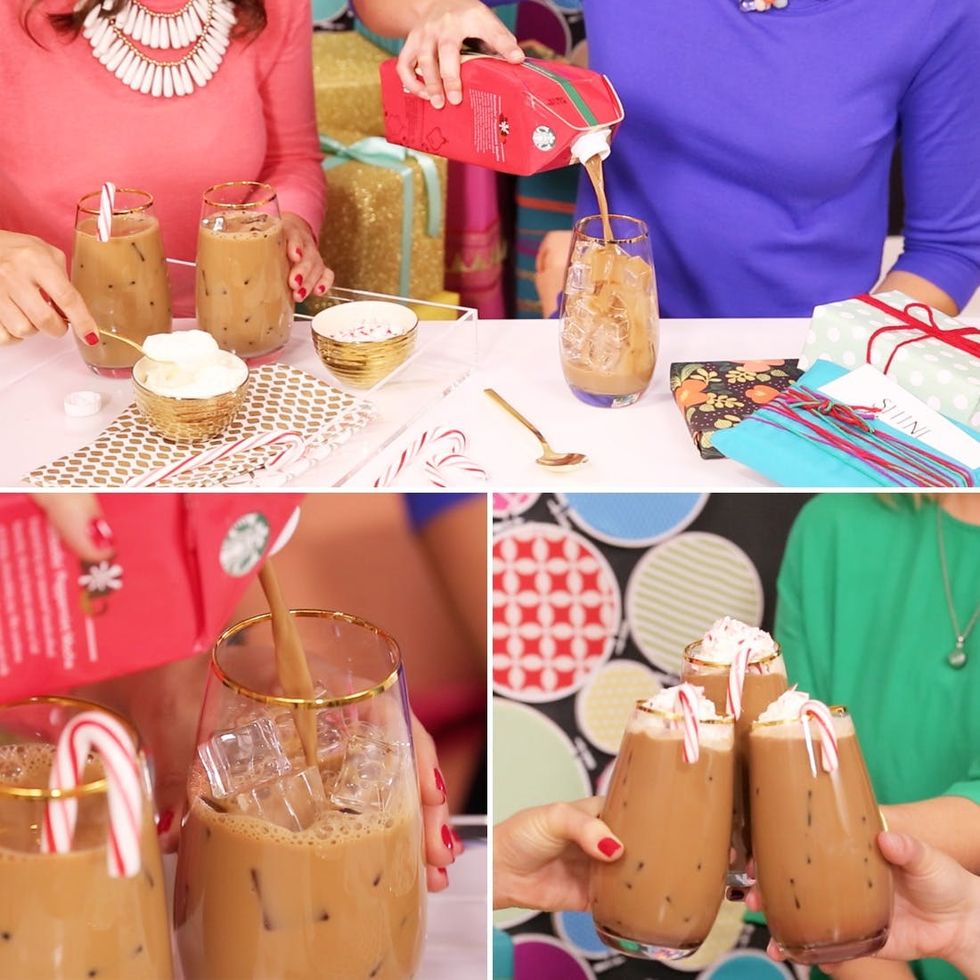
And if you’re teaming up with a friend, roommate or family member to gift wrap and decorate, be sure to have plenty of festive drinks on hand!
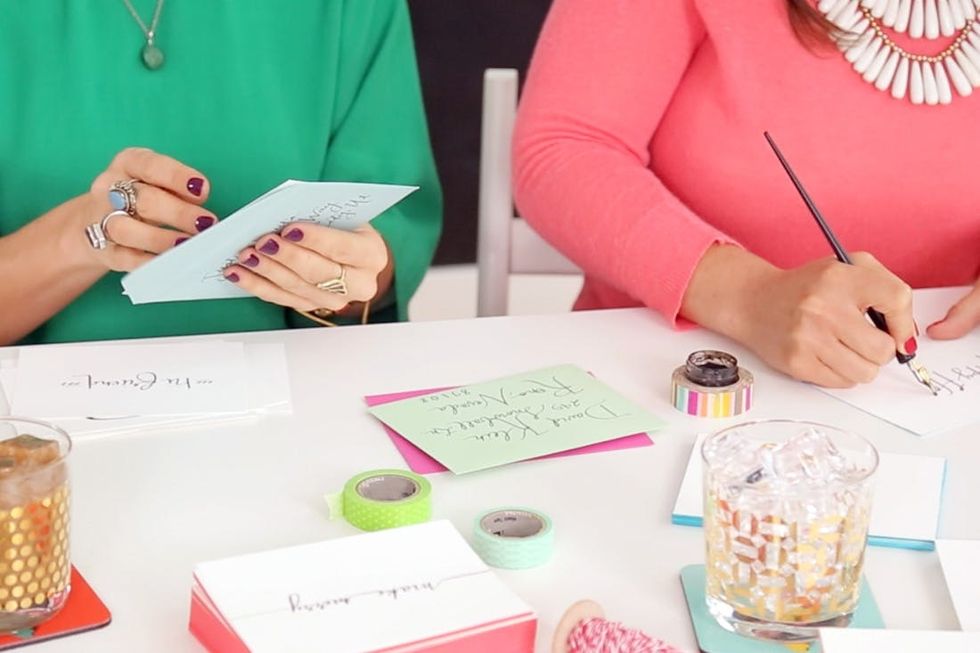
First up, an easy way to make your own chic greeting cards. Be sure to arm yourself with plenty of Starbucks® Iced Café Favorites™ Gingerbread Latte to keep your creative juices fueled and flowing :)
Color-Dipped Calligraphy Cards

Materials + Tools:
– card stock
– acrylic paint
– calligraphy ink pot
– oblique pen holder
– calligraphy nibs
– foam brush
First things first, brush up on your calligraphy skills. No idea where to begin? Lucky for you, we’ve got a Calligraphy 101 E-Class that’s perfect for you! Once you’ve got a handle on your lettering skills, it’s time to make some cards.
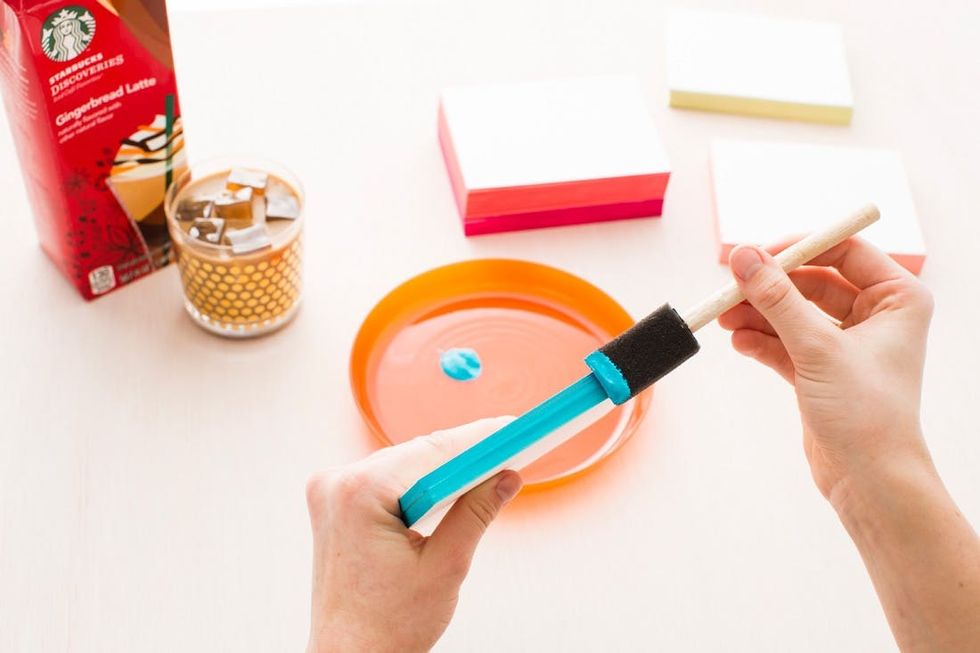
Start by stacking your cards. Squeeze a small dollop of acrylic paint onto a paper plate. Then dip your foam brush in. Make sure that none of the paint is dripping — you want a super thin layer. Paint the edges of the cards with your foam brush. Remember, paint gently! You don’t want the paint spilling onto the fronts or backs of your cards.
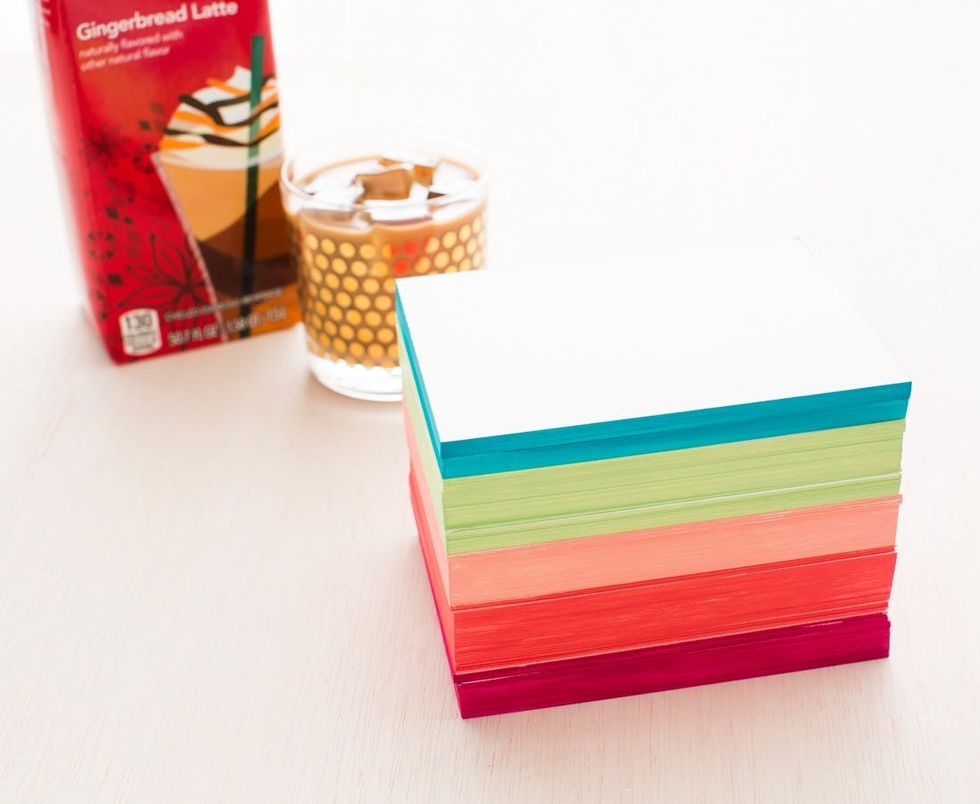
Let painted cards dry. Remove any that ended up getting a little messy!
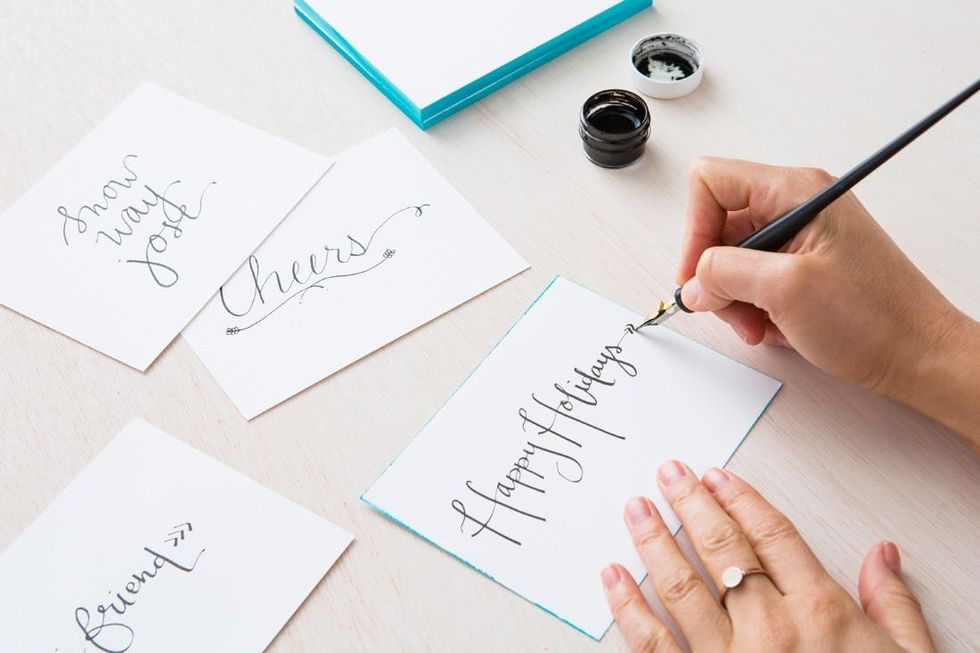
Then, get your calligraphy tools primed and ready and write your holiday messages.
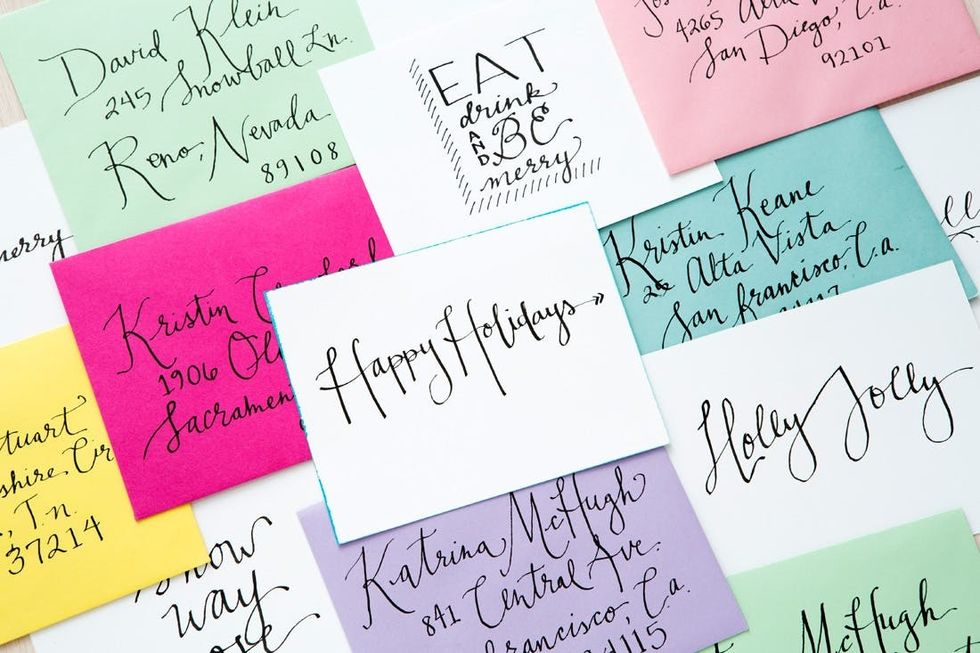
If you feel like going the extra mile, use those calligraphy skills to write addresses as well. So fancy!
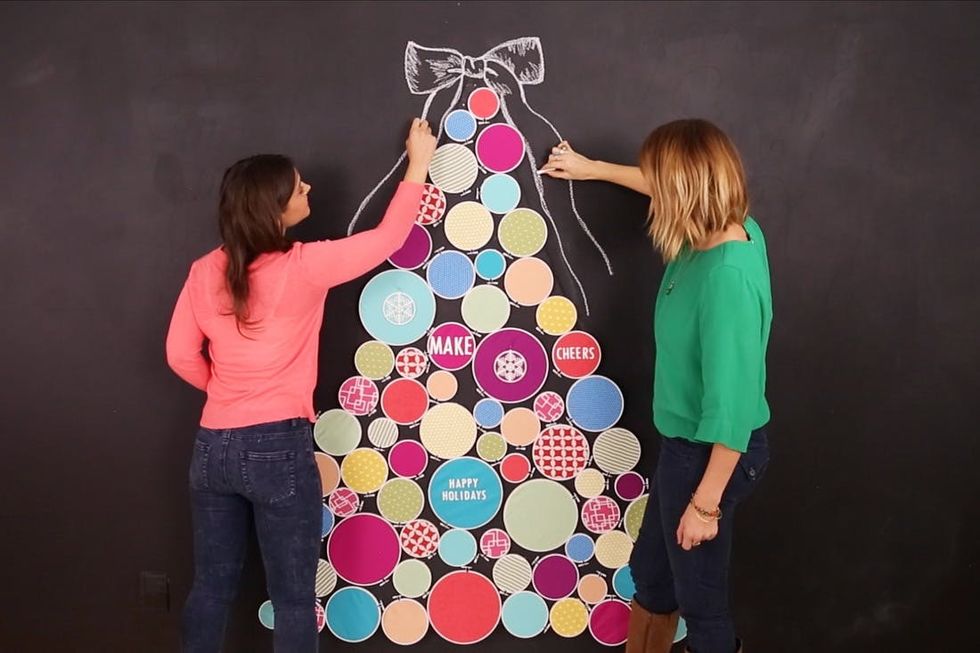
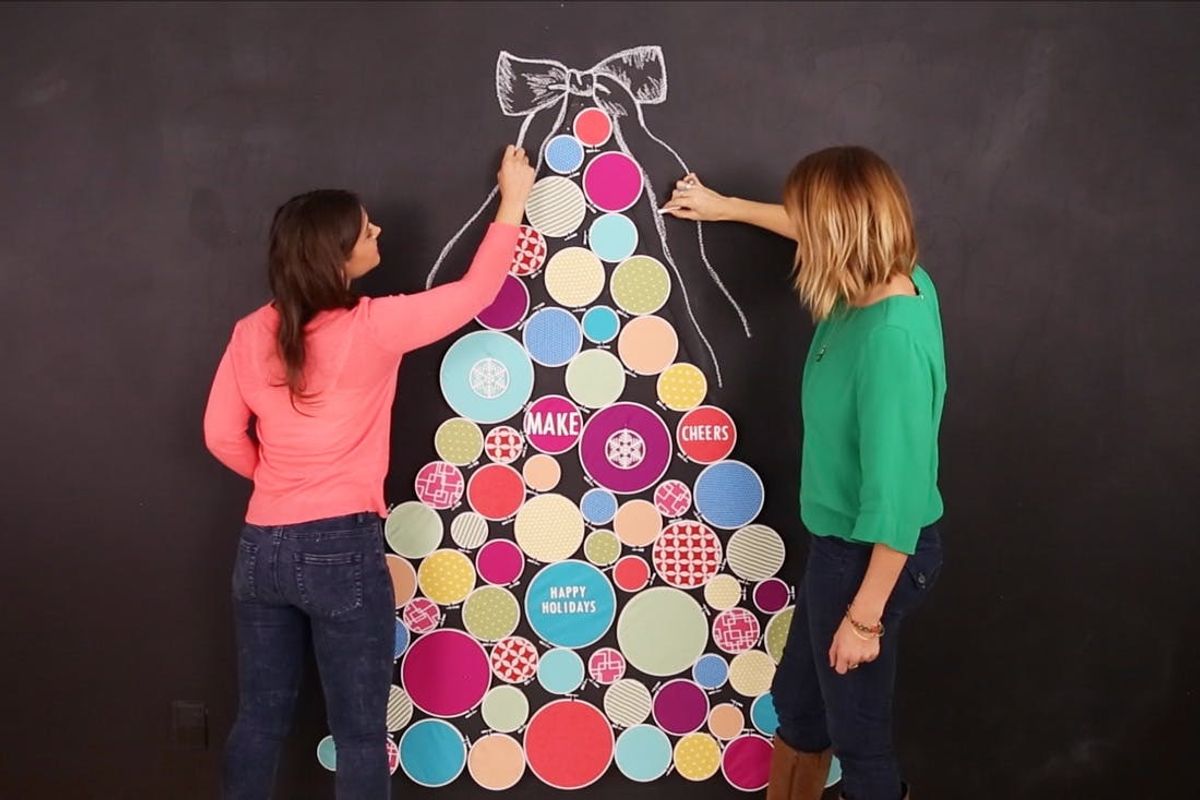
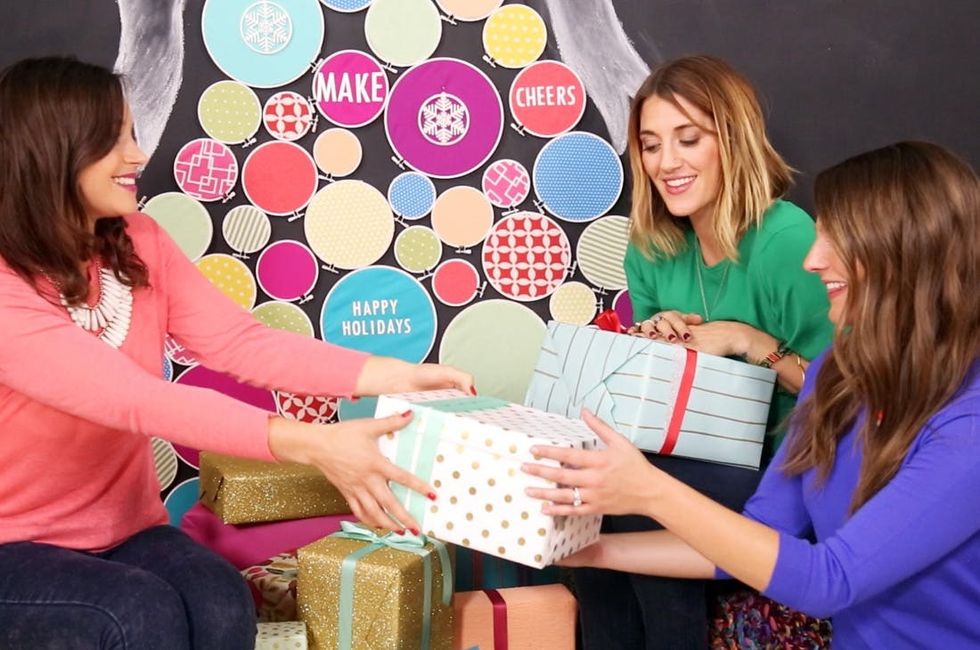
Next, you need a tree! We are huge fans of the wall tree, mostly because so many of us live in teeny tiny San Francisco apartments. For this scene, we created a tree on our chalkboard wall.
Embroidery Hoop Wall Tree
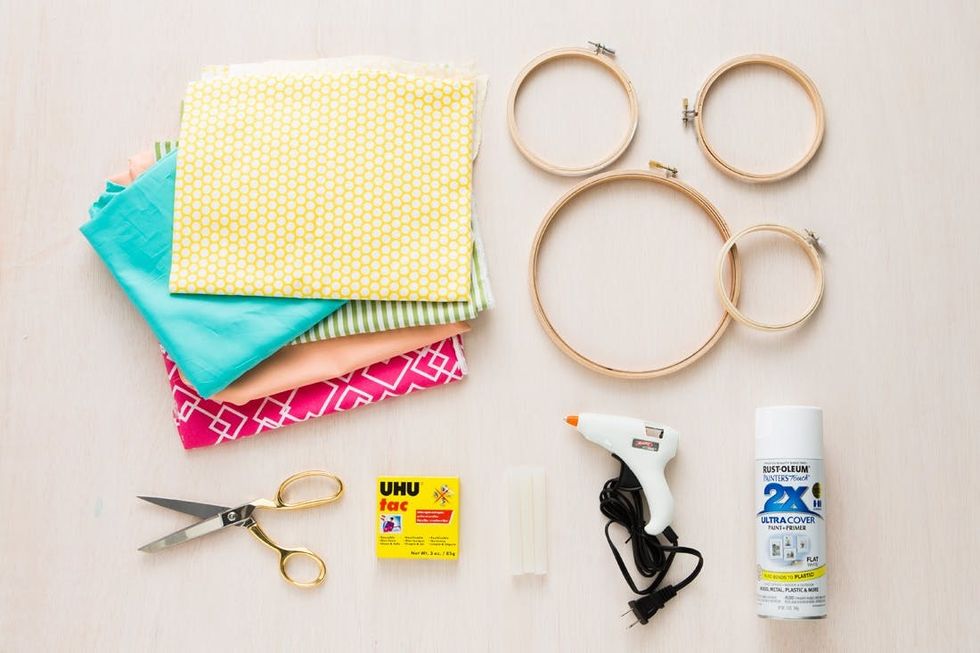
Materials:
– embroidery hoops in various sizes
– brightly colored fabric
– vinyl letters
– thumbtacks, nails or mounting tape (to attach to the wall)
– optional: ornaments
This is a great way to use up lots of fabric scraps because you need so many different shapes and sizes. We wanted as much color as possible without it looking like a craft room exploded, so we stuck to a gem-inspired color palette.
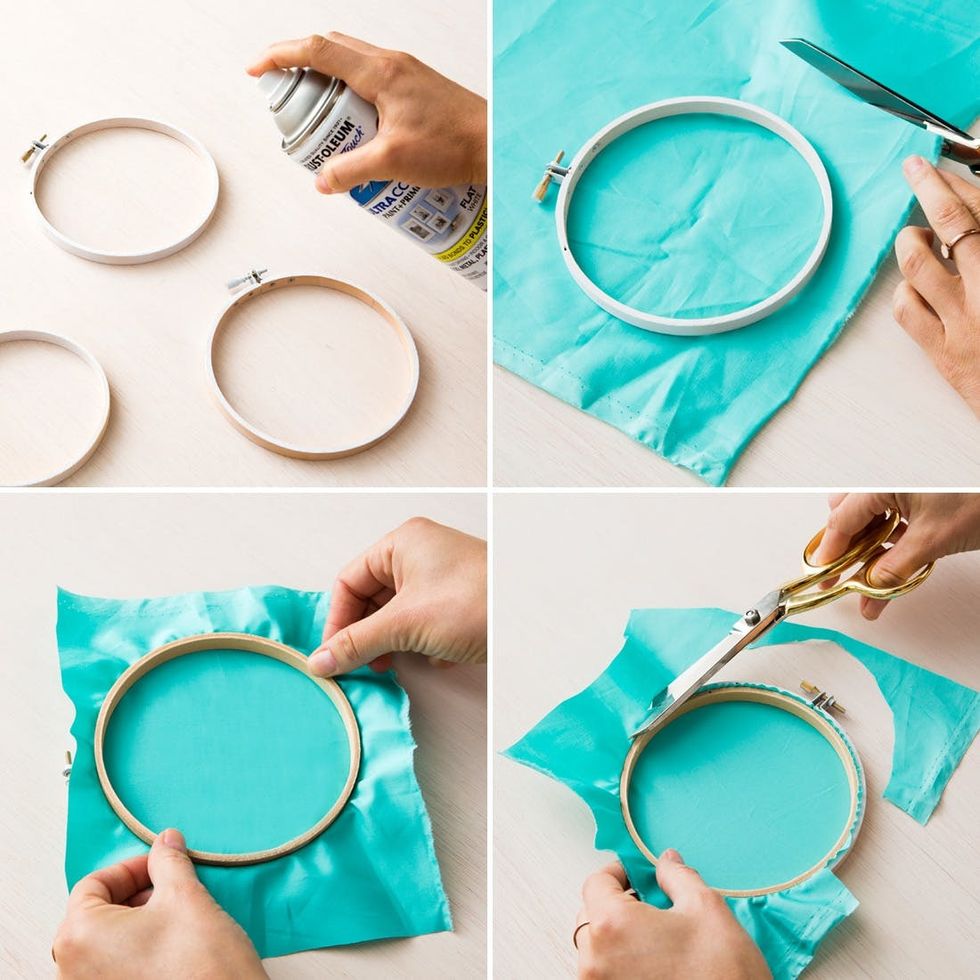
Take embroidery hoops apart and slide fabric in. Put hoops back together to secure. You can either glue excess fabric onto the back of the hoop or use scissors to cut it to size.
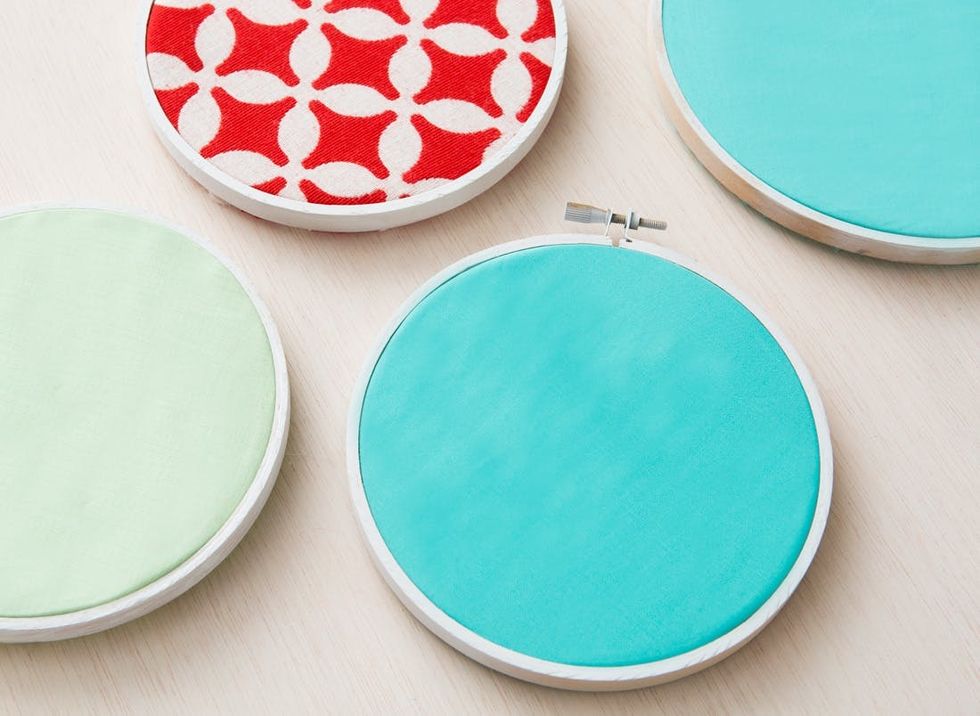
Repeat with as many hoops as you need to create your tree. We added vinyl letters to a few to spell out fun holiday messages.

Use thumbtacks, nails or mounting tape to attach to the wall. Almost done!
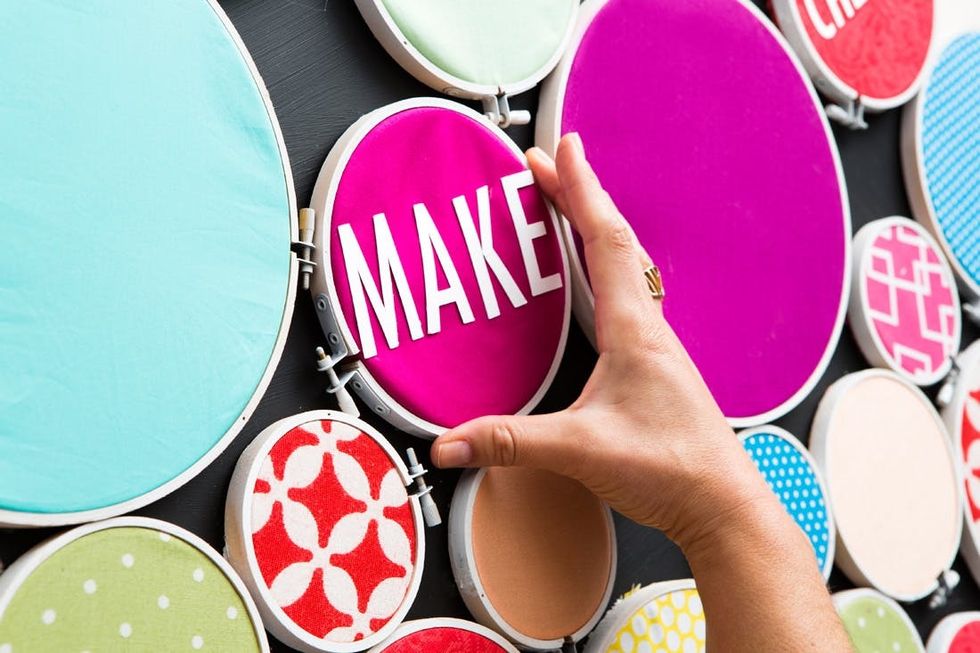
We used hooks to attach a few 3D printed ornaments to our tree — any ornaments will do, as long as they’re pretty lightweight.

For the finishing touch, we used chalk to draw a giant bow and ribbon on our chalkboard wall. If you’re not using a chalkboard wall, simply attach a big bow to the wall.
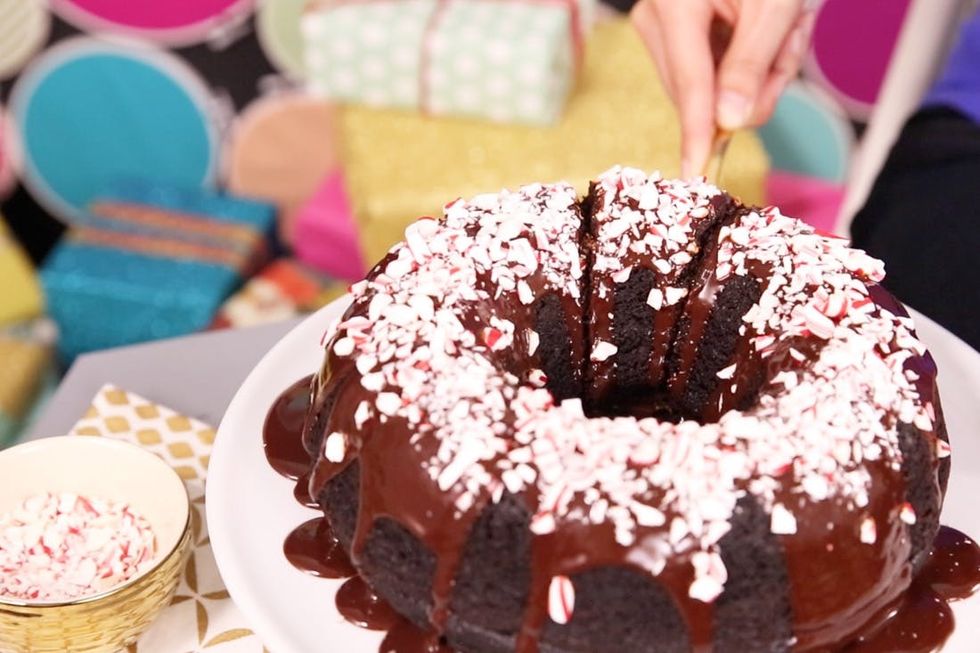
We’ll finish things off with a classic chocolate bundt cake, topped with chocolate ganache and peppermint frosting. Nom.
Peppermint Chocolate Bundt Cake
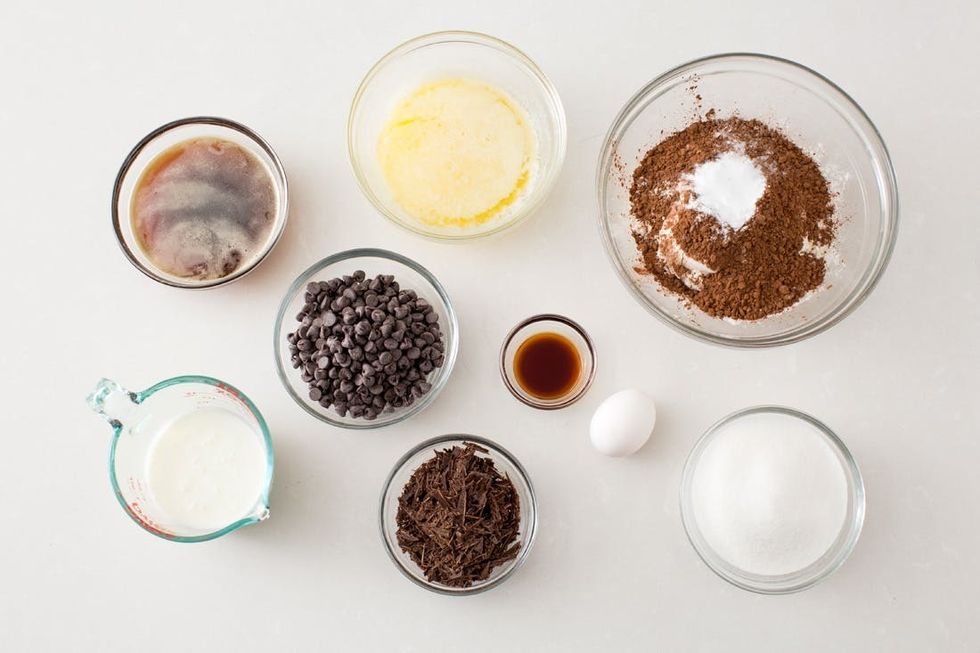
Ingredients for the cake:
– 1 cup butter, melted
– 1 1/4 cups sugar
– 1 large egg
– 1 tablespoon vanilla
– 3 ounces semi-sweet or bittersweet chocolate, finely chopped
– 2 1/2 cups all-purpose flour
– 1/2 cup cocoa powder
– 1 tablespoon baking soda
– 3/4 teaspoon salt
– 1 cup coffee
– 1 cup buttermilk
– 1 cup chocolate chips
Ingredients for chocolate ganache and peppermint frosting:
– 5 ounces semi-sweet or bittersweet chocolate, finely chopped
– 1/2 cup cream
– 1 tablespoon butter
– 1/2 cup peppermints, crushed
Preheat the oven to 350 degrees F. Grease a bundt pan with shortening or butter. Mix together flour, cocoa powder, baking soda, and salt in a large bowl; set aside. Mix together coffee and buttermilk; set aside.
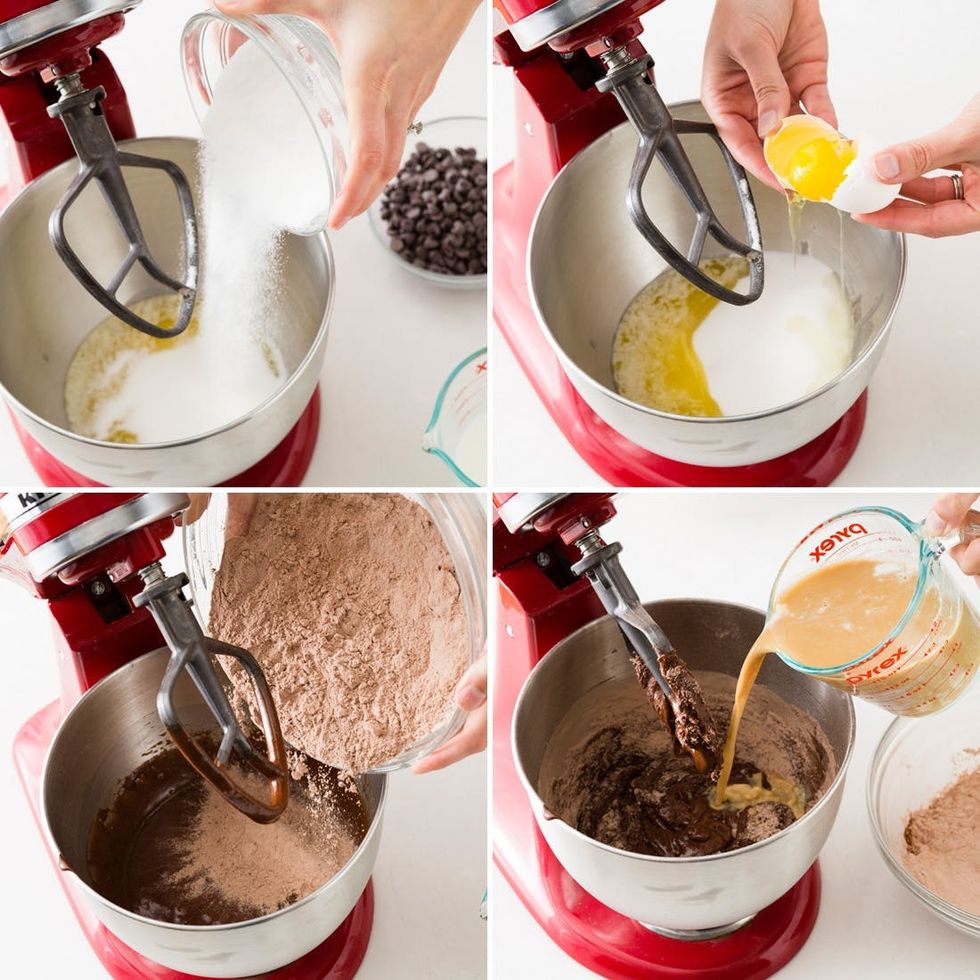
In a stand mixer or large bowl, whisk together butter, sugar, egg, and vanilla. Using a double- boiler or microwave, slowly melt 3 ounces of chocolate and whisk into mixture.
Add 1/3 of the dry mixture to the wet mixture and mix just until incorporated. Add 1/2 of the coffee-buttermilk mixture and mix again until just incorporated. Repeat procedure, ending with dry mixture.
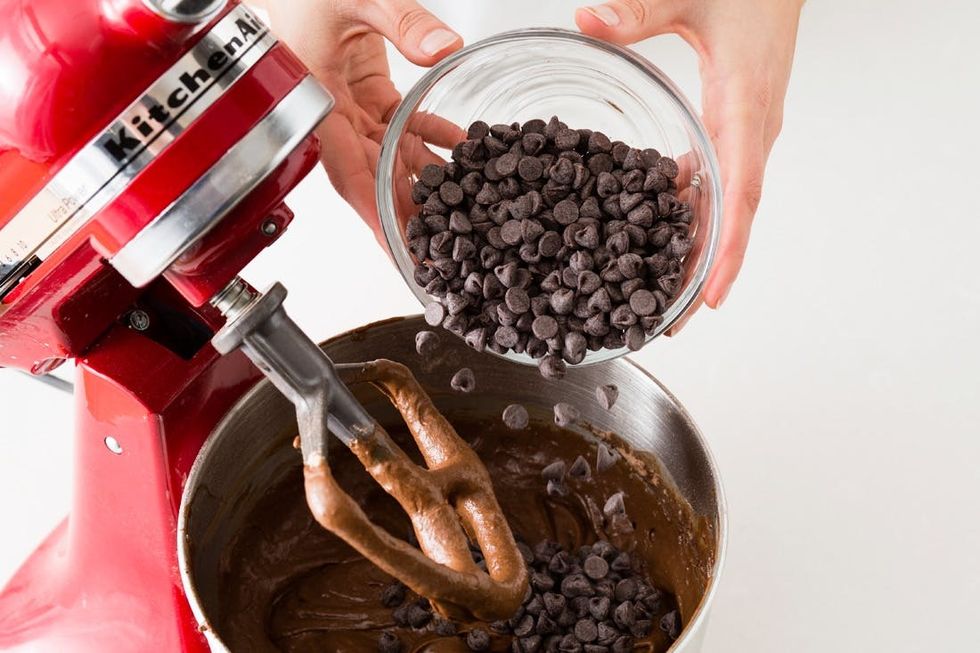
Gently stir in chocolate chips.
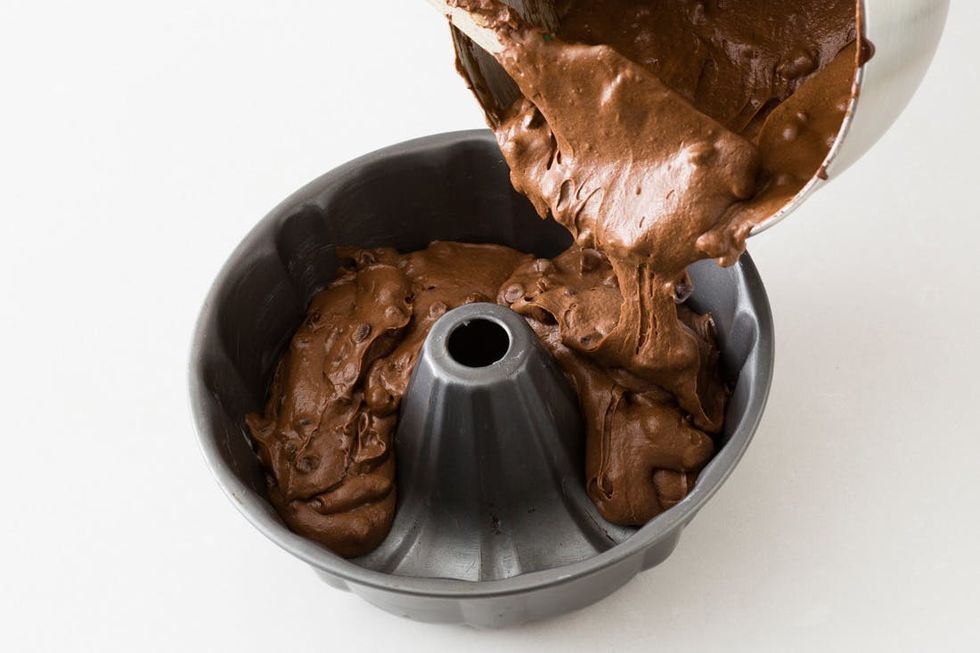
Pour the batter into the prepared bundt pan and bake for 50 to 60 minutes, or until a toothpick inserted in the center of the cake comes out clean. Let the cake cool for 20 minutes and then turn onto a plate or rack to cool completely.
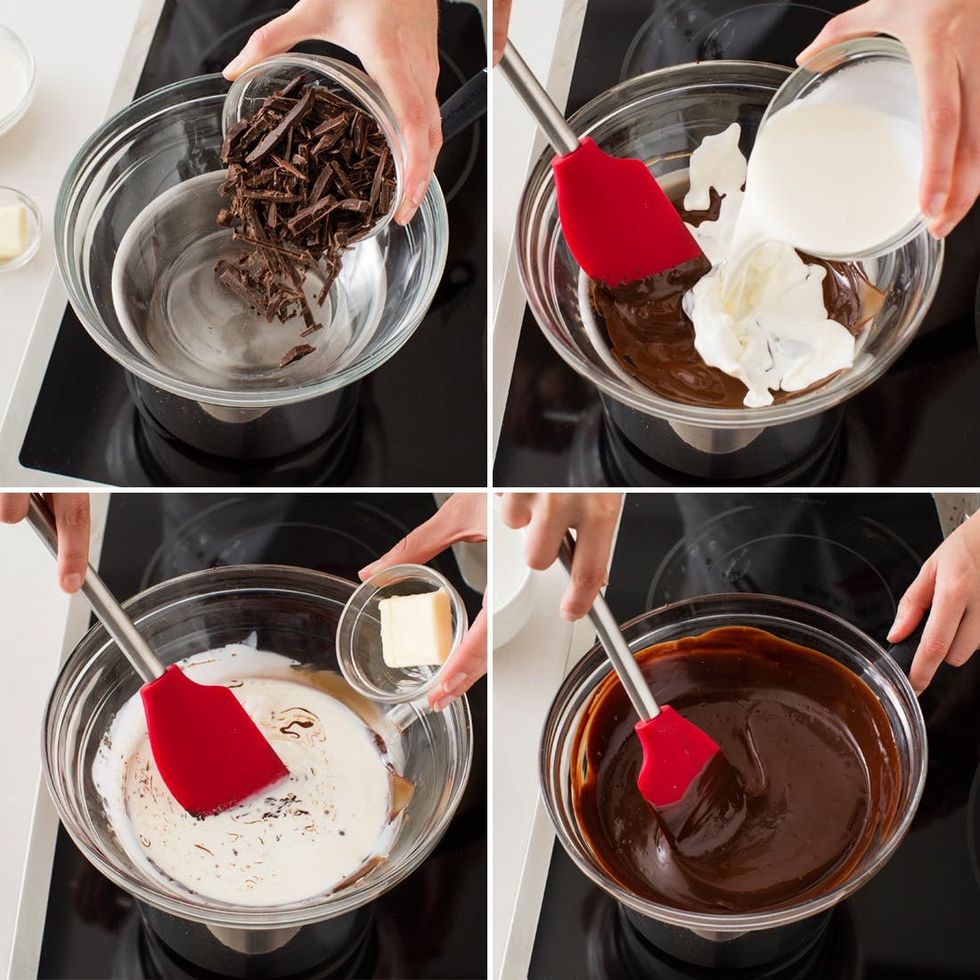
In a double-boiler, mix together chocolate, cream, and butter, whisking until melted.
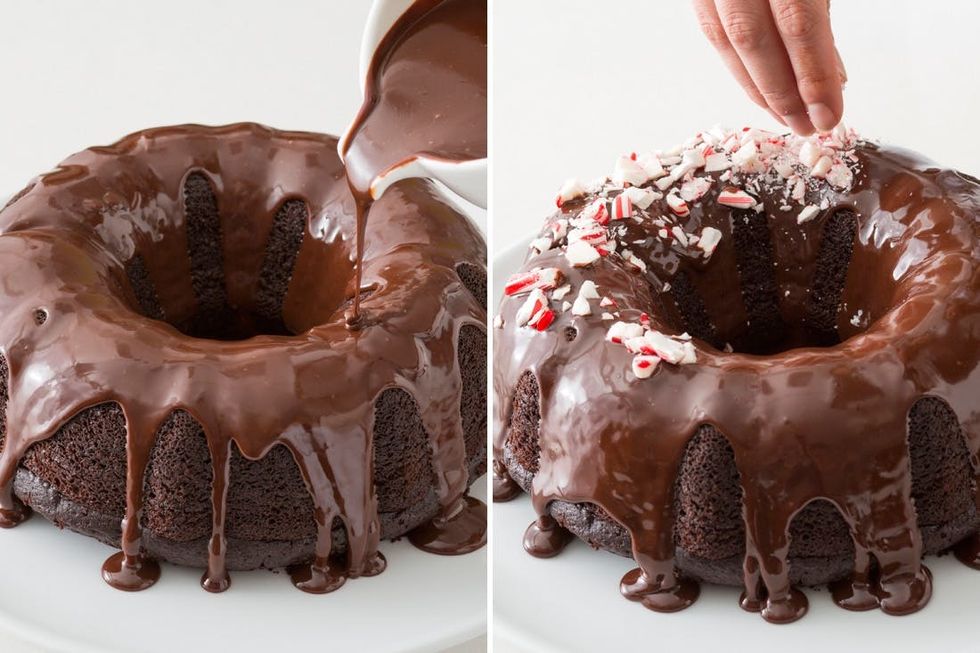
Pour over cake while still hot and top with crushed peppermint.
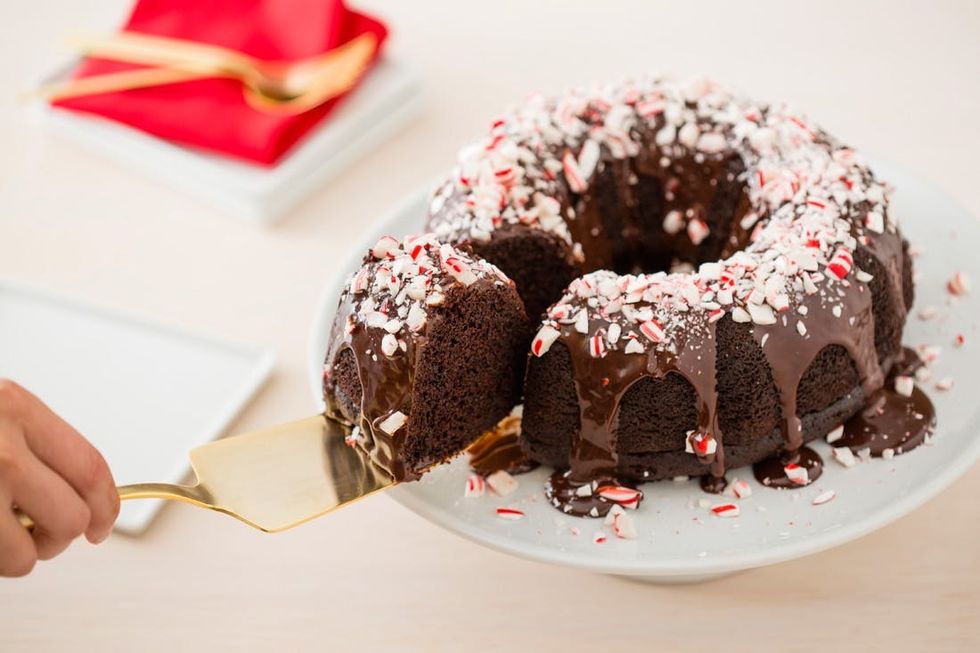
You should probably make more than one of these — this very cake lasted all of about 15 minutes in the Brit + Co kitchen!

We recommend serving this alongside a glass of Starbucks® Discoveries Iced Café Favorites™ Peppermint Mocha for maximum holiday deliciousness.
And there you have it! Three festive DIY projects to enhance your holiday cards, decor and dessert table.


