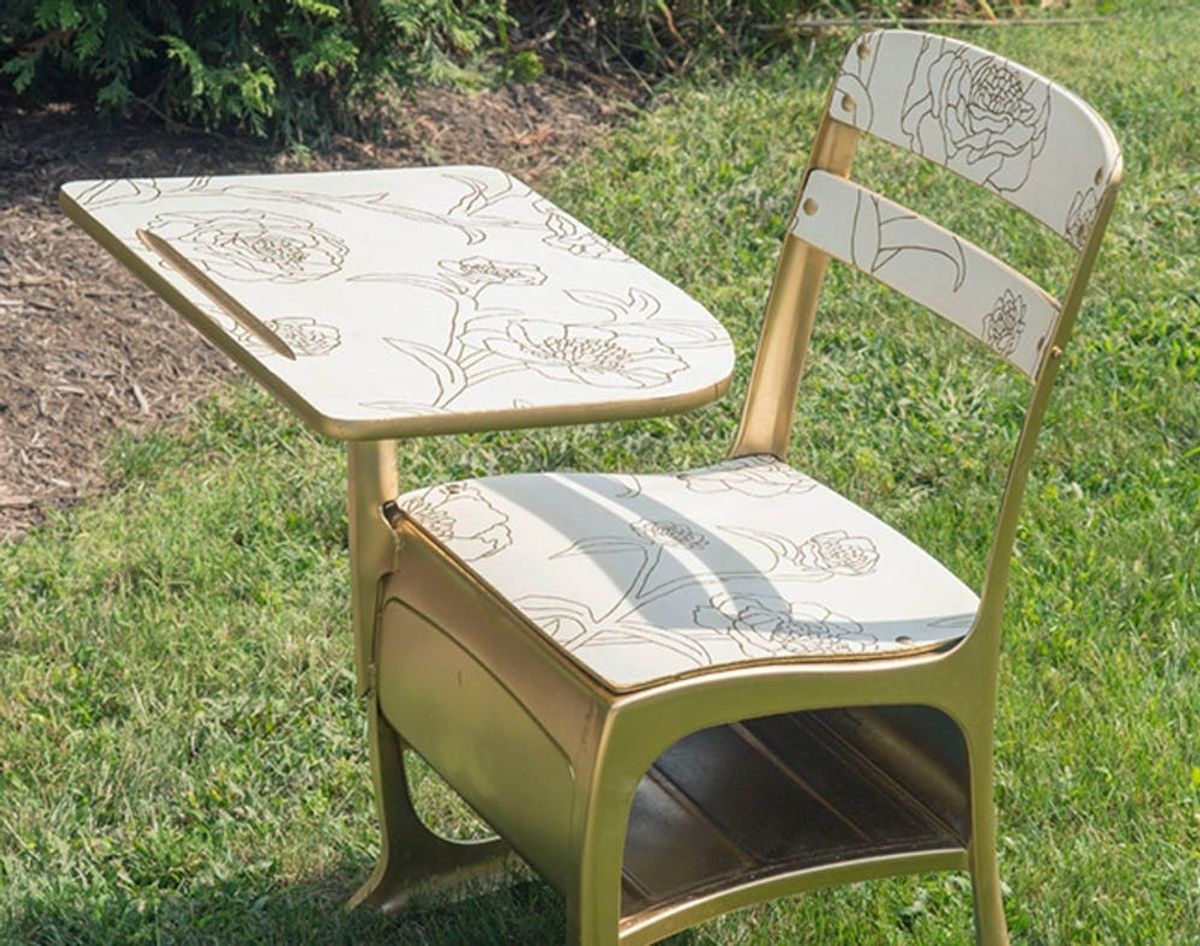
As this month winds down, we’re wrapping up our last few office themed DIY projects. And we’ve saved one of our favorites for last! This DIY comes from our friends at ModCloth. They took a vintage elementary school desk and turned it into a fabulous white and gold piece. The best part? It uses temporary wallpaper, which makes it so much easier. We think it would look perfect in a front entry or an office. Check out the tutorial!
Make Over a Desk With Temporary Wallpaper

As this month winds down, we’re wrapping up our last few office themed DIY projects. And we’ve saved one of our favorites for last! This DIY comes from our friends at ModCloth. They took a vintage elementary school desk and turned it into a fabulous white and gold piece.
The best part? It uses temporary wallpaper, which makes it so much easier. We think it would look perfect in a front entry or an office. Check out the tutorial!
Materials:
– vintage school desk
– temporary wallpaper
– gold spray paint
– ModgePodge or Polyurethane
– sandpaper or sanding block
– utility knife
– tape
– paint brushes
– scissors
Instructions:
1. Prepare your desk by cleaning it throughly and sanding any sketches, etchings, or edges smooth. Once finished, use a towel to wipe away any dust and debris.
2. Spray the desk with gold spray paint, or a color that coordinates with the wallpaper pattern you’ve chosen. Allow to dry and repeat with a second coat if necessary.
3. Select wallpaper scraps or measure out pieces from the roll to fit over each piece you’ll be covering. We covered the desktop, seat, and chair back. Tape each piece down to carefully trace the edges. Use scissors to trim any excess paper, then confirm that each piece has the perfect outline.
4. Remove the backing and fasten the wallpaper to each surface, smooth bubbles with a credit card or another flat tool. Don’t forget that temporary wallpaper can be removed and reapplied, so you can take a second try if anything seems a bit off.
5. Using a utility knife, trim away the wallpaper over any nuts and bolts. We liked the way the rivets on the chair back showed through.
6. Apply the Modge Podge or Polyurethane with a brush, allowing for it to dry between coats. We gave our desk two coats of poly across all of the patterned surfaces, which sealed the wallpaper permanently.
7. Find the perfect spot in your foyer!
Make sure you get rid of any rough edges so the spray paint goes on smoothly.
It’s best to spray this outside in a well ventilated area. It will likely take two coats to get it fully covered.
Trace the desk onto the wallpaper so you know where to cut. When in doubt cut too large—you can always trim after the fact.
The fact that the wallpaper is temporary means you can reposition it until you get it just right.
Trim the paper covering any details like these rivets. They’ll look great showing through the paper.
Protect the surface from damage by covering with a coat or two of Polyurethane or Modge Podge.
And that’s it! Wait for it to dry, and you’ll have a fun new seat in your home.
Have you ever used temporary wallpaper in a DIY project? Tell us what you made in the comments!


