If you’ve been with us for a while, you know we’re pretty batty about washi tape. We’ve used it to decorate doors, desks, and cakes, and now we’re combining washi with 3D printing. Patterns, meet plastic! Oh, and let us also introduce you to air plants! ;)
Deck Out 3D Printed Vases with Washi Tape
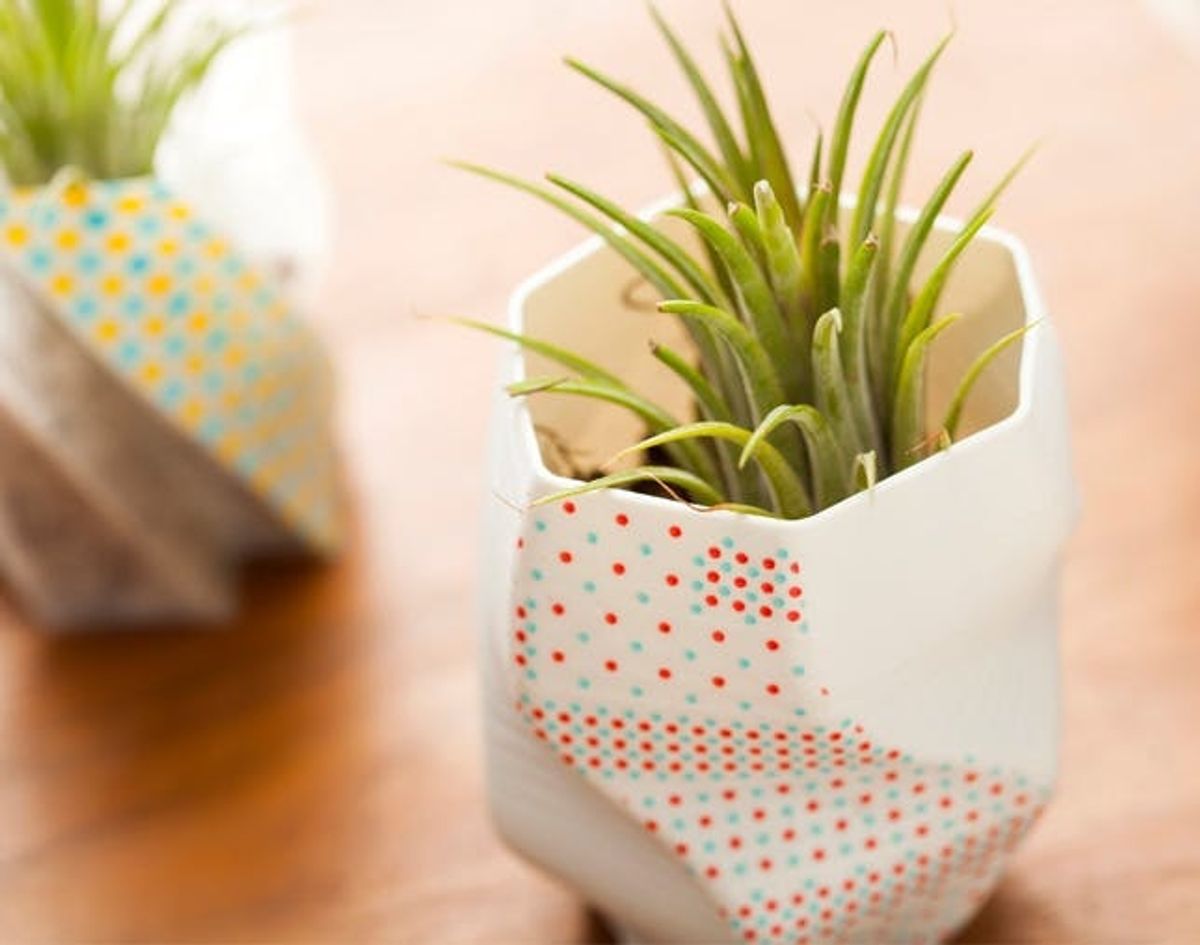
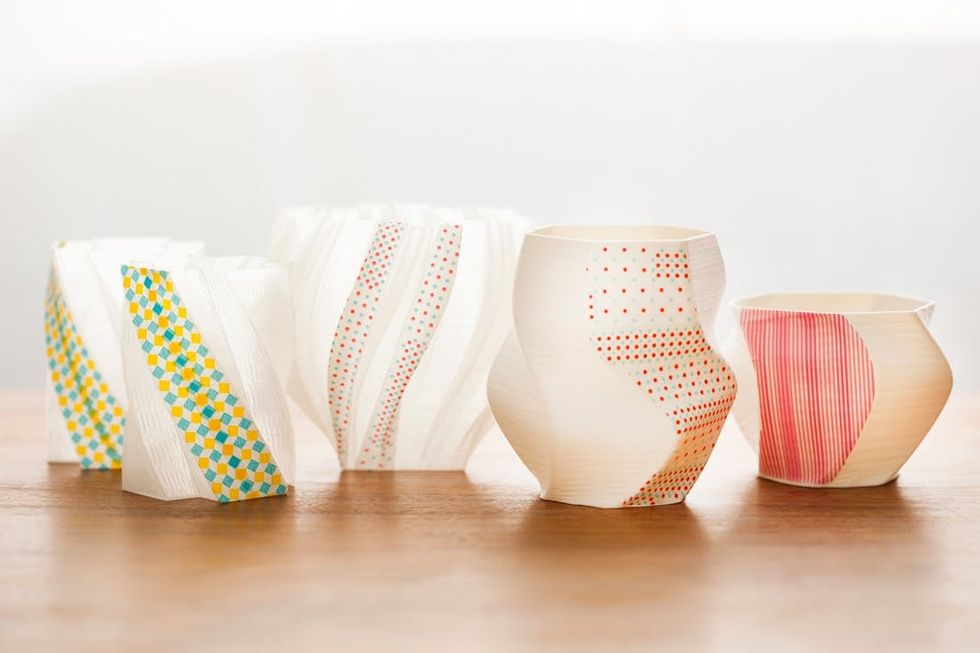
We’ve been 3D printing up a storm here at Brit HQ, but wanted to figure out an easy to decorate our 3D vases for different occasions, holidays, and the like. The answer? Washi tape. You could apply the same technique to any plastic vases, or order your own based on ours via sites like Shapeways or Sculpteo. Now, patterns, meet plastic! Oh, and let us also introduce you to air plants! ;)
<br/>
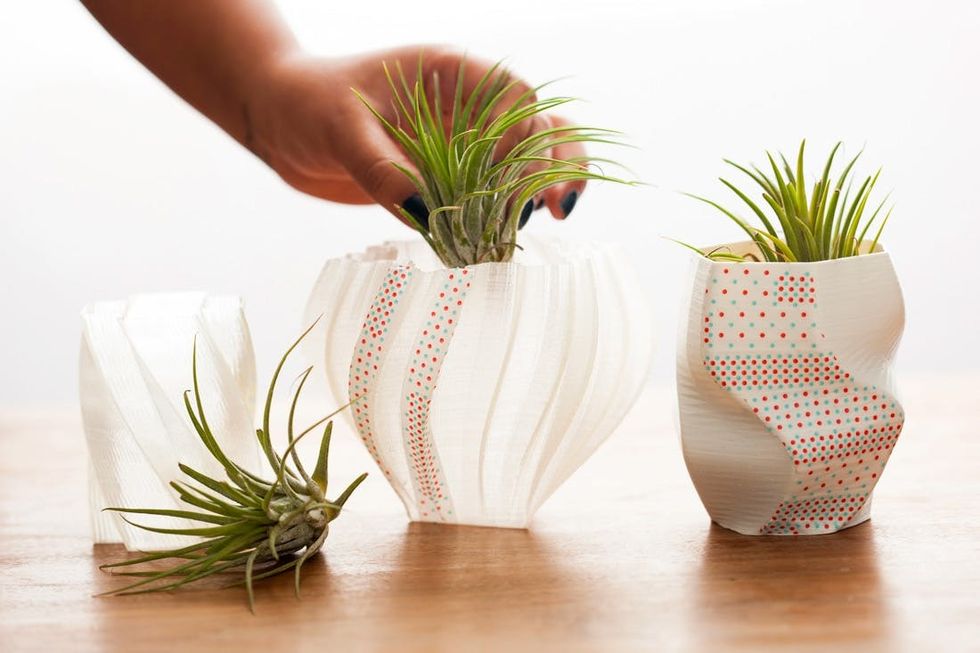 – washi tape
– air plants or succulents
Tools:
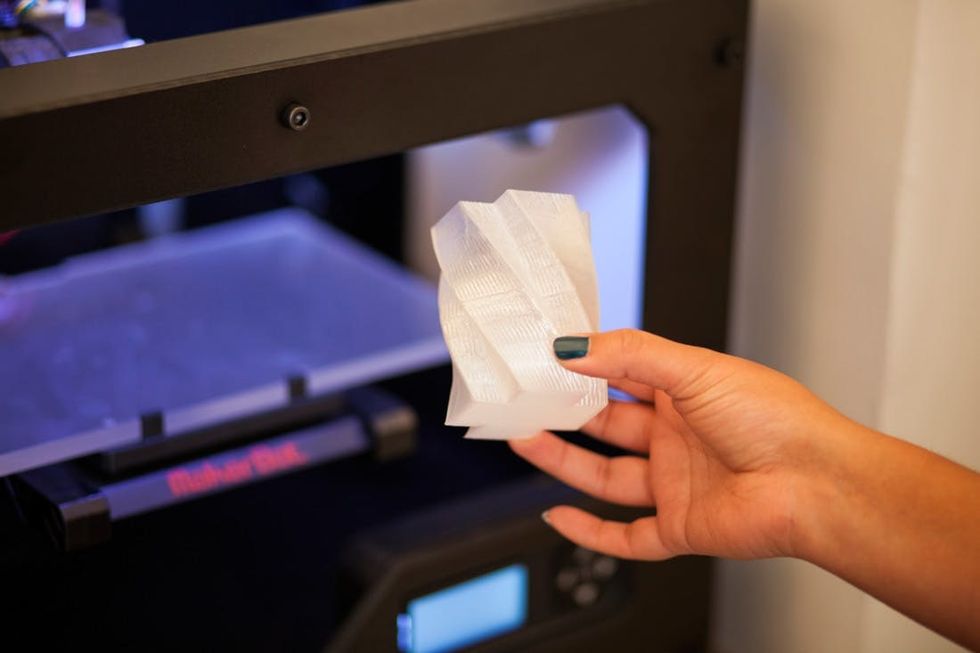
– 3D printer (or order printed vases online!)
First things first, print or order your vases.
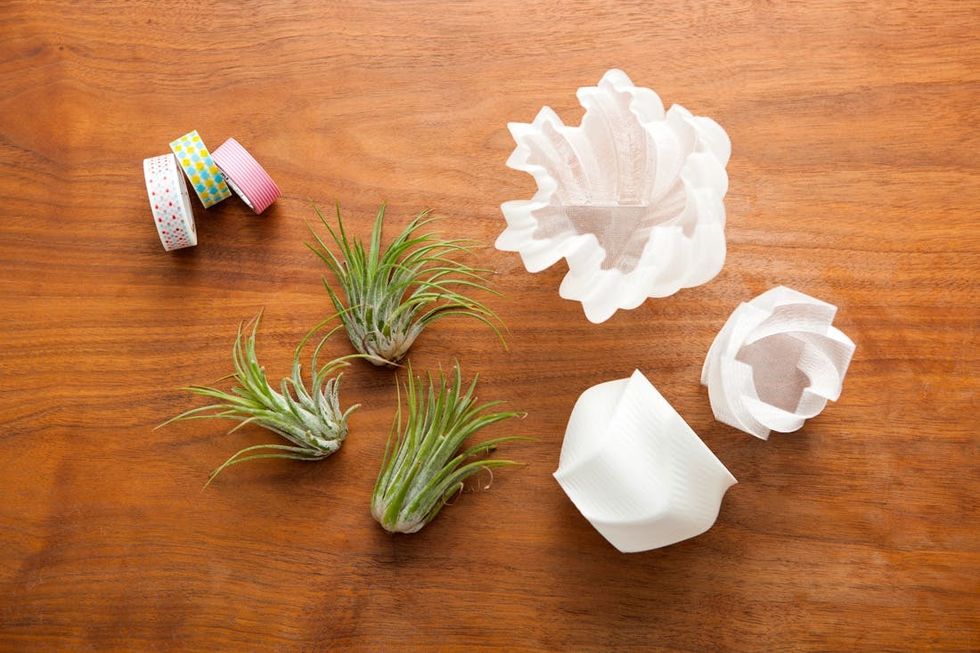
Gather the rest of your materials. We had some extra air plants hanging around from our Air Plant Nail Art project.
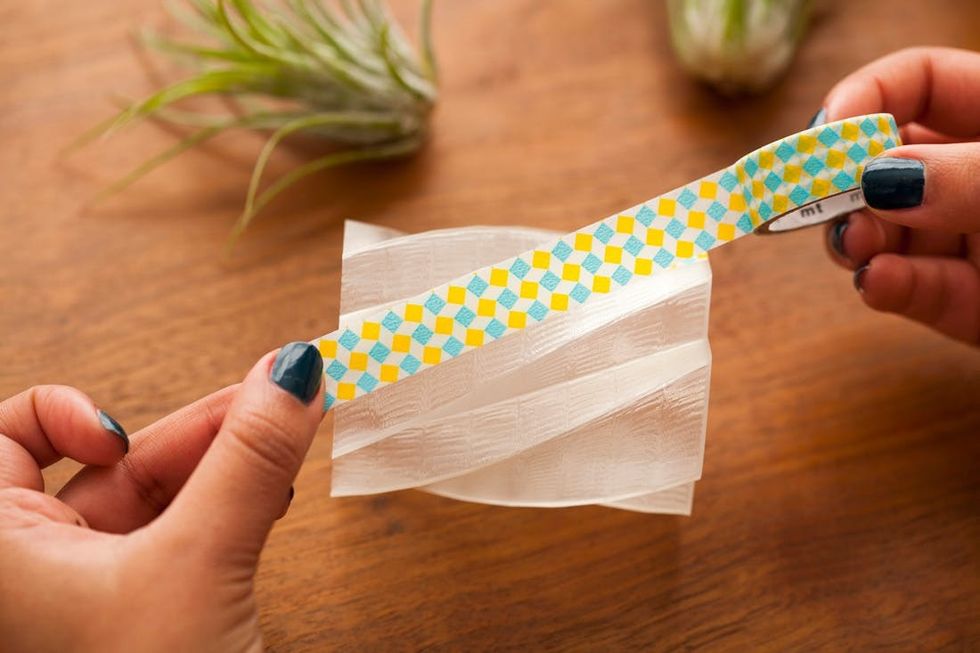
For 3D printed objects with straight planes, it’s easy to simply add a strip of washi tape.
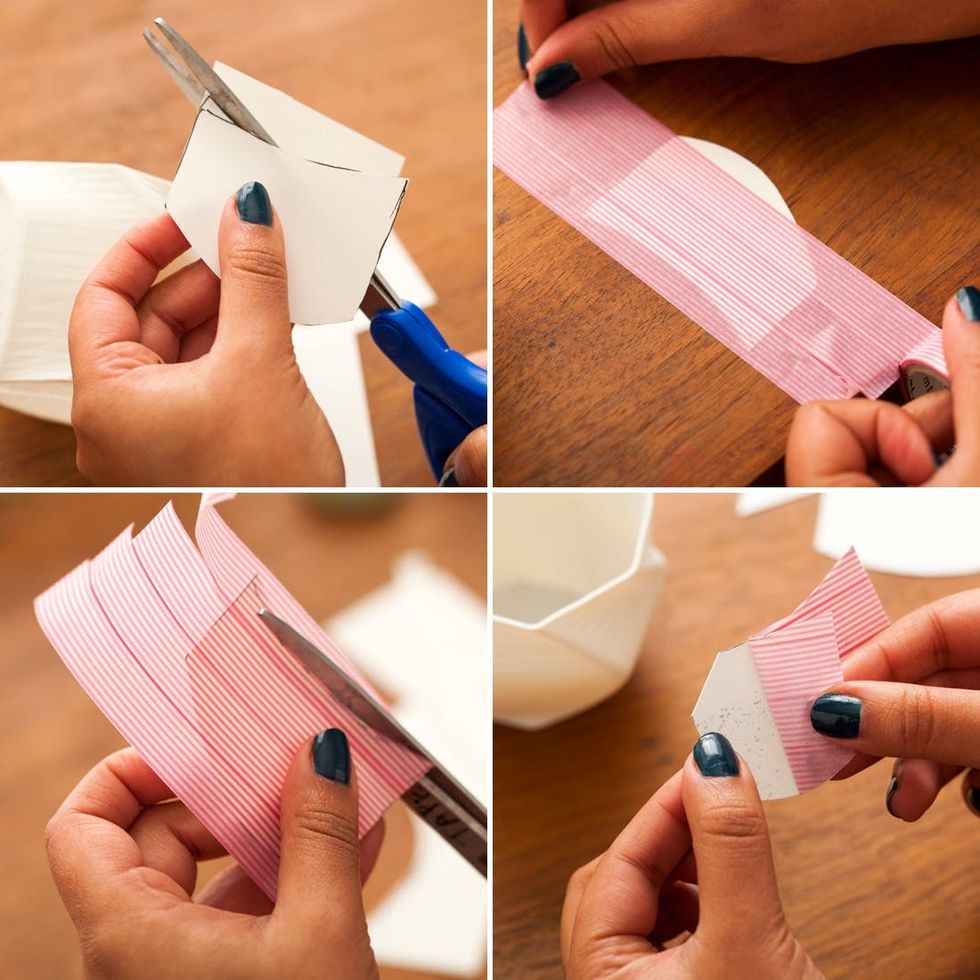
But for a curvy piece, you’ll have to create a template. We simply traced the shape onto a piece of card stock, stuck tape onto the template, and cut out the tape. It should peel off the card stock pretty easily. Note: This did not work with regular copy paper.
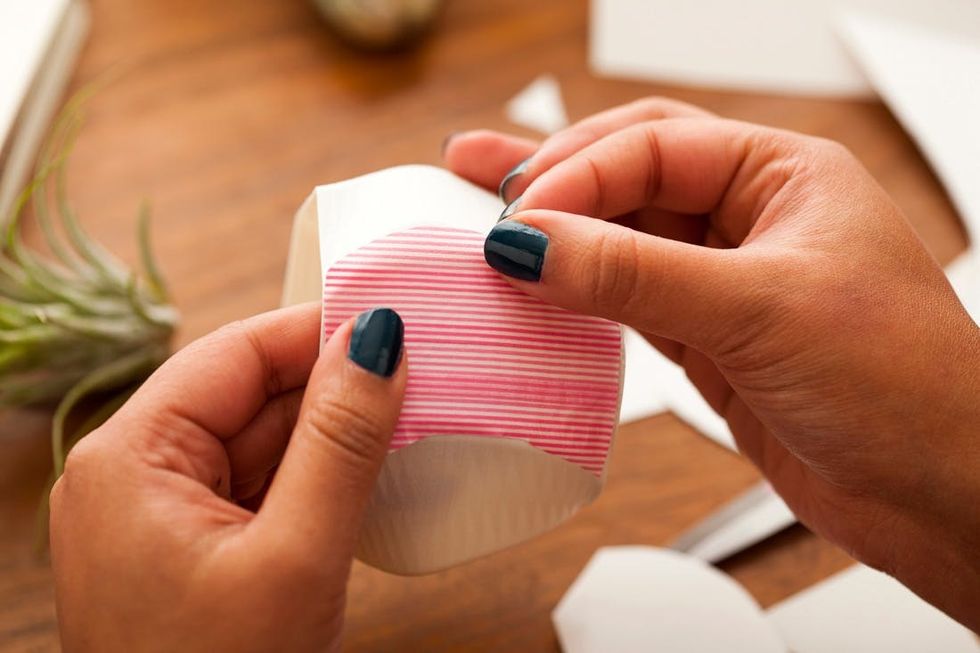
Place your washi shape right on your vase.
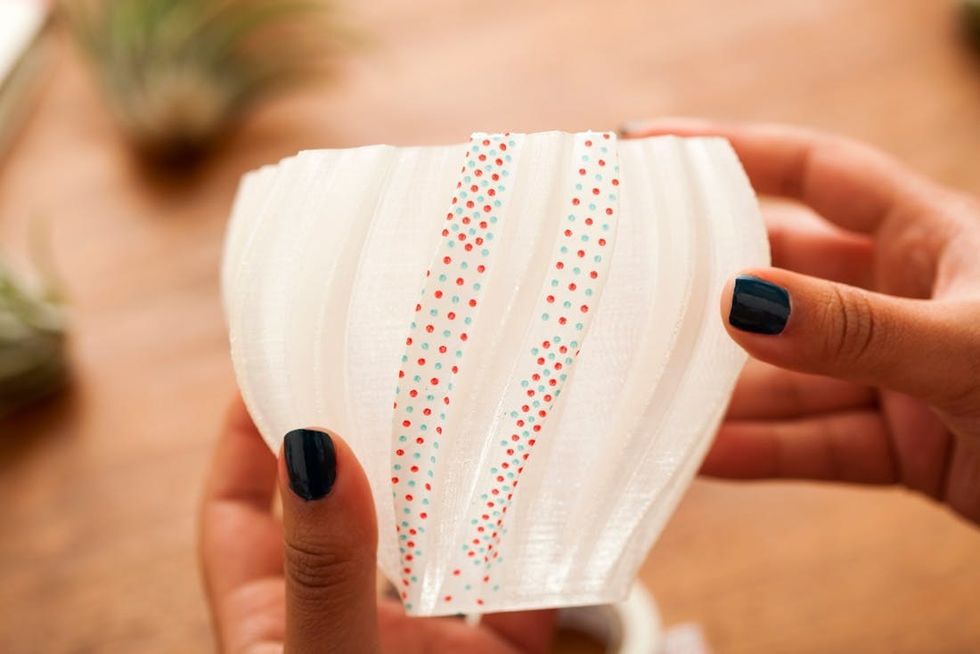
Keep striping up those vases!
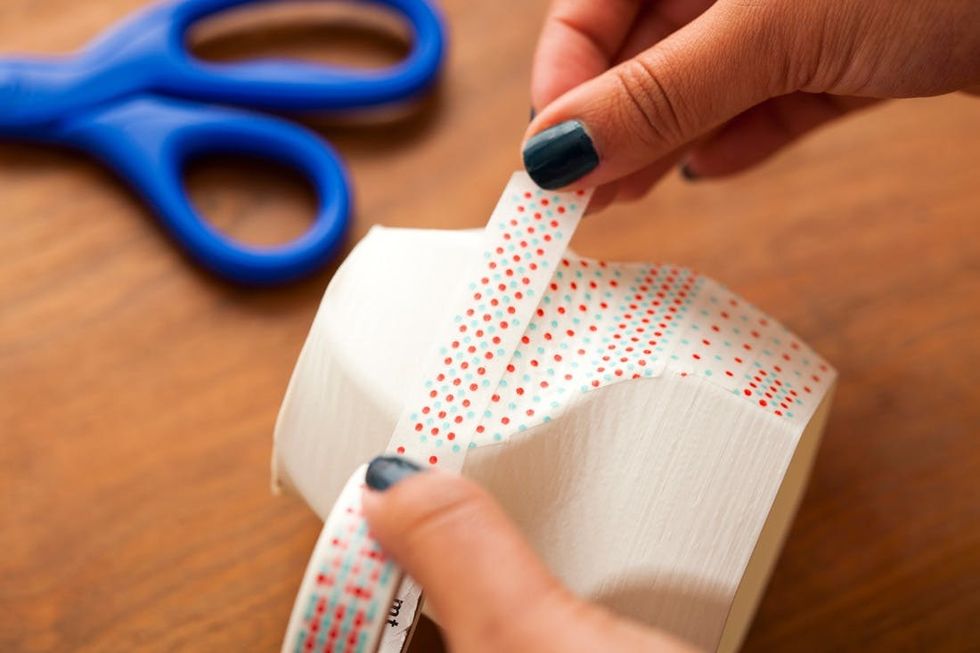
Or go horizontal on a panel and trim at each end.
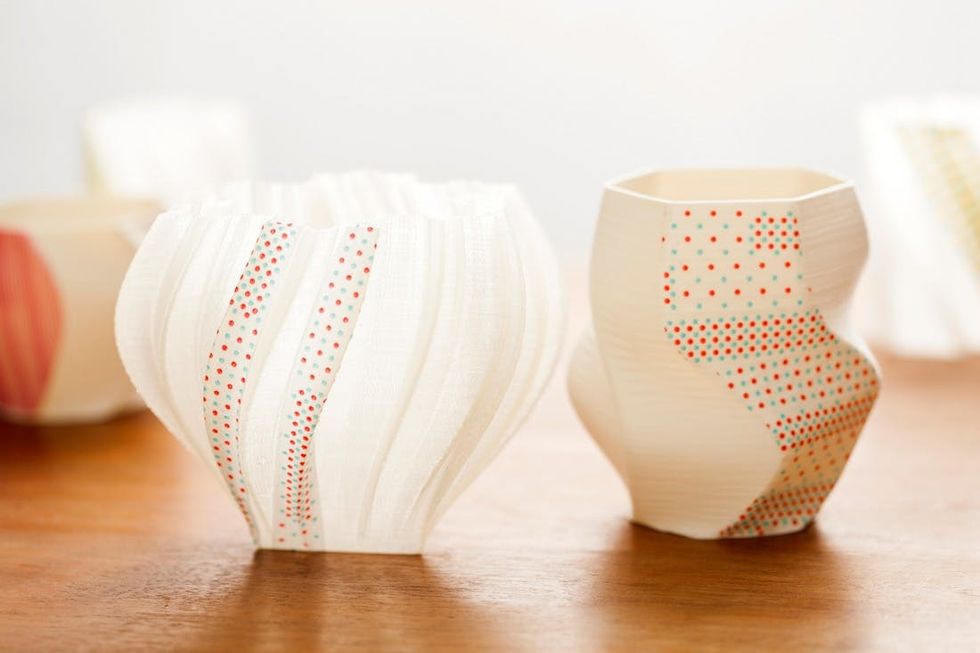
Done!
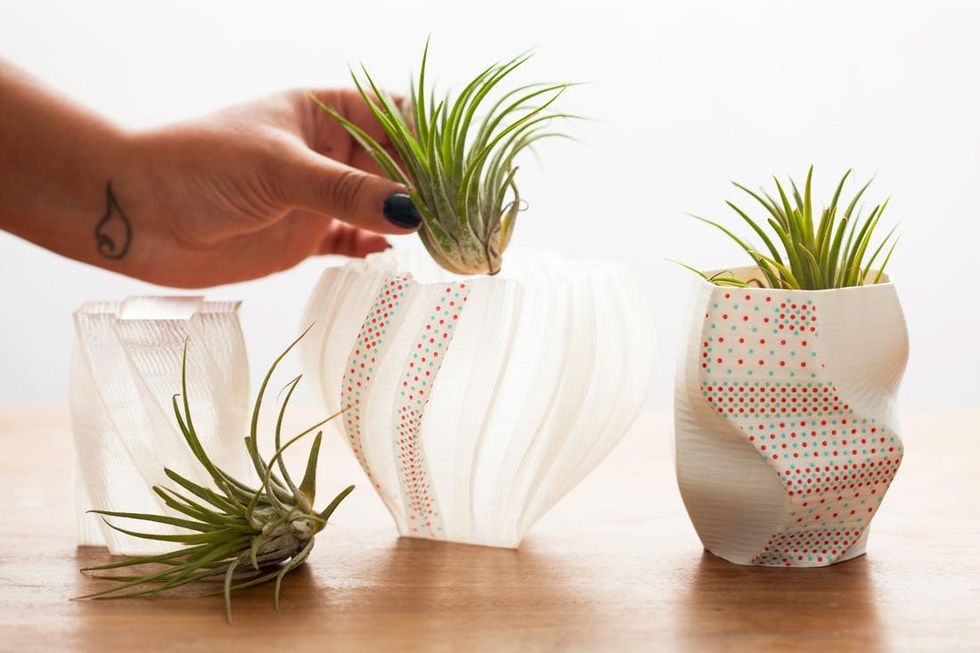
It’s such an easy tutorial, but a fun way of customizing 3D printed goodies.
Have you used or seen a 3D printer? Ordered any custom 3D printed objects? Share your thoughts with us in the comments below.


