Starting to decorate for the holidays? We are too! Don’t have a fireplace and are wondering where you’re gonna hang your stockings? So were we, until visions of a washi tape fireplace danced in our heads! We’ve shown you just how versatile the colorful tape can be, from decorating 3D-printed vases to making geometric wall trees, but this project takes washi DIY to a whole new level—we’re literally constructing a whole living room scene around our faux fireplace!
No Fireplace? No Problem! Make One Out of Washi Tape
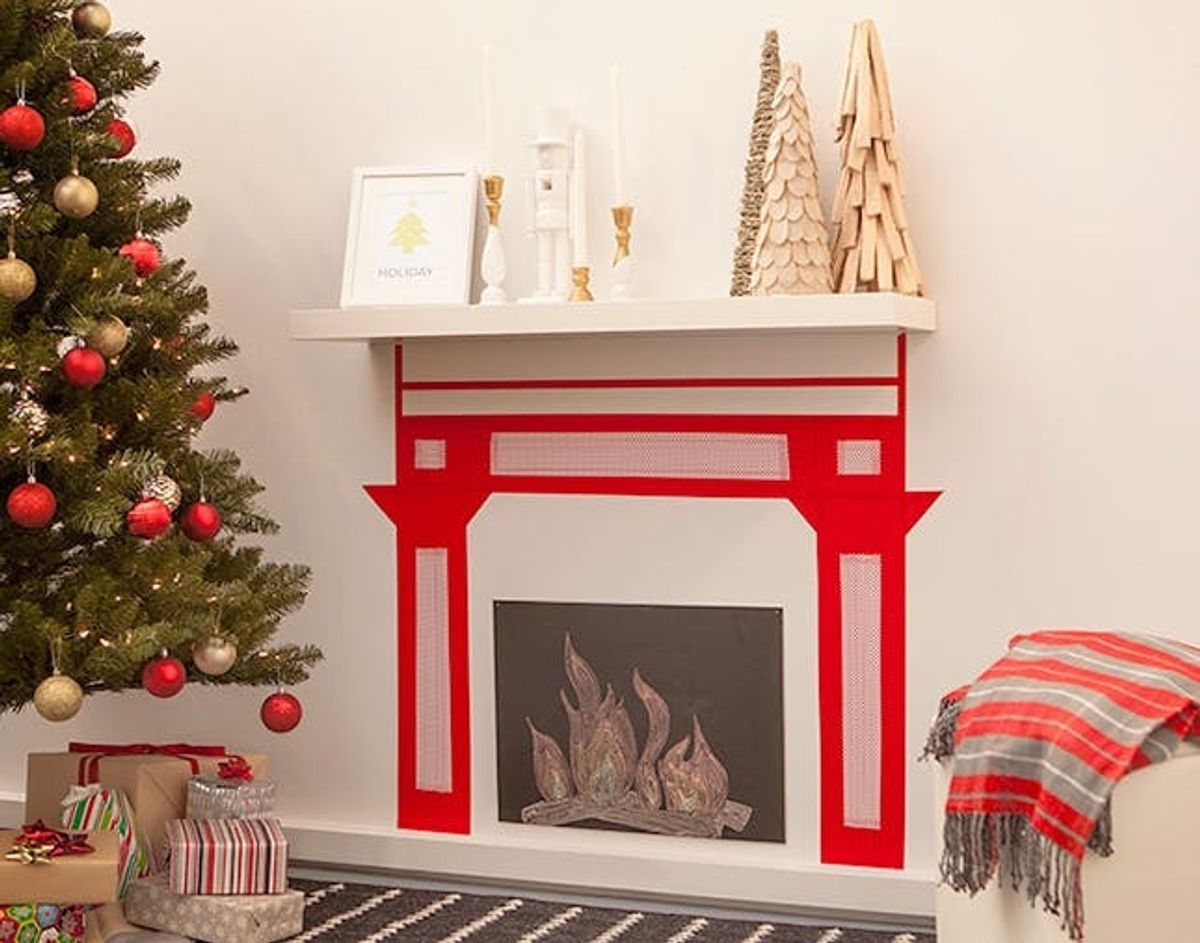
Starting to decorate for the holidays? We are too! Don’t have a fireplace and are wondering where you’re gonna hang your stockings? So were we, until visions of a washi tape fireplace danced in our heads! We’ve shown you just how versatile the colorful tape can be, from decorating 3D-printed vases to making geometric wall trees, but this project takes washi DIY to a whole new level—we’re literally constructing a whole living room scene around our faux fireplace! Come see for yourself—it’s front-and-center at our holiday pop-up shop, Brit + Co SF.
easy wall mantel
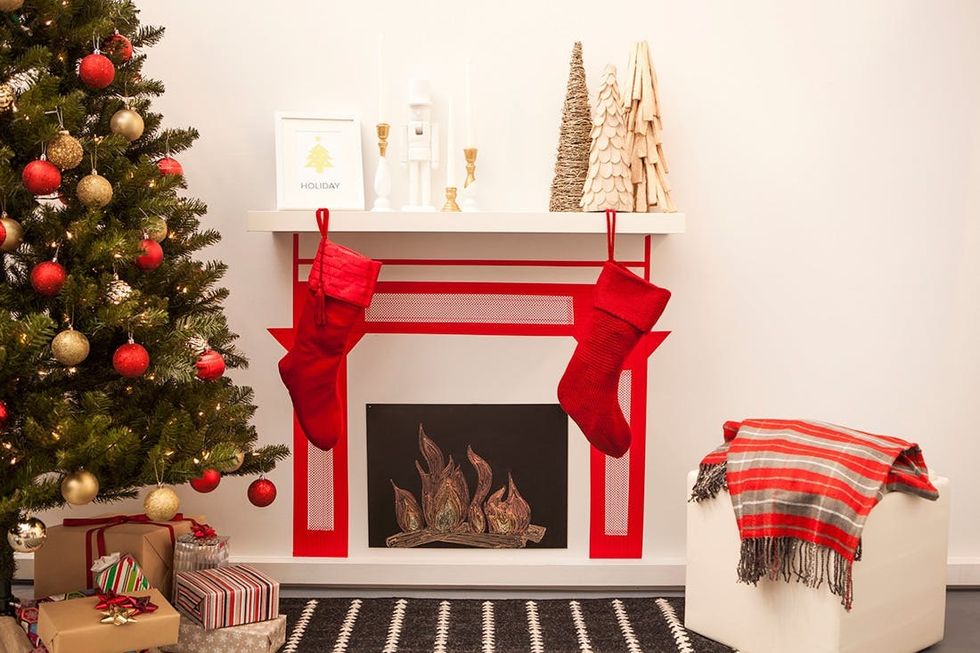 wall tree—we’ve always got you covered!), but our washi tape fireplace might be the ultimate way to add holiday cheer to a chimney-less space. So grab your washi tape get ready to stay warm next to a chalkboard fire!
<br/>
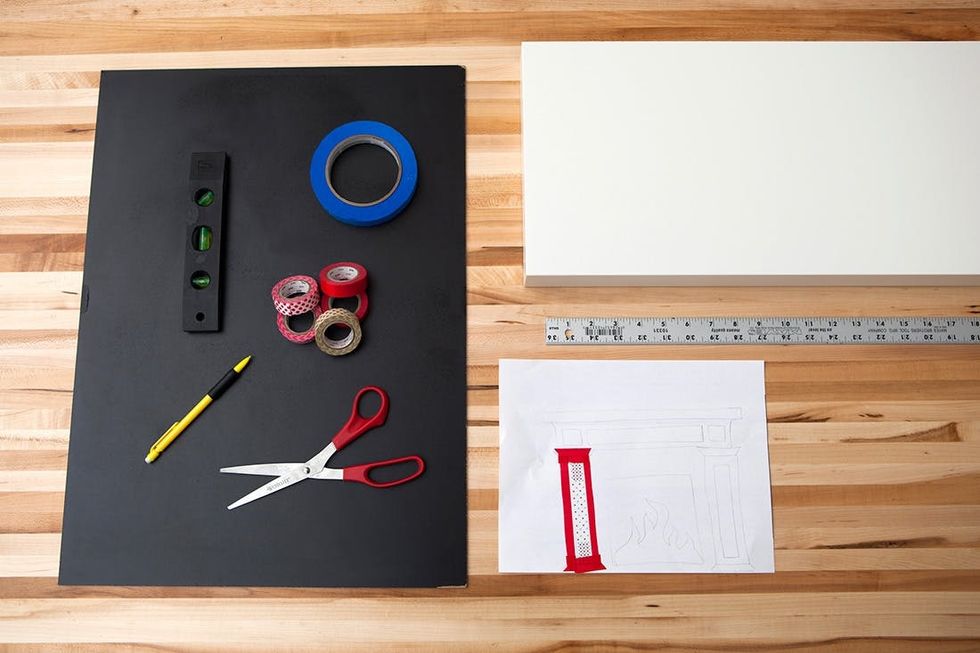 – shelf
– washi tape
– chalkboard
– chalk
– painter’s tape
– pencil
– paper
Tools:
– scissors
– yardstick/ long straight edge
– level
Instructions:
1. Draw the fireplace of your dreams on a piece of paper.
2. Place the chalkboard on the wall where you want the center of your fireplace to be.
3. Using painter’s tape, recreate the drawing of your fireplace around the chalkboard—this is like a rough draft. Once you get to one end, swap out the painter’s tape for your main color of washi tape (ours is red).
4. Level a yardstick against the wall, tape it in place with painter’s tape, then use that as a guide for placing your red washi tape on the wall—this will make sure your lines are straight. Mirror these measurements on the other side to make the fireplace even.
5. Repeat these steps as you replace your painter’s tape outline with washi tape. Be sure to measure any decorative elements you add to the fireplace, and mirror those on the other side too.
6. Install the shelf above your fireplace by following the product instructions (or, create the washi fireplace under an existing shelf!)
7. Remove chalkboard from the wall and draw flames on it.
8. Attach the chalkboard to your wall. We nailed ours in place, but you could use mounting strips as well.
9. Decorate your mantle!
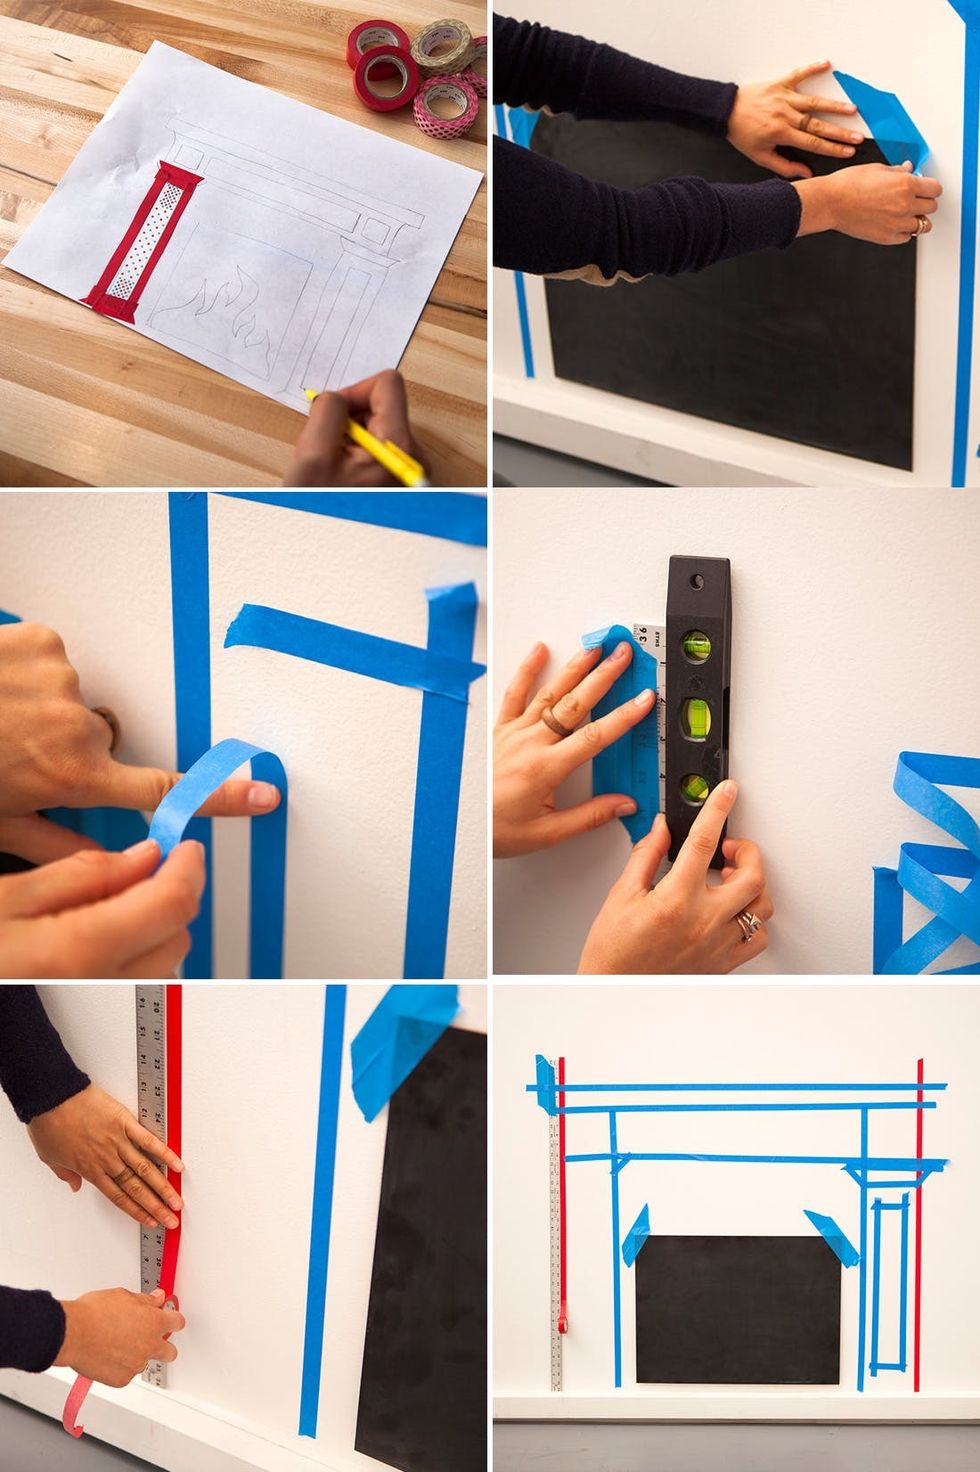
First, channel your inner interior designer and draw the fireplace of your dreams on a piece of paper—the one we drew has two columns and a few beveled edges. This lets you get an idea of how the final one will look, especially when you add washi tape to solidify the drawn design. We went with a solid red for the outline and red polka dot for the accents, but you can use whatever colors and patterns you like!
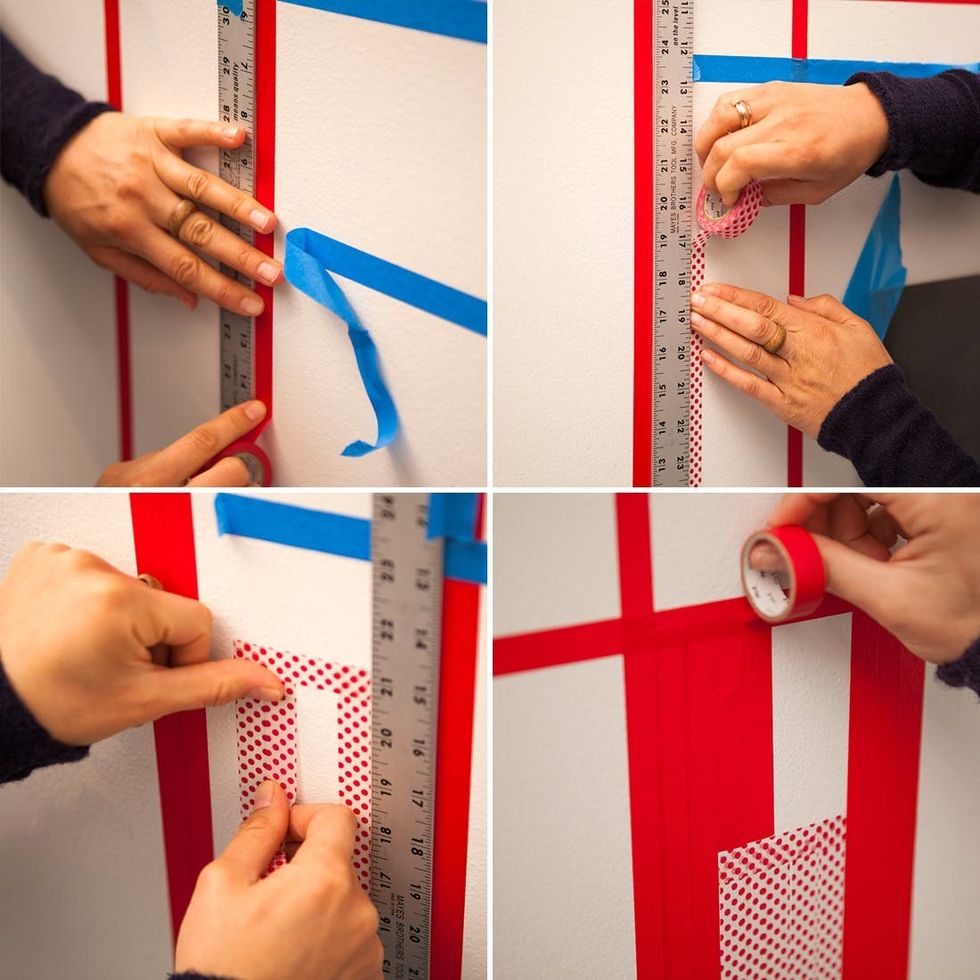
To get going, tape your chalkboard to the bottom of an empty wall—its size will help you determine how large the entire fireplace will actually be, or you could add chalkboard paint to the wall for more flexibility! Then, copy your design to the wall by adding painter’s tape around the chalkboard.
Once you get to the edges, switch out your painter’s tape for washi tape, and grab your yardstick and level—we’re moving on from the outline to the real thing! Make sure the yardstick is level, then tape it to the wall and use it to place your washi on the wall. Make sure to mirror those measurements on the other side. See it starting to take shape? Looking good so far!
As you add each piece, use your level and yardstick to make it even. Keep going until you have the entire outline complete and then you can add some flare. We decided to do red polkadots in the middle of each column and also along the top. We also added some sharp edges to really give it that fireplace feel. Then, start to fill the whole thing in!
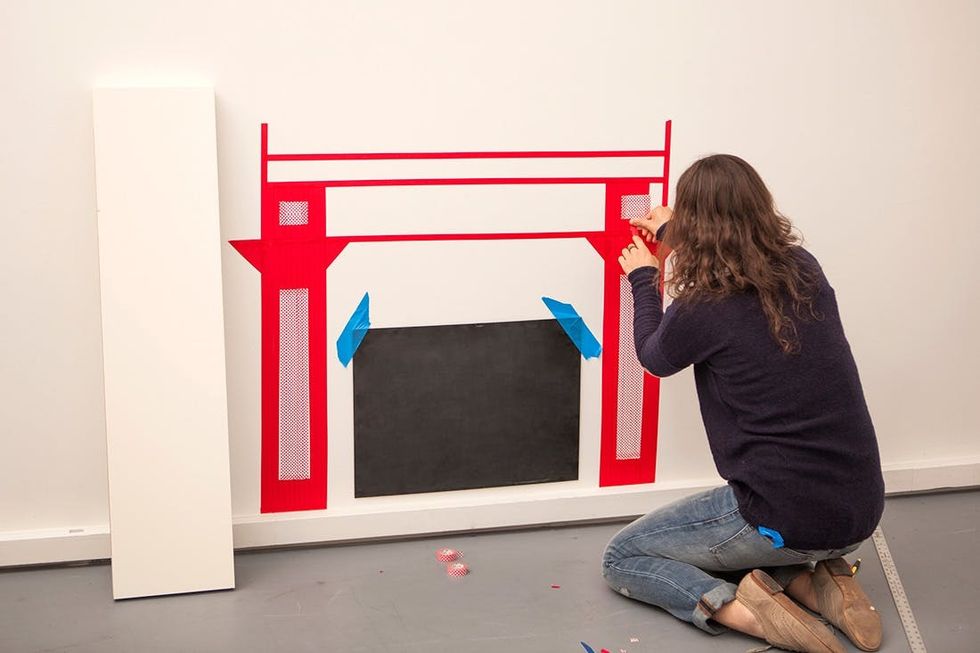
Every once in a while, it’s nice to take a step back and see how you’re doing so you don’t accidentally make a Leaning Tower of Pisa fireplace. ;)
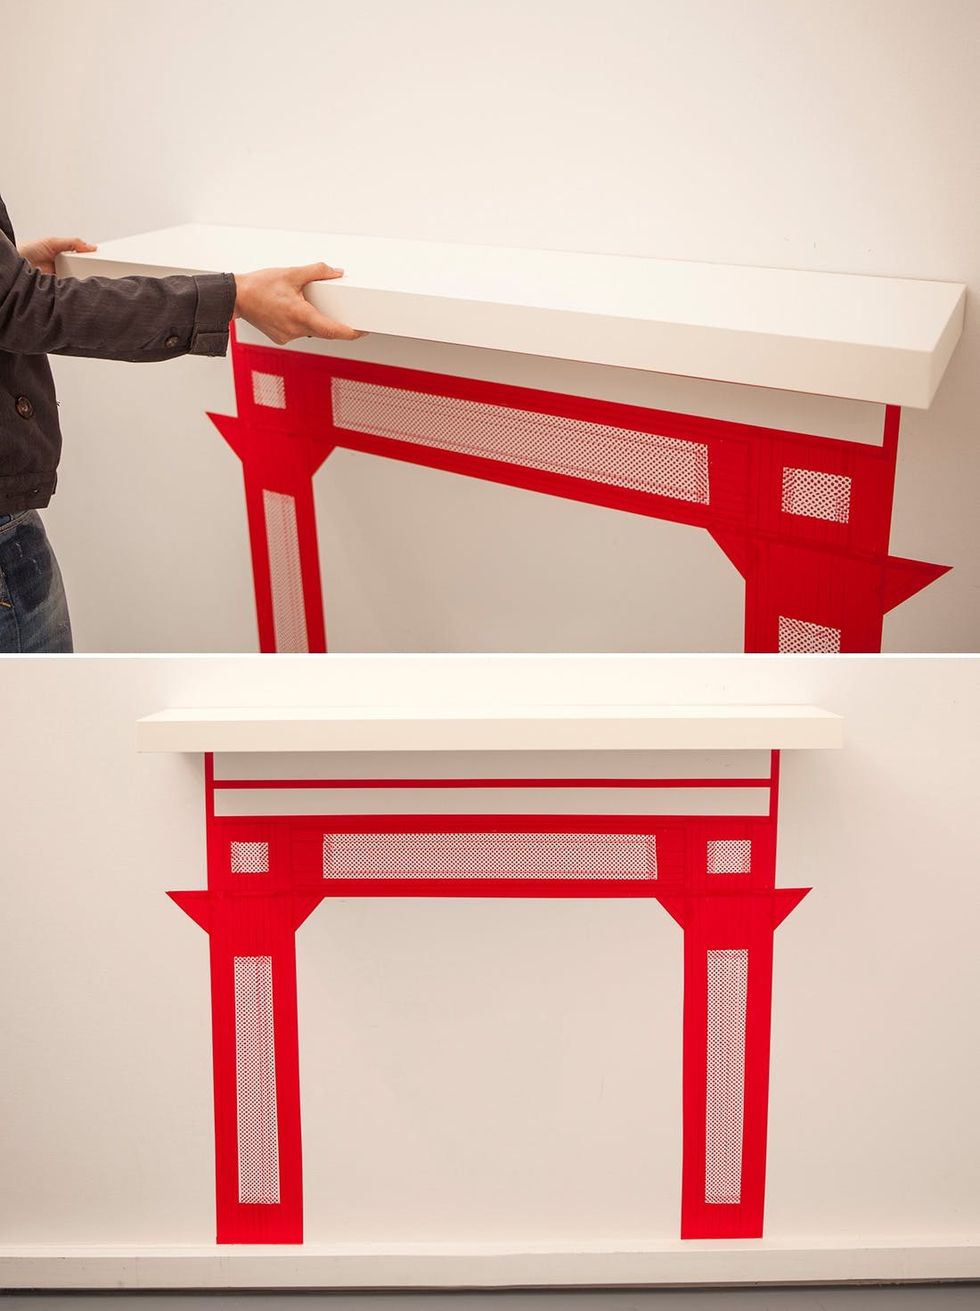
Once you’re done taping, it’s time to add the shelf. We used a white floating shelf so that we wouldn’t have any brackets covering up our tape—doesn’t it look so clean? And just like a festive fireplace?! We think a pat on the back at this point is well deserved. :)
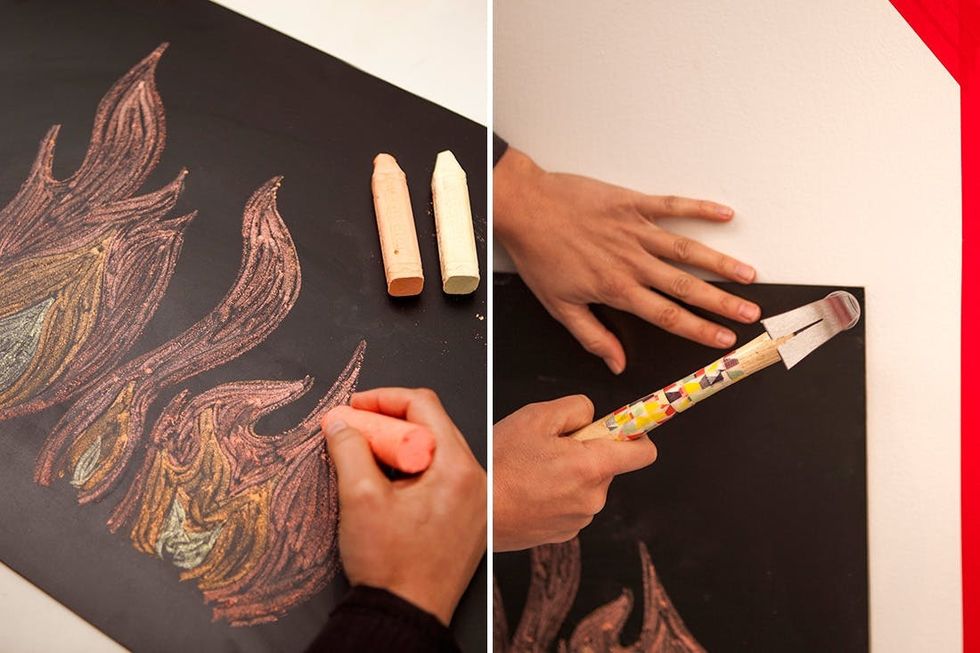
Now grab that chalkboard—but before you go for it with the chalk, you might want to draw some flames on a piece of paper, you know, just incase flames are harder to draw than you thought! Once you’ve got your design, “build a fire” on your chalkboard and then fasten it to the wall with nails or mounting strips in the center of your washi fireplace.
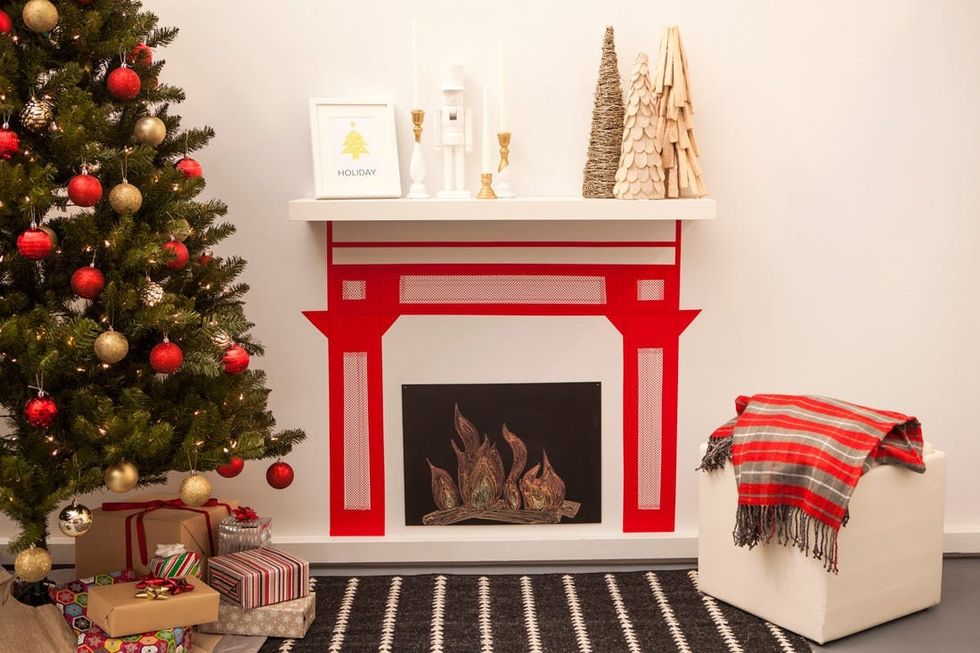
This fireplace is so adorable, we might just want to leave it up all year! Now all that’s left is to decorate the mantle (the really fun part!)—you can add a nutcracker and gold dipped candlesticks, some modern wooden trees, and even hang stockings (we did using Velcro).
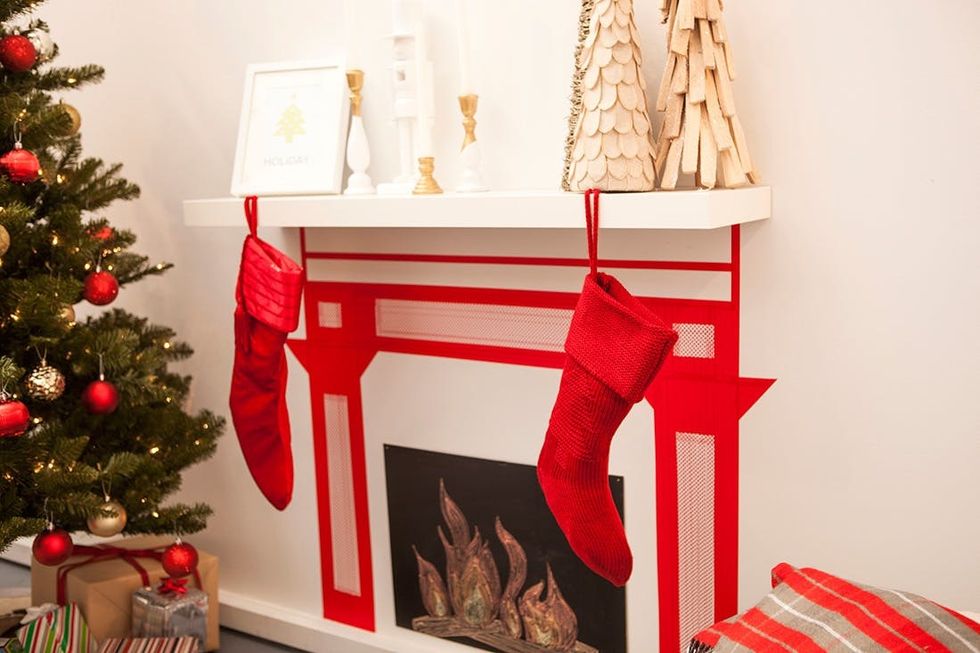
The washi fireplace was a total success! We’re celebrating by cuddling up with a blanket and warming our tootsies by the fire. Join us, won’t you? For reals—drop by Brit + Co SF to see the washi fireplace and so much more!


