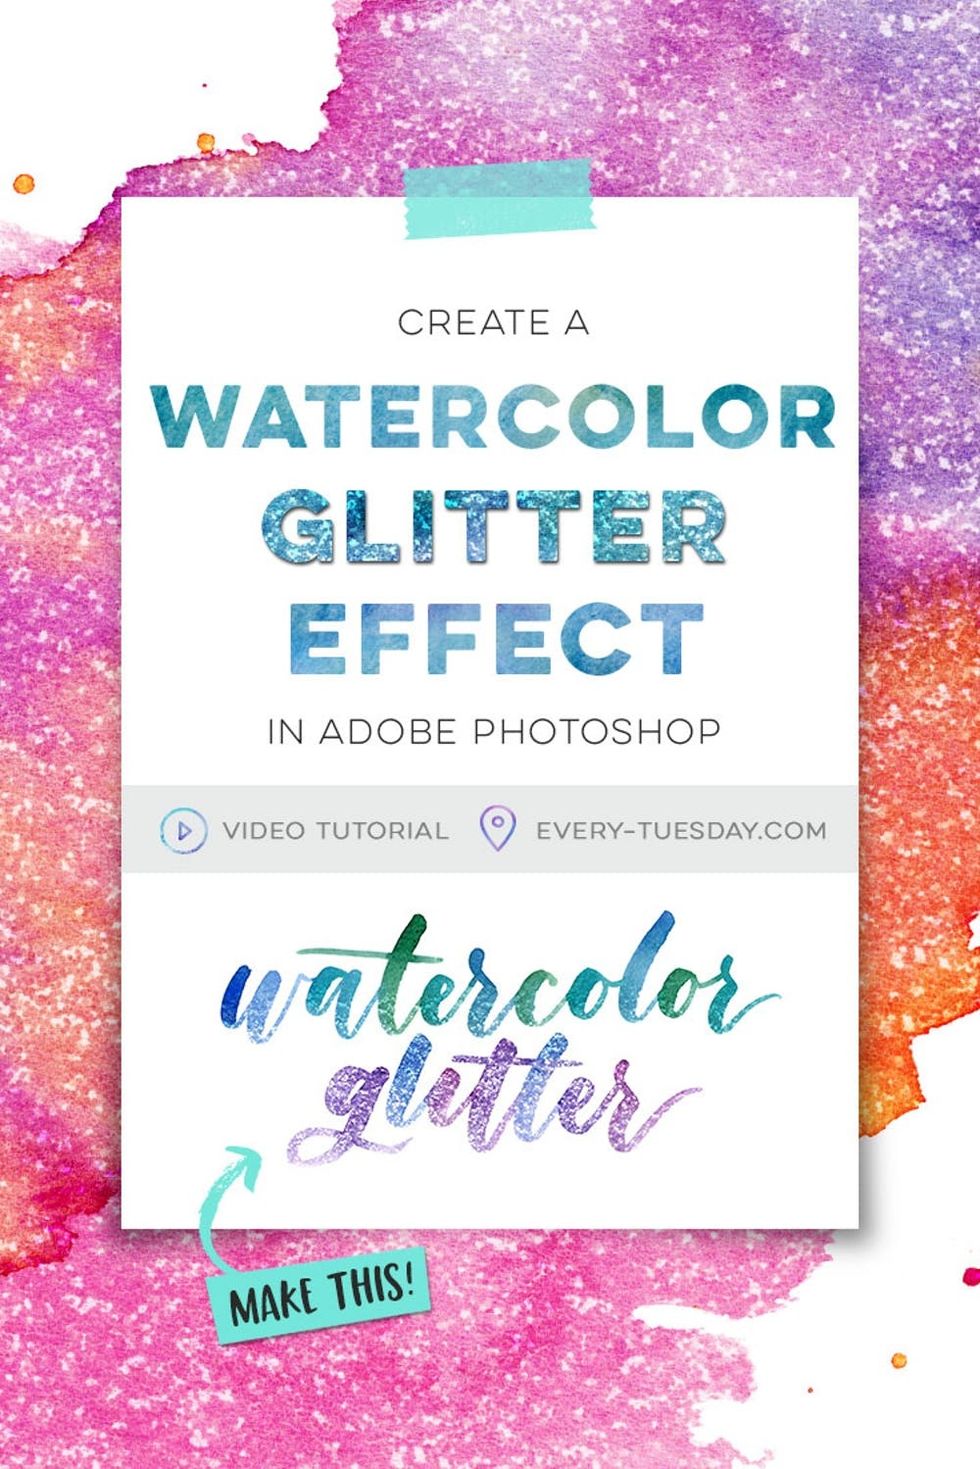
Learn how with Teela Cunningham.
How to Create a Watercolor Glitter Effect in Photoshop

There’s no denying the eye candy that is watercolor lettering, but adding a glitter effect takes things to a whole new level. After some experimenting with settings in Photoshop, I had a look that I loved and knew a tutorial had to be made :) I’ve also included an option for achieving the same effect using your favorite fonts, so you can get started right away. If you’re new to Photoshop, pick up some quick beginner tips in my course, Intro to Photoshop! For now, let’s dive into this watercolor glitter effect; full video tutorial plus written instructions below!

CREATE A WATERCOLOR GLITTER EFFECT IN PHOTOSHOP
Mentioned in this tutorial:
For more on brush lettering with watercolor, check out my online course!
Here are the written steps for the watercolor glitter effect.
For your original watercolor lettering:

- Double click on your lettering’s layer. Navigate to “Pattern Overlay,” and apply a silver glitter pattern from the Glitz & Glam kit. Set the blend mode to “Overlay” and adjust the scale as needed.
- If you’re using your own glitter texture, go to File > place the texture in, then adjust the blend mode within the layer palette.
- To apply the texture to certain areas, duplicate the lettering layer. Turn the effects off of the bottom layer, then apply a layer mask to the top layer.
- Using a soft brush with black as your foreground color, brush away the areas you don’t want the glitter to appear. Switch the brush color to white to bring back any glitter you may have hidden.
To create the same effect with fonts:

- Typeset your font to say what you’d like and apply the watercolor pattern style from the Watercolor Texture Kit Vol. 3 (make sure you choose a blend mode of “normal”). If you’re using your own watercolor texture, File > place it in, then right click on its layer and choose “Create Clipping Mask.” Next, group both layers together, right click > Convert to Smart Object.
- If you used a watercolor pattern, duplicate the text layer, and turn off the original text layer. Right click on the top layer > Convert to Smart Object. Double click to apply a glitter pattern, and make sure the blend mode is set to “Overlay.”
- To apply the glitter to certain areas, duplicate the smart object layer and turn off the effects on the bottom layer. Apply a layer mask to the top layer.
- Using a soft brush with black as your foreground color, brush away the areas you don’t want the glitter to appear. Switch the brush color to white to bring back any glitter you may have hidden
Done!
And remember, if you’re new to Adobe Photoshop, get all of my quick beginner tips by enrolling in my Brit + Co Intro to Adobe Photoshop online class today!


