THE only spring mani you need to DIY.
How to DIY Watercolor Nail Art Just in Time for Spring
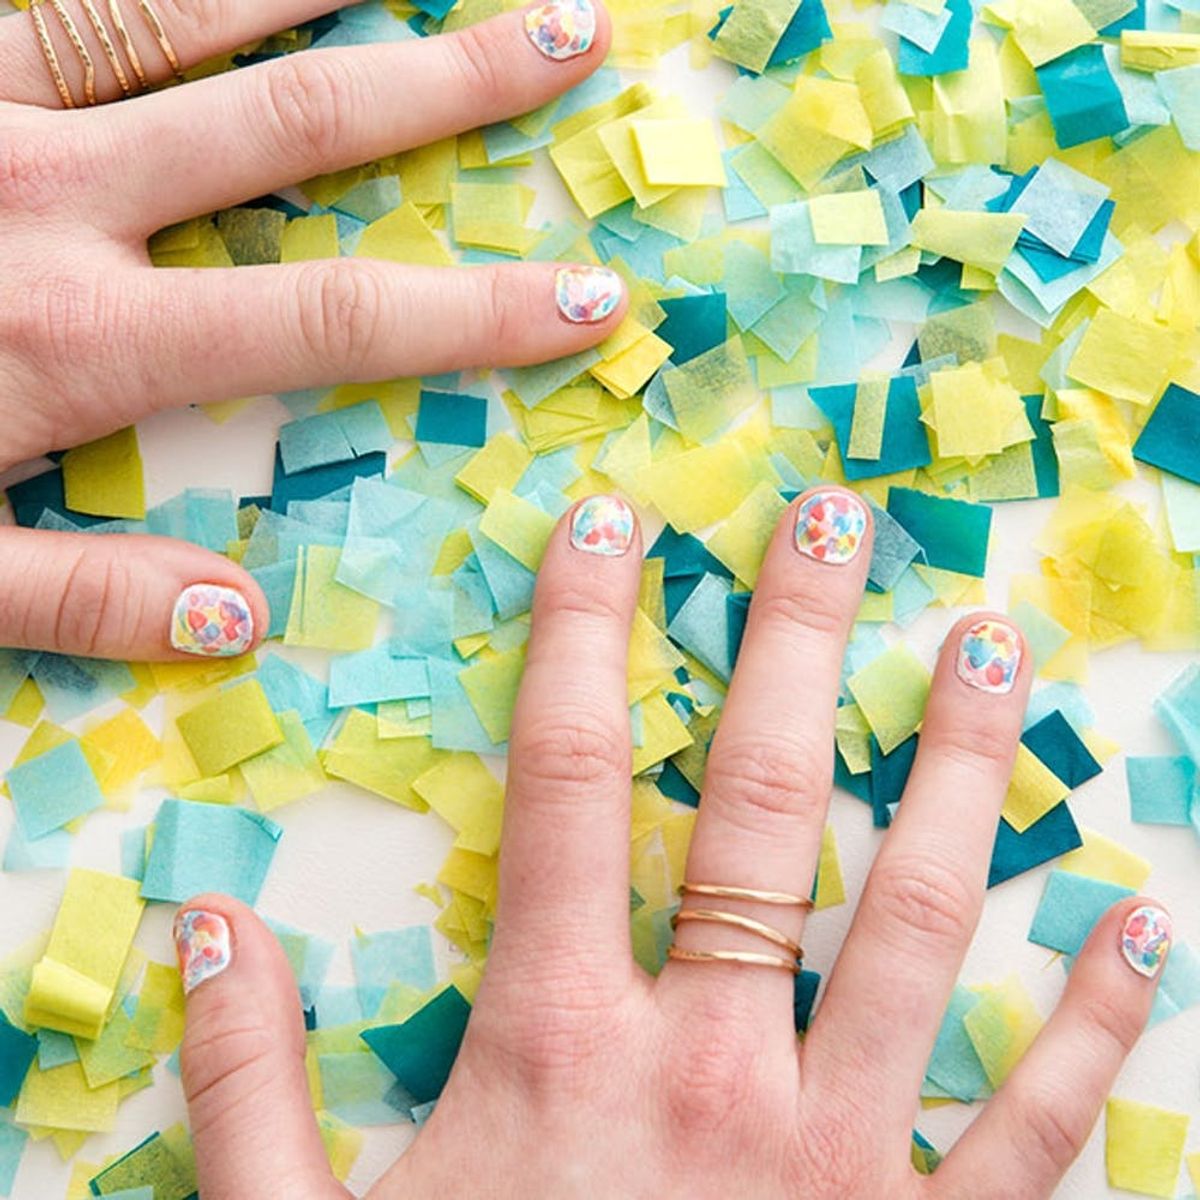
Spring is right around the corner! That means it’s the perfect time of year to break out of your regular mani routine (consider it an early spring cleaning?) by adding more color to the mix — a lot more color. For this nail art tutorial, you’ll want to break out your inner artist and get ready to play with watercolors.
This cute, made-for-spring design looks impressive but doesn’t require any serious painting skills (we promise!). We chose some of our favorite spring colors for this tutorial — a collection of dreamy pastels perfect for Easter and beyond — but feel free to experiment with other color combos too, like sunset-inspired neons, a monochromatic array of sky blues or even next-level neutrals that you could wear to work.
Materials:
– white polish (We love Alpine Snow by OPI)
– pink polish (I used Sorry I’m Fizzy Today by OPI)
– lime green polish (I used Did It On ‘Em by OPI)
– turquoise polish (I used Highlight of My Summer by China Glaze)
– lavender polish (I used Lavender by Sinful Colors)
– bright blue polish (I used No Room For The Blues by OPI)
– topcoat
Tools:
– glass dappen dish, or any non-plastic dish
– paper towel, folded in half twice
Start by applying a base coat on your nails then apply two thin layers of white polish. Let them dry completely before moving on. Pro tip: Always use a white base when working with pastel or sheer polishes, it makes the color pop!
Once the white polish is dry, open the first polish you want to start with (we started with pink) and wipe the end of the brush on the paper towel until it is almost completely dry. Next, pour 100% acetone polish remover into the non-plastic dish. Dip ⅓ of your dried polish brush in the acetone, then lightly dab the end of your brush on your white nails. Use light pressure! I like to do a mixture of round shapes using the side of the brush and a few longer stripes using a sweeping motion.
Repeat this step with all of the colors you would like to use, making sure the colors overlap on the edges. Experiment with different dryness of your brushes and amount of acetone you use. Note that the longer you have your polish in the remover, the lighter your colors will be.
After you have applied each color, you may want to go back and add some more color on top. I finished this design with one more layer of pink, because I wanted the design to really pop. Once everything is completely dry, top it all off with your favorite topcoat!
Your nails will look like a gorgeous work of art (and act as awesome Easter egg inspiration!).
What color combo did you choose for your watercolor mani? Let us know below or tag us on Instagram!


