Weave A Wall Hanging Instructions
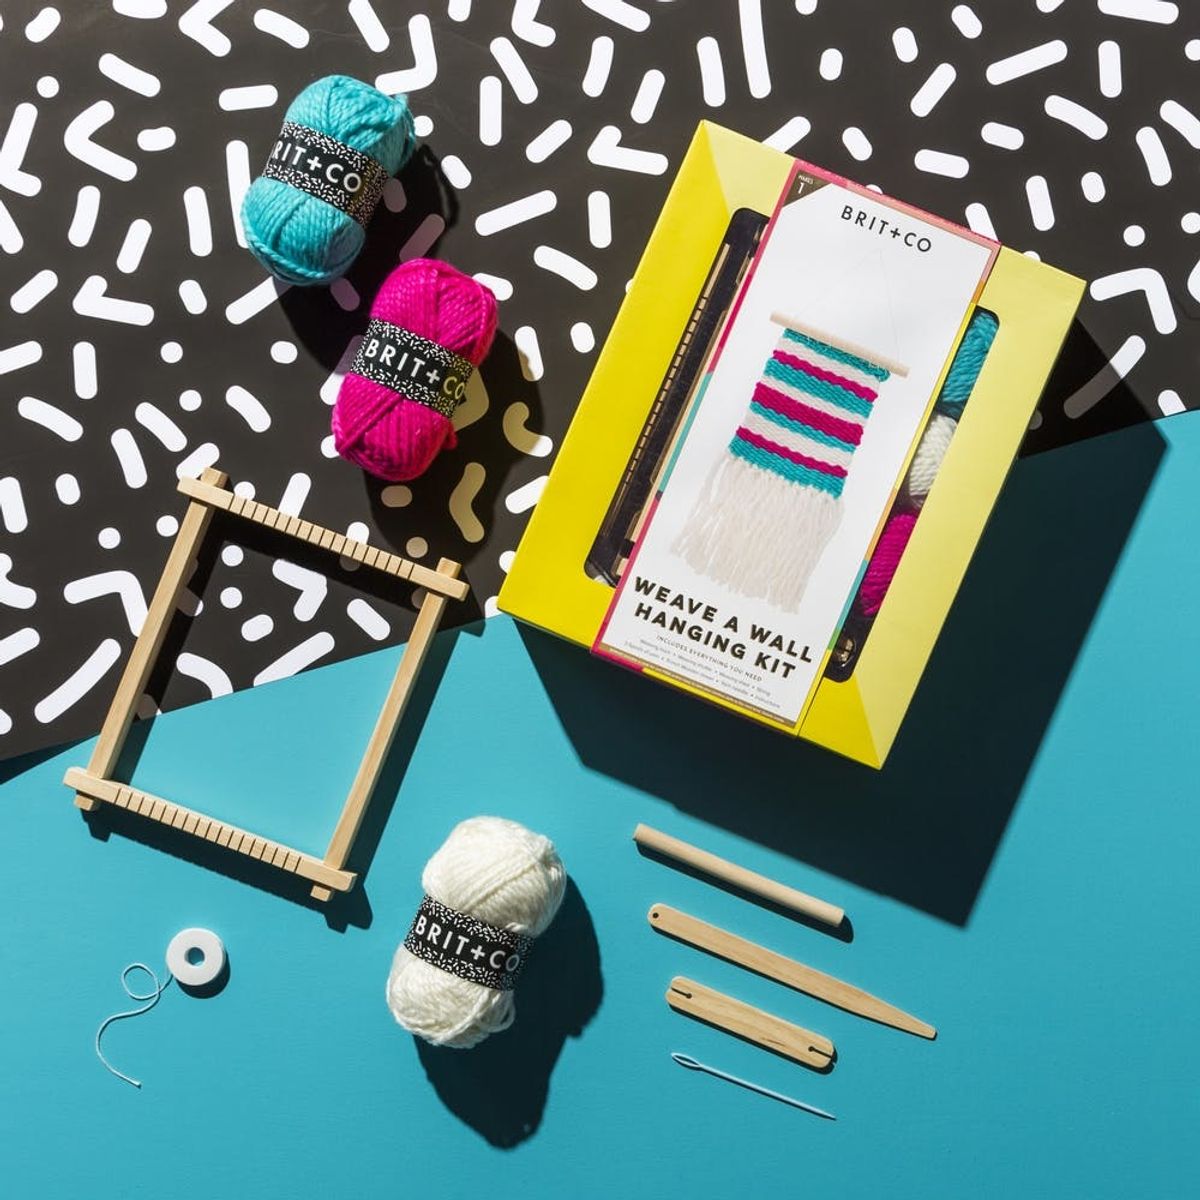
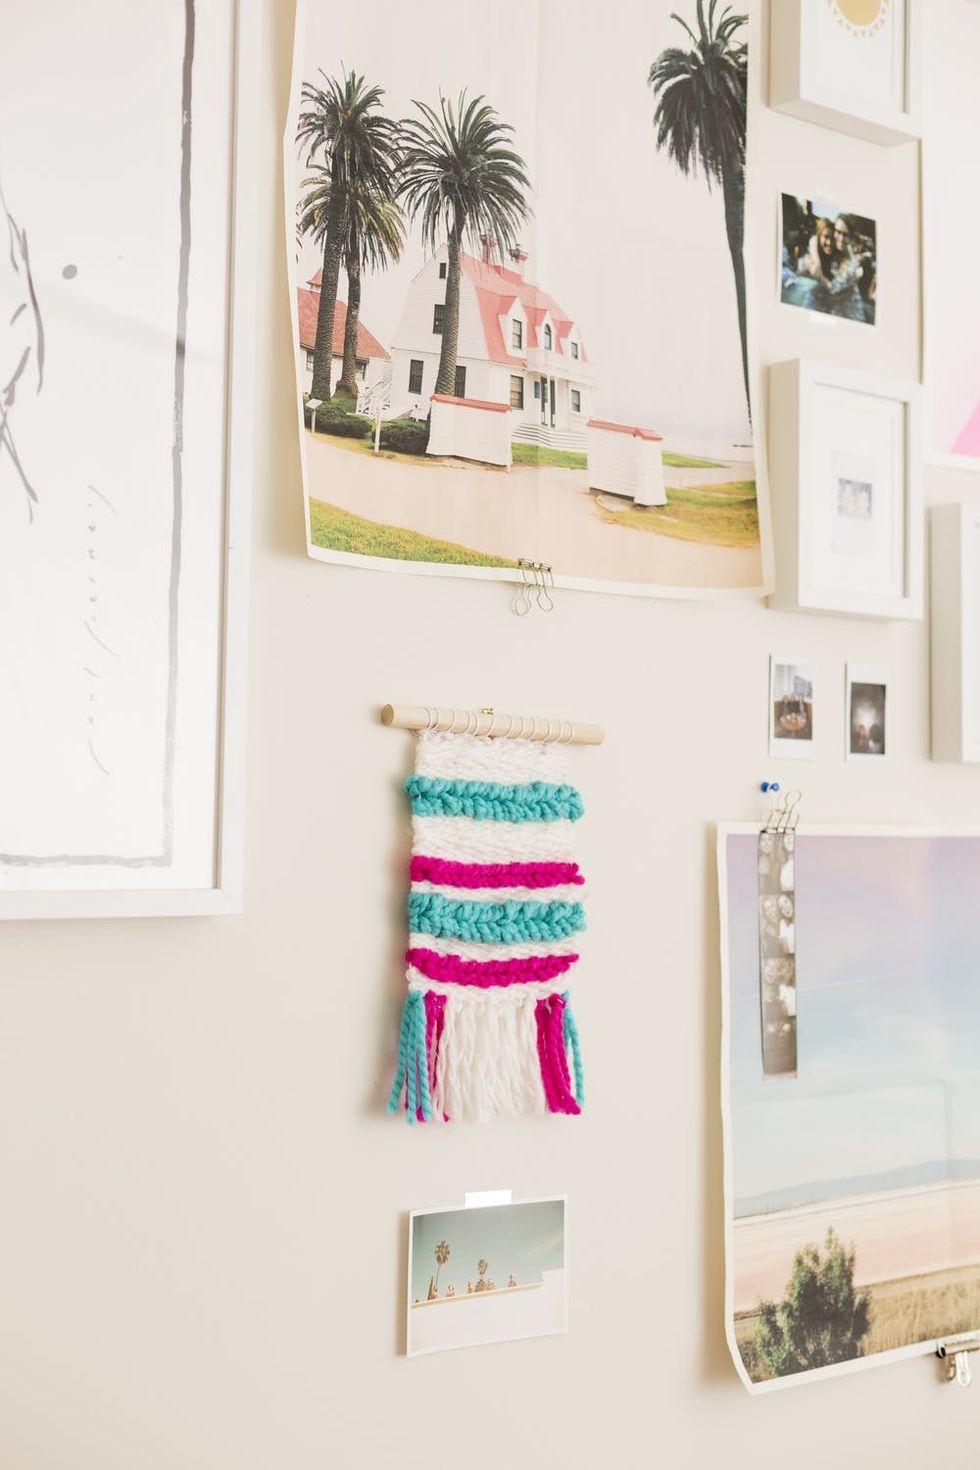
If you’ve looked through an Anthropologie catalog recently, then you’re no stranger to the textile wall art trend. Lush pom poms, intricate weavings, and colorful tassels warm up a room like nothing else. But what you might not know is that those drool-worthy textiles are totally DIY friendly! We designed our Weave A Wall Hanging Kit with home decor nuts in mind.
Our loom is collapsible and compact, making it travel-friendly. Take it along with you on your next lengthy road trip, epic train ride, or international plane ride!
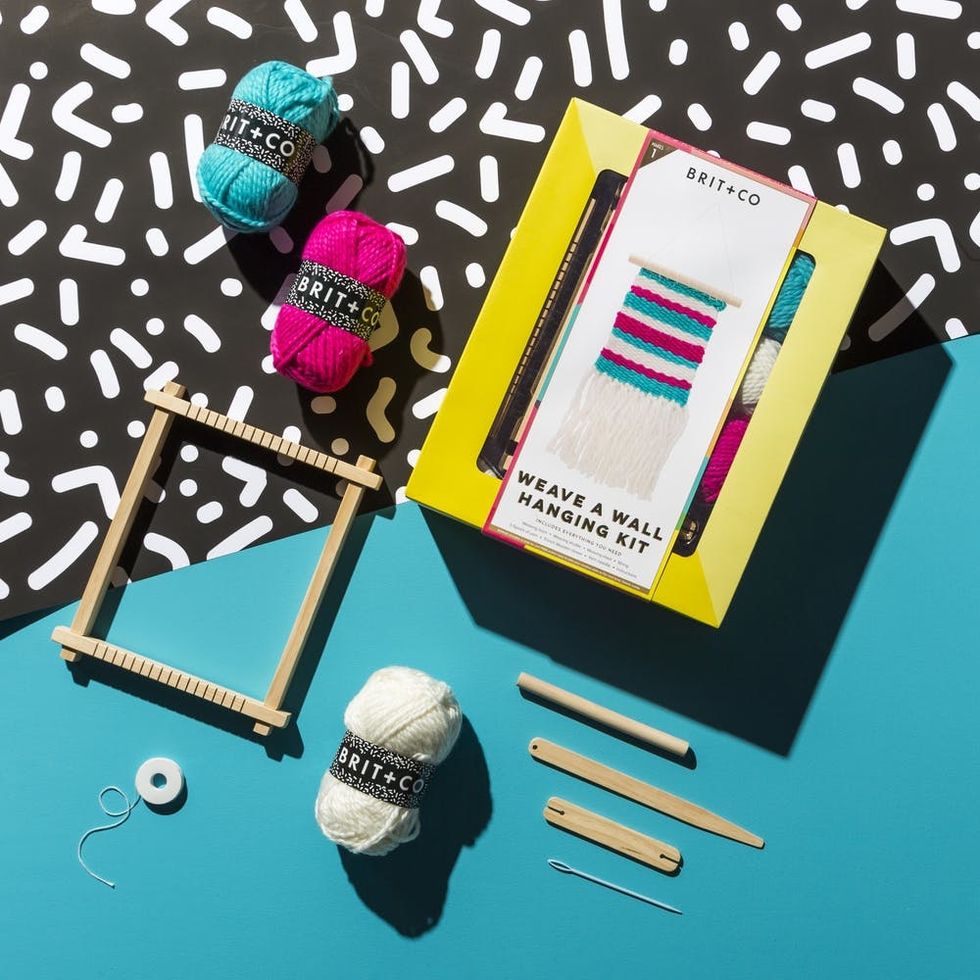
Materials and Tools:
- weaving loom
- yarn
- thin white string
- 8 inch wooden dowel
- weaving shuttle
- shed stick
Pull together your materials, or purchase our Weave A Wall Hanging Kit at your local Target store or online at Target.com!
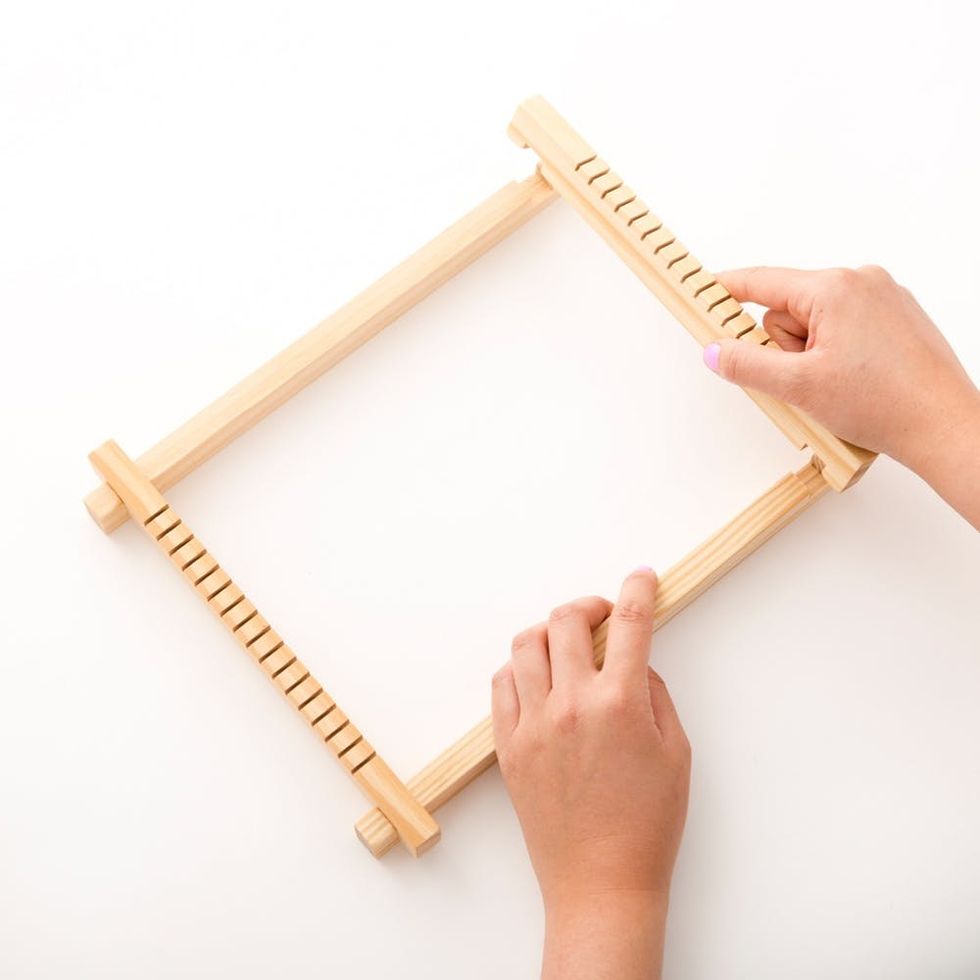
Assemble your loom as pictured above.
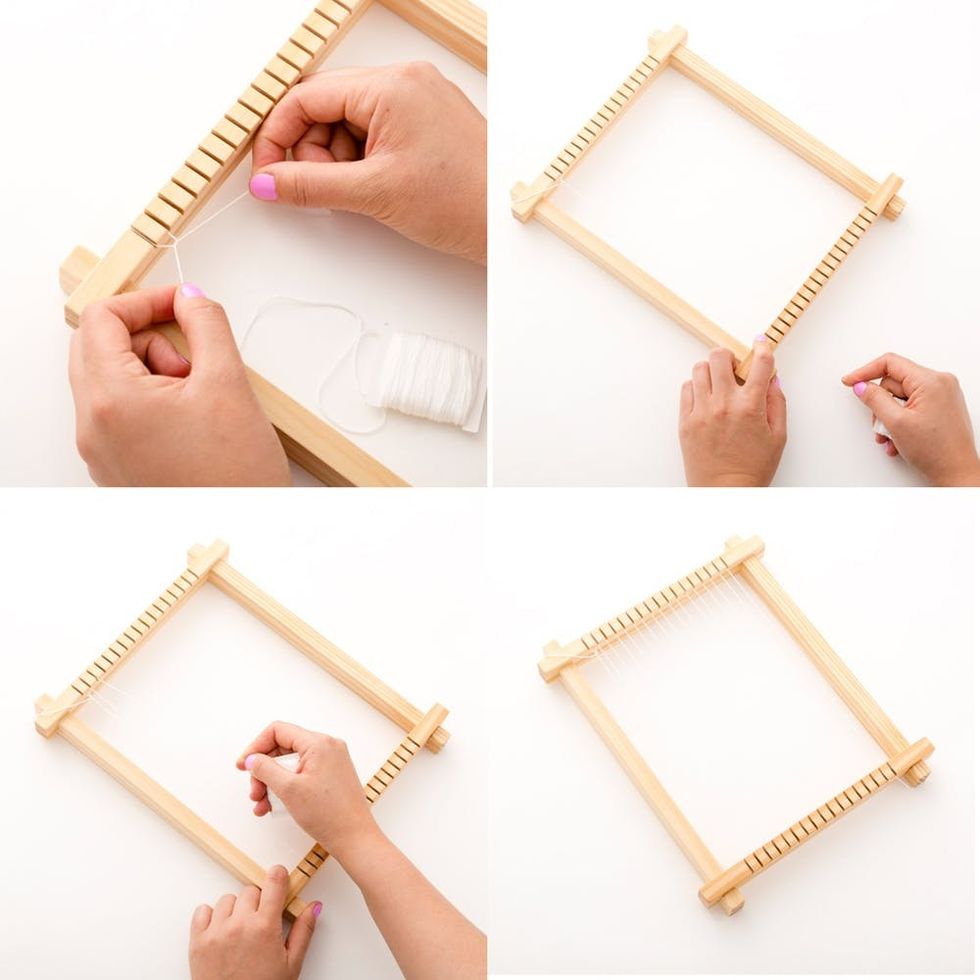
The first step in weaving is establishing your warp with the thin white string. A warp is a weaving’s underlying structure. Double knot the end of the white string onto the first notch at the top of the loom, then wind it around the first notch of the bottom of the loom. Repeat this with the remaining notches, and double knot the white string onto the last notch.
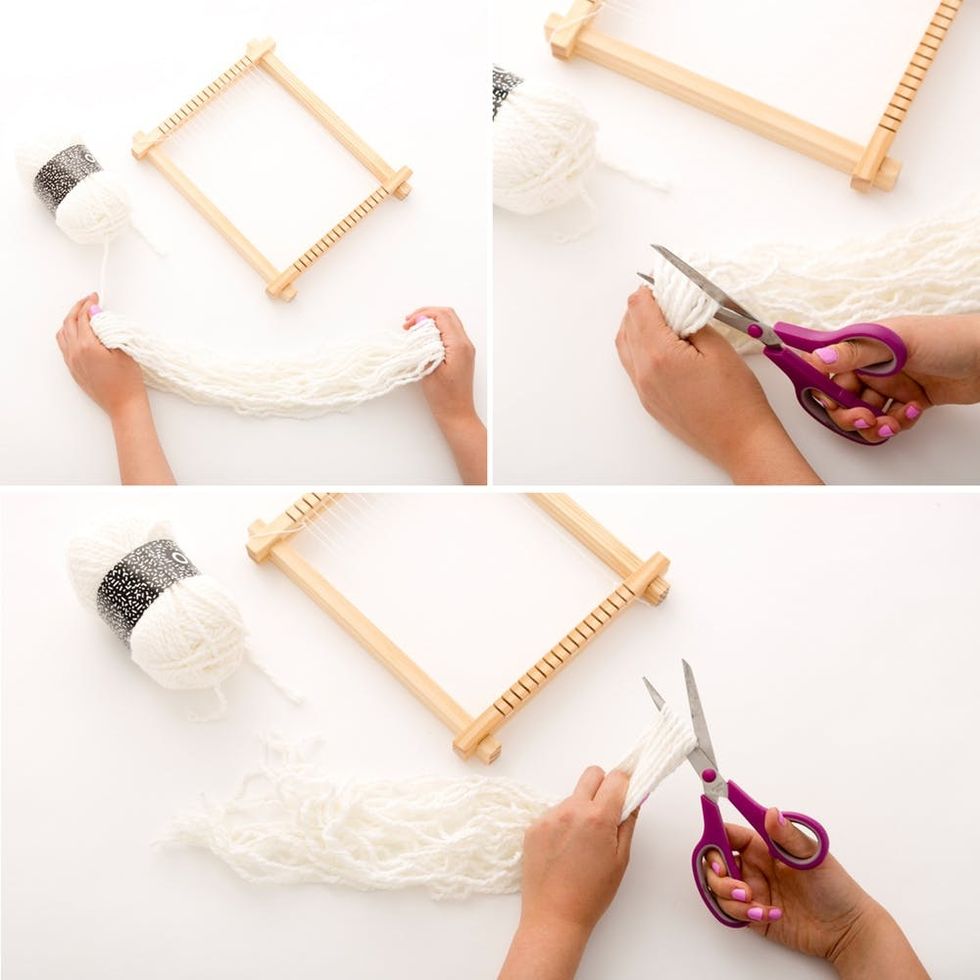
To add tassels to your weaving, wind yarn between both of your hands about 20 times. Cut both ends of the loop.
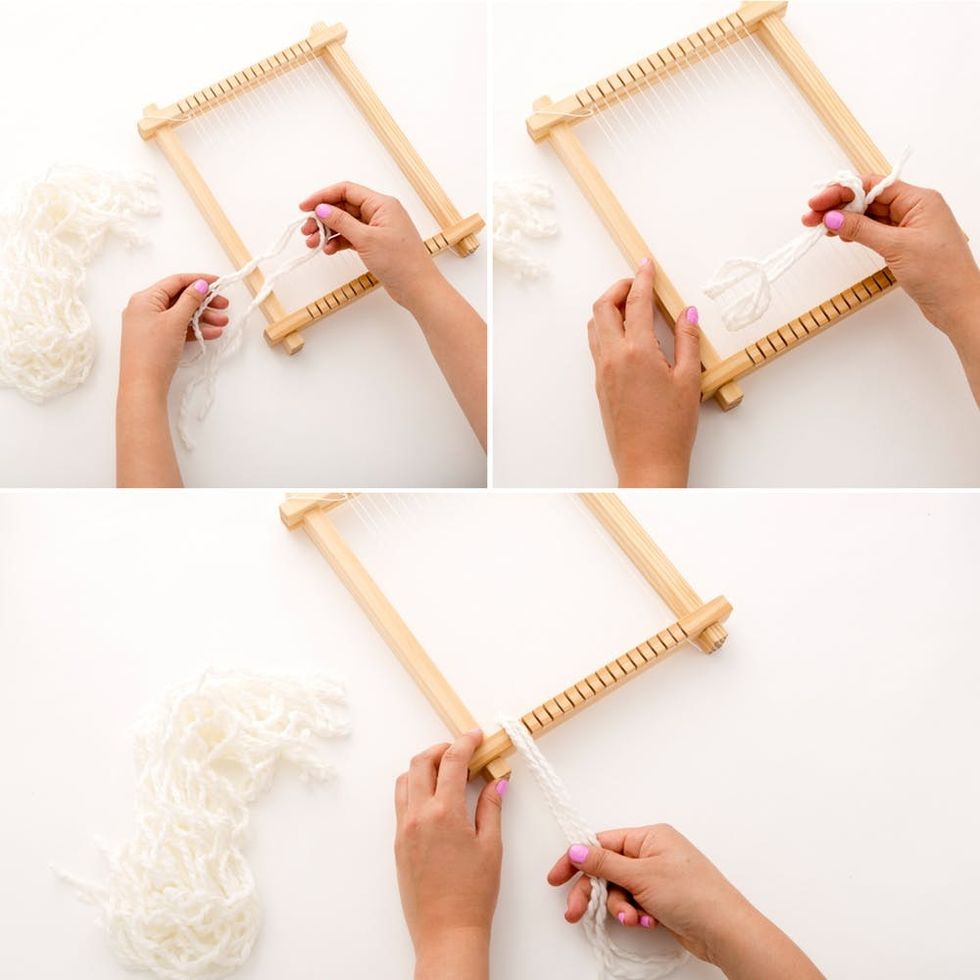
Group more pieces of yarn for thicker fringe. I’ve found that grouping two pieces of yarn makes for a decently thick fringe. Fold the pieces of yarn in half, draw the loop in under the first warp string, and pull the ends of the yarn through the loop. Tighten to secure your tassel. Repeat these steps with the remaining warp strings.
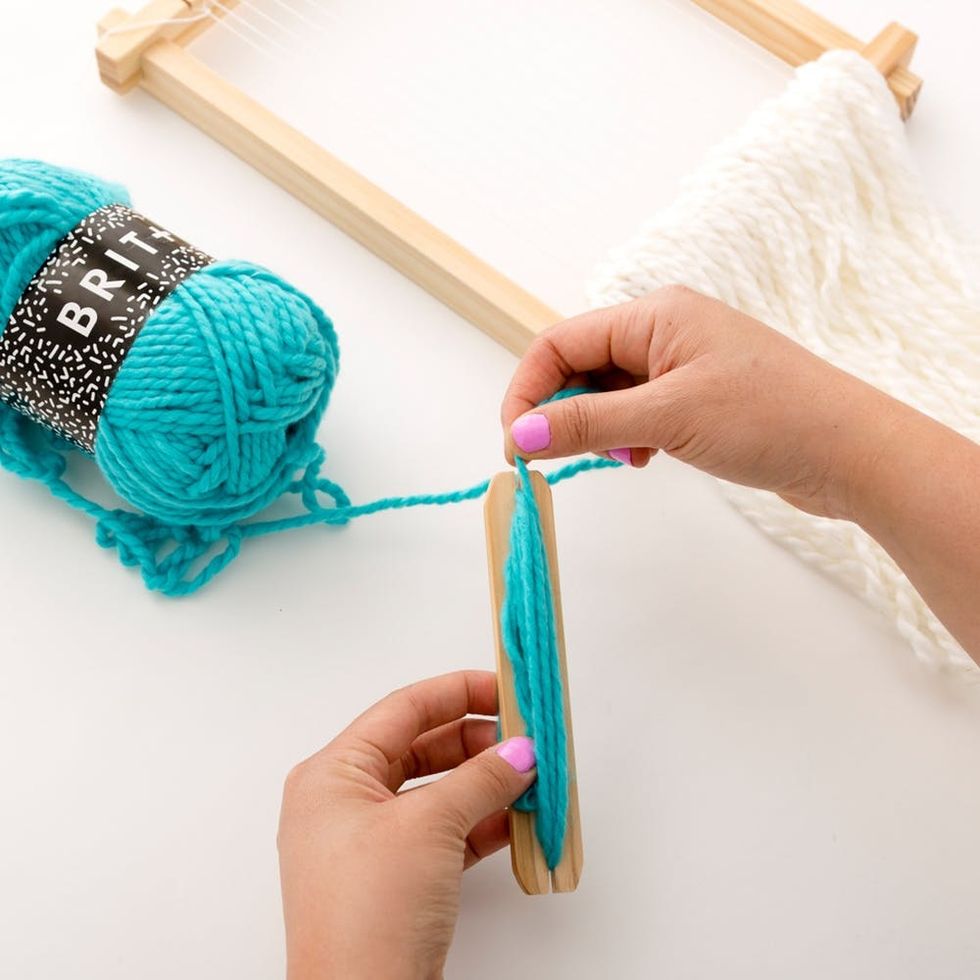
Wind your first color of yarn around your shuttle.
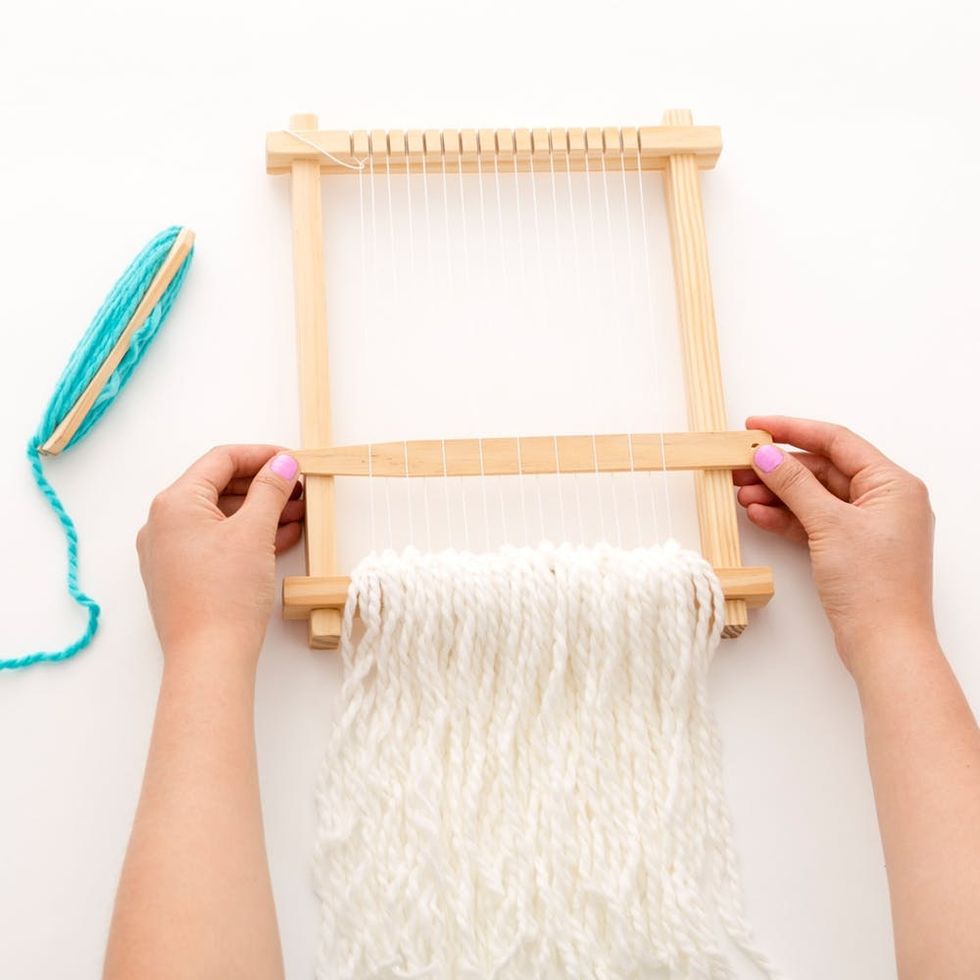
Use your shed stick to separate the warp strings. For a basic weave, guide your shed over and under the strings.
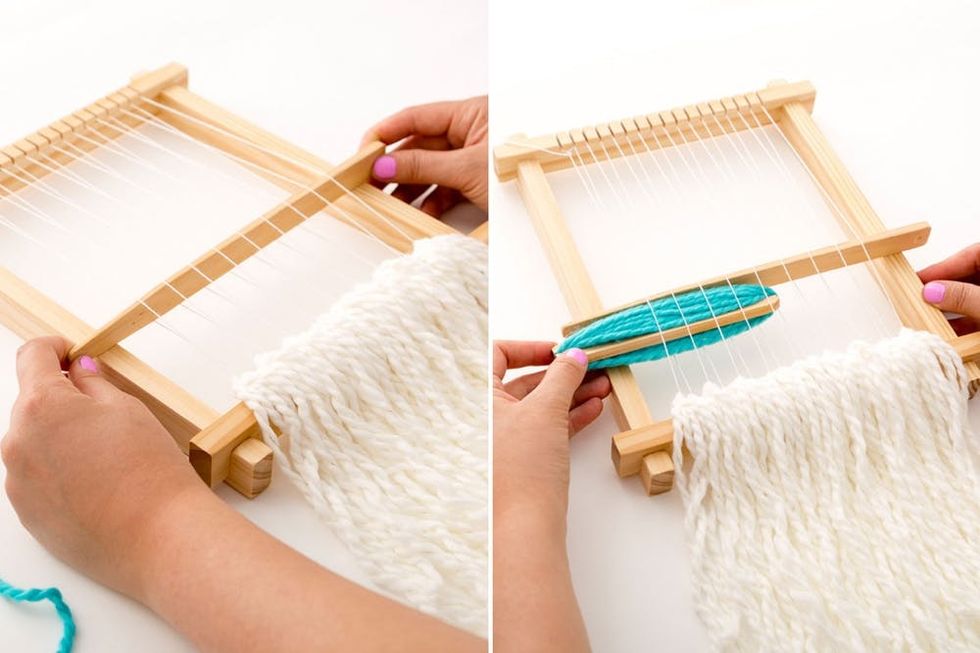
Tilt the shed so that it’s perpendicular to the loom, then guide the shuttle through the space made in the warp.
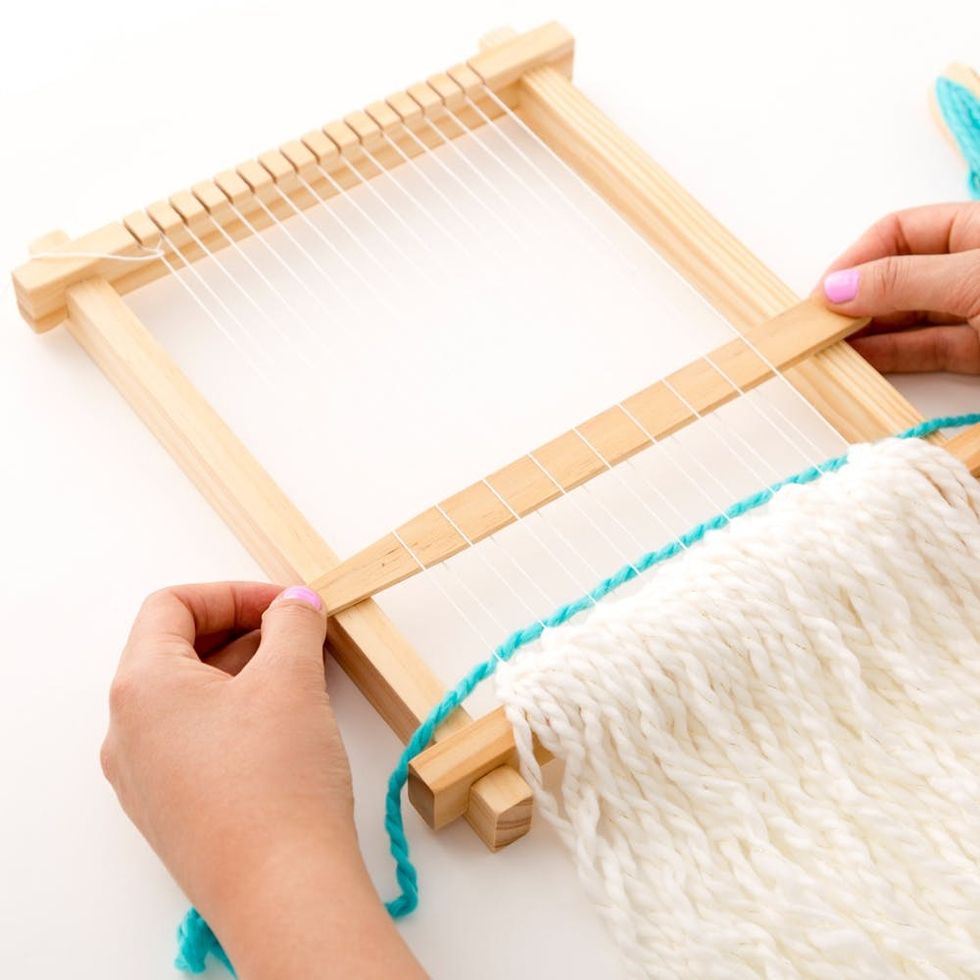
Slide the shed stick out from the warp. That’s your first line of weaving! Repeat these steps in the opposite direction to keep building to your weaving.
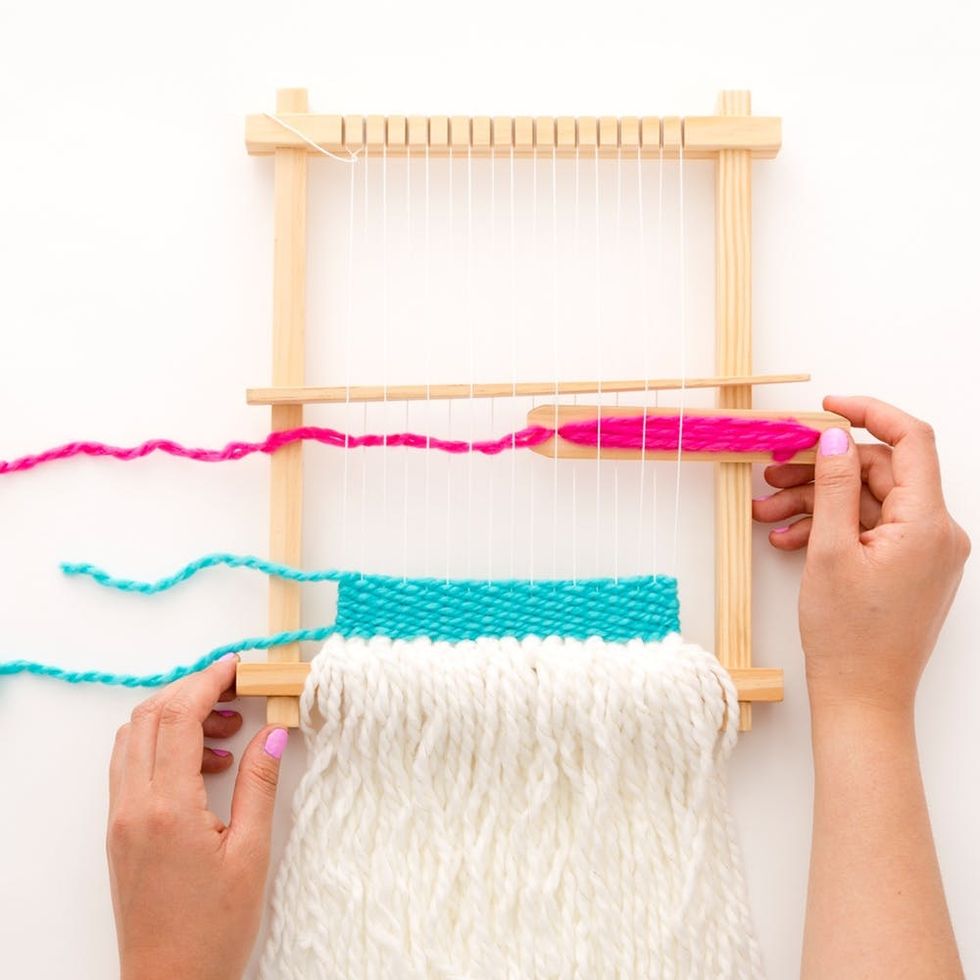
To switch colors, trim your yarn and leave about four inches (to weave into the back later). Wind your shed with a different color and continue weaving.
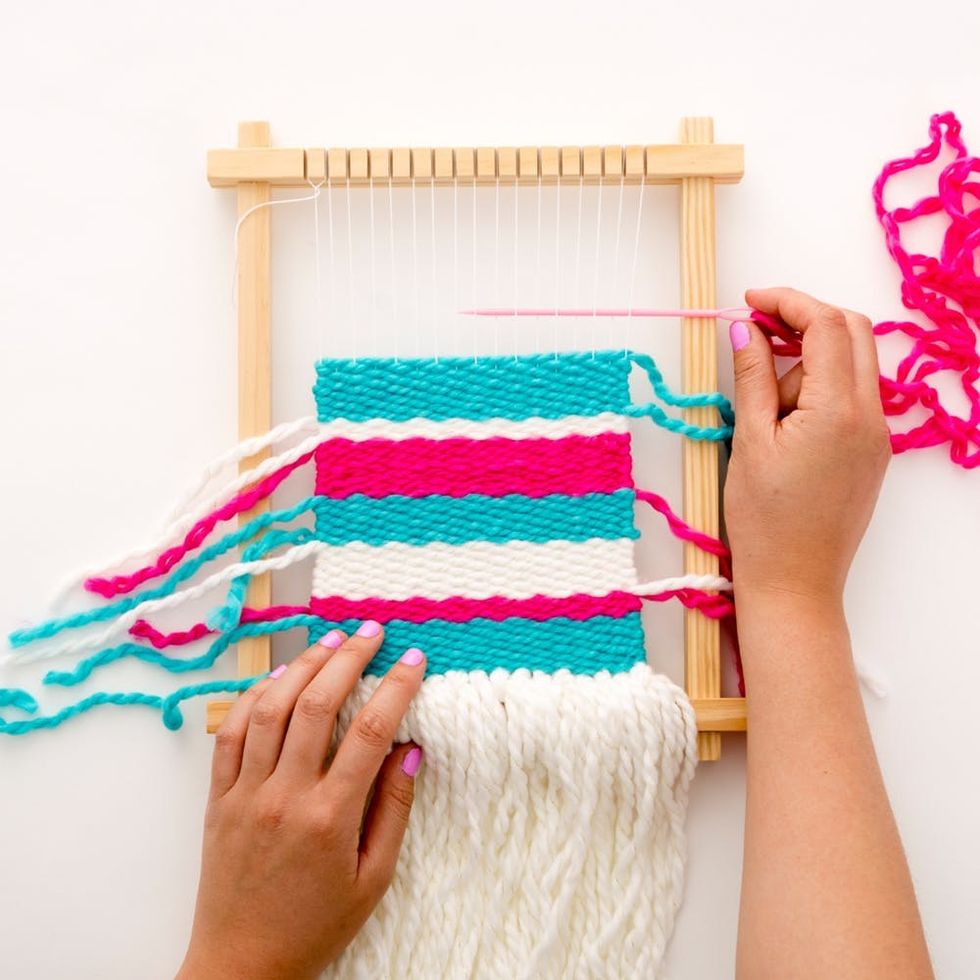
You’ll notice that the closer you get to finishing your weaving, the more difficult it is to use the shed stick and shuttle combination. Use the yarn needle to continue adding length to your weaving. Simply thread your needle with yarn, and guide it over and under the warp strings.
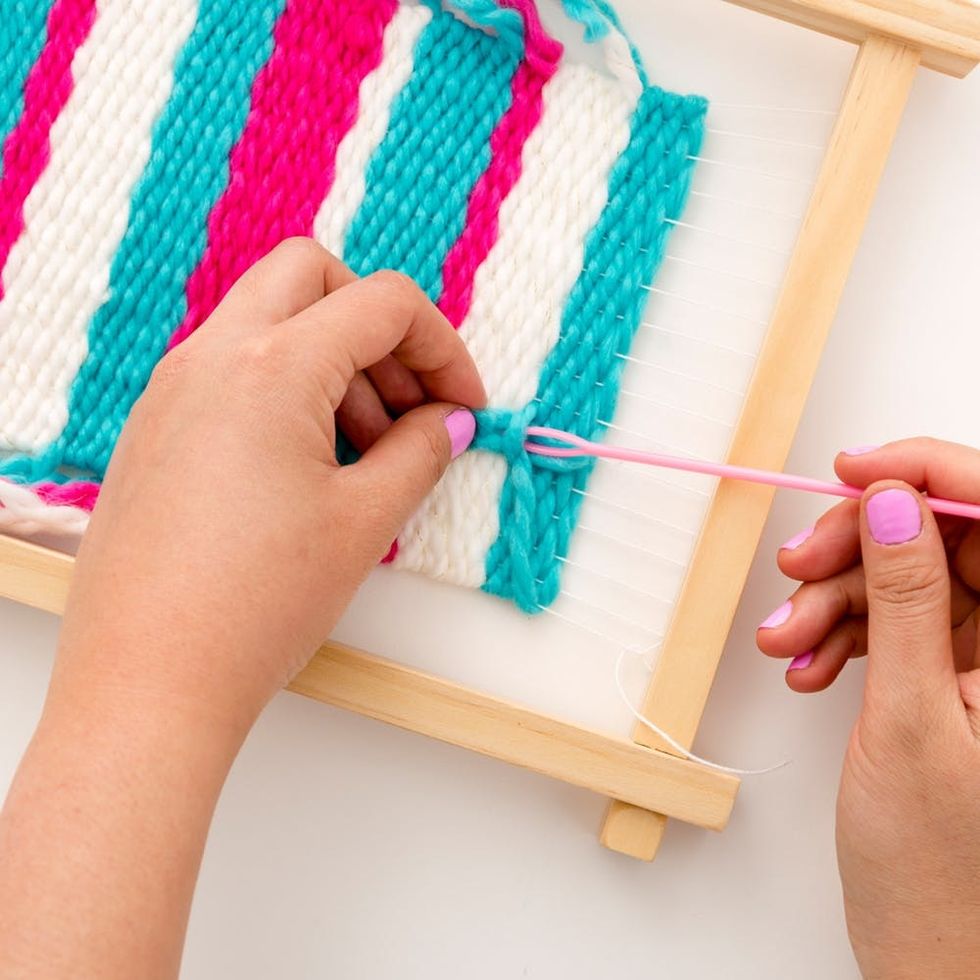
When your weaving is at your desired length, turn the entire loom over. Work any loose strings into the stitches in the back of your work.
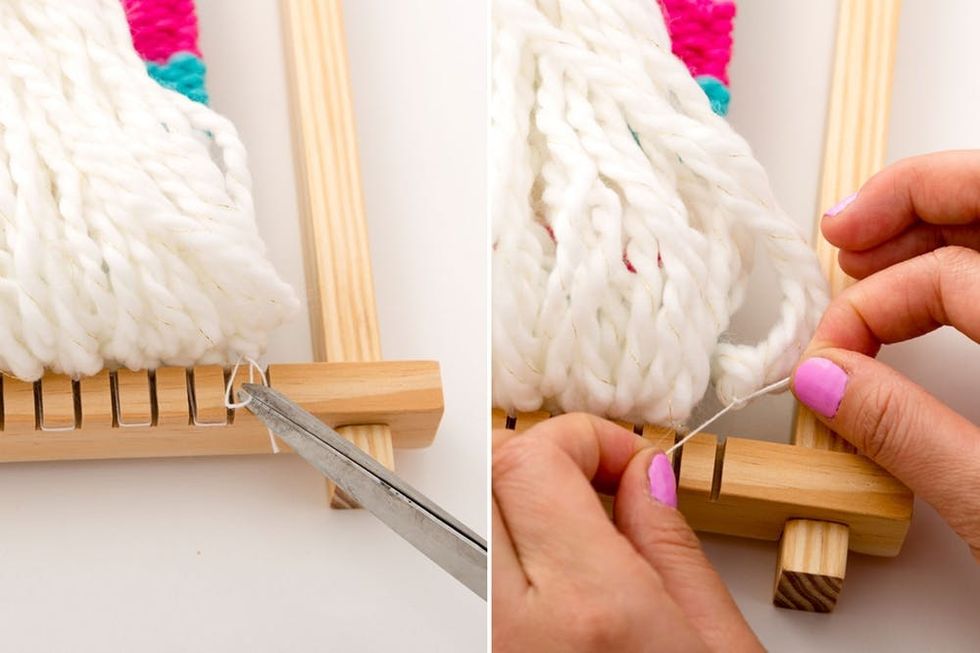
Secure the bottom strings first. Carefully remove one loop from the first notch of the loom. Snip the loop and carefully double knot the string. Repeat this step with the remaining loops.
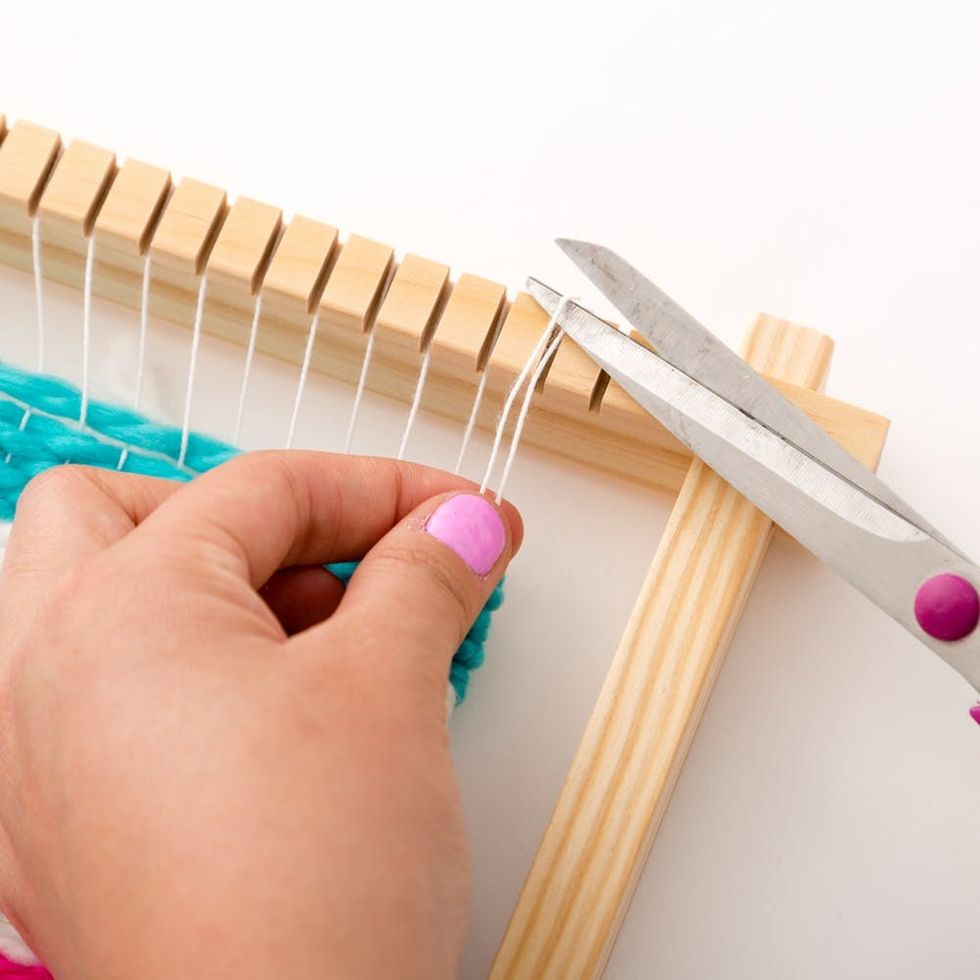
Repeat these steps with the loops at the top of the loom.
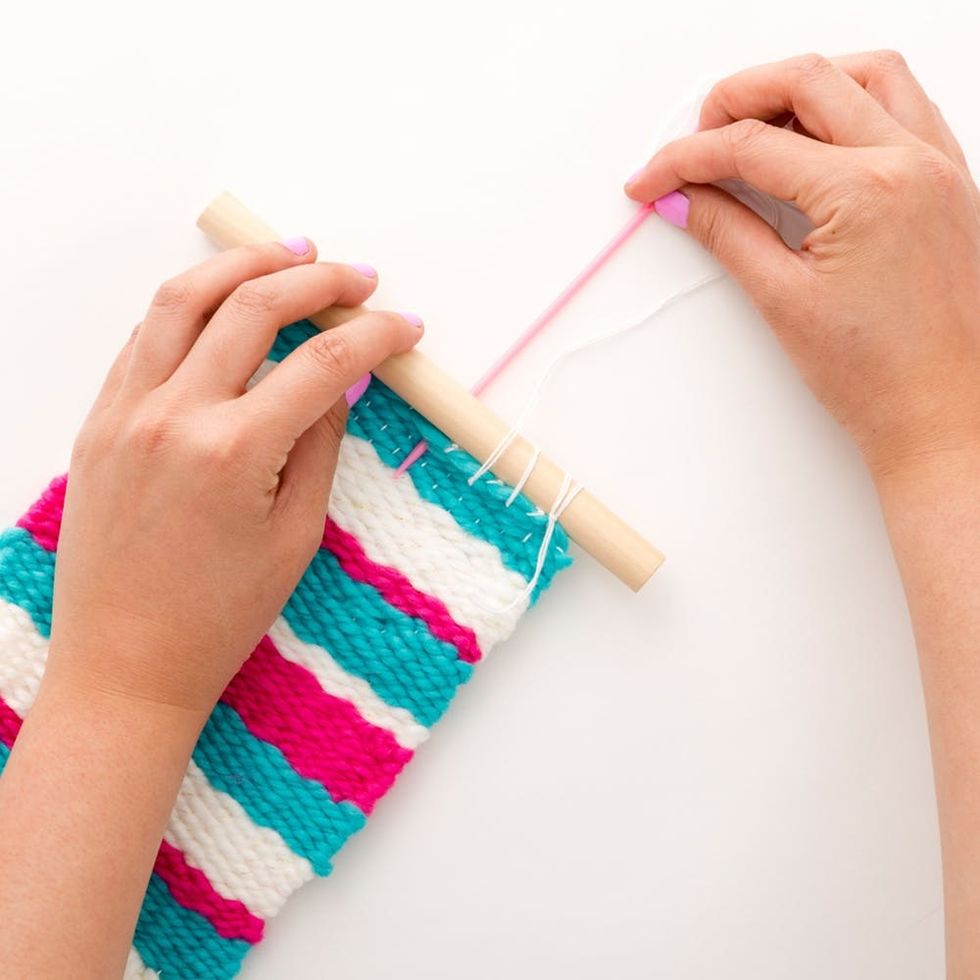
To attach your work to the dowel, thread your yarn needle with the white string. Guide your needle into the weaving and around the dowel, working from one end to the other. Double knot the string around the dowel and trim the excess string.
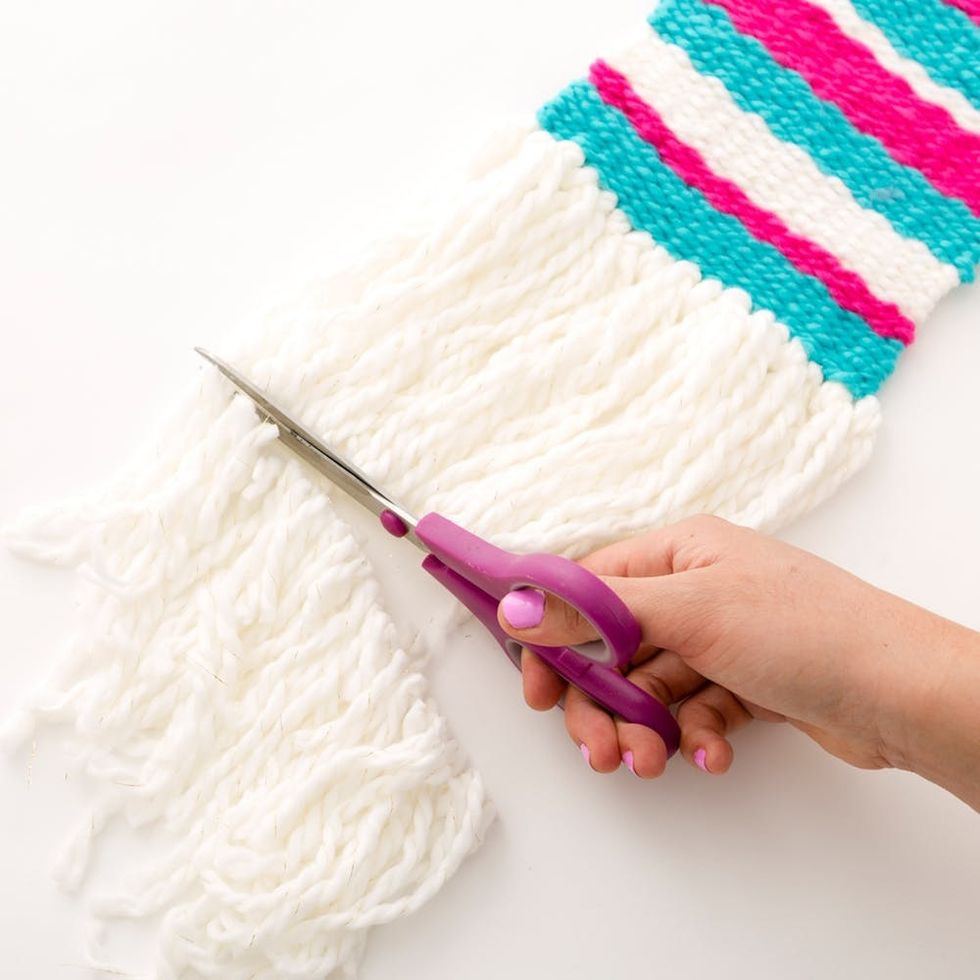
The final step is giving your fringe a hair cut!
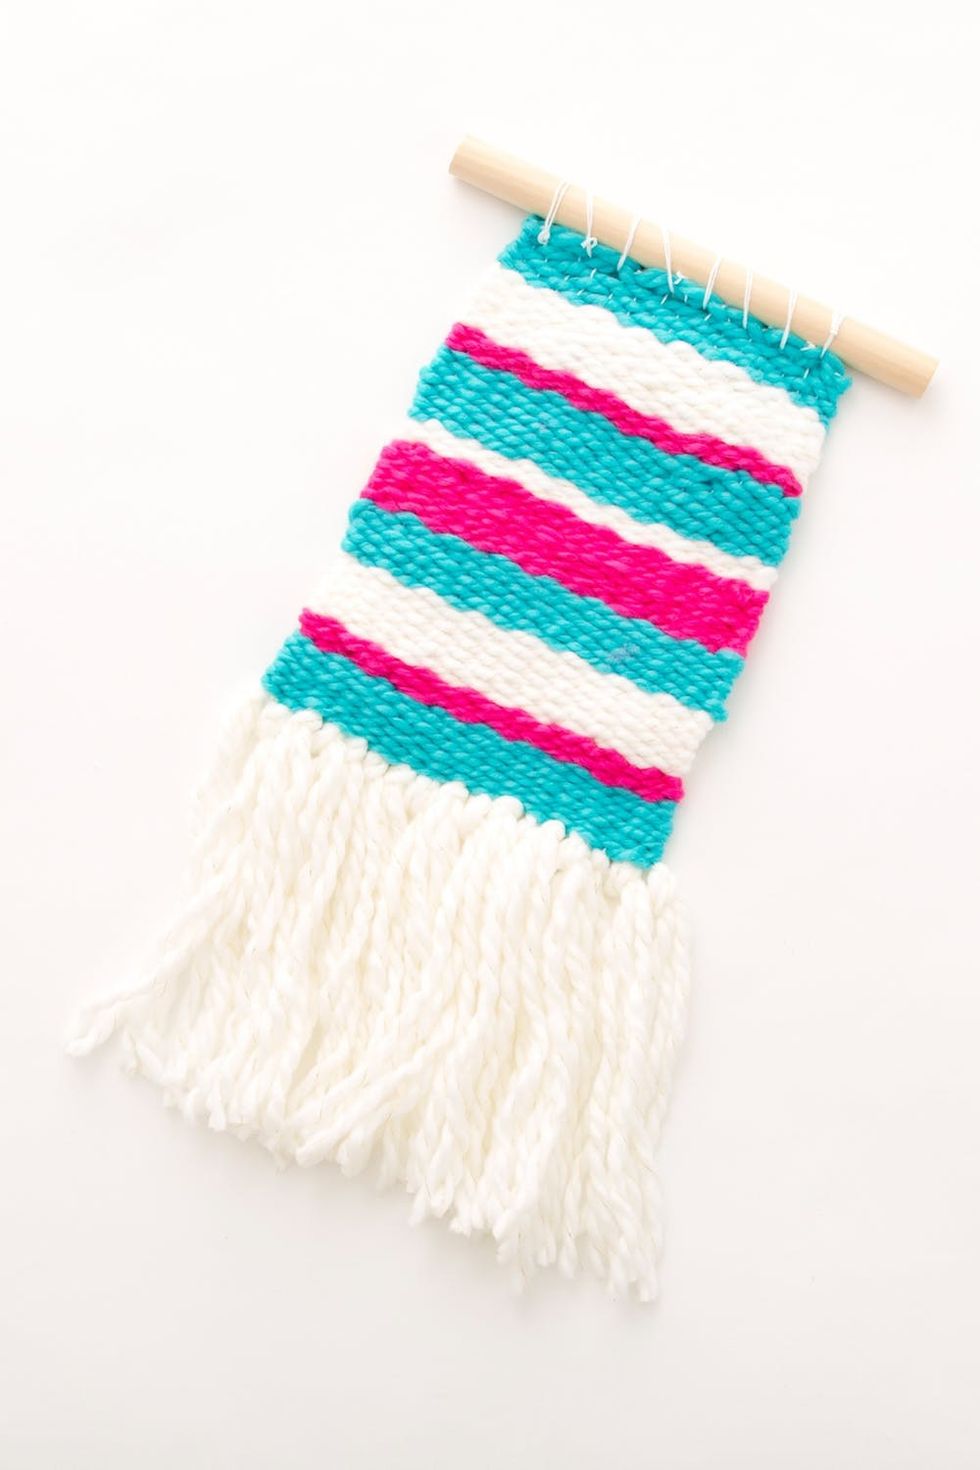
There you have it. Making woven wall hangings is unbe-weave-ably easy.
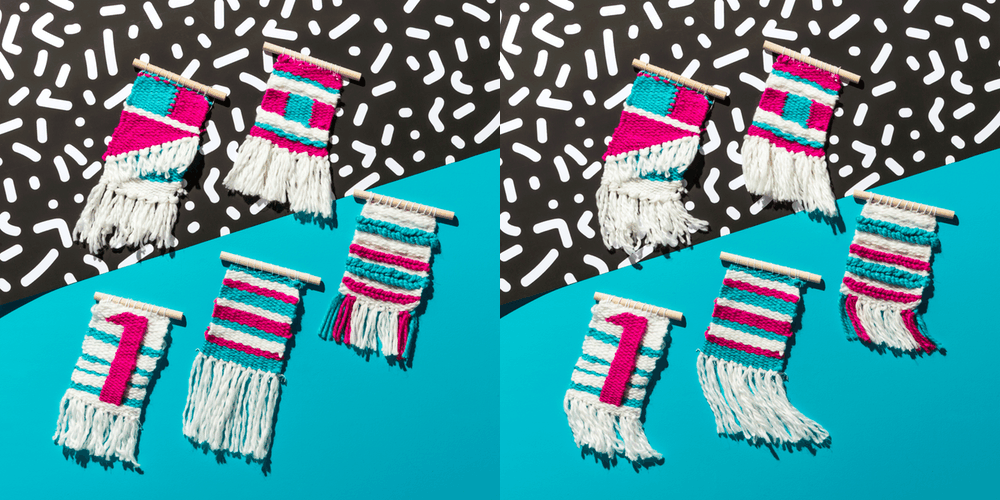
Plus, we give you enough supplies in our kit to make multiple weavings. the possibilities are endless!
Will you be picking up any Brit + Co DIY Kits during your next Target run? Let us know on Twitter at @britandco AND share your fave items using the hashtag #BritxTarget across your social media channels!
Production + Styling: Marianne Koo
Photography: Chris Andre


