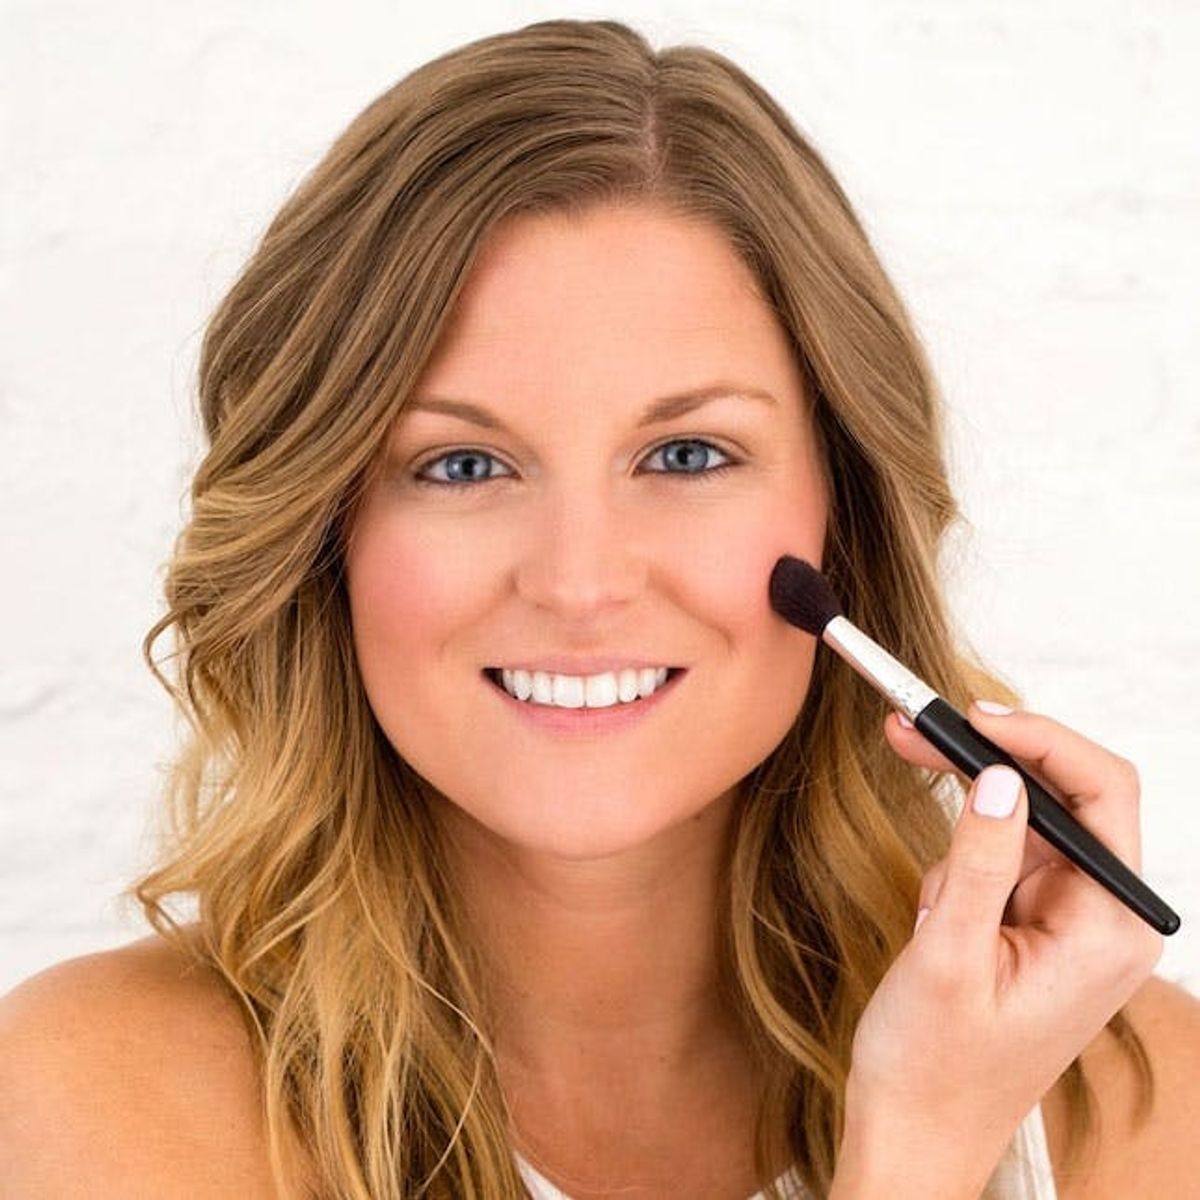
Even makeup novices can — with practice — ace an aisle-ready look.
The Ultimate Guide to Doing Your Own Wedding Day Makeup (Really!)

Let’s face it! We all want a flawless face all day, every day and will do everything from turning pantry staples into skin care to honing in on what to eat for glowing skin to get it. While mastering the tips and tricks for daily wear is one thing, it’s a completely different story for those of you beauty DIY-ers up for the challenge of mastering your own look for one of the most special, most photographed days of your entire life: your wedding. This is your blueprint to getting a photo-ready, glowing face that will endure all the events of your big day, no professional help required. Seriously, even makeup novices can — with practice — ace an aisle-ready look. Just consider this the “something new” of your big day.
Prep: Moisturize + Prime
<em>avoid</em>
 SMASHBOX Photo Finish Foundation Primer ($36) to make you even more ready to handle the flash.

For the big day you want to have your makeup stay in place, and airbrush makeup does just that. All of the major makeup brands make an airbrush formula, but I am obsessed with Sephora Collection Perfection Mist Airbrush Foundation ($28). Hold the bottle a few inches from a flat, fluffy brush (and away from your big day whites!) and spay it on. Applying from the brush versus straight on your skin will result in a more natural look. Tap the foundation onto your skin for the best results.
Step 1: Apply Foundation

Take the time to find the best type of concealer for your face! This may take a little trial and error, but it can be a fun process. Go to your local makeup counters, become besties with a beauty consultant and ask the right questions, including what color is best for the undertone in your skin, what formulas are best for covering inconsistencies (think: fine lines, blemishes or dark circles), and what consistency and finish would look best. Then they can help you navigate through everything creamy or thin, thick or matte, full or light coverage. Once you’ve found The One, apply your concealer with a brush under the eye and down toward the center of your face in an upside-down pyramid shape. Blend with your brush.
Step 2: Concealer
natural side
 beach goddess-type look, which requires a shimmering bronzer, it’s best to opt for a softer, non-reflective finish. For Alicia we used Benefit Cosmetics Dallas ($28).
Step 3: Contour

For that perfectly blushing bridal look, you want to choose a blush that will enhance your natural flush. When you have no makeup on, pinch your cheek and see what color your cheek turns. Whatever the undertone happens to be — be it pink, peach or red — find a blush with that hue. This will make for the most natural blushing effect. Alicia has a pink undertone, so we used NARS Blush in Desire ($30).
Step 4: Blushing Bride
Benefit Cosmetics High Beam
 above the bridge of your nose, your upper lip and below your lips as well as directly above your cheekbones into your temples. Use a flat foundation brush to tap and blend over your makeup.
Step 5: Highlight
Laura Mercier Translucent Loose Setting Powder
 avoiding the spots you put your highlighter. The powder settles in to make your makeup last longer and avoid smudges. It will also aid in keeping that unwanted sheen out of your photos.
Step 6: Strategically Apply Powder

The most challenging part of wedding makeup is making sure it can stand up to the long hours you’ll be pulling. You’ll want to make sure your face is just as radiant while you’re shaking it on the dance floor as it was walking down the aisle! One of the best products to make that happen is Urban Decay All Nighter Long-Lasting Setting Spray ($30) — it’s a go-to when I’m working on my clients. Gently close your eyes and lightly mist your entire face a few times, holding the bottle a good five inches away from your face. Trust me: this mist is magical!
Step 7: Seal The Deal

Let’s be honest: with your bridal shower, bachelorette party or even just a date night out, you will have plenty of opportunities to master these steps to a wedding-ready face. The combination of perfect primer, DIY airbrush makeup, shine control, intentional highlighting and a setting spray is the best recipe for you to own your wedding day look.

What else do you want to learn for wedding day makeup? List in the comments below and perhaps we can make it happen for you!


