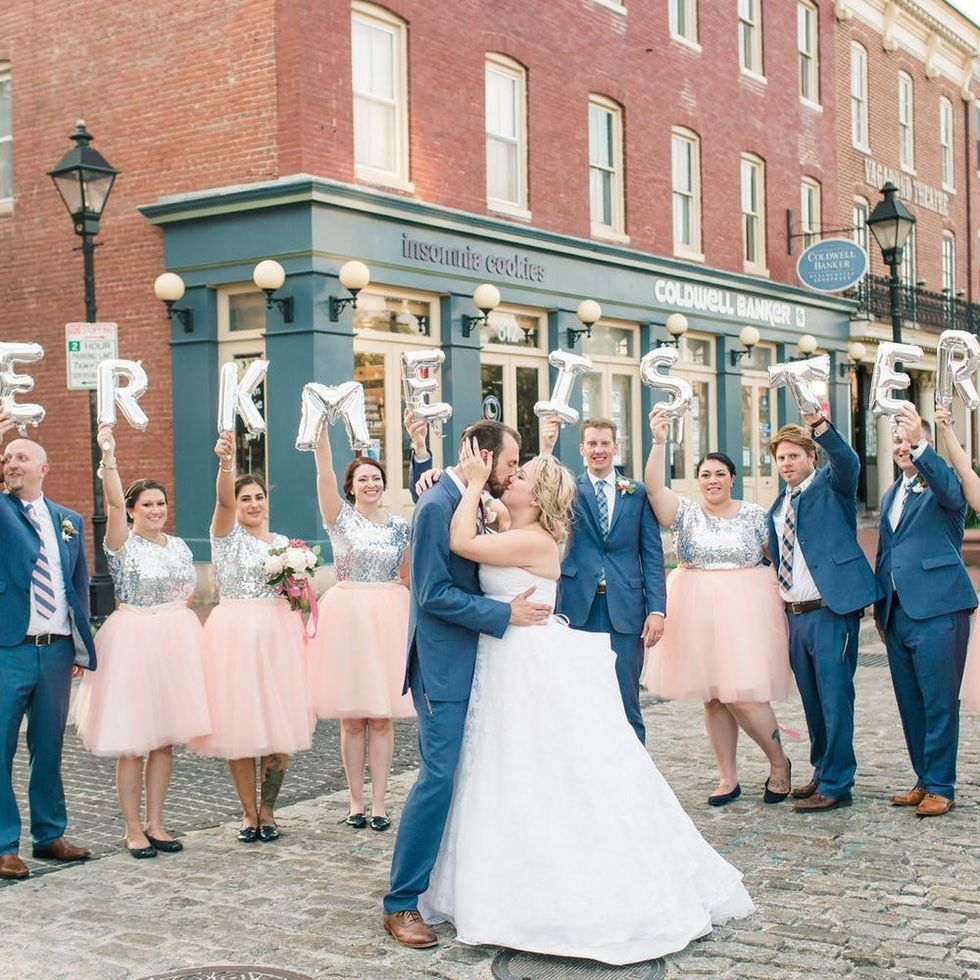
Pinterest-perfect in just 6 easy steps!
Your Step-by-Step Guide to Wedding Planning on Pinterest

So you just got engaged — congratulations! After telling your friends and family, your next stop is likely Pinterest. This handy app is every bride’s go-to place for wedding trends, ideas, and inspiration. But if don’t go in with a plan, it can be totally overwhelming and end up doing more harm than good. By equipping yourself with the strategies outlined below, you can go from a crazed pinner to a poised planner in five easy steps.

1. Start broad. Start with one general wedding board to gather anything that catches your eye — colors, styles, decor, stationery, etc. This will give you an idea of how you want your big day to look. Don’t rule anything out in this phase!
2. Zero in. Go back to your first board to see what you are drawn to most. What pins do you keep going back to? What pins do you look at and think, “Our wedding would be incomplete without this!” At this phase, you are able to start editing and get down to what your core theme and palette will be. Start deleting the pins that you just aren’t passionate about.
3. Divide and conquer. Now that you have narrowed your focus and have a good idea of your theme and/or style, you can start making specific boards for each category of the wedding planning. At a minimum, I suggest a board for each of the basics: color/theme, florals, stationery, photography, cake, decor, bride style, wedding party style, and honeymoon.
Similar to your original board, you can pin whatever catches your eye for each aspect of the wedding, even if it’s not the right color, style, etc, and then just whittle it down later. Pro tip: Consider adding a board for the miscellany that doesn’t fit into any one category… all those details that are not to be forgotten! It holds all the cool ideas and fun things (hello, giant Jenga) that you’ll want to revisit after the core planning has been done.
4. Bring it all back. Once again, go back and start paring down each category until you have nice, edited boards with only the pins that you really love. It is at this point that your board really becomes a helpful tool for not just you, but your planner, vendors, etc. This process can be done in stages based on when you need to book specific vendors.
5. Meet the vendors. Now that you have put in the time honing all the elements of your dream wedding, put those boards to work as you meet with your vendors. For example, when working with your florist, you can share your theme/color board with them, as well as the floral board. The florist will be able to see your vision, and will also be able to draw color inspiration directly from your boards.
Once you start solidifying the florals, you can share additional boards with them — like table decor and signage — so they can make sure everything coordinates for an overall cohesive look. Pro tip: These boards will be super helpful when working with your stationery and paper goods vendors. You can even ask them to make a little one-page cheat sheet showing your color palette, fonts, and flowers. This mini style guide is great to have on hand and share with other vendors. Below is an example that you can even share with your stationer for reference.

6. Get hitched, without a hitch. Your Pinterest boards will continue to serve as a reference you can come back to at any time during the planning process. As you get closer to the wedding day, go back through your pins (especially that board of miscellaneous fun stuff) to see if there are any outstanding details you want to add.
Not only will following a Pinterest game plan take some of the stress out of the big day for you, but it also makes communication between your vendors so much easier. And, if you really do it right, you can end up with a Pinterest-perfect wedding that future brides will be pinning to their own boards, truly bringing it full-circle.
Are you secretly (or not-so-secretly) planning your big-day pinboards? Follow us on Pinterest for even more inspo.


