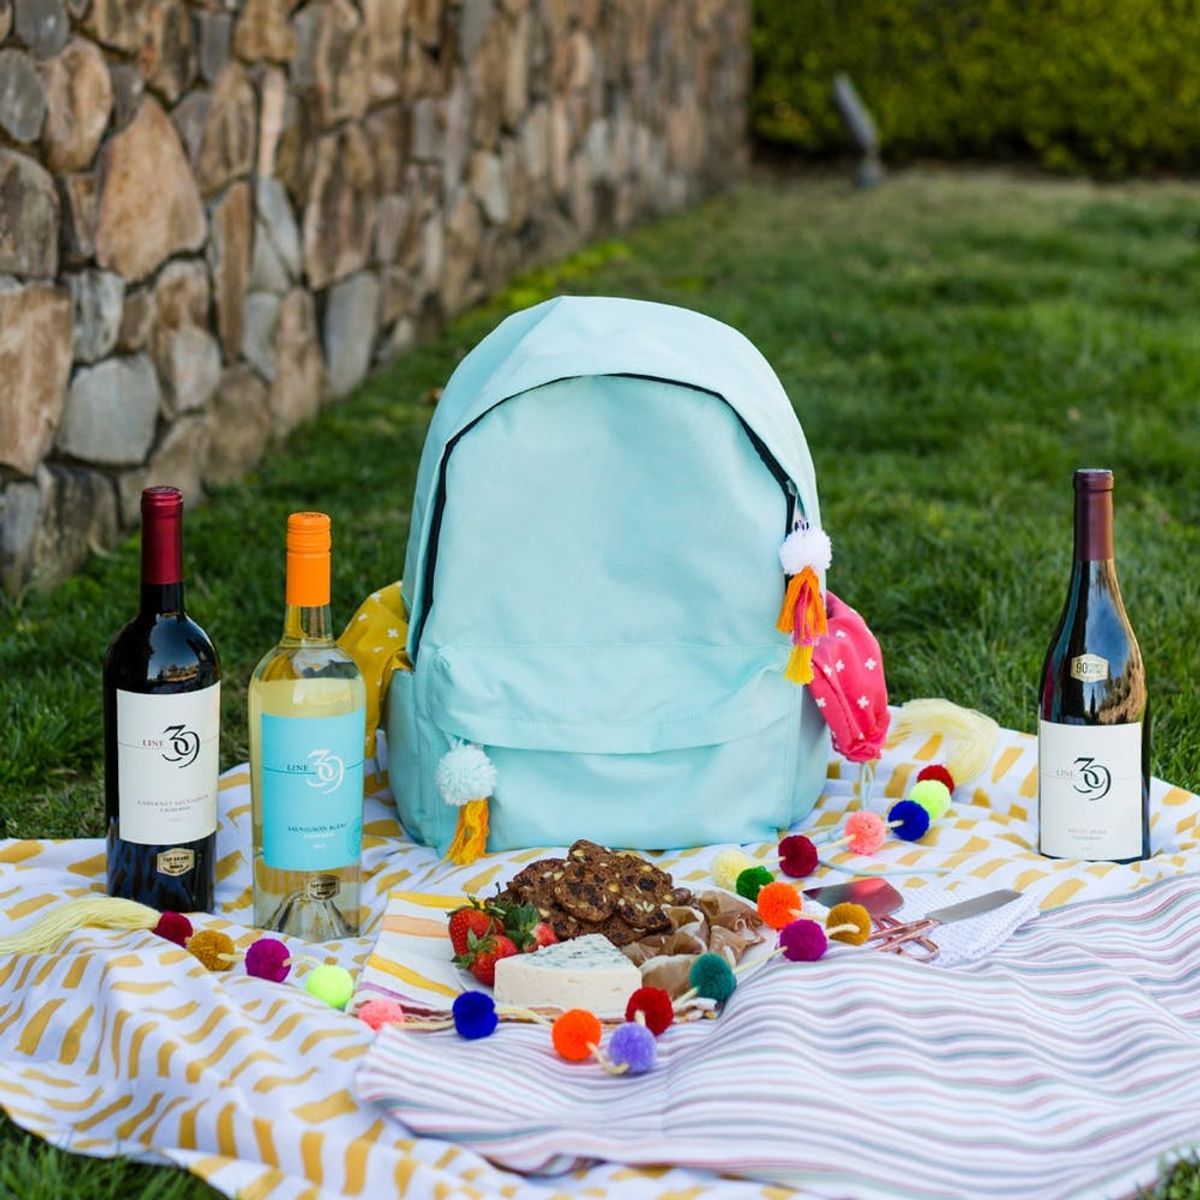
We’re teaming up with California’s Line 39 Wine to make your weekend getaways even easier with the ultimate DIY wine backpack hack.
This Easy Backpack Wine Hack Will Make Outdoor Picnics a Breeze

Spring is finally here! And with it comes warmer weather, longer days, and a serious case of wanderlust. From everyday adventures to epic exploration, as long as it includes the outdoors, we’re game. So pack your bags and get your plans on lockdown. This spring, we’re teaming up with California’s Line 39 Wine to make your weekend getaways that much easier with the ultimate DIY wine backpack. All you need to do is pack a picnic and grab your favorite bottle of Line 39 wine, and you’ll be ready for your next hike, camping trip, beach day, or impromptu adventure. Keep in mind, this backpack pairs perfectly with fresh air, sunny days, and Cali vibes. So, press play and find out how it’s done.
This cute and fully functional li’l backpack will definitely help you take full advantage of the spring season. It holds two wine bottles and houses all of your picnic needs. Get the full details on this DIY below.

WINE BACKPACK HACK
Materials and Tools:

Instructions:
- plain backpack
- 10–12 1-inch adhesive velcro squares
- 2 small pieces of fabric
- 2 8-inch pieces of string
- embroidery floss
- needle
- leather straps of varying size
- scissors

First up, you’ll need to create a place to safely store your wine bottles, so find a backpack that has pockets already built in. Then, transform them into an adorable drawstring storage bag. After all, you want to make sure you’re taking care of your precious cargo. Create a custom flair by picking your favorite swatch of fabric. Using a bottle as your guide, measure and cut your fabric to fit your bottle. Whipstitch the ends together to form a tube. Fold over ½-inch of fabric at one end and stitch down. Add a string through the space to create the perfect drawstring top to keep your wine safe and secure. Now, put it all together by adding one side of your velcro to the bottom of the drawstring fabric and the other end to the top of the side pocket.
- Measure your fabric around the bottle and cut.
- Whipstitch ends together to form a tube.
- Fold over ½-inch of fabric on one end of the fabric tube and stitch down.
- Insert the string through this space to create a drawstring.
- Separate 4 of your velcro squares. On the bottom side of the pouch, add one side of the velcro pieces to outside of the fabric. Next, adhere the other side of the velcro on the inside of the backpack pocket. Make sure the velcro pieces line up, so they will connect when you add the pouch to the pocket.
- Connect the velcro pieces together, so it creates a drawstring pouch to hold your favorite wine bottle.
- Next, use the leather straps to create a storage space for all of your picnic needs.
- Adhere one end of the velcro pieces to the ends of the leather strap and then place the other end of the velcro on the inside of the backpack.
- Connect together to create loops and straps for your wine glasses, bottle opener, and other picnic tools you may need (cheese knife, perhaps?).
- Fill up your backpack with your picnic favorites and tasty spread, and get ready for your next adventure.

Connect the two pieces and you’ve got yourself a perfectly handy wine carrier. The best part is the pouch adds a personalized pop of color to an otherwise ordinary backpack.

Now that the wine is secure, time to make some space for your other gadgets and gizmos and glasses. We made this real simple, by adding some velcro to the ends of pre-cut leather strips and connecting them to the inside of the backpack. These will help you hold your loose items in place.

Time to add your goodies.

And get ready for your next adventure!

You never know where you might end up.

No picnic is complete without some tasty treats and your favorite bottle of wine. Not sure what the occasion calls for? Bring a bottle of red and white, so you have a little something for everyone.

Now that’s something to cheers about!


