Burn Baby Burn: Wood Burning 101
Confession: We are having a total love affair with our brand new wood burning tool. We first started to swoon over it while creating our Wood-Burnt Serving Board Kit, a collaboration with Grace Bonney of Design*Sponge. Now, we can’t help but find ourselves burning every piece of wood we come across, especially in the Brit HQ kitchen!
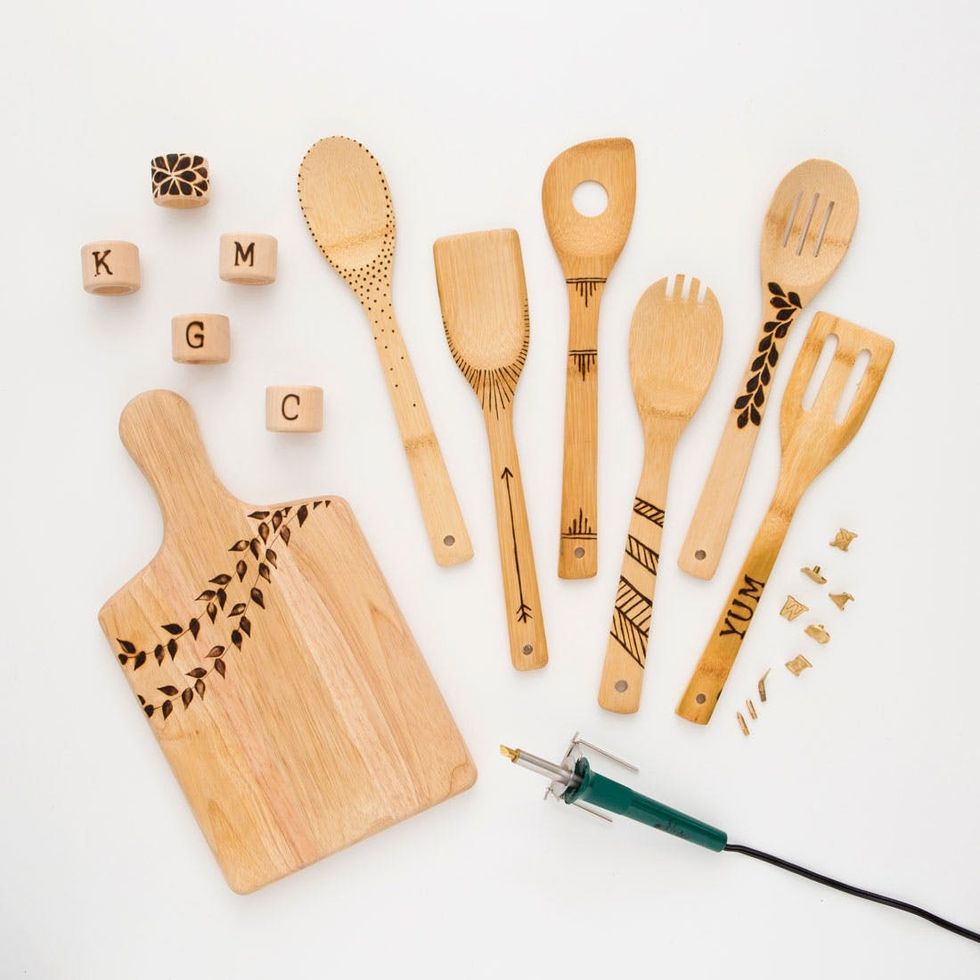
For today’s #31DaysofDIY project, we’ll take you through the basics of using a wood burning tool. It couldn’t be simpler — don’t be surprised if you end up with a LOT of custom cutting boards, wooden spoons and more after you see just how easy it is :)
No idea what #31DaysofDIY is? It’s a brand new tradition here at Brit + Co that’s all about kicking off 2015 right. We’ve challenged ourselves to make or learn something new every single day for the month of January, and we’re inviting all of you along for the ride. From DIY basics like Sewing 101 to learning to design and laser cut our own stencils, we hope this month of making inspires you to make all year long.
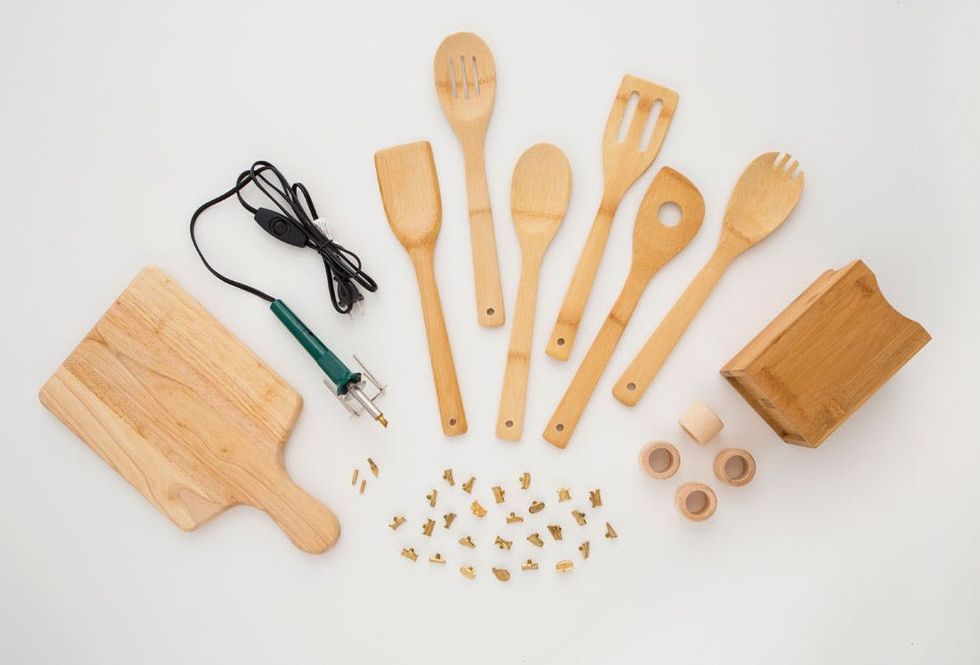
Materials:
– wood burning pen
– wood burning tips
– wood burning alphabet bits
– wood objects
– wood practice board
Instructions:
1. Let your wood burning tool heat up.
2. Try out each of your bits on a wood practice board. To switch bit attachments, turn off your burning tool and let it cool down completely before unscrewing and replacing bits.
3. Plan your design in pencil on the board if you like.
4. Follow along your pencil design using your wood burning tool.
5. Remove your pencil lines with a good eraser.
6. That’s it! Hand wash your wood-burnt objects in between uses and treat with mineral oil for a lasting design and sheen.
We stocked up on a bunch of kitchen goods like wooden spoons, a utensil holder, a cutting board and napkin rings.
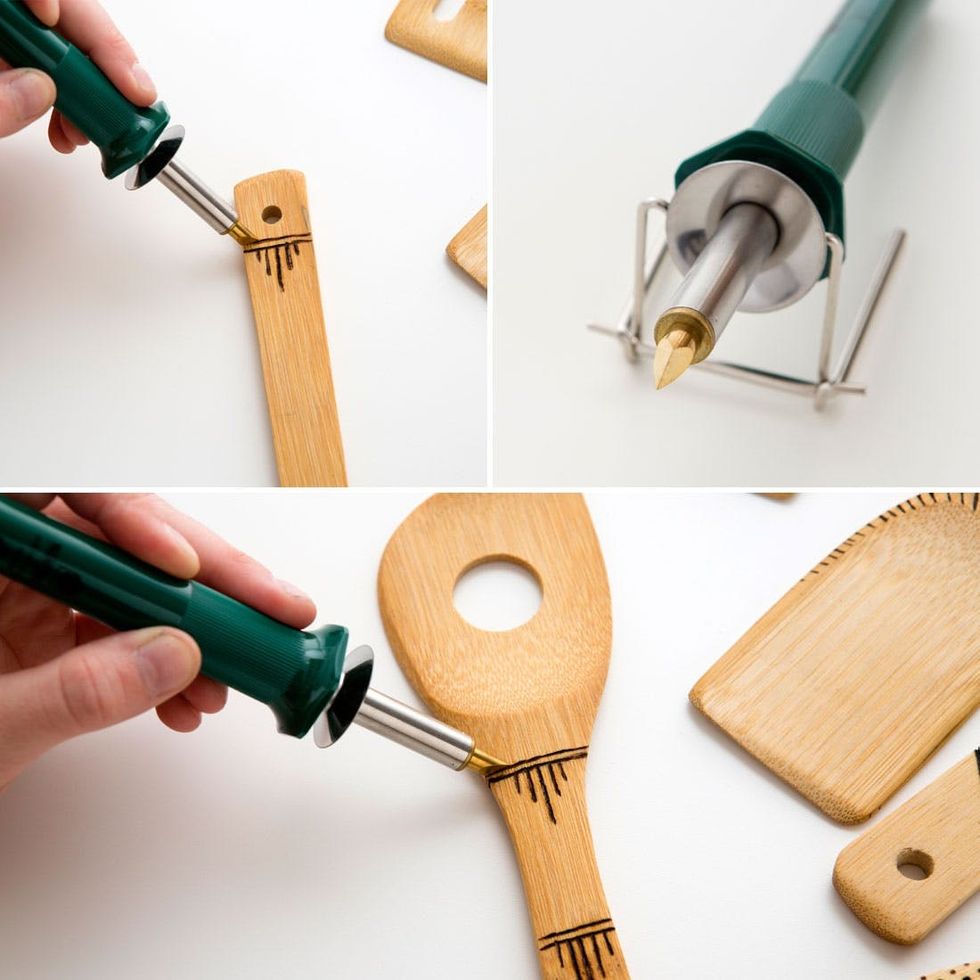
We’ll start with some simple line art. You can create stripes, chevron patterns or pretty much anything that involves straight lines.
Line Art
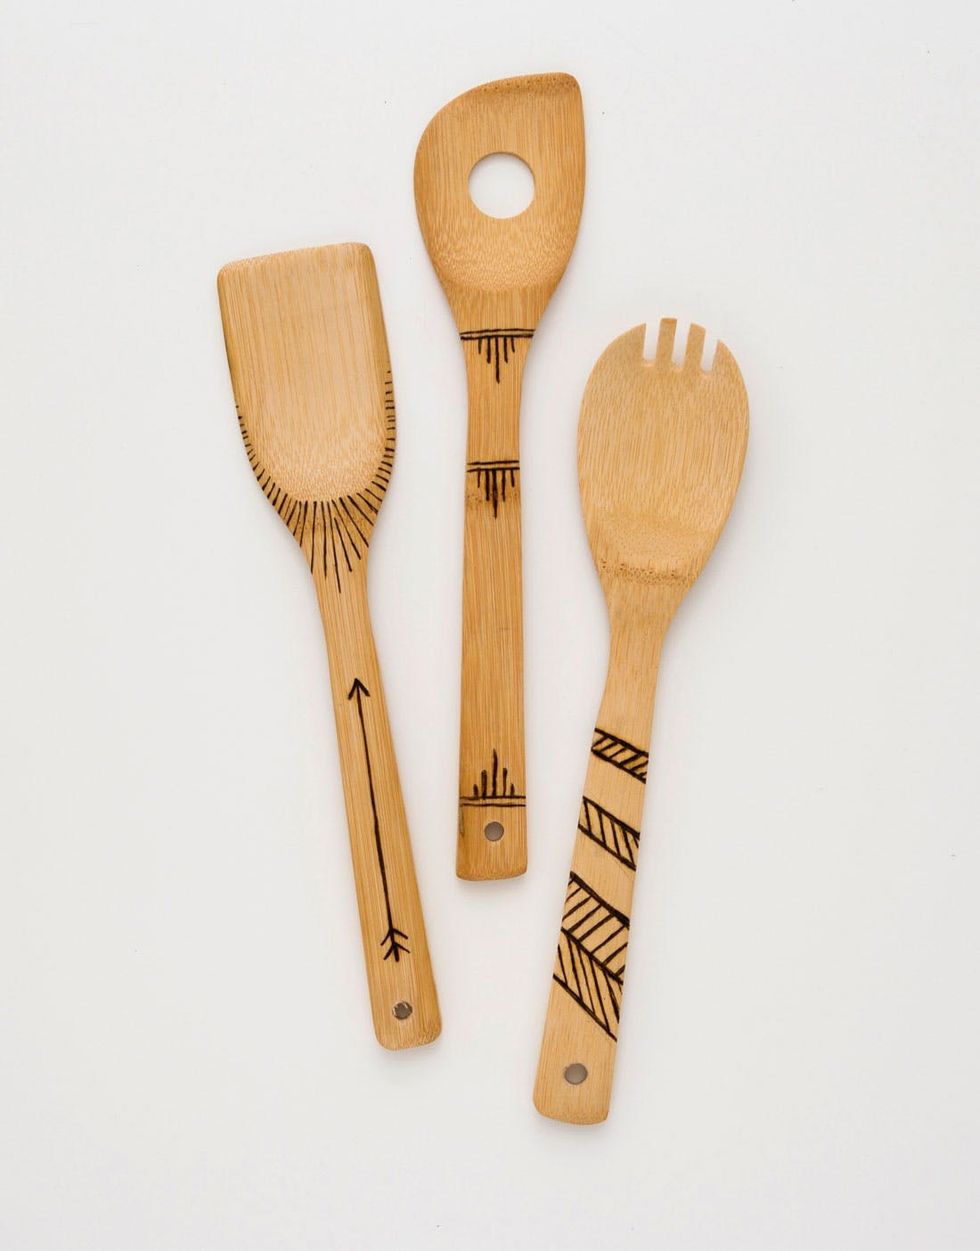
The arrow is definitely our favorite.
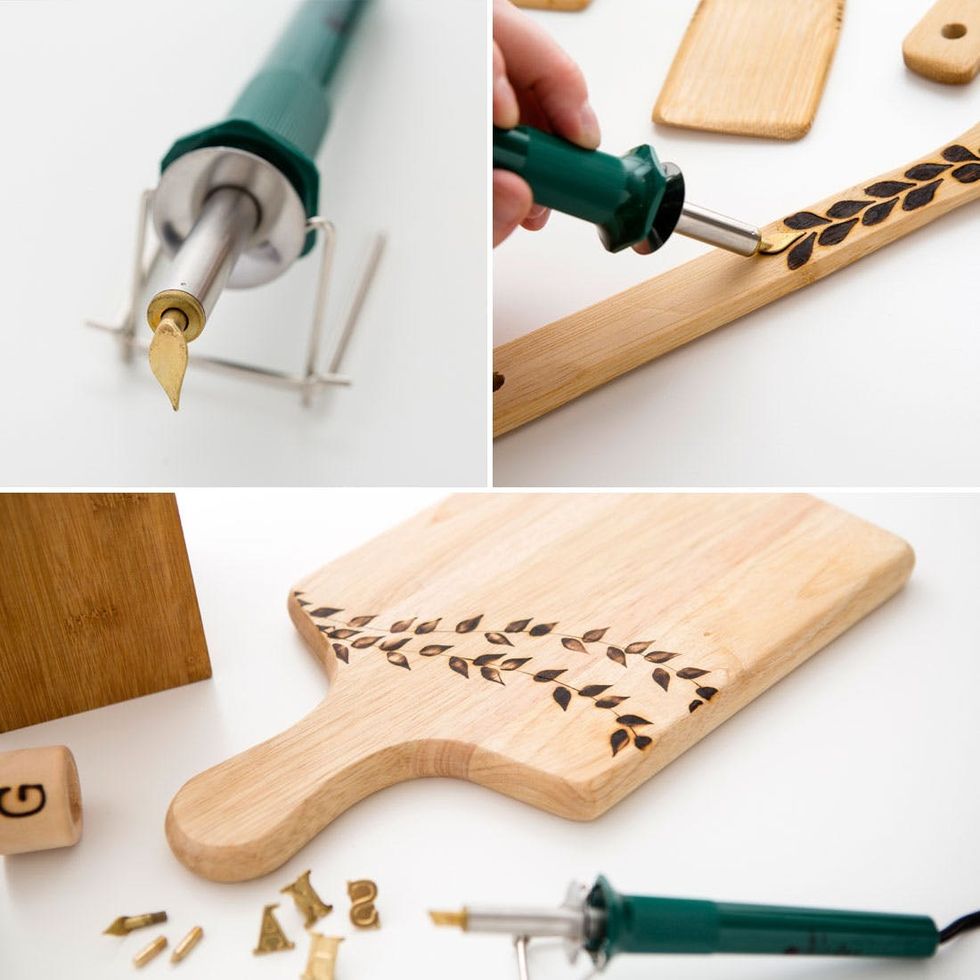
The whimsical leaf pattern is a beauty, and never fails to impress. Use it on the handle of a wooden spoon or to add a touch of personality to a cutting board.
Leaf Pattern
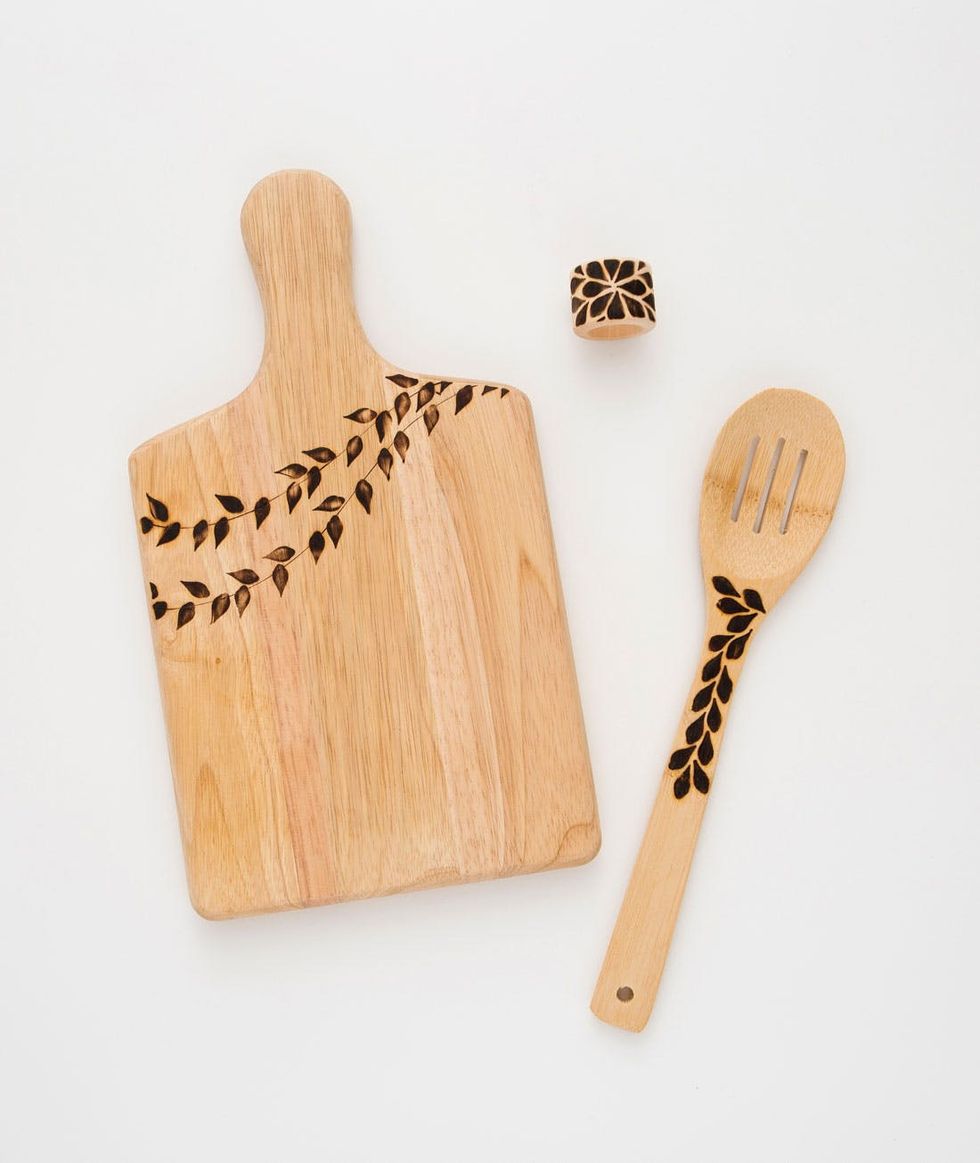
That napkin ring looks legit!
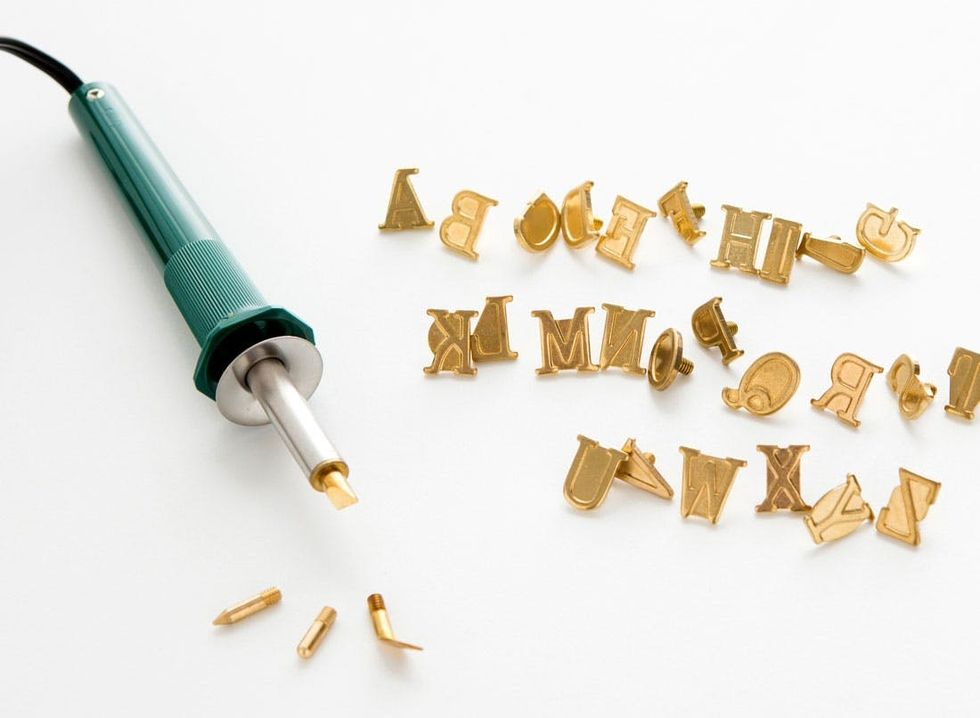
And now for some alphabet bits! Alpha-bits? :)
Typography
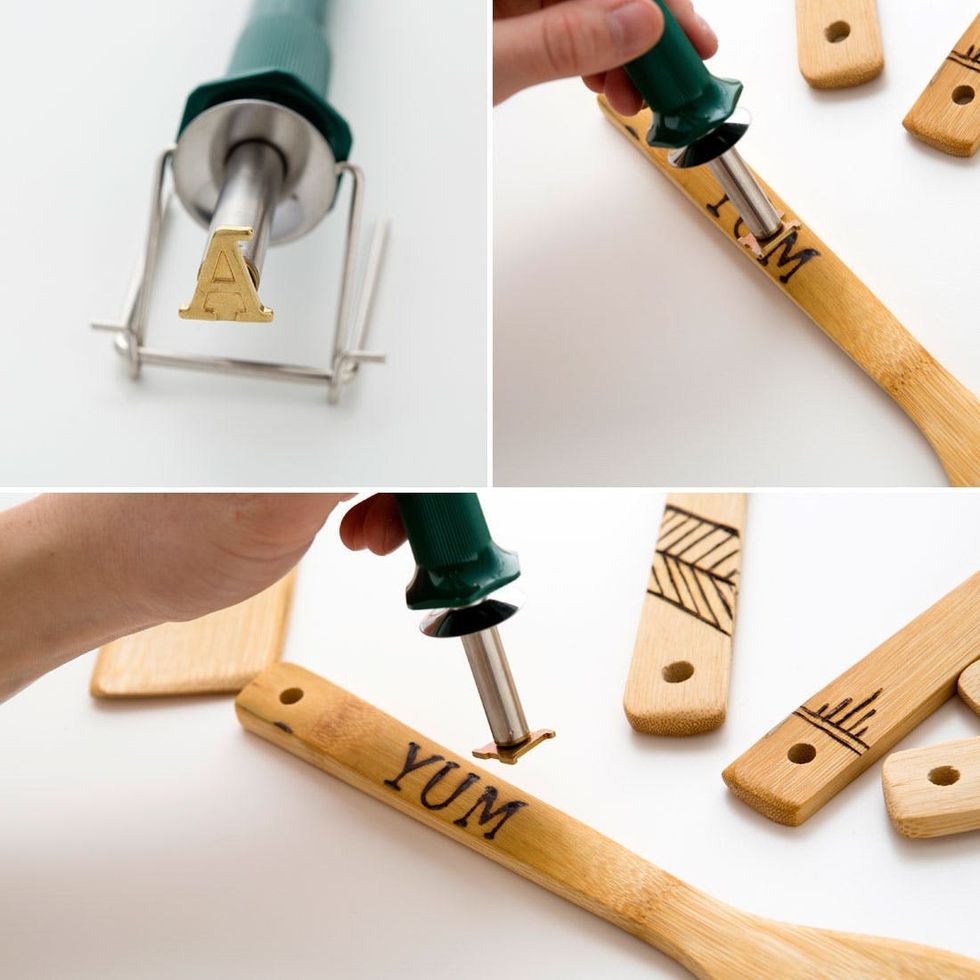
Press your letters into the wood objects, and you’re good to go. Yum!
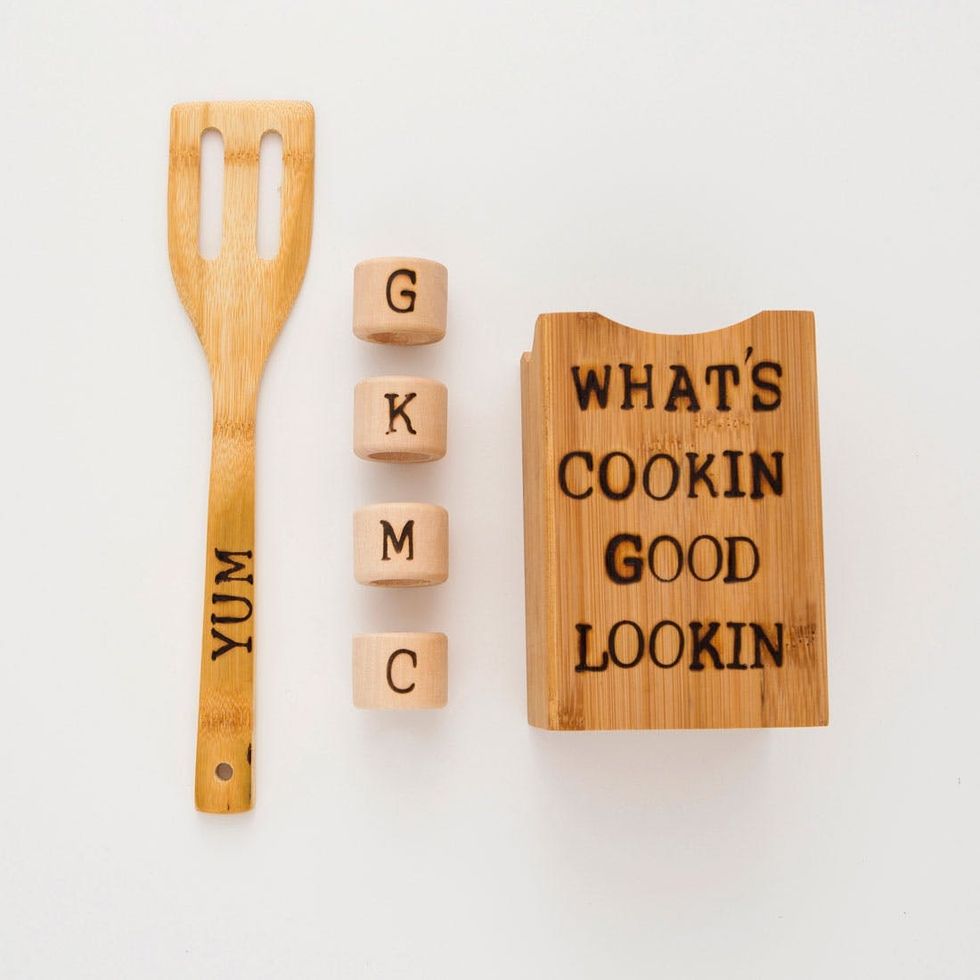
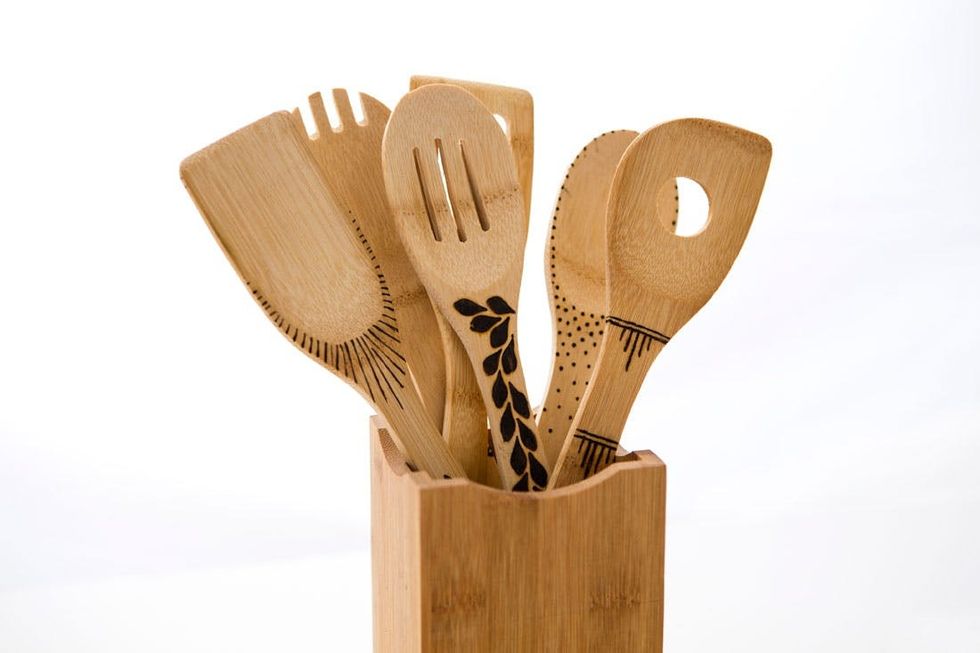
What’s cookin’ good lookin’? A whole bunch of wood-burnt awesomeness.
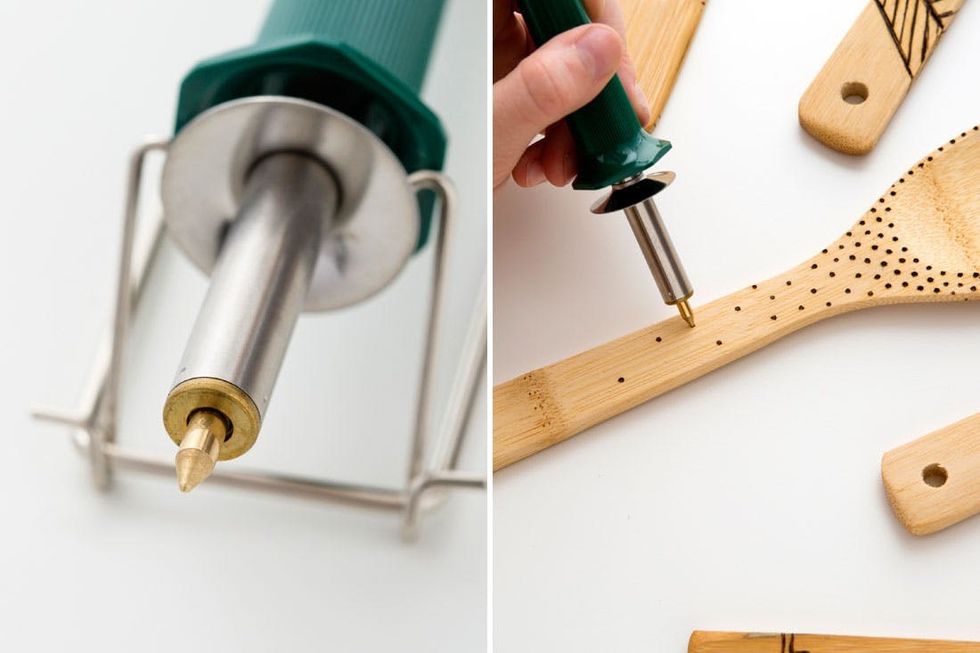
Finally, we used the point tool to create itty bitty polka dots on one of our wooden spoons.
Polka Dots
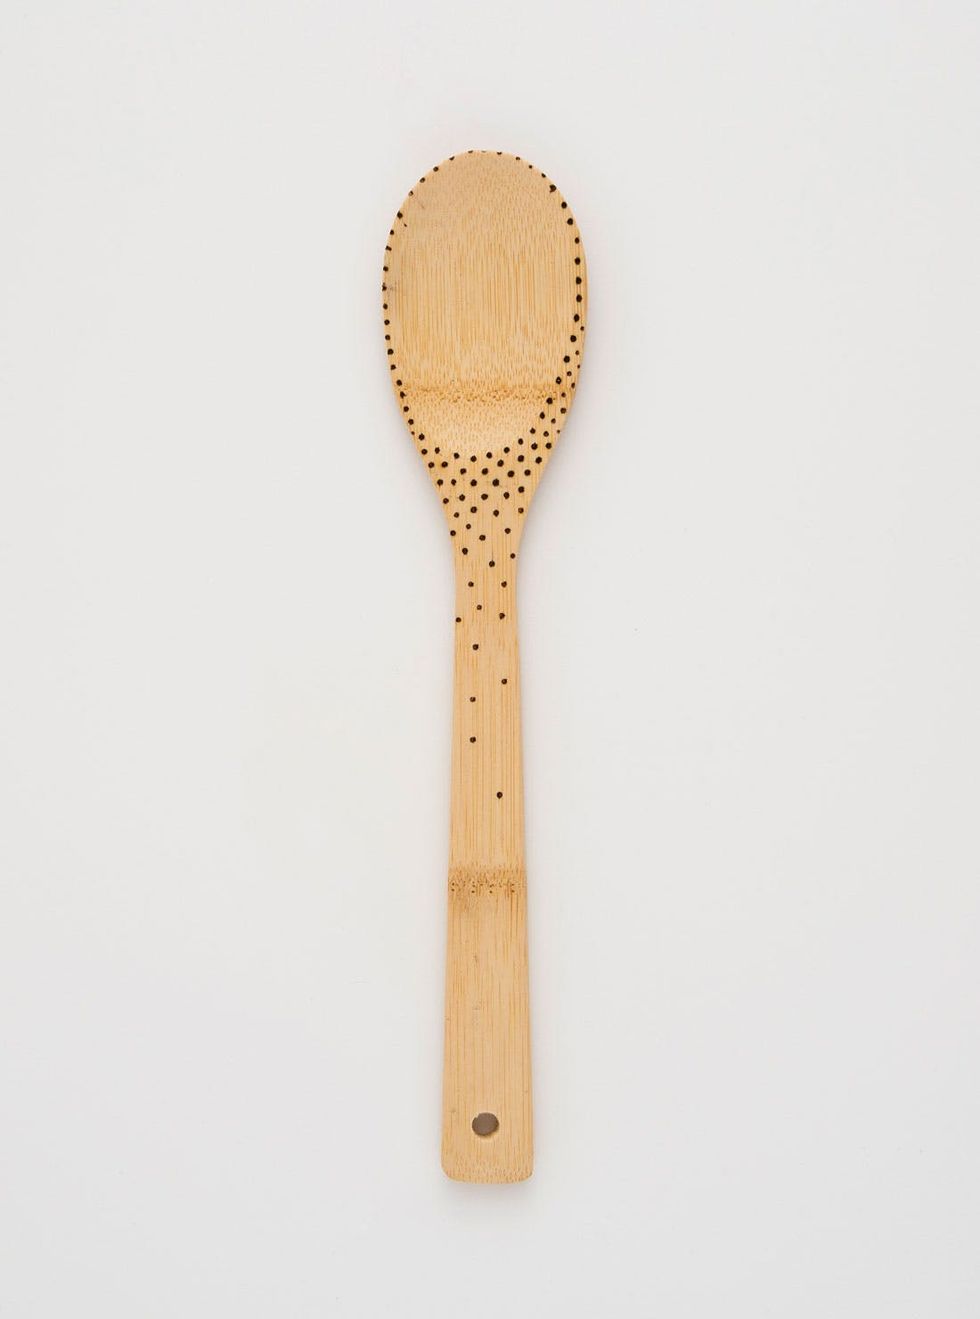
Pointillism FTW.
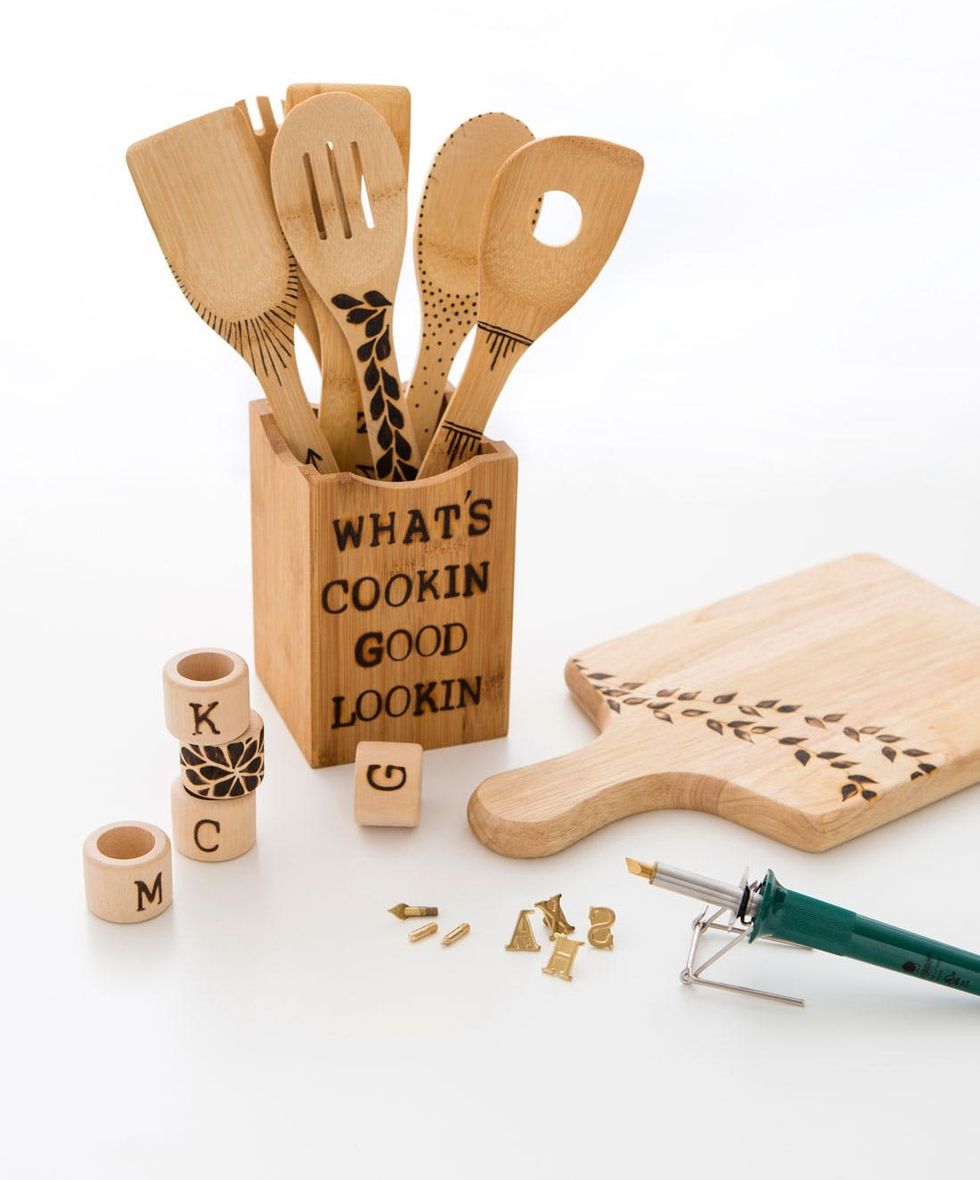
And just like that, we’ve got a whole collection of personalized wooden things! How easy was that?
What will you try wood burning? Share photos of your creations to Instagram, Facebook, Tumblr or Twitter using the hashtag #31DaysofDIY. We’ll feature our favorite projects and makers throughout the month of January here on Brit.co.


