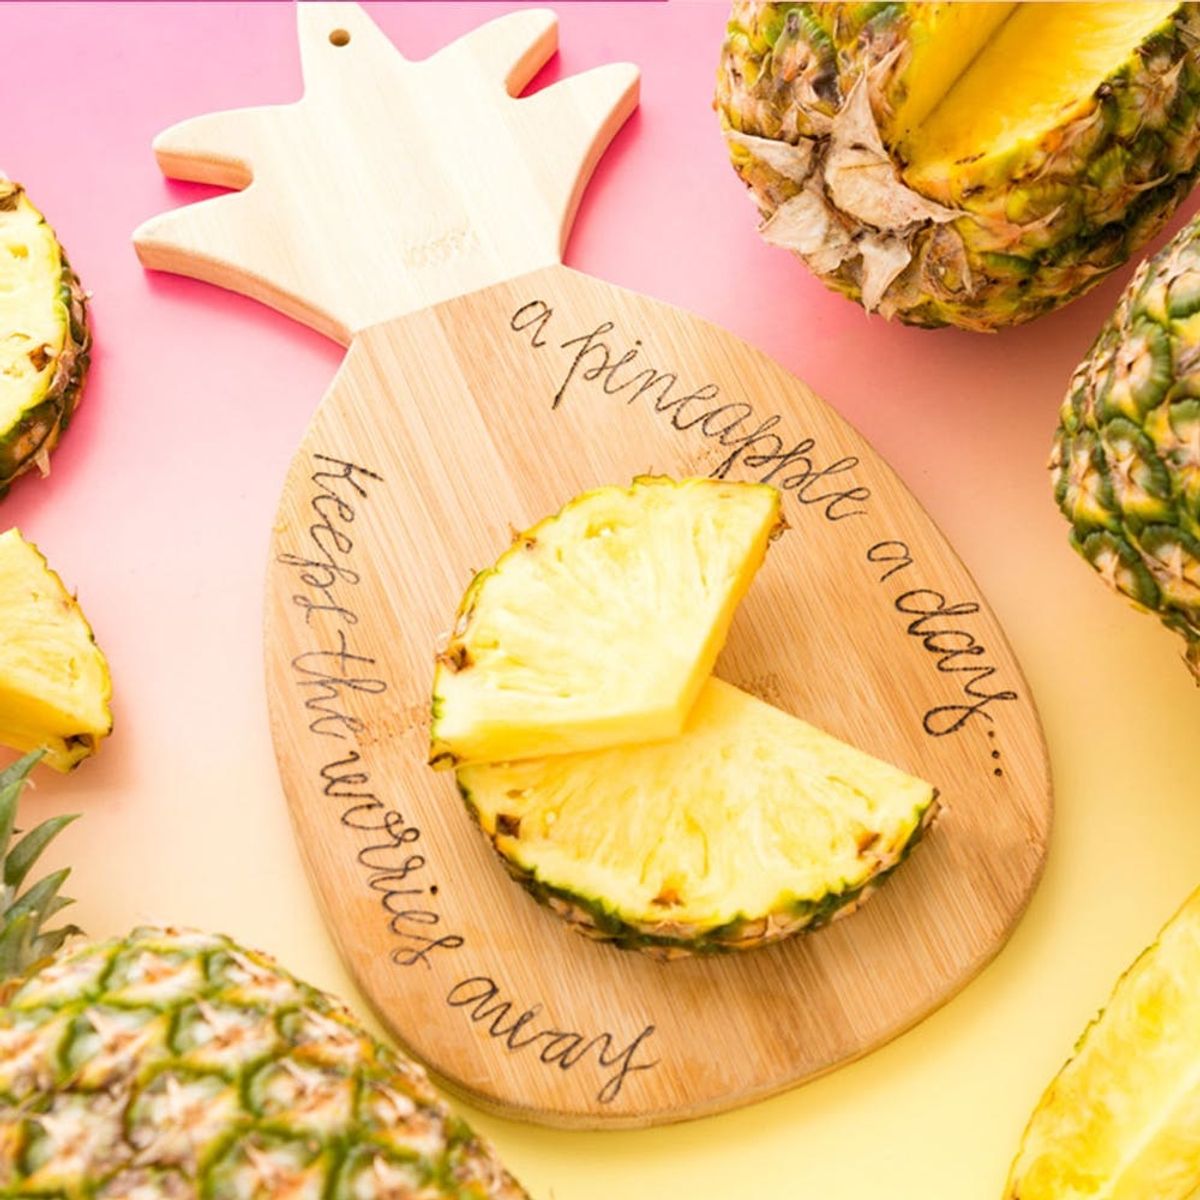
Because everyone needs a pineapple cutting board.
It’s Here: The Wood Burnt Pineapple Cutting Board of Your Dreams

Why can’t it be summer forever? I’m all about the tropical prints, bright colors and the smell of a hot day. (Am I the only one who loves the smell of hot pavement? Once a city kid, always a city kid, I guess!) While our days frolicking in the sunshine and outdoor crafting may be limited, this DIY is perfect for the chick chasing eternal sunshine. Or anybody, really. Everyone needs a pineapple cutting board.

Throw a winter protest party and whip this bad boy out in the middle of February. It’s sure to bring tropical vibes, even if it’s the Snowpocalypse outside.

Statistics show that when you’ve got a pineapple cutting board, you’re four times more likely to consume pineapple (officials studies pending, but definitely true at Brit + Co headquarters).

Materials:

— pineapple cutting board
— wood burning tool
— alphabet stamps
— practice pieces
— pencil
— pliers
Get your materials together and let’s get started!
Use the practice pieces provided to get accustomed to the wood burning tool.

For hand lettering, we use a pointed bit.

Draw your design directly onto the cutting board in pencil.

Allow the burning tool to heat up, then carefully trace your design. The slower you go, the more consistent the line will be. For bold text, use the wider edge of the tool tip and go over the design twice.

When you’re finished tracing your design, go back and erase any remaining pencil marks.

Use the X and O stamps for an easy pineapple design.

Map out the X’s and O’s in pencil on the board. We alternated the X’s and O’s to create a design that reflects the natural scoring on a pineapple!

When your burning tool heats up, press firmly onto the board for about five seconds. Be sure to rock the bit slightly back and forth and side to side to ensure the letter fully burns onto the wood.

When you’ve burned all of the X’s onto the board, unplug the burning tool and allow it to cool off. Then use pliers to switch bits.

Press the hot bit firmly into the wood and rock it back and forth and side to side to ensure the letter fully transfers.

When you’re finished, erase the pencil marks.

You’re all done! Combine hand lettering and stamping techniques to come up with endless designs.

Make a statement at your next tropical-themed party.

Or burn your life motto onto this fun cutting board to remind you to stay positive — even when things get a little dicey (HAHA, get it?) :)


