Love a good cheese plate? Then you will fall head over heels for our Wood-Burnt Cheese Board Kit, created in partnership with Grace Bonney, the founder of Design*Sponge.
How to Make Your Own Custom Cheese Board
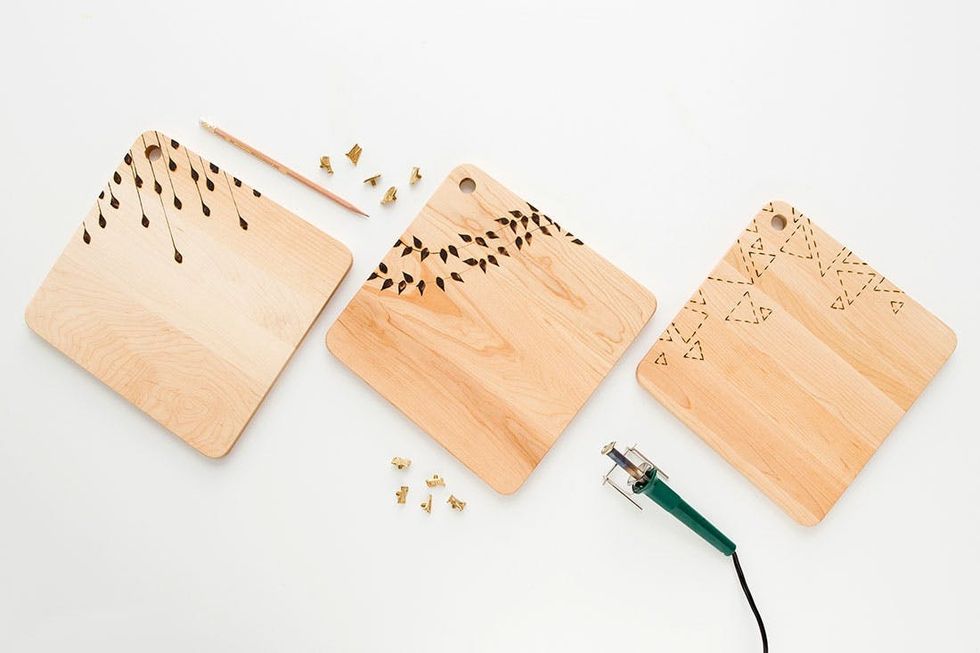
When dreaming up our next round of Brit Kits, one DIY came to mind that combined our love of sketching, burning (don’t lie you love it too), and entertaining. So we grabbed a plain cutting board, a pencil and a wood burning tool and got to work making these beautiful serving boards to show off at all our gastronomic gatherings!
We partnered up with Grace Bonney of Design*Sponge to bring you all the necessary supplies as part of our Brit Kit Collabs collection.
What are Brit Kit Collabs? Glad you asked! We teamed up with eight of our favorite makers, bloggers and designers to create a brand new set of nine exclusive Brit Kits, just in time for the holidays. Head to the shop to check ’em all out, and follow along to learn how to create your own custom cheese board. You can get everything you need to create this project in our Wood-Burnt Cheese Board Kit starting at $35 in the B+C Shop!
Learn more about Grace Bonney of Design*Sponge by checking out her maker profile right here. Now, say cheese!
Materials + Tools:
– wood cutting board
– practice piece
– wood burning tool with 4 bit attachments (included in $35 standard kit)
– alphabet bit attachments (included in $45 kit)
Additional Tools (not included):
– pencil
– eraser
Instructions:
1. Choose your first bit and attach it to your wood burning tool before turning it on and resting it on its metal stand.
2. While your wood burning tool heats up, plan out your design in pencil on your wood board.
3. Test out your shapes on the provided practice piece.
4. Slowly follow along your pencil design using your wood burning tool.
5. To switch bit attachments, turn off your burning tool and let it cool down completely before unscrewing and replacing bits.
6. Remove your pencil lines with a good eraser.
7. Load up with cheese, crackers, fruits, or whatever other snacks you’d like!
8. Hand wash in between uses and treat with mineral oil.
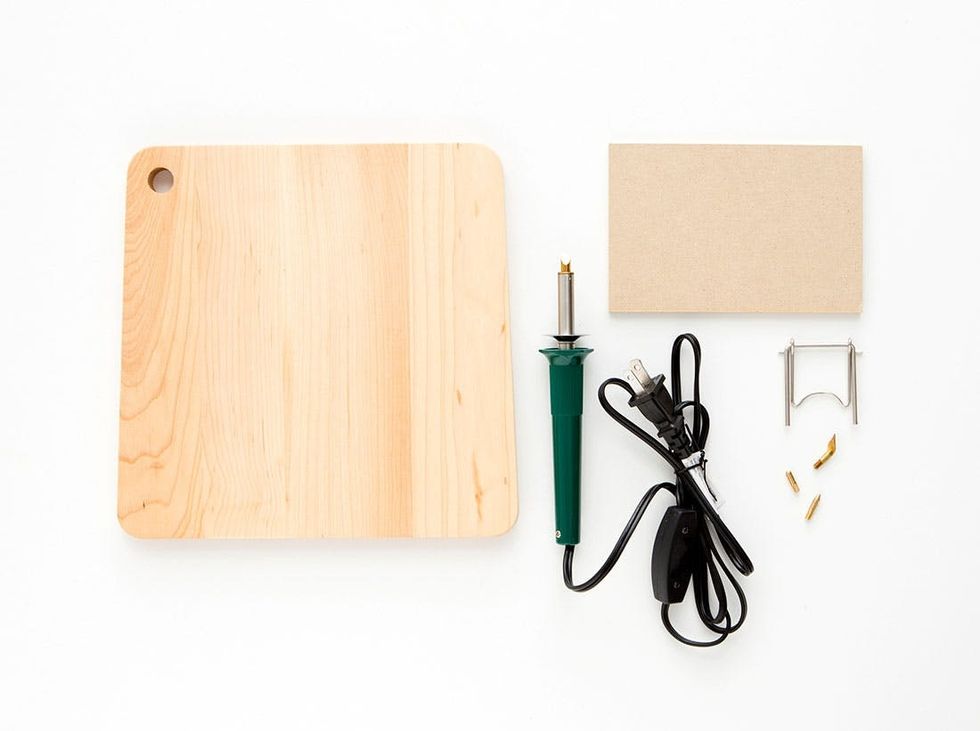
Start up your burners and grab a board!
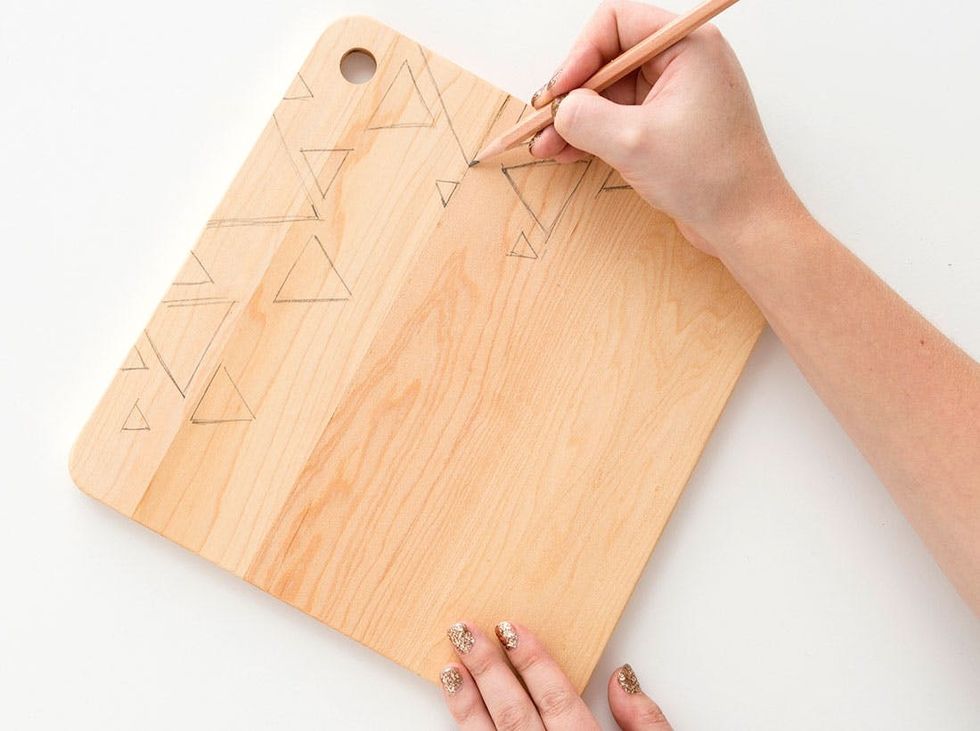
Choose the first bit attachment you’d like to use (we went with the versatile chisel bit), and screw it onto your wood burning tool. Plug it in, turn on the switch, and set it on its metal stand. While the burning tool heats up, plan out your design lightly in pencil on your wood board.
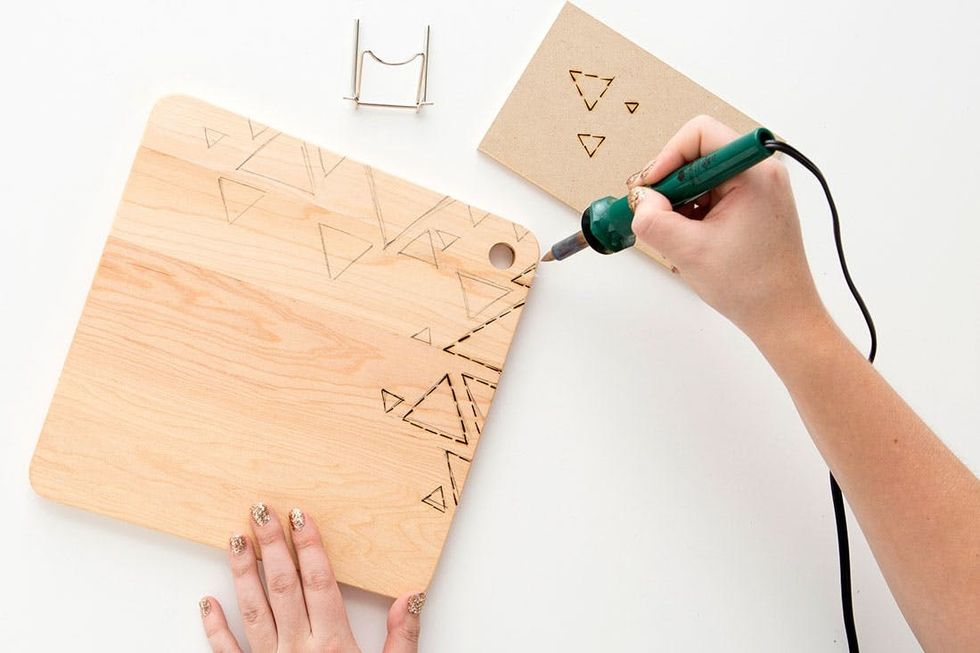
Once the tool is hot, test out your shapes and lines on the practice piece. You’ll notice straight lines can be tricky to make, because of the grainy nature of wood, so instead we went for a dotted line by simply stamping the sharp edge of the chisel bit straight down onto the board.
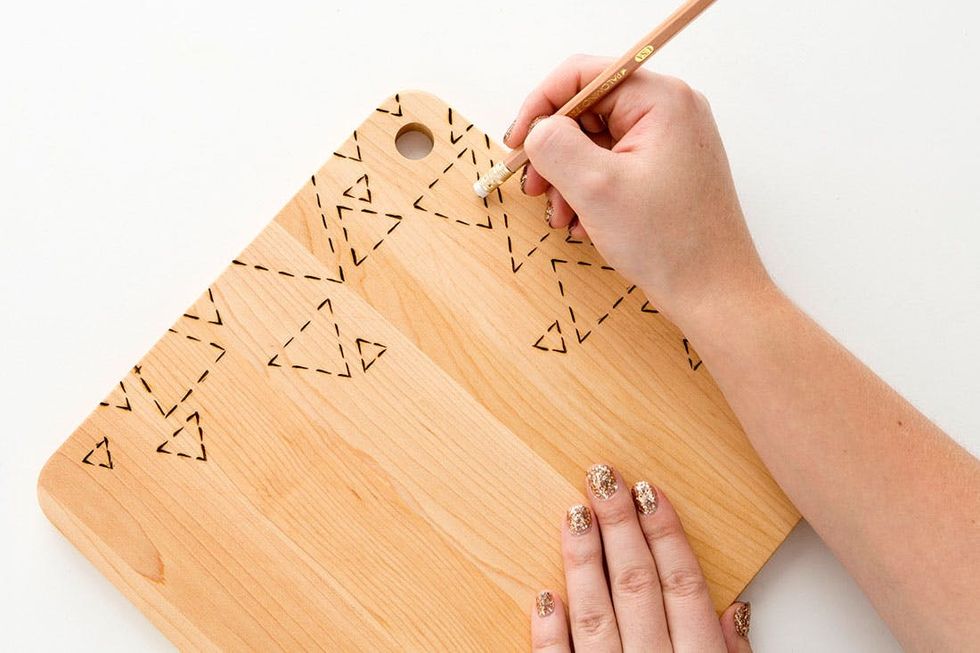
When you feel confident, slowly follow along your pencil design. Remember these don’t have to be perfect, you’re not robotic and neither are your designs!
Once you’re happy with your design, remove your pencil lines with a good eraser and take a good look!
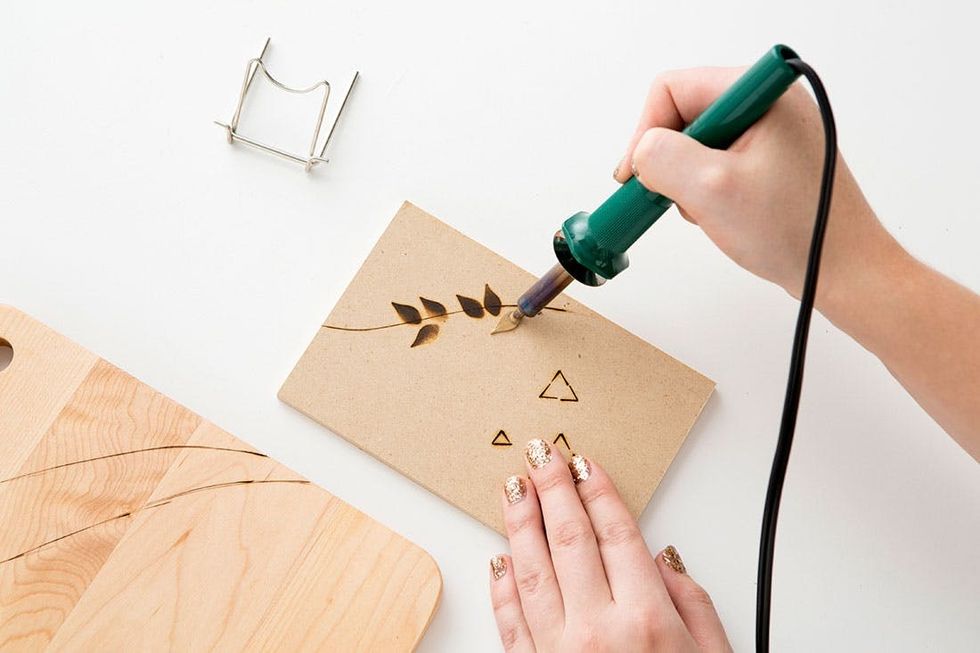
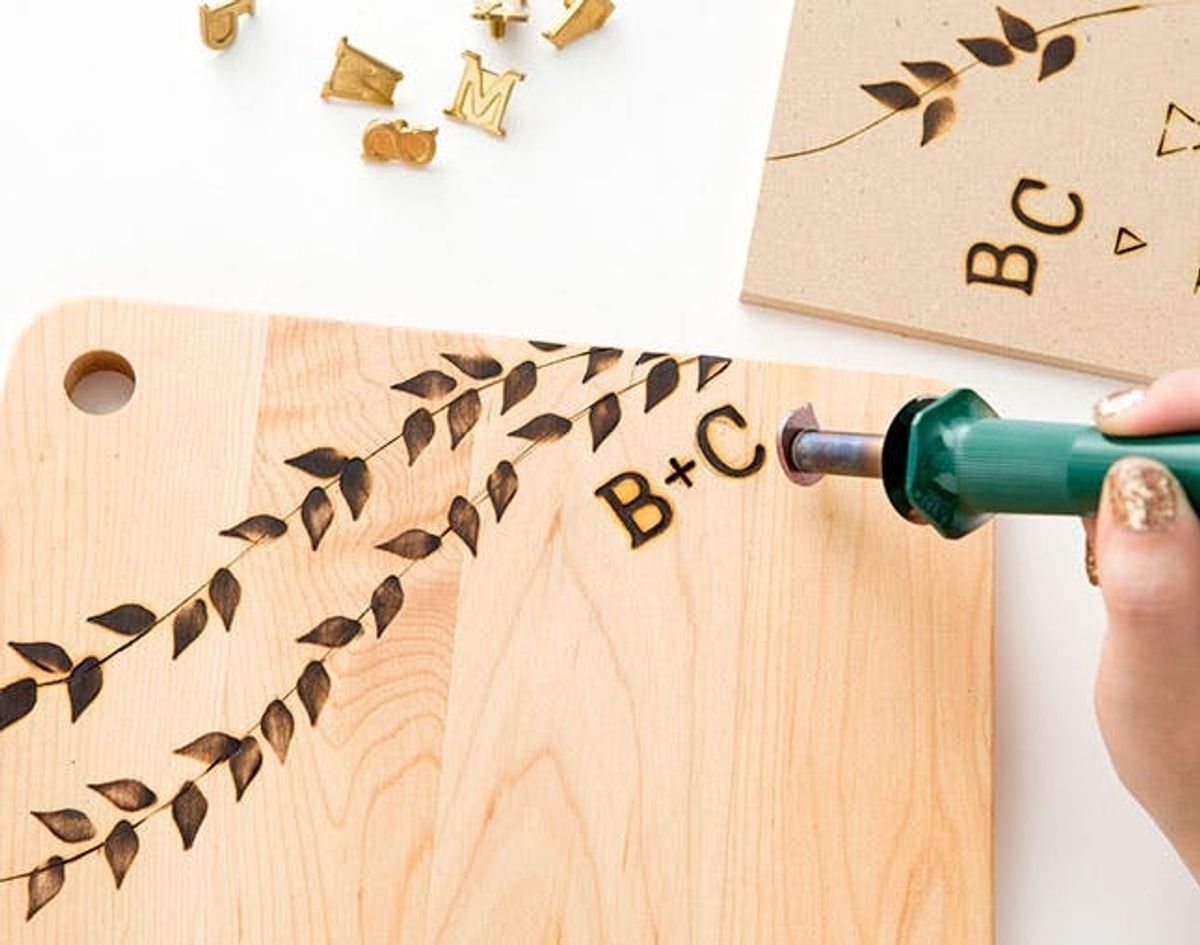
For this next design we wanted to try out the leaf shaped bit. Make sure to let the wood burning tool completely cool down before switching bit attachments and letting it heat back up.
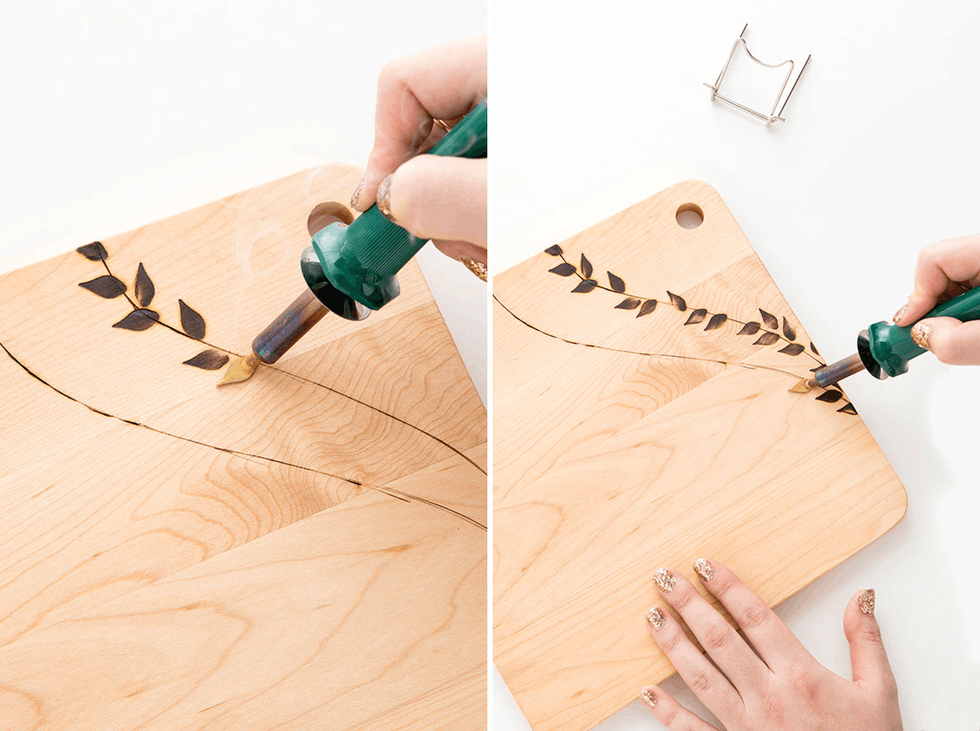
After drawing a couple rough vine lines, start adding on leaves on both vines. (Pro tip: you can use this opportunity to cover up any mistakes in those pesky curved lines!)
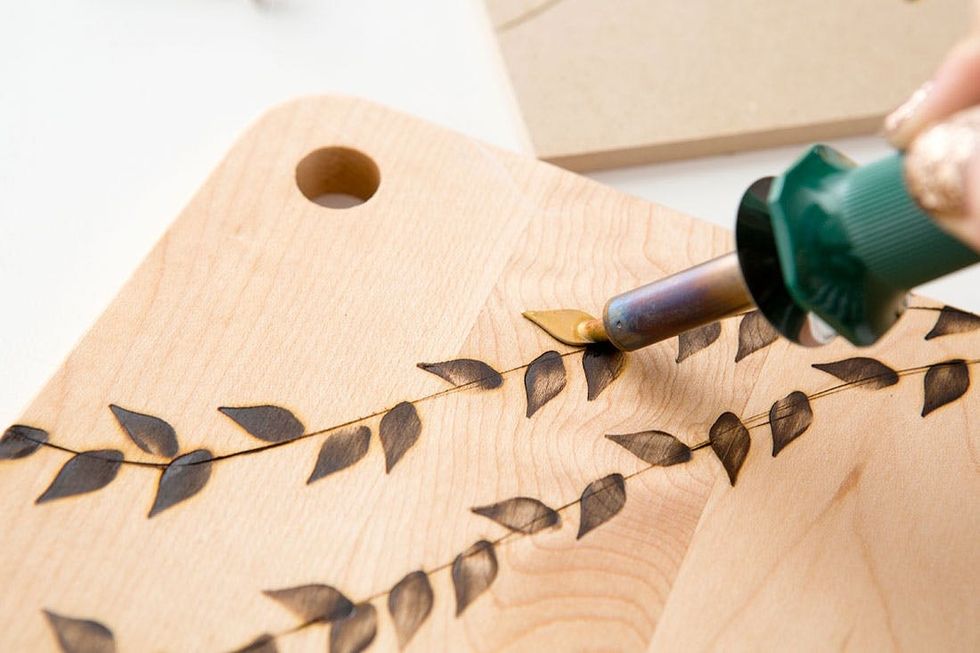
Mmmm smell that toasty campfire smell!
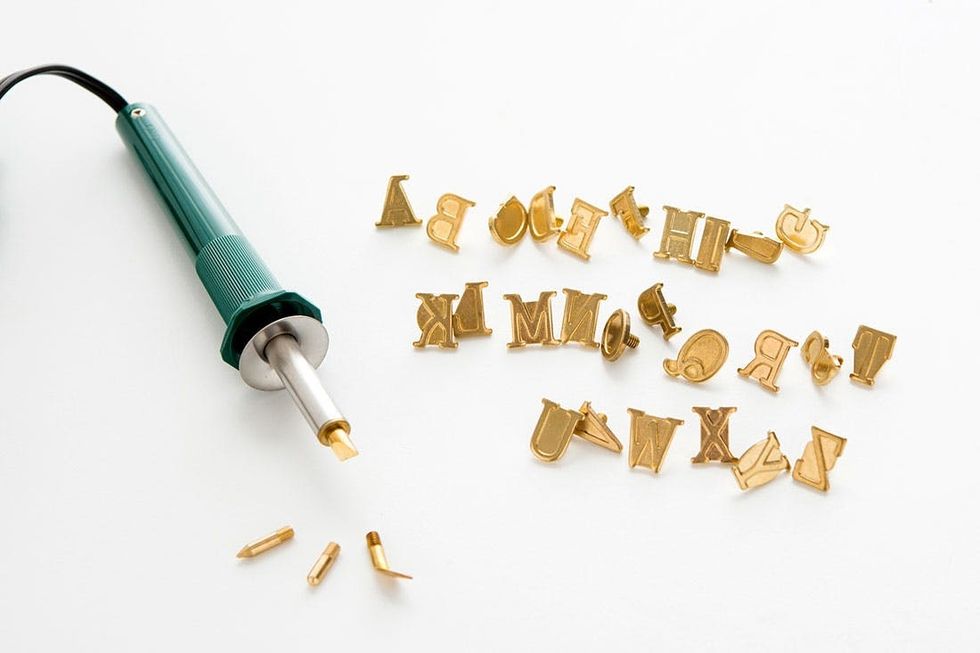
For those of you that want to add a personal message, monogram or funny quote into your design, grab a kit with an added set of alphabet bits for $45!
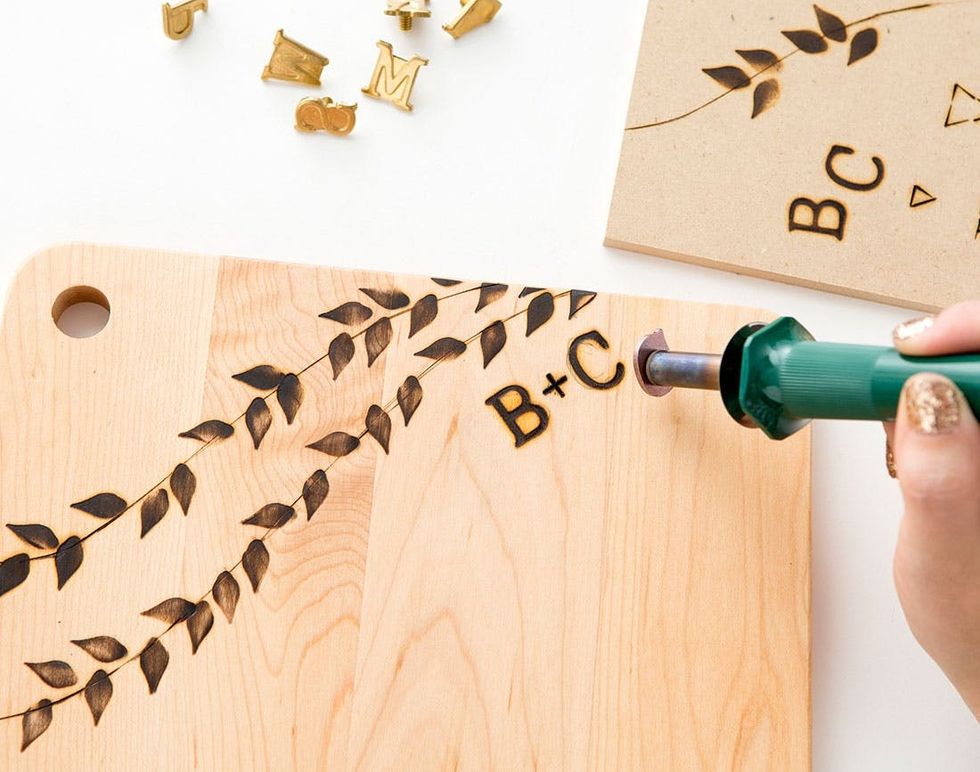
Make your mark, or show someone how special they are with a custom message meant just for them! These boards make great gifts that are both beautiful AND useful, for all those lovely practical people in your life.

What other wood-burning projects would you like to tackle? Tell us in the comments below!


