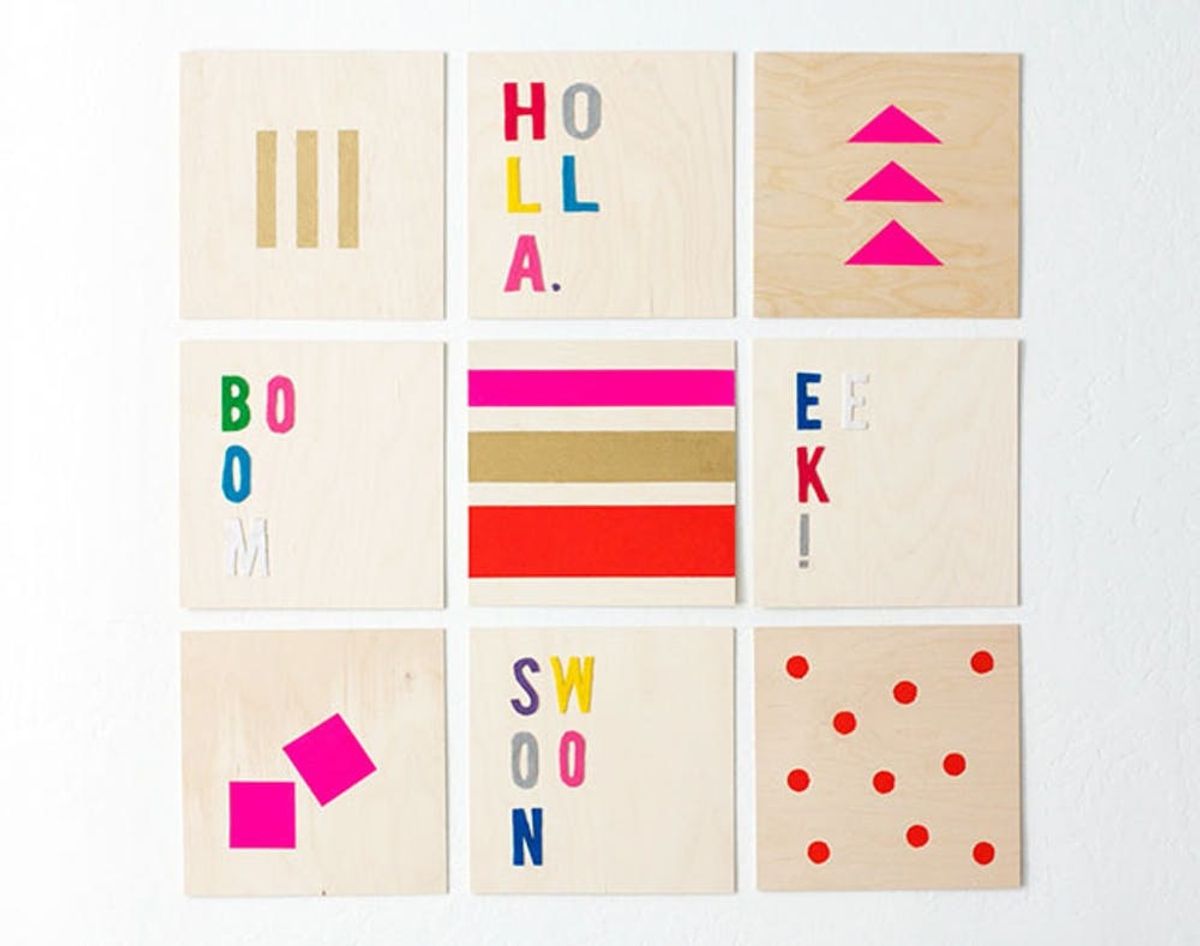
It’s no secret that we love DIY art around here at Brit + Co. We also happen to love wood projects. So what do you get when you put these together… wood art! Today we are super excited to share two ways to make DIY Wood Art: one using felt and the other using paint. So grab your glue gun and some scissors, and let’s get this crafting party started.
Holla! 2 Hot Ways to Make Wooden Wall Art

It’s no secret that we love DIY art around here at Brit + Co. We also happen to love wood projects. So what do you get when you put these together… wood art! Today we are super excited to share two ways to make DIY Wood Art: one using felt and the other using paint. So grab your glue gun and some scissors, and let’s get this crafting party started.
Materials:
– 12-inch x 12-inch wooden craft boards
– assorted colors of felt
– patterning tape
– paint colors of choice
Tools:
– scissors
– paint brushes
– Sharpie
– hot glue gun
How fly is my mini glue gun?! ;) We’ll start things off with felt word art.
Word Art Instructions:
1. Print + cut out word templates.
2. Trace letters onto felt.
3. Cut out letters.
4. Glue letters onto wood.
First, you will print out the word art templates. Next, cut out each letter. Place each letter onto a different color of felt and trace each letter using your sharpie. Cut out the individual letters making sure to cut inside the sharpie ink. Using a glue gun, glue each letter onto your wood boards. And voila. You are done. How simple was that?
Now, onto our painted geometric patterns! :)
Painted Art Instructions:
1. Create pattern you want with patterning tape.
2. Paint your pattern.
3. Let paint dry and remove tape.
Using your patterning tape, create the pattern you want on your wood. Press the tape firmly onto the boards so the paint doesn’t run under the tape. Running your fingernail along the tape helps quite a bit. Next, paint within the lines of your pattern. Wait for the paint to dry and remove the tape. And that’s it.
Boom! Pink triangles!
We made a whole bunch more to create a grid of nine squares on the wall.
What other fun words or sayings can you think of for the word art? Let us know in the comments below.


