This wrap top is the perfect silhouette for summer.
DIY This Custom-Fit Wrap Top to Wear All Summer Long
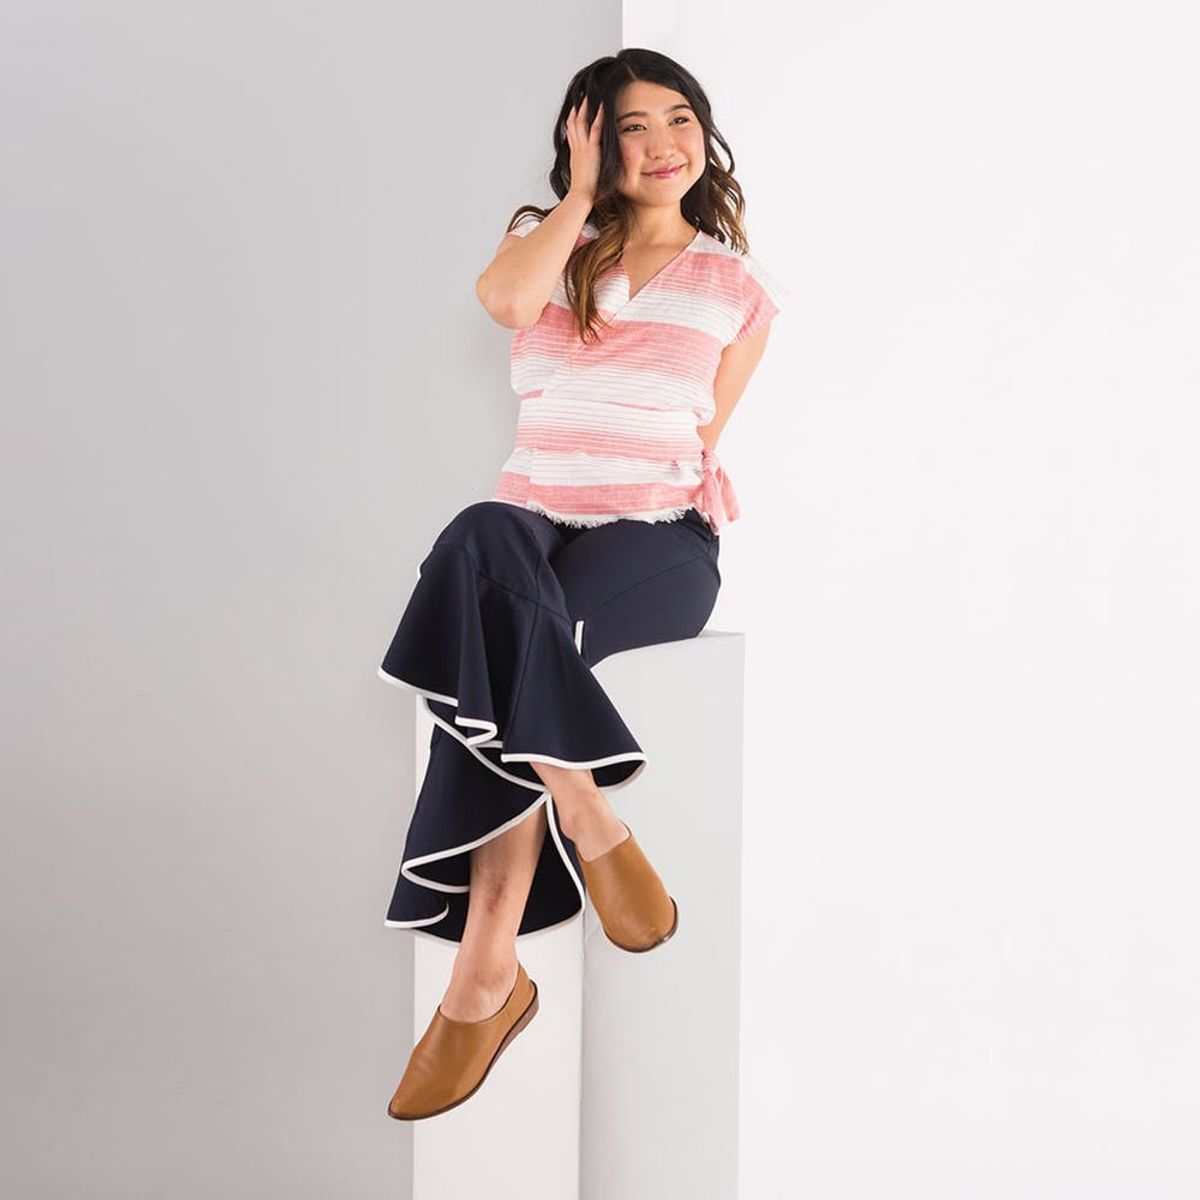
Since a lot of you haven’t met me in person, I would say that you probably don’t understand how much I love clothes. I like to think of myself as a collector — in March I wore a different outfit every day, not repeating one clothing item or pair of shoes. I stopped because I’m currently obsessed with my Adidas sneakers and wanted to re-wear them, but I could have kept going! Admittedly, this collection does effect my wallet, so I also make some of my clothes. Today I’m letting you in on how to make one of my favorite wrap tops, to beef up your own summer wardrobe on the cheap :)
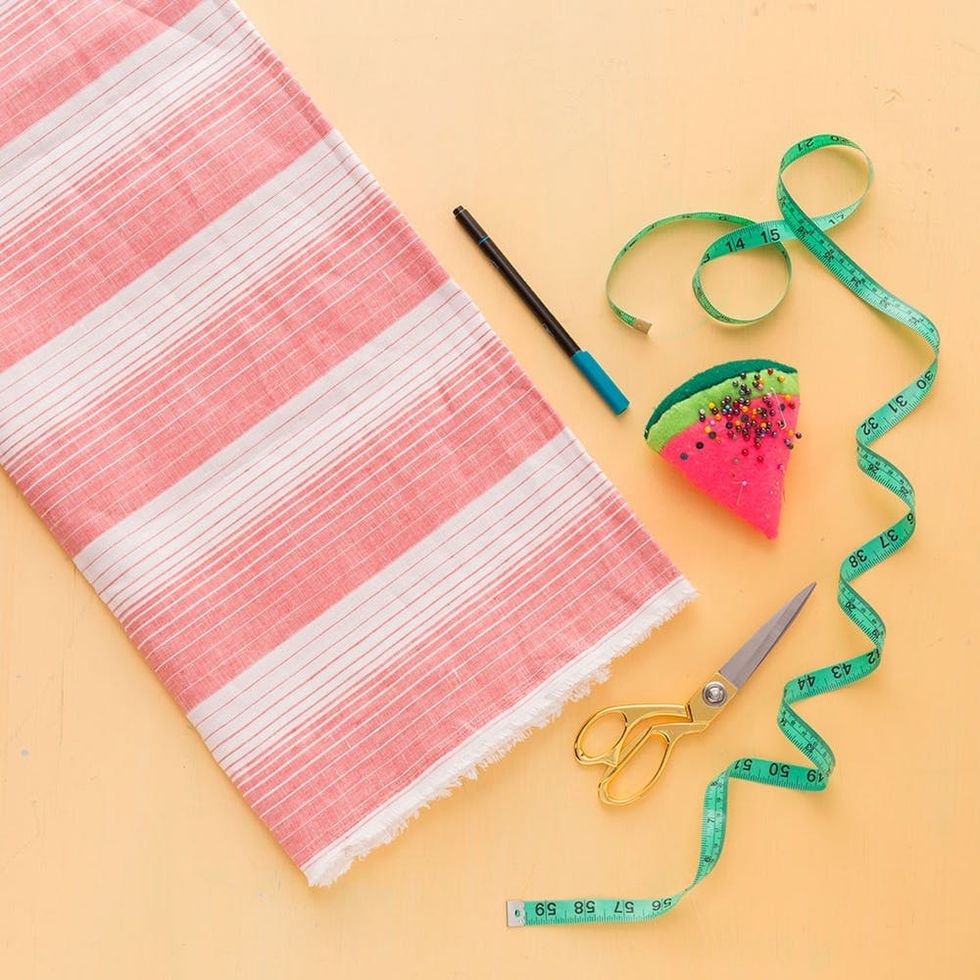
Materials and Tools:
- 1 yard linen fabric
- sewing pins
- measuring tape
- sewing marker
- sewing machine
- fabric scissors
First things first — take measurements of your body and jot them down on a piece of paper. For this project you’ll need the length of your shoulder, the height of your torso, and the length from the top of your shoulder to your underarms.
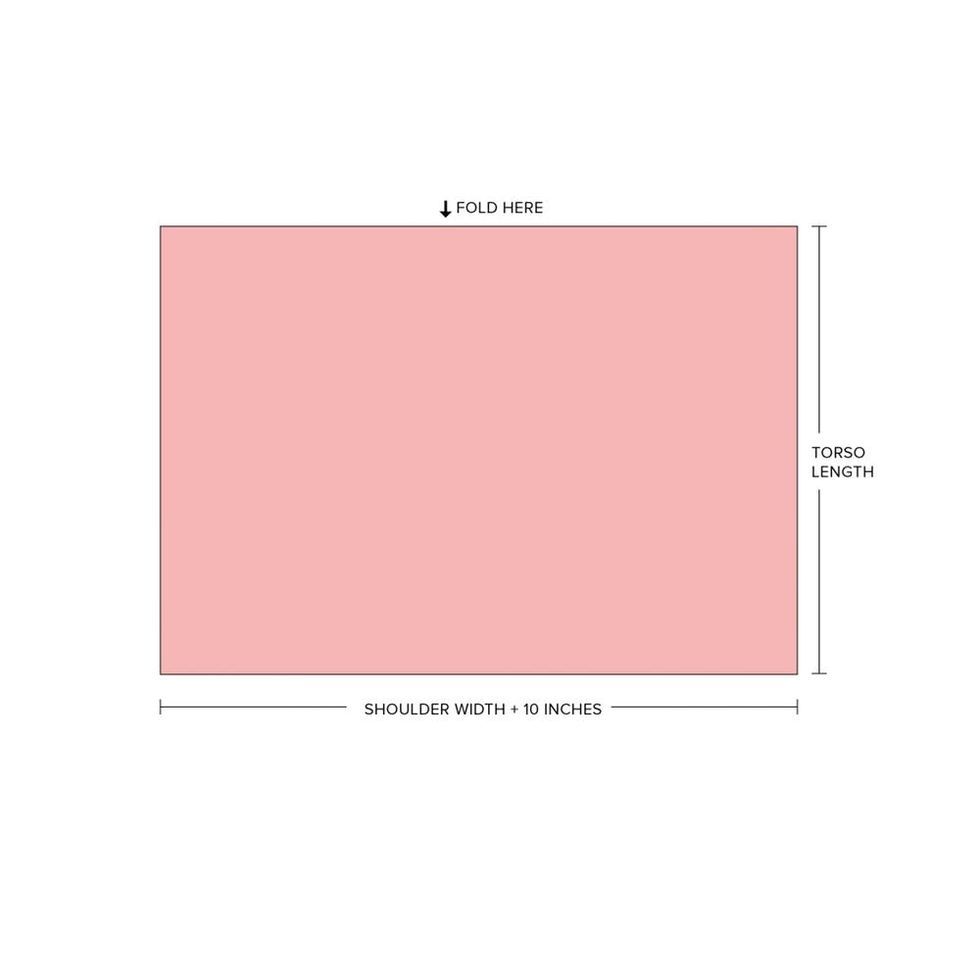
Fold your fabric, with the fold on top, and then cut to the measurements that will fit your body.
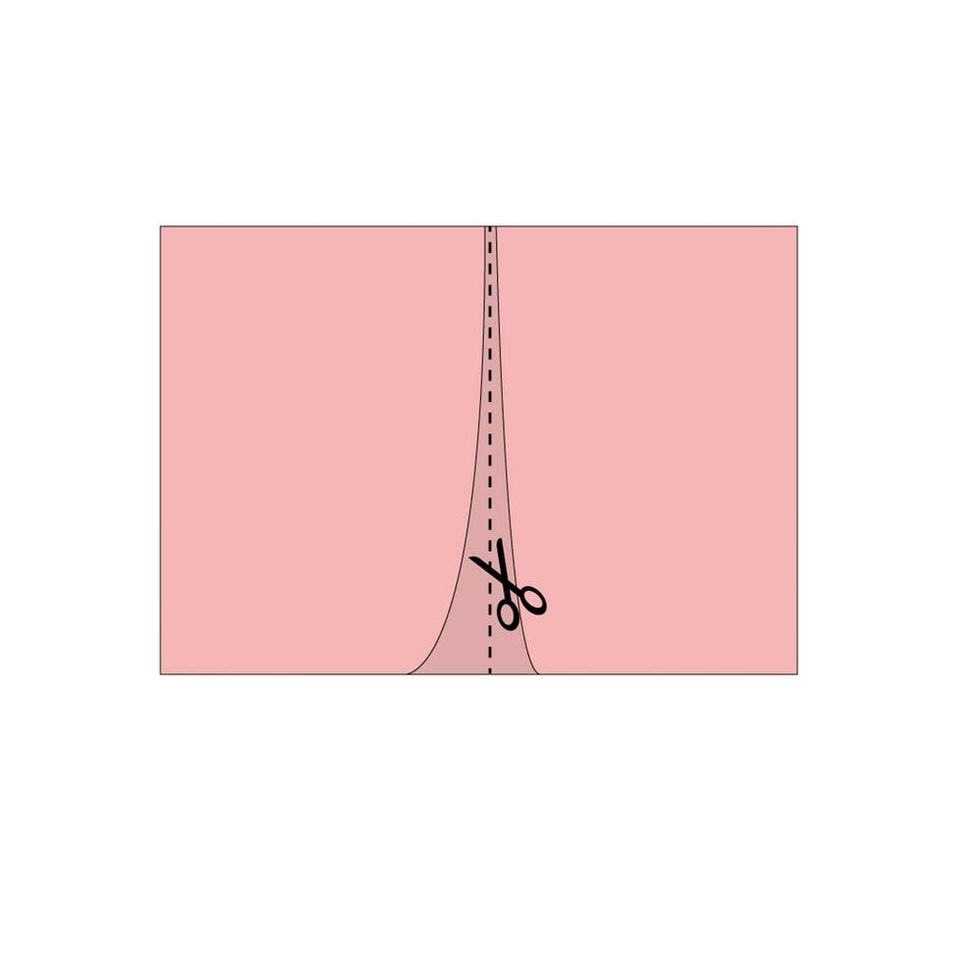
With the fold still on top, find the center of the top layer of fabric and cut until you reach the fold.
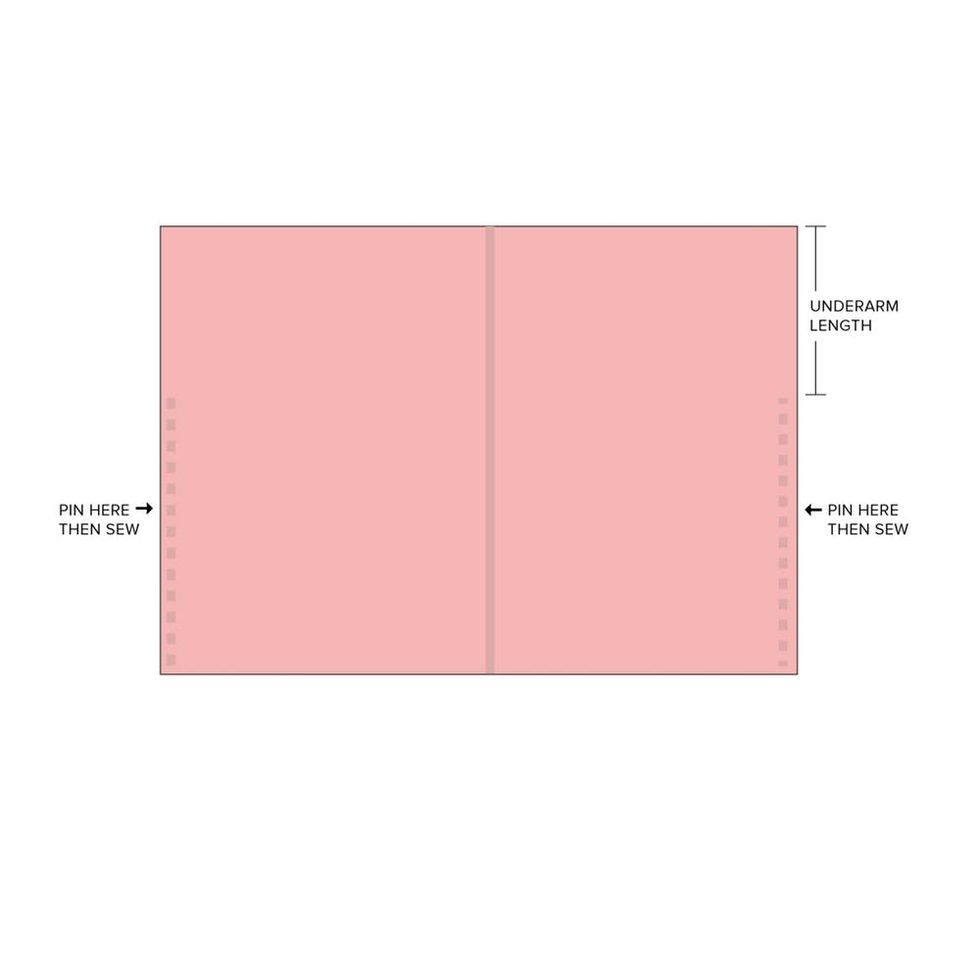
Measure the length of your underarms and measure on either sides of your fabric. Pin and then sew the sides closed to create arm holes in your new garment.
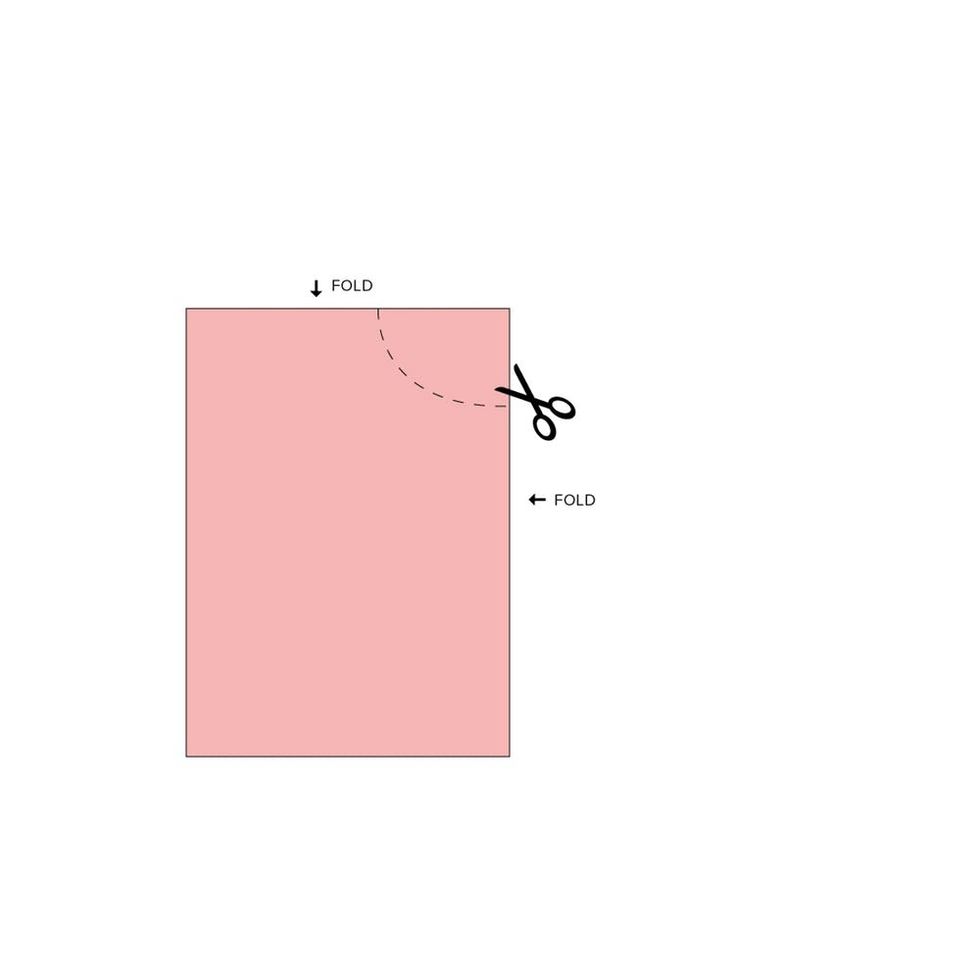
Fold your rectangle in half and cut out a neckline. You should cut a curve that is a little more than half the diameter of your neck. Remember you can always cut more, but can never go back to cut less ;)
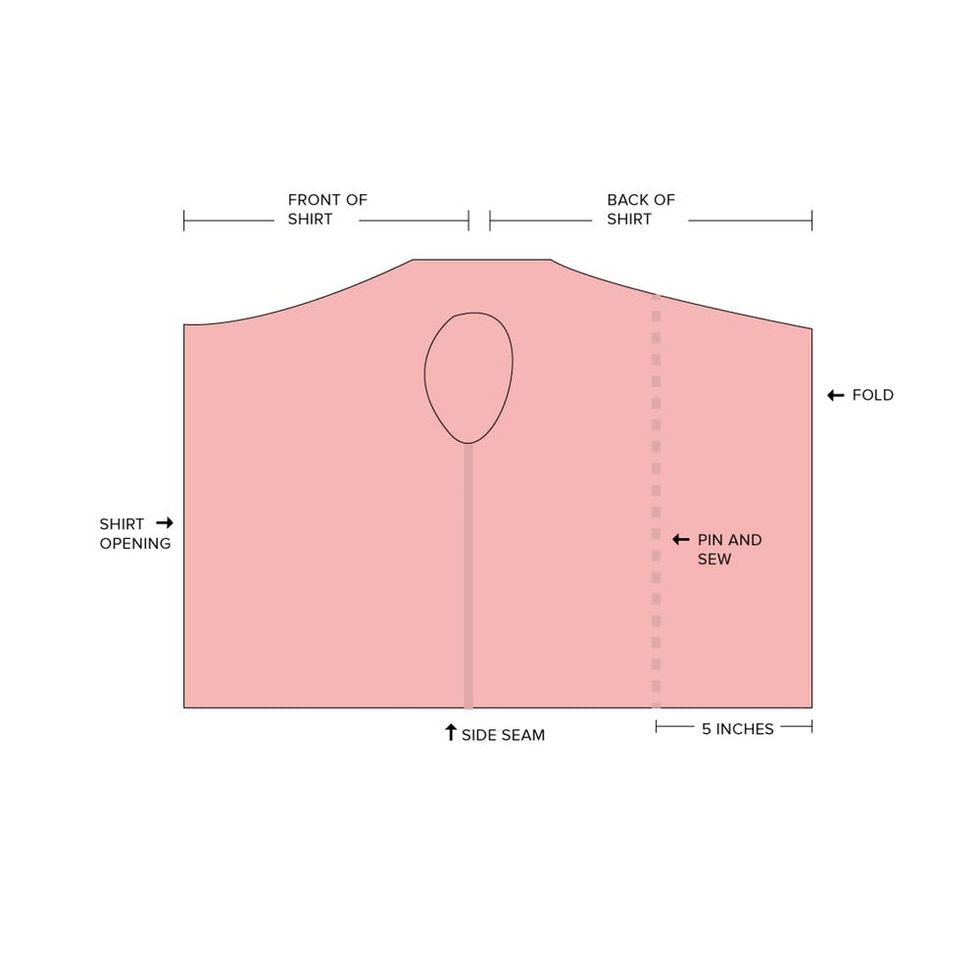
This one is tricky, so I included the illustration and real image for this step. Continue to read more about this step below.
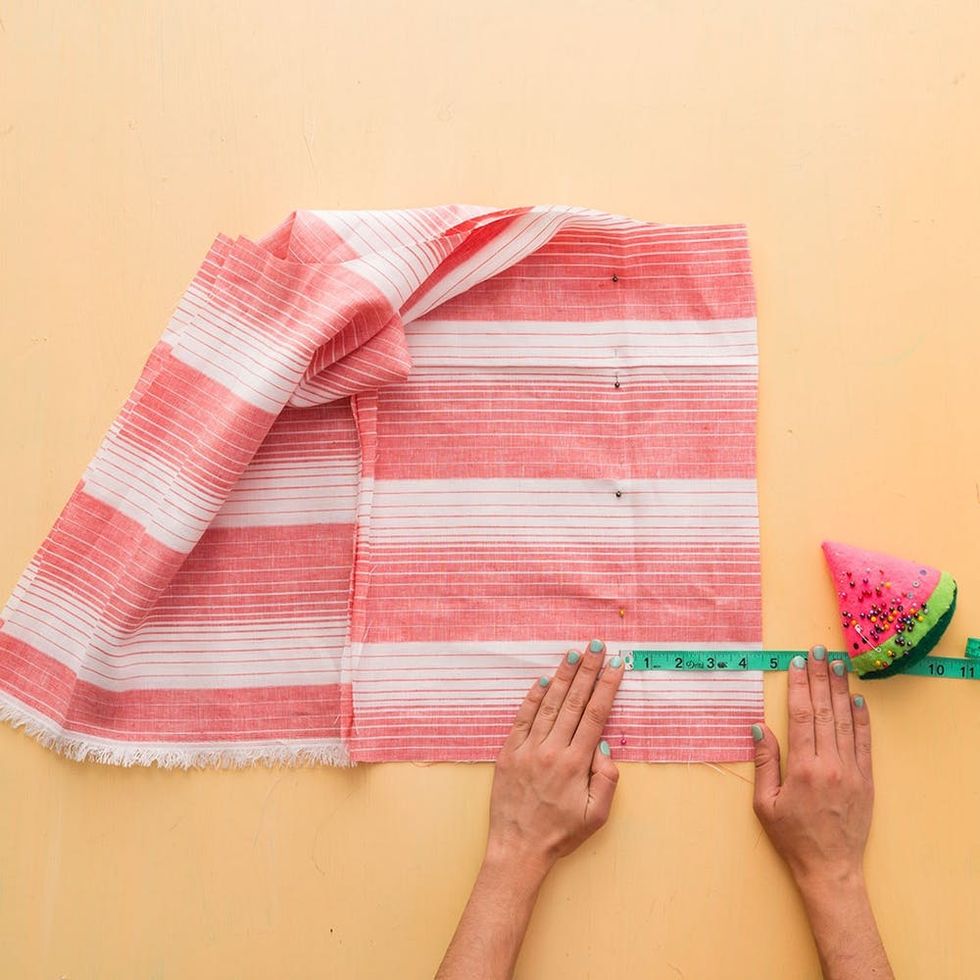
Fold your garment so the side seams match up. Measure about five inches from the fold and create a line of pins. Once pinned, sew.

Remember how we added 10 inches to the measurement of our shoulders? Well this was to give us ample fabric to create the front wrap, but now we need to alter the back of the shirt to fit our shoulder blades. By measuring five inches from the fold and then sewing together, you did just that! Now it’s time to cut off that extra five inches and pretend like that never happened ;)
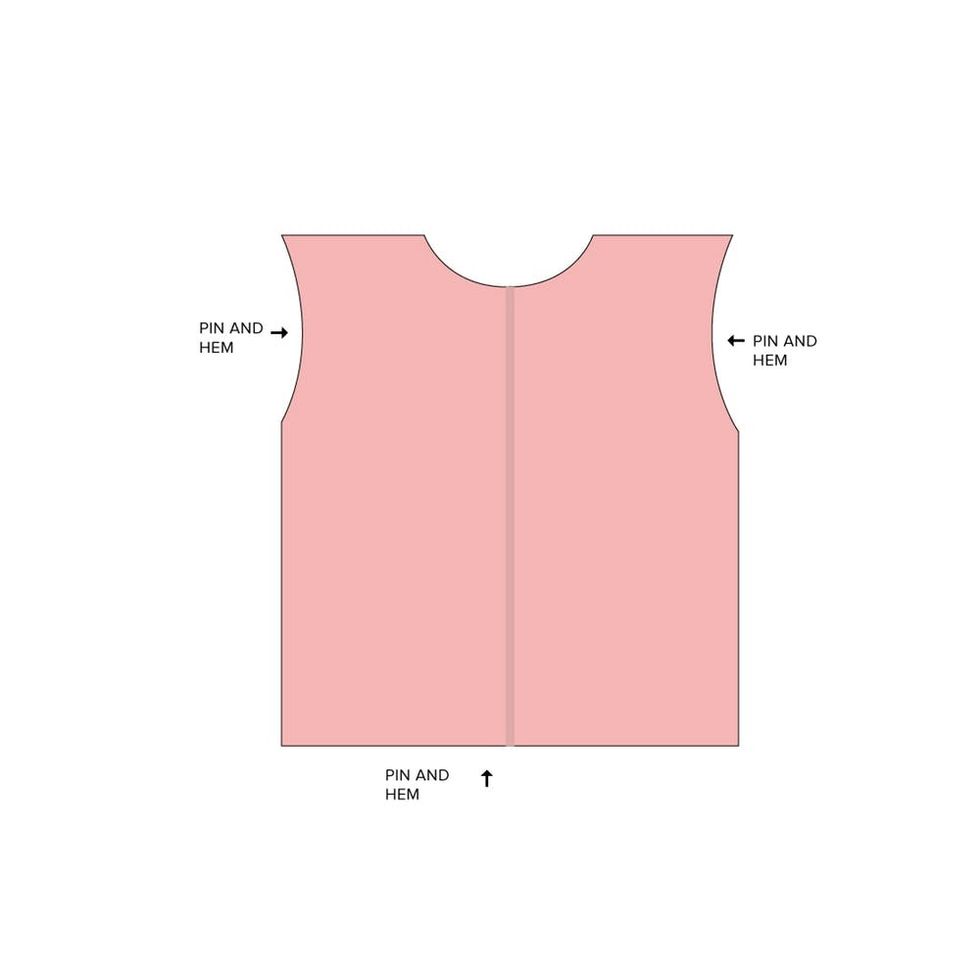
Your garment should look like this shape :) Pin and hem the arm holes and bottom of the shirt.
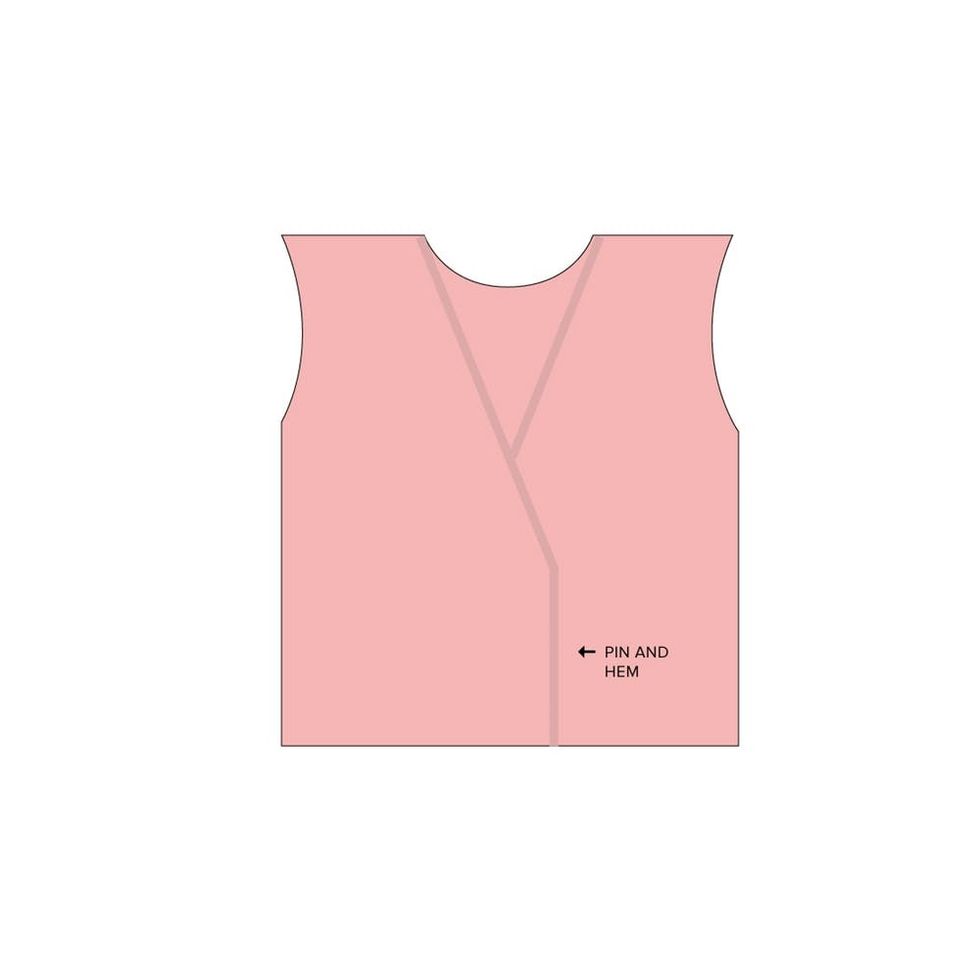
Time to create that diagonal hemline. For me, the best way to do this is to try it on and look in the mirror to see how low you want the neckline to plunge. I tucked about four inches behind, which you can see below.
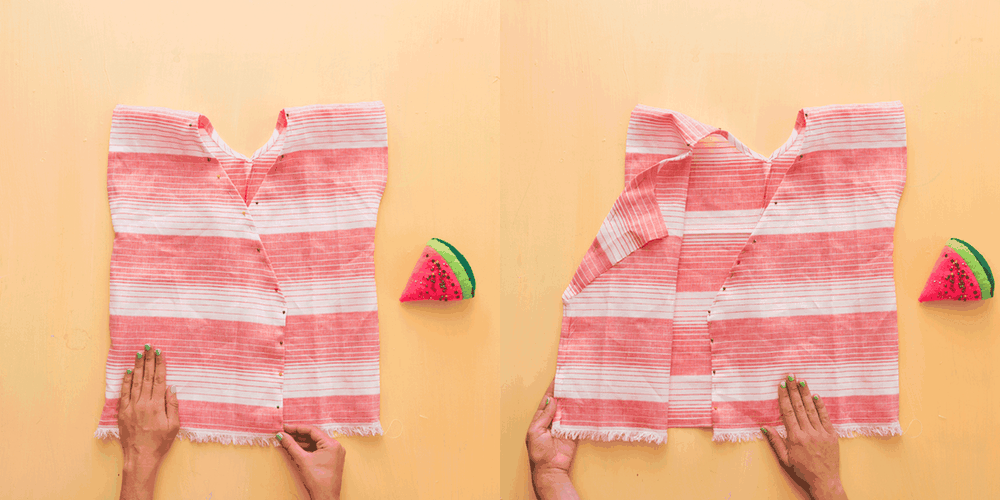
Pin and hem the front neckline. You can sew this all in one straight line — starting from the left side bottom, curving around the back of the neck, and ending at the right side bottom.
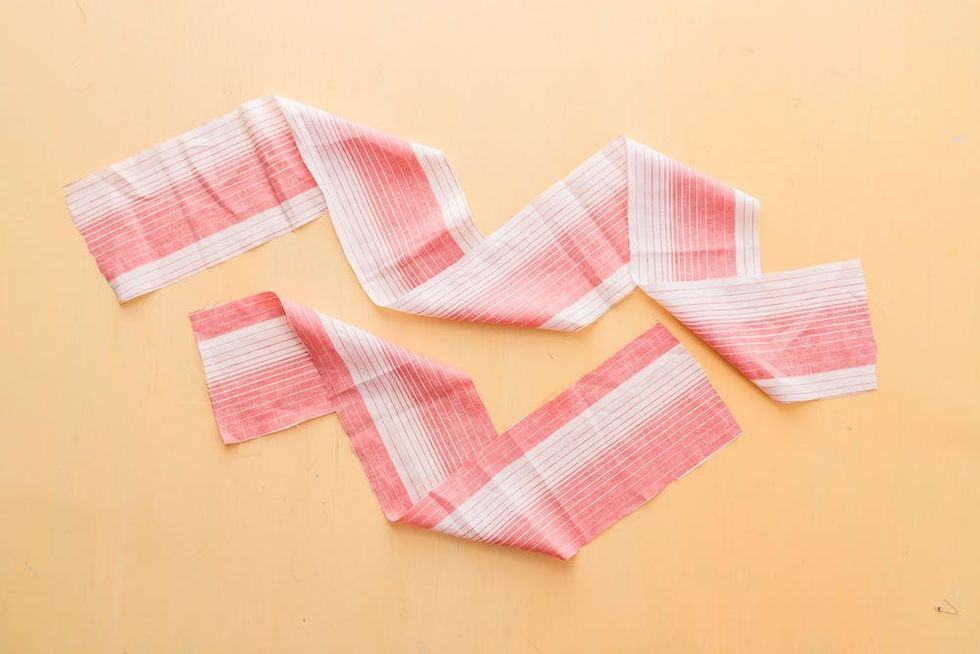
Next you’ll need to cut two strips of fabric to create your belt for the wrap shirt. One should measure 2x the circumference of your waist, and the other should measure half the circumference of your waist. Fold in half to sew, then turn right-side out to create a clean strap.
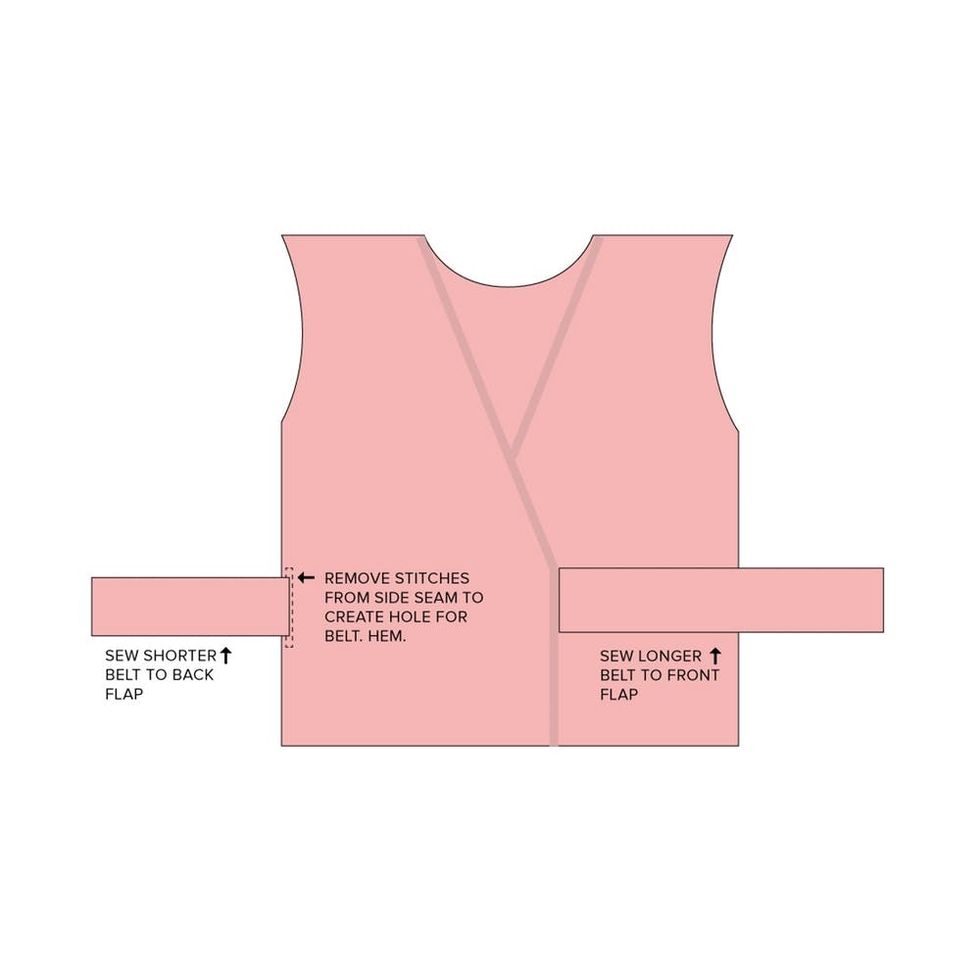
Sew the longer strap to the front panel of the shirt and the shorter strap to the inside panel of the shirt. Take a look at me doing this step with my shirt below.
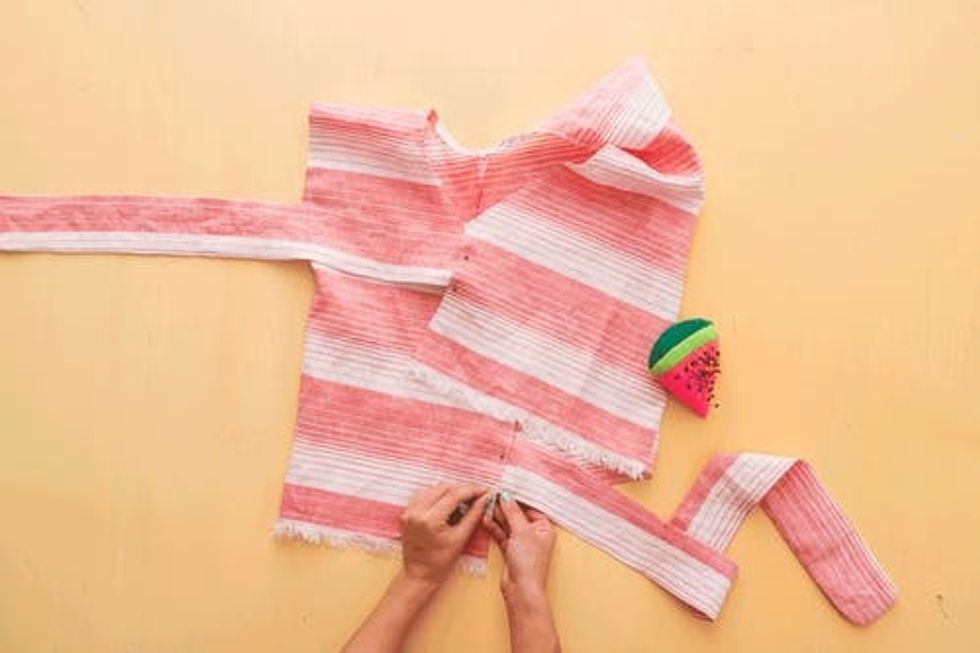
Check it out! We’re almost done. Now time to make the hole for the inside strap to weave through.
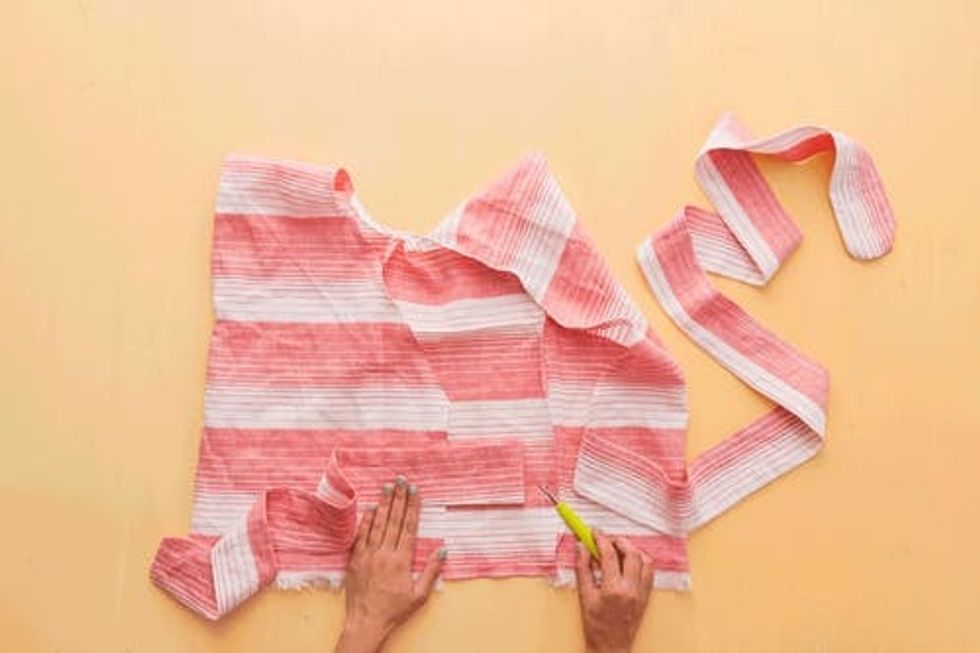
Use a seam ripper to remove the stitches on the right side seam right where the inner belt will hit. Fold the fabric back and hem to create a large hole.
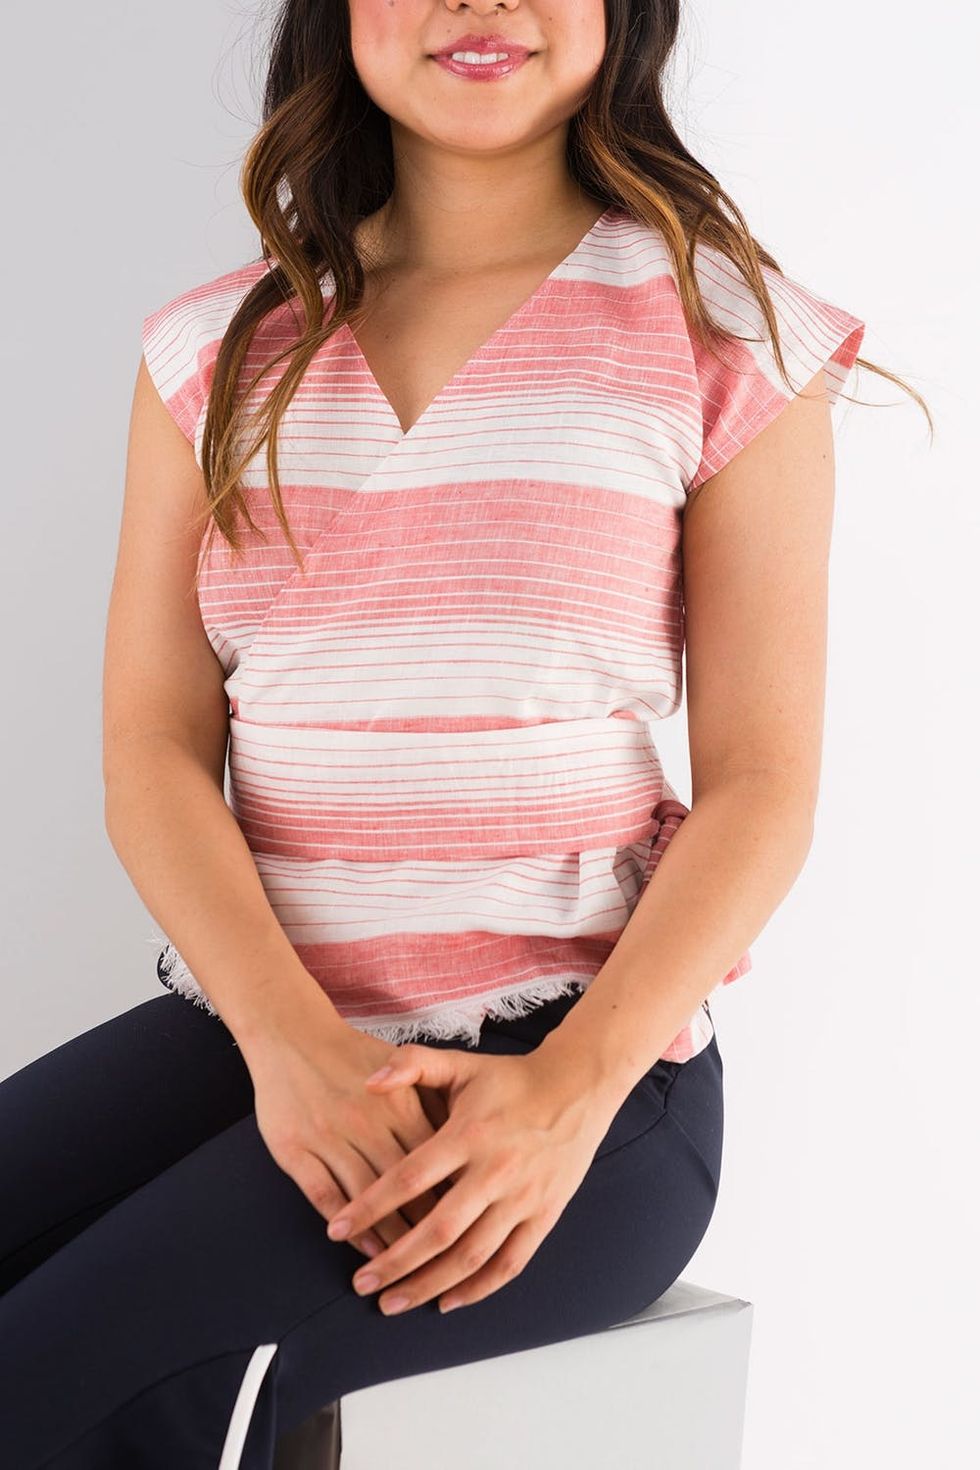
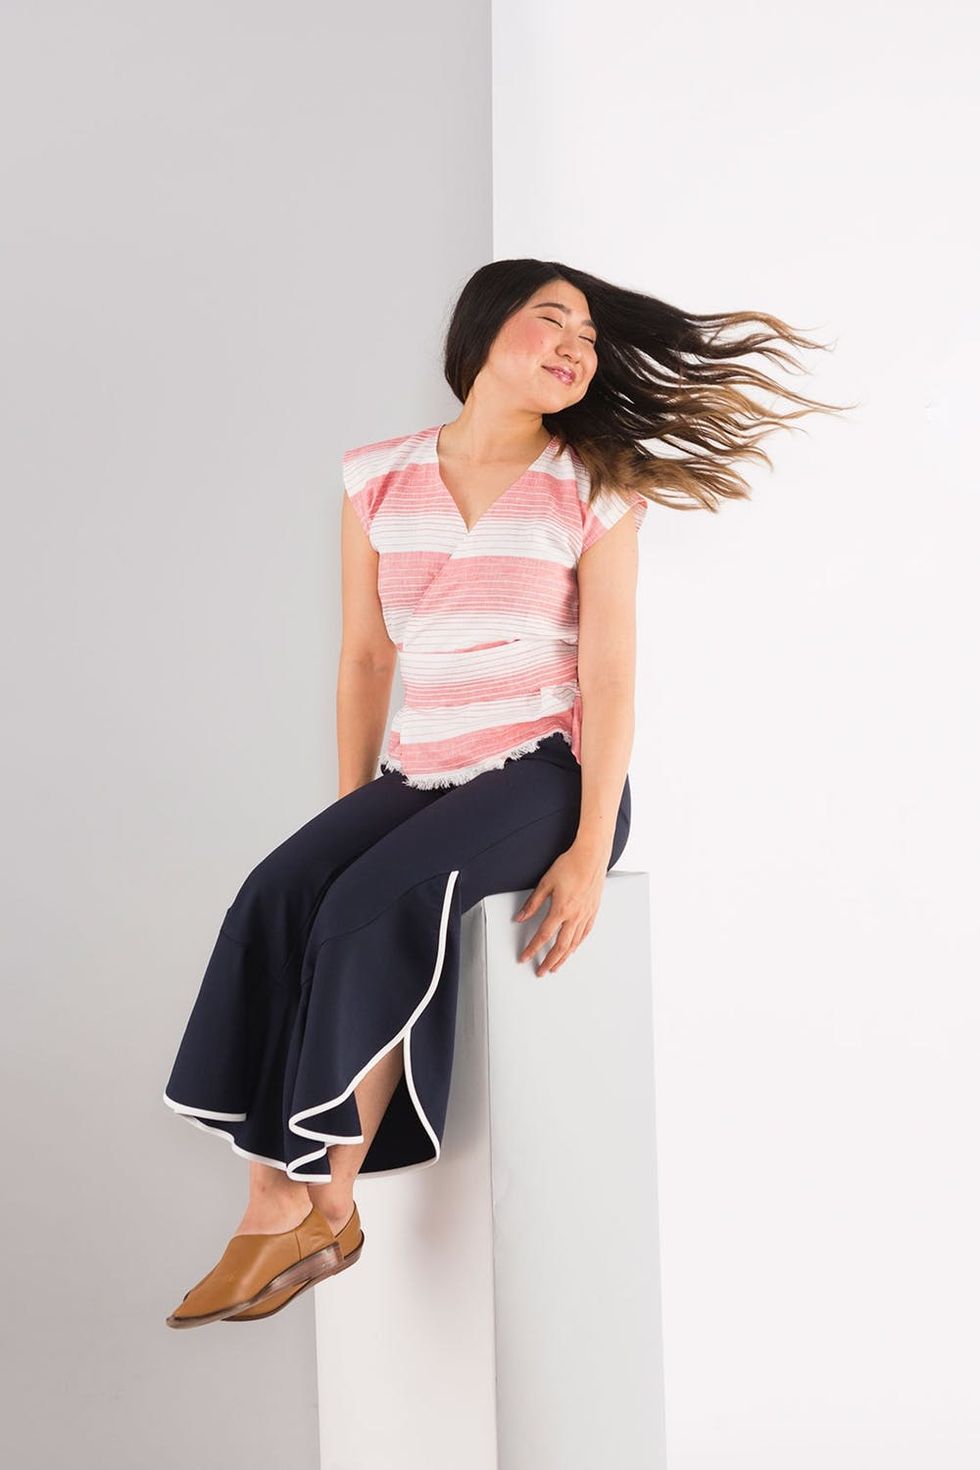
All wrapped up and ready to rock!
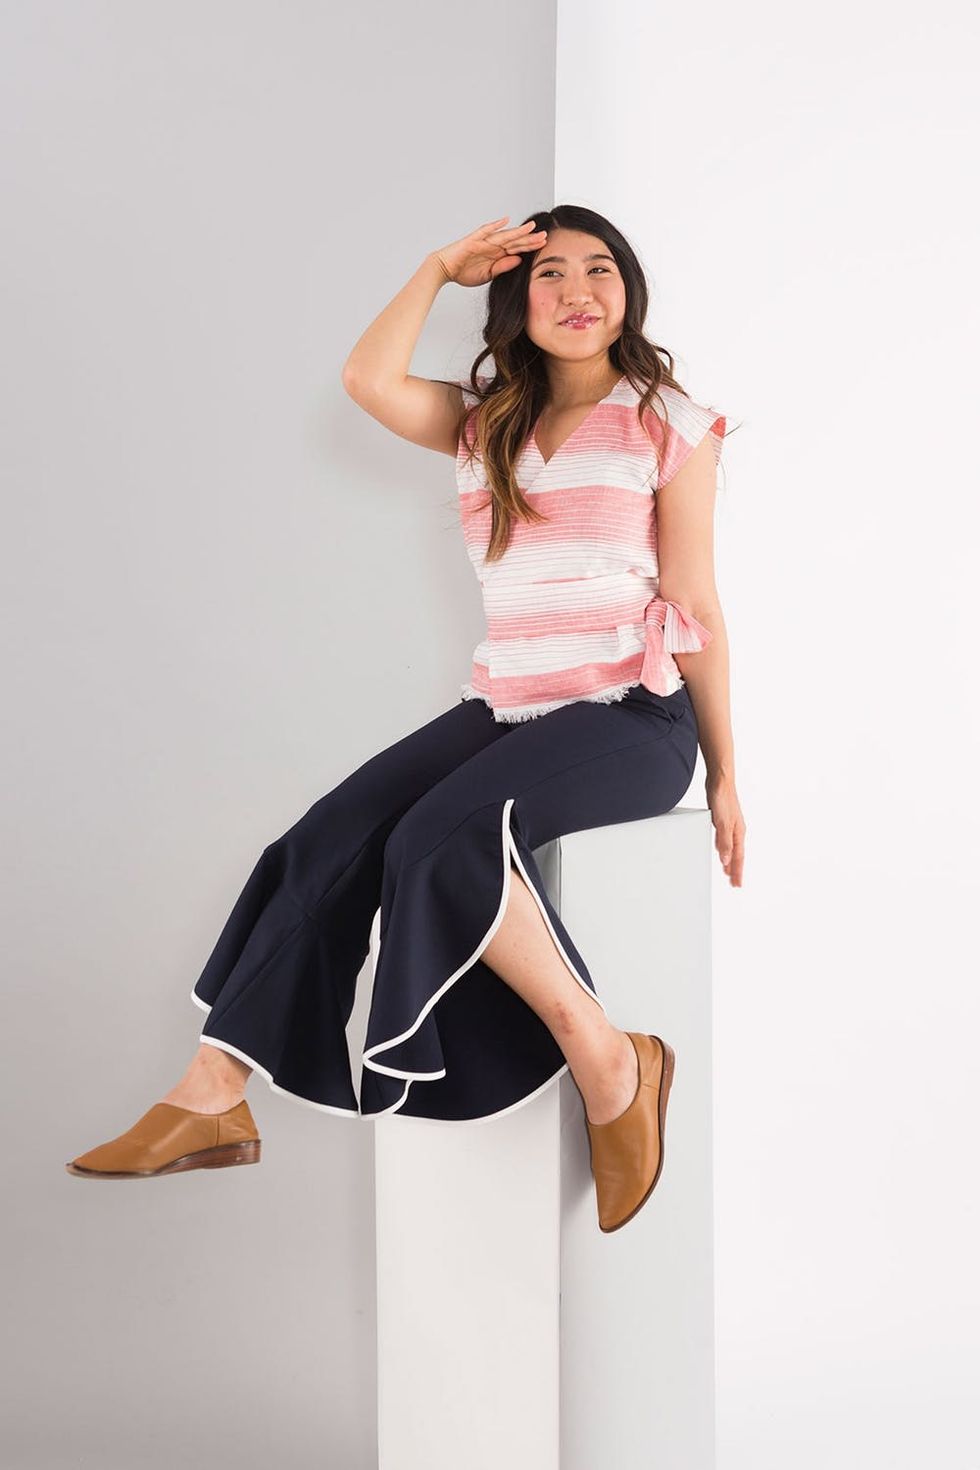
Red, white, and blue — all ready for Fourth of July and the summer months ahead.
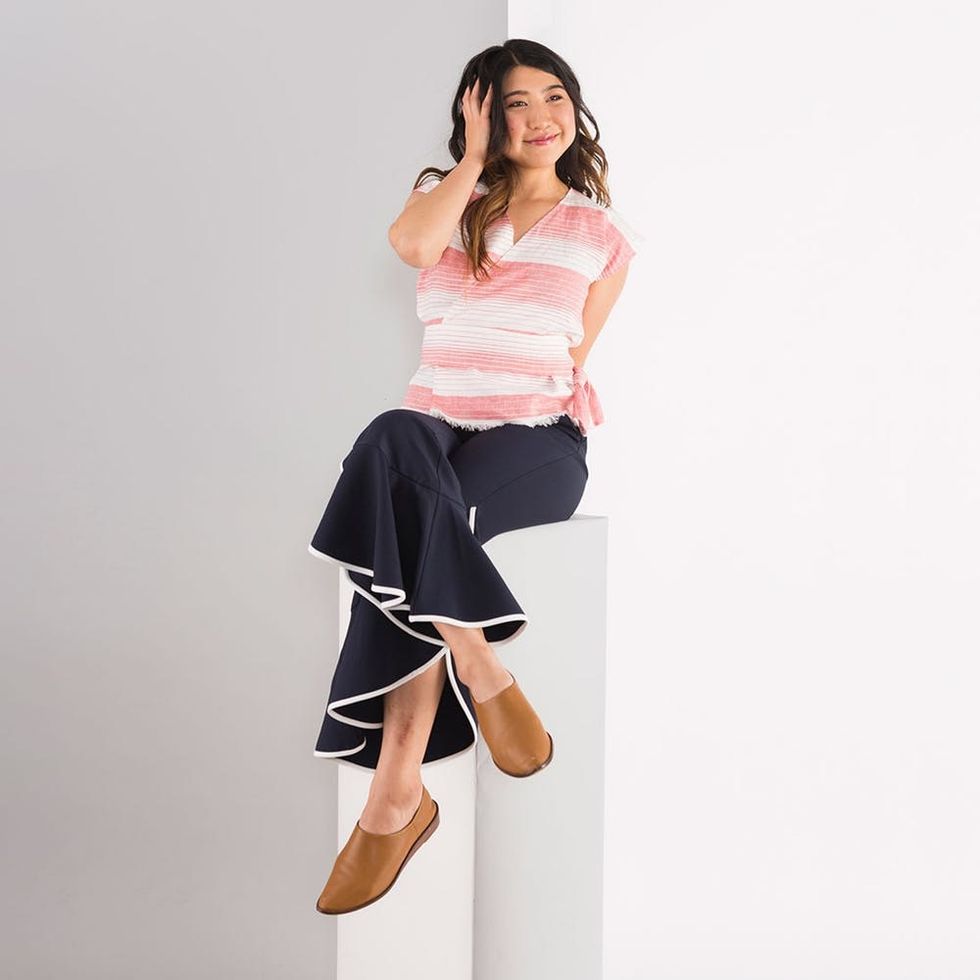
Show us your latest project by tagging us on Instagram + using hashtag #iamcreative!
DIY Production and Styling: Kelly Bryden
Modeling: Torii Burnett
Photography: Brittany Griffin
Brit + Co may at times use affiliate links to promote products sold by others, but always offers genuine editorial recommendations.


