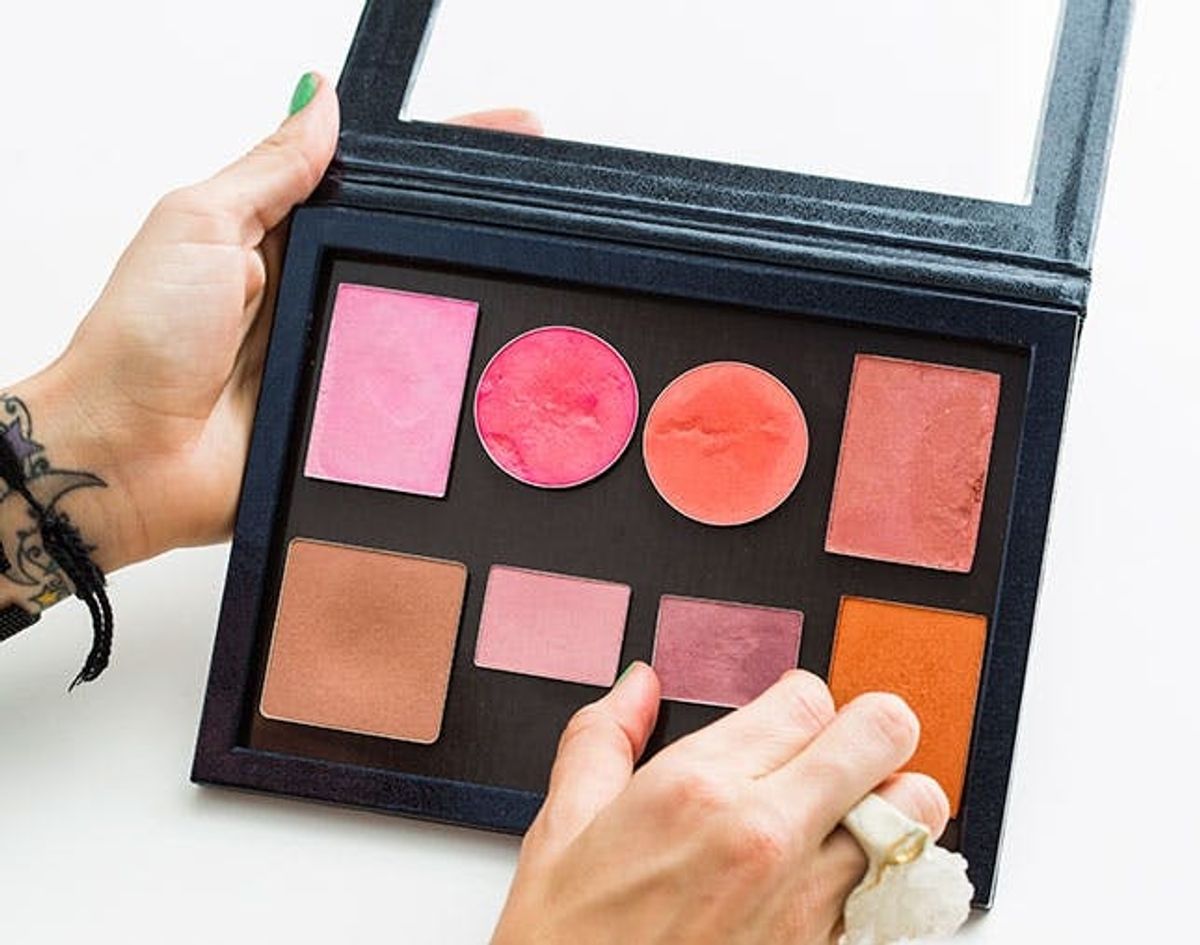
Not only is Z Palette a godsend for professional makeup artists like myself who have an endless amount of products to tote around, but it’s a gem for anyone who wants to streamline their bulky makeup kits.
The Ultimate Beauty Hack for Organizing Your Makeup


While the packaging from your favorite makeup lines can be sleek and playful, the reality is that your quirky Korean blush, celeb-inspired eyeshadow collection and heaps of other drugstore + designer makeup are SO much of a hassle to transfer around. That’s why we’re obsessed with the Z Palette. The slim, magnetic device makes storing and carrying makeup easier than any other organizational alternative by letting you create customizable palettes of ALL of your favorite shades and consolidate them in one place. Not only is Z Palette a godsend for professional makeup artists like myself who have an endless amount of products to tote around, but it’s a gem for anyone who wants to streamline their bulky makeup kits. So while you wait for yours to come in the mail (we’ve totally sold you on it already, right?), we’ll brush you up on Z Palette prep by showing you the best way to depot your makeup, or remove it from its casing so that it’s ready to transfer to its slender new home. And get pumped: The possibilities for how you create your palette are endless!
<br/>
 Z Palettes

– small ($14)
– large ($20)
– extra large ($28)
– round and square metal stickers ($5-$6 for 30) — these allow your makeup pods to attach to Z Palette’s magnetic base
Tools:

– wax paper
– stainless steel cuticle pusher
– Sharpie
– Goo Gone
– rubbing alcohol + paper towel
– flat iron
Use the cuticle pusher to get in between the grooves of your makeup case and gently pop each pod out of place. Once you have all of your makeup out of its original casing, set the pile of old packaging aside so you can reference the colors of each item later on.

Don’t freak if you crack your fave blush, or any other kind of powdered product! Here’s the quick fix: Pour half a capful of rubbing alcohol onto the makeup pod and pat with a paper towel to bond it back together. See, good as new!

Prep to remove the makeup from its outer plastic casing by tearing off a piece of wax paper and laying it in between your flat iron. Then turn it on to its highest setting. Once it’s hot, place each pod on the wax paper and let it sit on the heated flat iron plate for a minute or two so that the glue holding the plastic casing releases the interior metal pod. Carefully remove the pod from the flat iron and use the larger end of the cuticle pusher to extract the metal pod out of the plastic casing. Use Goo Gone to gently rub off any residue on the back of the metal pod.

Find the metal sticker that best matches the size of the pod — either a circle or a square. Then peel off the paper and stick it to the back of your pod — this is what’s going to make your makeup stick to the Z Palette’s magnetic base. Don’t forget to write the name of the color on the back of the metal pod with a Sharpie! Now you’re ready to arrange your Z Palette.
smokey eye
 everyday essentials — from face powder to lipstick and concealer — in your small Z Palette. Wait… it can hold lipstick and concealer, too? Oh yeah! Here’s how to hack your fave cream-based products to fit in this compact Caboodle:

Just add your fave lip shade or go-to liquid bronzer to those empty eyeshadow pods from your old or used-up palettes and smear it in with the larger end of the cuticle pusher. Add it in with the rest of your goods and just like that, you’ve created a super portable start-to-finish makeup kit. This one includes face powder, concealer three shades of lip gloss and a neutral eye shadow.

Obviously, the bigger the Z Palette, the more makeup you can cram in! Plus, once you pods are Z Palette-ified, you can mix-and-match between palettes. Think how much easier it will be when you need to stash your daily colors in your purse or pack a rotation of eye shadows for your bud’s destination wedding. We’ll let’s see, it’ll look just like this…

And never again like this!

Z Palette FTW!


